Lynne P's Chicken Run

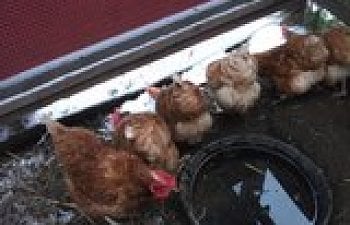
Hens at the livestock bowl drinking in November 2009

When it was dry enough and warm enough in the spring of 2008 we worked. With the predator situation as challenging as it is in Nova Scotia, we have to create suitable biosecurity and have a base that won't heave all over the place during freezing and thawing. The other thing we had learned in our research was to pay strict attention to drainage before starting. The soil is sandy loam, and there is a natural taper away from the barn, all of which worked in our favor. As we disturbed the earth though, we had to restore drainage and we added a ditch in front of the finished run and we keep it cleared year-round. Since the land falls off behind the barn, we have been able to maintain dry exercise space since inception.
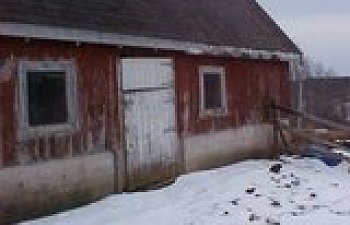
This is the barn in Brrrrrrrrrrrrrrrr! February 2008, after the interior of the coop was completed and we planned the run.

(We've survived the harshest winter in a quarter century without frostbite or losses. We've been sprinkling bedding on ice in the run and the birds have been using it all winter. The snow platform is something we cherish now, the birds gather there first thing in the morning for a treat and to check their outside premises. Hens kept laying all winter, lowest collection was 9/12, and we usually collected 11 or 12 eggs.)

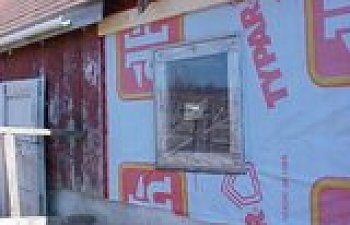
The barn boards had to be stripped, the interior sheathing lined with winterproof Typar, and then we replaced the boards and painted.


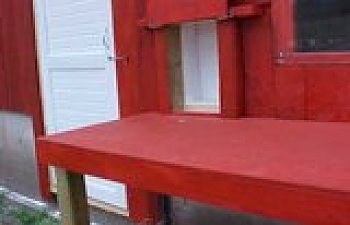
We made two pop doors for biosecurity and winter warmth. The platform is both for sunning and to assure we can get birds outside in winter snow to get light and air.
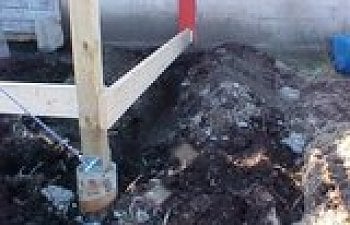
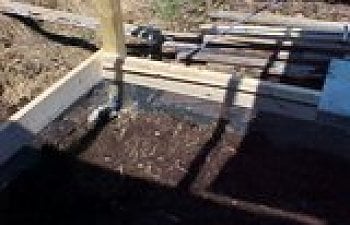
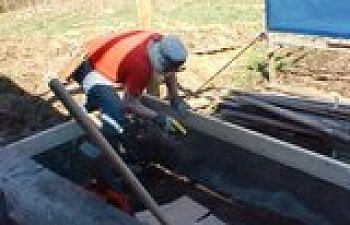
This is the side of the barn we're using, it faces northwest and we roofed the run with clear vinyl panels. The outside edge had to be supported by concrete, so we installed sono tunes at 4', mixed/poured/cured the concrete with steel 4x4 holders on top.
I keep reading posts from members who have built an outdoor run in one day and I am so envious! In our climate you have to allow for freezing temperatures and heaving ground in the spring. The summers are lovely, but we have many predators and the run has to be very secure. For many years free ranging was popular in Nova Scotia but most people secure their chickens due to high losses and because replacing chickens is no longer cheap.
At the time of this writing March 2008 is ending and the longest winter in Nova Scotian history is hanging around. The daffodils are buried in snow and the oil bills are escalating! We need to sink sono tubes so we can pour concrete, install our hardware to support the 4x4's that will frame the outdoor run ( approx. 16' x 8'x 7'), and choose a day when the concrete can be poured without freezing. Sure, we could call in a contractor with special mix, but the cost would be prohibitive. There is about 3" of frost in the ground according to hubby, who fenced off a work area outside the barn with pointed posts and rails to keep our horse back from the work site.
Before we add the run we ned to lift the red barn boards off the structure and cover the inner wall with a wind/rainproof material called Typar. It comes in 9' x 100' rolls at a little under $1.00 Cdn a foot. It will protect the fibreglass insulation in the coop walls and we plan (eventually) to use it on all sides of the barn.
April 9, 2008. We stripped part of the outside barn wall and applied Typar and Blueskin to wind/moisture-proof the outer walls. It was sunny and dry, still quite cold, but we'll get back at this tomorrow and possibly install headers against that wall which will eventually hold the joist hangers and stringers for the roof over the run. If you haven't tried Blueskin, it's an exceptionally useful product for sealing drafts especially around windows, on sills and under eaves. It has blue plastic on one side, black tar on the other and comes in rolls of 50 ft. x 8 in. for about $16.00 Cdn. Both Typar and Blueskin can save you hours of work and difficulty applying caulking and can blanket huge areas of wall or other bits that you want draft-free.
We'll use 1/2" mason wire for biosecurity in the run, simply assuming that raccoons will be a problem, not to mention skunks, weasels, raptors, coyotes, bobcats and even the occasional black bear. We'll also incorporate 4x4's, 2x6's and 2x4's in such a way that it would take a big bear with a bad attitude to dislodge anything. We do have neighbours with dogs surrounding us, so that might help. The dogs don't wander either- well, so far. The concrete foundation comes up about 3.5 feet and is a good protection from rodents and the drains have mortar-sealed caps with slots too small to permit rats. Most of the time the hens will come up a ramp to access a platform inside and then come through a chicken door above the concrete to another platform and an outdoor ramp, though I'm guessing that much of the time they will sail down to their outdoor playground. There is a lot of talk here about the end of free-ranging, and many of us are making provisions for biosecure coops in anticipation of the day when free-ranging may be prohibited. Canada has federal laws affecting all agricultural activities, so when changes come they affect the whole country.
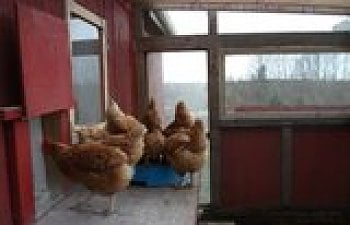
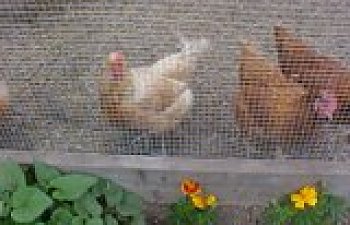
The birds love this window, it's now June!

We started framing April 28. This is only the second day that offered warmth, dry earth, and sunshine since we started the coop and attached run. We've made huge progress as shown in the photo at the top of the page, and with our vinyl roofing and our mason wire arriving at the hardware store soon, the rest should go well. We need to make a pop door, an outside platform and roosts too. We've made the access door from scrap lumber and it's painted, ready to install once we reduce the opening for greater warmth in the coop.

The white door was removed and the opening reduced before a winter-proof door was made from scrap lumber in our workshop. The existing door was designed as a horse entrance/exit from the large stall before renovation to a coop. We're going to use clear corrugated roofing over the run to keep light in the coop and to slough rain and snow outward from the barn. You can see our first header where we'll install joist hangers to get the 2x4 strings out over the run. This is the north side of the barn, so we want to encourage as much light as possible. The windows here are plexiglass and will stay. There will be a second door inside the first, onmade of mason wire, like a screen door to allow ventiation when it's warm. The outer run should be secure from predators and we'll make every effort to make it so. At the far end of the run there will be a cleanout door where I can wheel up a barrow to take waster to our compost/disposal area which slopes west and downhill. At times when the hens are secure inside, the feral cats will be given access to this run to discourage rodents from setting up business. There are two pop doors, and exterior one latched from the exterior and a thicker one, double-latched from the inside.

Trenching and Installing Predator Barrier
As of May 4, 2008, we managed to install 1/2" mason wire (hardware cloth under the perimeter of the run. It's a tricky business and throughout we instited on the 'hot dog' rule. If a weasel can get through an opening that would admit a hot dog, the opening is too big!
We trenched to 2' where we could and 1' elsewhere, what gruelling work with damp compacted soil and rocks. But it's done, though we do need to marry two pieces of mesh with piggy nose rings to tighten a join. Never mind, the earth is backfilled and nothing dangerous will struggle through the base of this run for many years.
We decided to fasten all wiring on the inside so that it is more easily accessible for inspection and repairs over the years. There will be a strip of wood over any overlapping seams when we install the 3' wide hardware cloth over the top sections of the run.


May 17, 2008
Between obligations and poor weather we've been struggling to make progress. Today we installed the roof run using PalRUF, a clear PVC product that is corrugated to slough off the rain. You need screws with special washers to attach it, we are so pleased. Light is virtually unaffected, and when it poured later today we were able to check for waterproofing, and it passed!

The inside of the roof is now complete with predator-proof templates in addition to the hurricane fasteners. We also added wire screening to keep wasps from nesting up there. We decided on half-inch hardware cloth to keep larger critters out. At the base the cloth is buried 1-2':


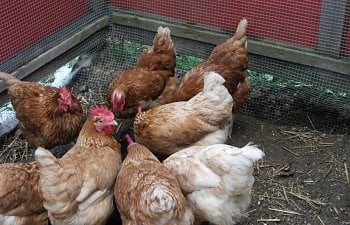
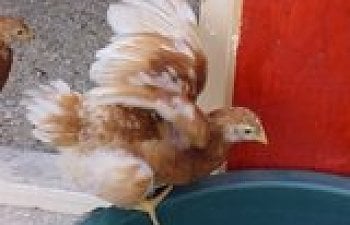
Hens at the livestock bowl drinking in November 2009
When it was dry enough and warm enough in the spring of 2008 we worked. With the predator situation as challenging as it is in Nova Scotia, we have to create suitable biosecurity and have a base that won't heave all over the place during freezing and thawing. The other thing we had learned in our research was to pay strict attention to drainage before starting. The soil is sandy loam, and there is a natural taper away from the barn, all of which worked in our favor. As we disturbed the earth though, we had to restore drainage and we added a ditch in front of the finished run and we keep it cleared year-round. Since the land falls off behind the barn, we have been able to maintain dry exercise space since inception.
This is the barn in Brrrrrrrrrrrrrrrr! February 2008, after the interior of the coop was completed and we planned the run.
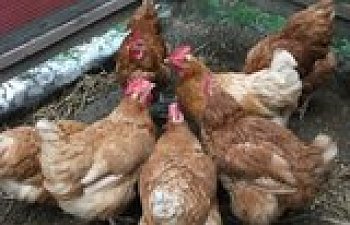
(We've survived the harshest winter in a quarter century without frostbite or losses. We've been sprinkling bedding on ice in the run and the birds have been using it all winter. The snow platform is something we cherish now, the birds gather there first thing in the morning for a treat and to check their outside premises. Hens kept laying all winter, lowest collection was 9/12, and we usually collected 11 or 12 eggs.)
The barn boards had to be stripped, the interior sheathing lined with winterproof Typar, and then we replaced the boards and painted.
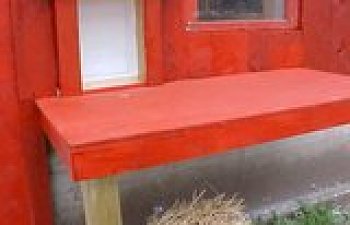
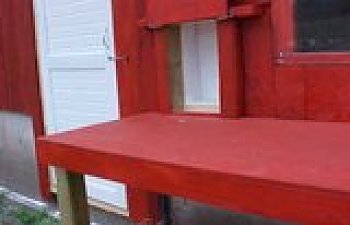
We made two pop doors for biosecurity and winter warmth. The platform is both for sunning and to assure we can get birds outside in winter snow to get light and air.
This is the side of the barn we're using, it faces northwest and we roofed the run with clear vinyl panels. The outside edge had to be supported by concrete, so we installed sono tunes at 4', mixed/poured/cured the concrete with steel 4x4 holders on top.
I keep reading posts from members who have built an outdoor run in one day and I am so envious! In our climate you have to allow for freezing temperatures and heaving ground in the spring. The summers are lovely, but we have many predators and the run has to be very secure. For many years free ranging was popular in Nova Scotia but most people secure their chickens due to high losses and because replacing chickens is no longer cheap.
At the time of this writing March 2008 is ending and the longest winter in Nova Scotian history is hanging around. The daffodils are buried in snow and the oil bills are escalating! We need to sink sono tubes so we can pour concrete, install our hardware to support the 4x4's that will frame the outdoor run ( approx. 16' x 8'x 7'), and choose a day when the concrete can be poured without freezing. Sure, we could call in a contractor with special mix, but the cost would be prohibitive. There is about 3" of frost in the ground according to hubby, who fenced off a work area outside the barn with pointed posts and rails to keep our horse back from the work site.
Before we add the run we ned to lift the red barn boards off the structure and cover the inner wall with a wind/rainproof material called Typar. It comes in 9' x 100' rolls at a little under $1.00 Cdn a foot. It will protect the fibreglass insulation in the coop walls and we plan (eventually) to use it on all sides of the barn.
April 9, 2008. We stripped part of the outside barn wall and applied Typar and Blueskin to wind/moisture-proof the outer walls. It was sunny and dry, still quite cold, but we'll get back at this tomorrow and possibly install headers against that wall which will eventually hold the joist hangers and stringers for the roof over the run. If you haven't tried Blueskin, it's an exceptionally useful product for sealing drafts especially around windows, on sills and under eaves. It has blue plastic on one side, black tar on the other and comes in rolls of 50 ft. x 8 in. for about $16.00 Cdn. Both Typar and Blueskin can save you hours of work and difficulty applying caulking and can blanket huge areas of wall or other bits that you want draft-free.
We'll use 1/2" mason wire for biosecurity in the run, simply assuming that raccoons will be a problem, not to mention skunks, weasels, raptors, coyotes, bobcats and even the occasional black bear. We'll also incorporate 4x4's, 2x6's and 2x4's in such a way that it would take a big bear with a bad attitude to dislodge anything. We do have neighbours with dogs surrounding us, so that might help. The dogs don't wander either- well, so far. The concrete foundation comes up about 3.5 feet and is a good protection from rodents and the drains have mortar-sealed caps with slots too small to permit rats. Most of the time the hens will come up a ramp to access a platform inside and then come through a chicken door above the concrete to another platform and an outdoor ramp, though I'm guessing that much of the time they will sail down to their outdoor playground. There is a lot of talk here about the end of free-ranging, and many of us are making provisions for biosecure coops in anticipation of the day when free-ranging may be prohibited. Canada has federal laws affecting all agricultural activities, so when changes come they affect the whole country.
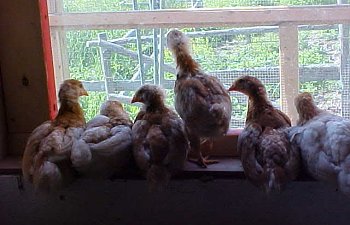
The birds love this window, it's now June!
We started framing April 28. This is only the second day that offered warmth, dry earth, and sunshine since we started the coop and attached run. We've made huge progress as shown in the photo at the top of the page, and with our vinyl roofing and our mason wire arriving at the hardware store soon, the rest should go well. We need to make a pop door, an outside platform and roosts too. We've made the access door from scrap lumber and it's painted, ready to install once we reduce the opening for greater warmth in the coop.
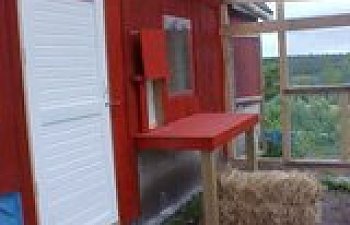
The white door was removed and the opening reduced before a winter-proof door was made from scrap lumber in our workshop. The existing door was designed as a horse entrance/exit from the large stall before renovation to a coop. We're going to use clear corrugated roofing over the run to keep light in the coop and to slough rain and snow outward from the barn. You can see our first header where we'll install joist hangers to get the 2x4 strings out over the run. This is the north side of the barn, so we want to encourage as much light as possible. The windows here are plexiglass and will stay. There will be a second door inside the first, onmade of mason wire, like a screen door to allow ventiation when it's warm. The outer run should be secure from predators and we'll make every effort to make it so. At the far end of the run there will be a cleanout door where I can wheel up a barrow to take waster to our compost/disposal area which slopes west and downhill. At times when the hens are secure inside, the feral cats will be given access to this run to discourage rodents from setting up business. There are two pop doors, and exterior one latched from the exterior and a thicker one, double-latched from the inside.

Trenching and Installing Predator Barrier
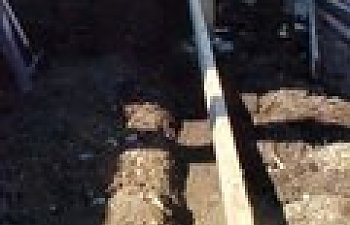
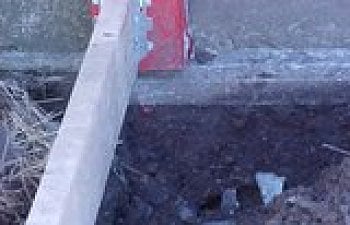
As of May 4, 2008, we managed to install 1/2" mason wire (hardware cloth under the perimeter of the run. It's a tricky business and throughout we instited on the 'hot dog' rule. If a weasel can get through an opening that would admit a hot dog, the opening is too big!
We trenched to 2' where we could and 1' elsewhere, what gruelling work with damp compacted soil and rocks. But it's done, though we do need to marry two pieces of mesh with piggy nose rings to tighten a join. Never mind, the earth is backfilled and nothing dangerous will struggle through the base of this run for many years.
We decided to fasten all wiring on the inside so that it is more easily accessible for inspection and repairs over the years. There will be a strip of wood over any overlapping seams when we install the 3' wide hardware cloth over the top sections of the run.
May 17, 2008
Between obligations and poor weather we've been struggling to make progress. Today we installed the roof run using PalRUF, a clear PVC product that is corrugated to slough off the rain. You need screws with special washers to attach it, we are so pleased. Light is virtually unaffected, and when it poured later today we were able to check for waterproofing, and it passed!
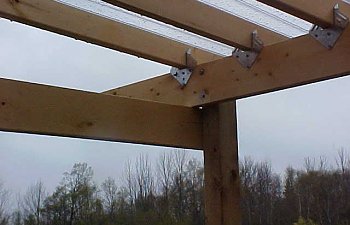
The inside of the roof is now complete with predator-proof templates in addition to the hurricane fasteners. We also added wire screening to keep wasps from nesting up there. We decided on half-inch hardware cloth to keep larger critters out. At the base the cloth is buried 1-2':
