Lynnwood Living: Urban Chicken Farming in the Pacific Northwest
The following is a showcase of the chicken coop and outdoor run/enclosure I constructed at our place in Lynnwood, Washington. Perhaps the first of many forays for our family into the agrarian lifestyle, we hope that you will enjoy this article as much as we have enjoyed this new addition to our home.
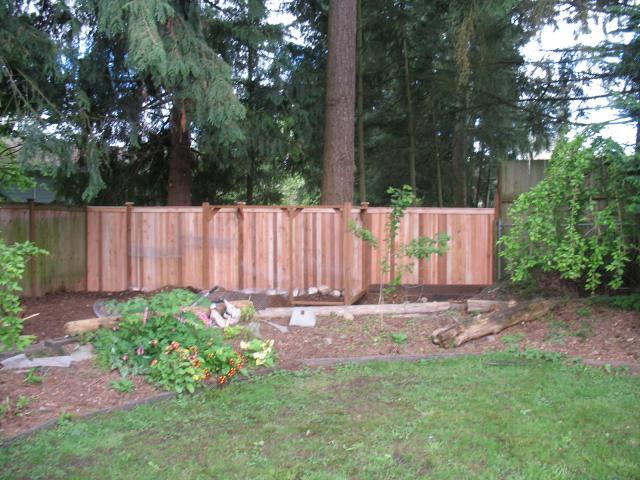
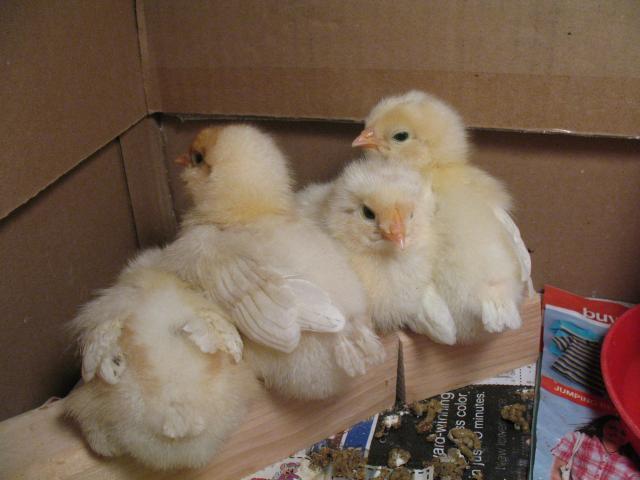
Ever since we moved into our new house, my wife wanted chickens. With numerous projects on the to do list, this inevitably ended up on the back burner, but finally after a couple of years, we reached a point where we could buy chicks and start building a coop. It was April of 2010 when two things happened: we rebuilt the rotted out fence at the back of our property, and four Ameraucana chicks took up residency in a small cardboard box in our study.

When it came to planning and construction, I tried a method affectionately referred to in my office as "shoot from the hip". That is to say, designing and building on the go, with most of the procedures, means and methods being in one's head instead of on paper. This has the benefit of potentially being very fast if you have everything thought out, and if you are experienced enough at framing to put something together on the spot. However, the obvious drawback is that construction errors such as overcut pieces, misalignments, and a whatnot can occur easily, and in turn spell disaster for the project. It was a gamble that paid off for me in the end, but given the risk, I would probably not recommend it to others looking to build their first coop.
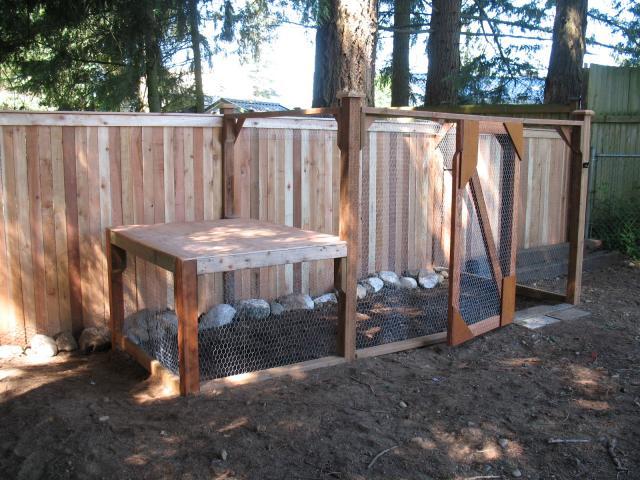
Part of installing the new fence was making provisions for the future coop and outdoor run. This included aligning the enclosure posts with the fence posts, and laying a trench filled with rock and chicken wire to prevent animals from tunneling in.
All the rocks almost seems like overkill in hindsight, except that (a) our next door neighbor's dogs were/are notorious for trying to get into our yard, and (b) the previous owners left us more rocks than we knew what to do with, so why not.
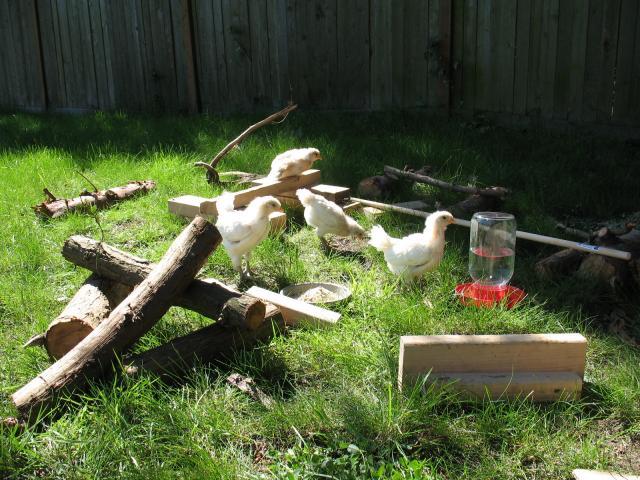
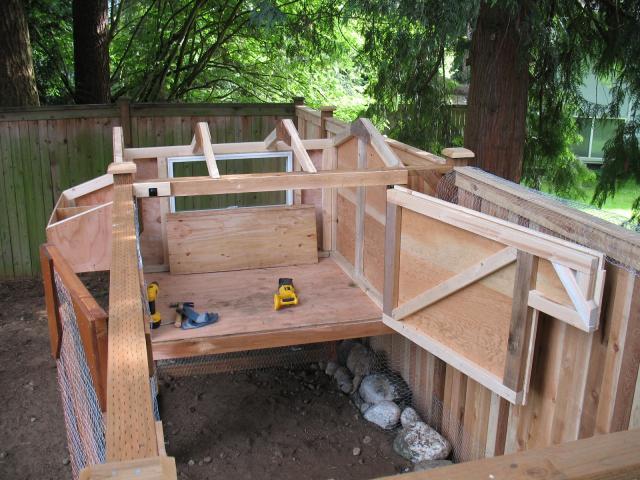
Both the enclosure door and the coop floor framing were scrap lumber I salvaged from previous projects around the house. The chicks, however, were a little more interested in some of the other scrap lumber.
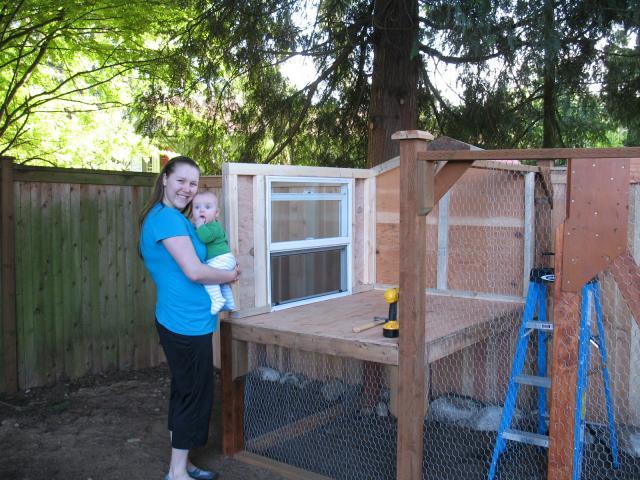
Next came the first gable wall and the craigslist window, passing inspection by the wife and kid.
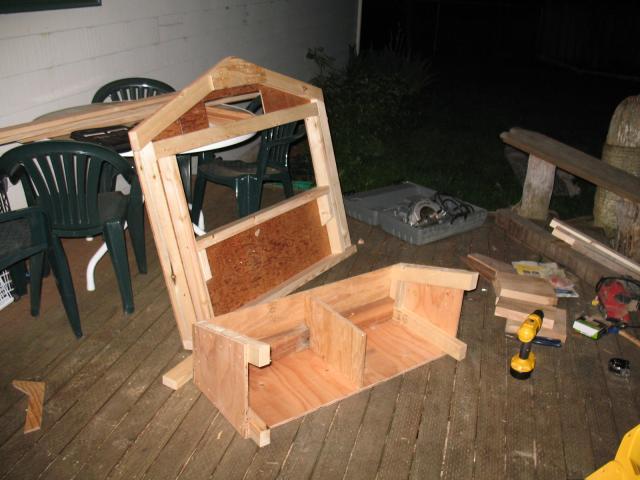
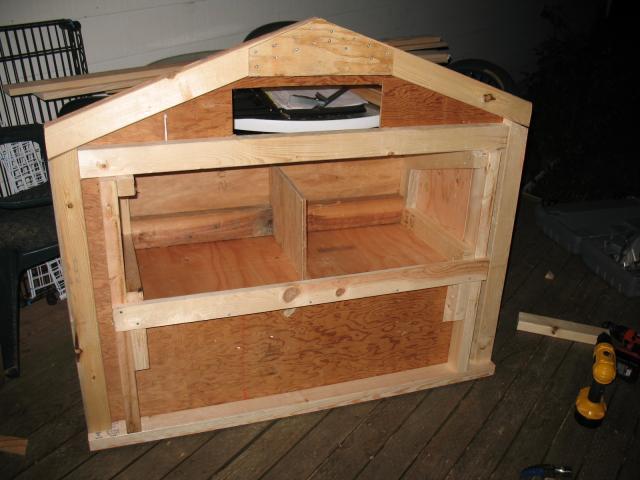
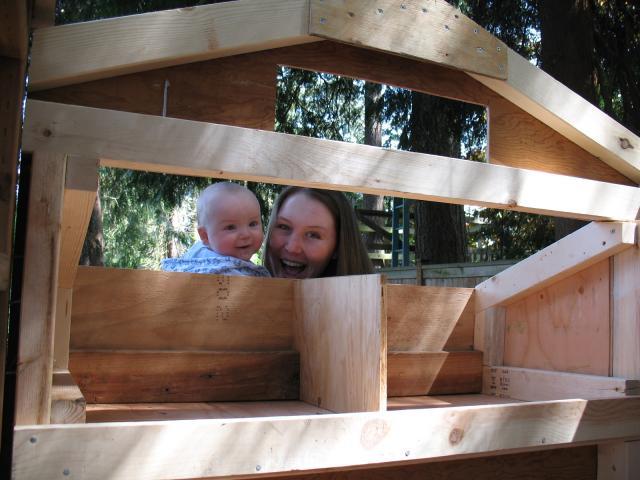
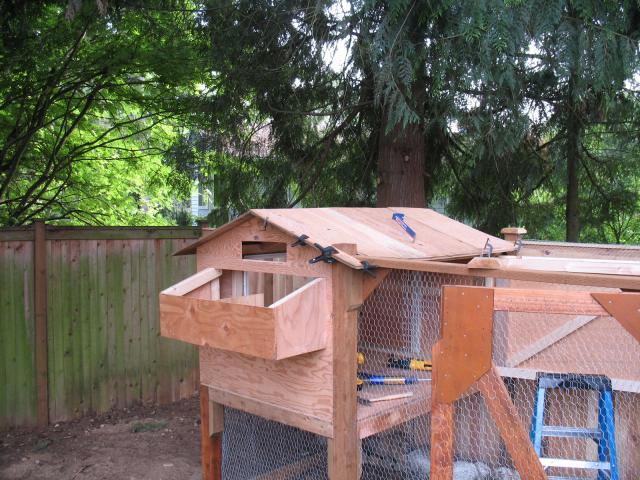
The nesting box and second gable wall became one of those tasks that bled late into the night, but it was still gratifying just to have it done, and have it done right.
The nesting box looked even better in the daylight, and once again passed inspection.
Next came the rafters / trusses, followed by the door. 2x3 framing was a great fit for this type of structure (as opposed to 2x4s), and a combination of construction adhesive and finish nails helped keep a clean look on the exterior pieces. Providing a full sized access door for one whole side of the coop has proved invaluable for maintenance and cleaning.
Afterwards came the roof sheathing. As a side note, this picture really demonstrates the wide variety of tools necessary for even a small project like this one.
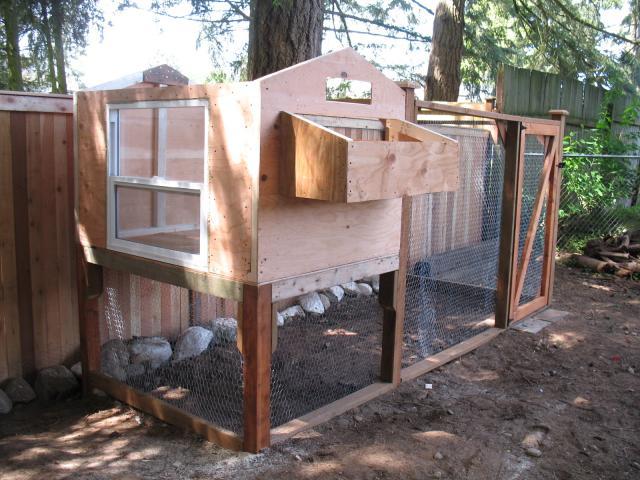
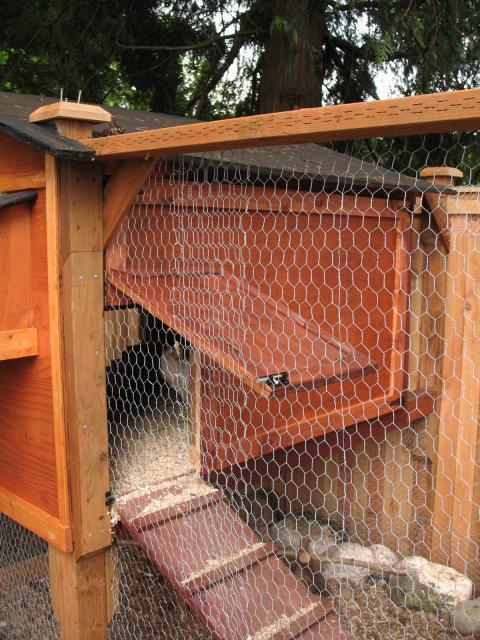
By the time we had installed roofing felt, stain, and the pop up door, the chickens had already made themselves at home (look inside just beyond the door).
All the lumber without preservative treating was coated with an outdoor deck grade finish. It has not only held up well to weather and dirt, but cleans easily, and looks good all year long. This is especially true for the ramp.
Toward the end of the project, I switched gears and installed shake roofing instead of asphalt shingles, compliments of my father-in-law. I took a moment to stain the shakes as well, which was probably a good idea, since the coop is in a shady part of the yard in a rainy part of the country (just not on the day the photo was taken, thank goodness). All that remained was the interior and the enclosure top.
In the future, I would end up using more shavings, but the combination of food dish, water dish, and perches has remained constant. Leftover brick pavers keep the food and water off the ground and clean, while the perch area is kept far enough away to avoid messes. Notice that the perch area is just slightly higher than the nesting box. This should probably be more pronounced, but it seems to be enough to encourage the chickens to retire here instead of in their boxes.
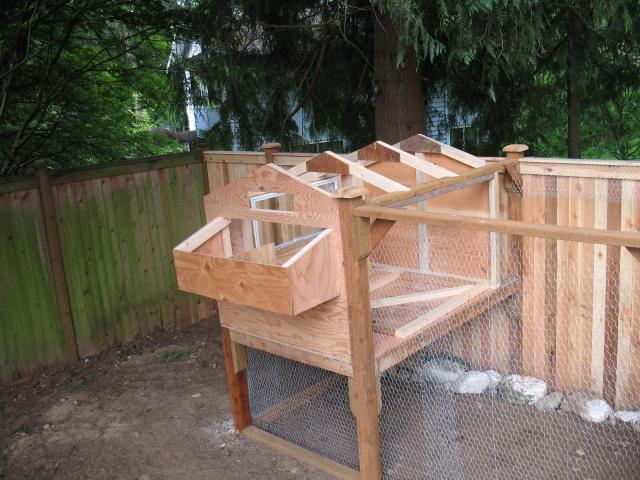
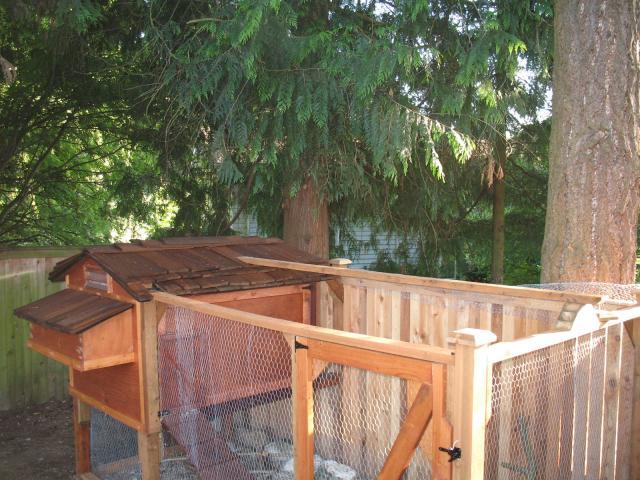
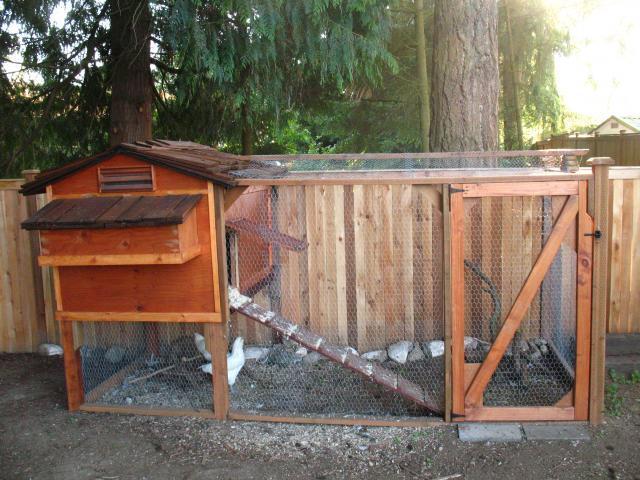
The complete coop and enclosure with our young hens.
They do seem quite content with their new home, if only a little perturbed by my constant photo taking.
It's been over a year since we finished our coop, and it has thus far performed very well. We would eventually add a light for those colder winter days, but everything else has remained unchanged. Now that our chickens are consistently giving us an egg per day per hen, our only real regret is that we didn't make it a tad bigger to accommodate more hens!
Dimensions are as follows:
Hope you enjoyed this presentation of our pet project, and for those of you hoping to build your own some day, here are a few pointers:
Have fun!
The following is a showcase of the chicken coop and outdoor run/enclosure I constructed at our place in Lynnwood, Washington. Perhaps the first of many forays for our family into the agrarian lifestyle, we hope that you will enjoy this article as much as we have enjoyed this new addition to our home.
Ever since we moved into our new house, my wife wanted chickens. With numerous projects on the to do list, this inevitably ended up on the back burner, but finally after a couple of years, we reached a point where we could buy chicks and start building a coop. It was April of 2010 when two things happened: we rebuilt the rotted out fence at the back of our property, and four Ameraucana chicks took up residency in a small cardboard box in our study.
When it came to planning and construction, I tried a method affectionately referred to in my office as "shoot from the hip". That is to say, designing and building on the go, with most of the procedures, means and methods being in one's head instead of on paper. This has the benefit of potentially being very fast if you have everything thought out, and if you are experienced enough at framing to put something together on the spot. However, the obvious drawback is that construction errors such as overcut pieces, misalignments, and a whatnot can occur easily, and in turn spell disaster for the project. It was a gamble that paid off for me in the end, but given the risk, I would probably not recommend it to others looking to build their first coop.
Part of installing the new fence was making provisions for the future coop and outdoor run. This included aligning the enclosure posts with the fence posts, and laying a trench filled with rock and chicken wire to prevent animals from tunneling in.
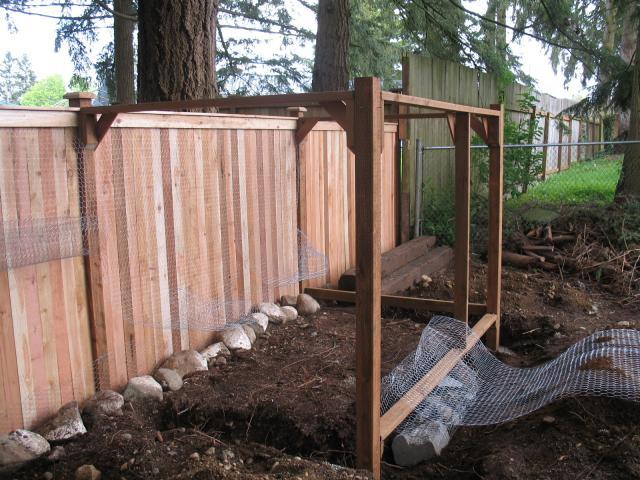
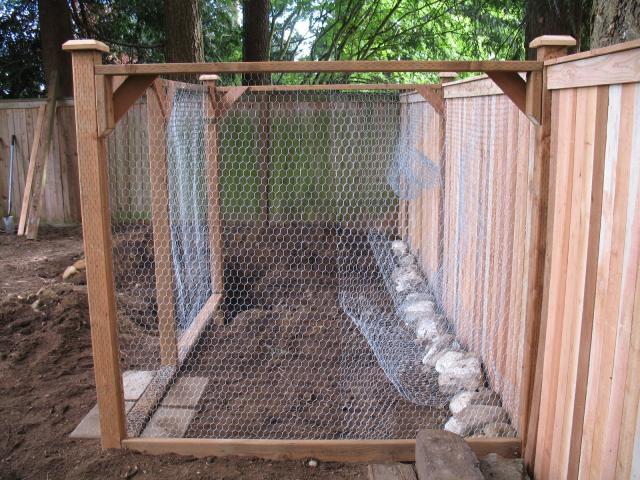
All the rocks almost seems like overkill in hindsight, except that (a) our next door neighbor's dogs were/are notorious for trying to get into our yard, and (b) the previous owners left us more rocks than we knew what to do with, so why not.
Both the enclosure door and the coop floor framing were scrap lumber I salvaged from previous projects around the house. The chicks, however, were a little more interested in some of the other scrap lumber.
Next came the first gable wall and the craigslist window, passing inspection by the wife and kid.
The nesting box and second gable wall became one of those tasks that bled late into the night, but it was still gratifying just to have it done, and have it done right.
The nesting box looked even better in the daylight, and once again passed inspection.
Next came the rafters / trusses, followed by the door. 2x3 framing was a great fit for this type of structure (as opposed to 2x4s), and a combination of construction adhesive and finish nails helped keep a clean look on the exterior pieces. Providing a full sized access door for one whole side of the coop has proved invaluable for maintenance and cleaning.
Afterwards came the roof sheathing. As a side note, this picture really demonstrates the wide variety of tools necessary for even a small project like this one.
By the time we had installed roofing felt, stain, and the pop up door, the chickens had already made themselves at home (look inside just beyond the door).

All the lumber without preservative treating was coated with an outdoor deck grade finish. It has not only held up well to weather and dirt, but cleans easily, and looks good all year long. This is especially true for the ramp.
Toward the end of the project, I switched gears and installed shake roofing instead of asphalt shingles, compliments of my father-in-law. I took a moment to stain the shakes as well, which was probably a good idea, since the coop is in a shady part of the yard in a rainy part of the country (just not on the day the photo was taken, thank goodness). All that remained was the interior and the enclosure top.
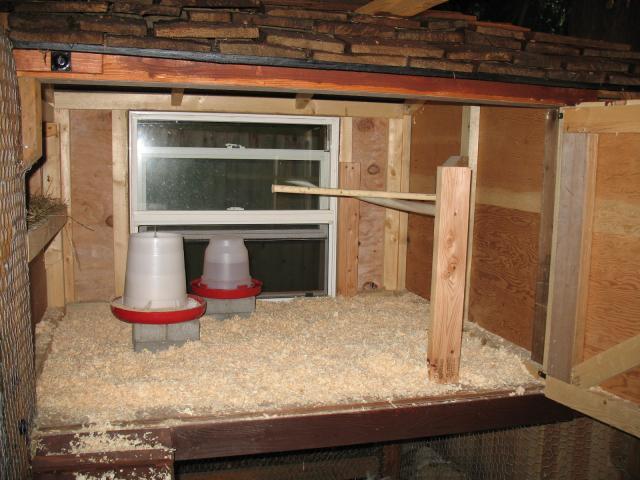
In the future, I would end up using more shavings, but the combination of food dish, water dish, and perches has remained constant. Leftover brick pavers keep the food and water off the ground and clean, while the perch area is kept far enough away to avoid messes. Notice that the perch area is just slightly higher than the nesting box. This should probably be more pronounced, but it seems to be enough to encourage the chickens to retire here instead of in their boxes.
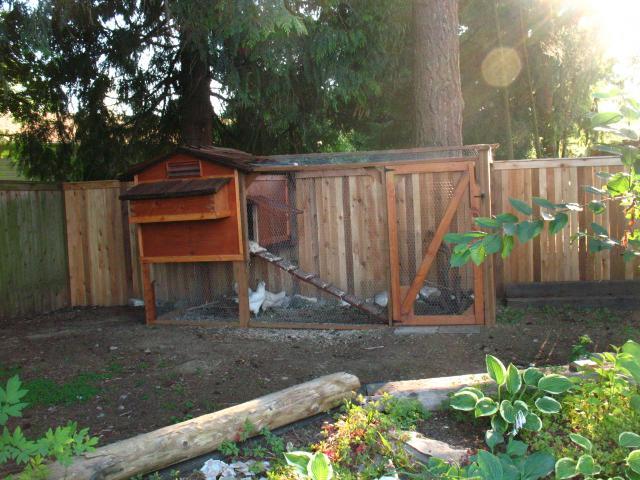
The complete coop and enclosure with our young hens.
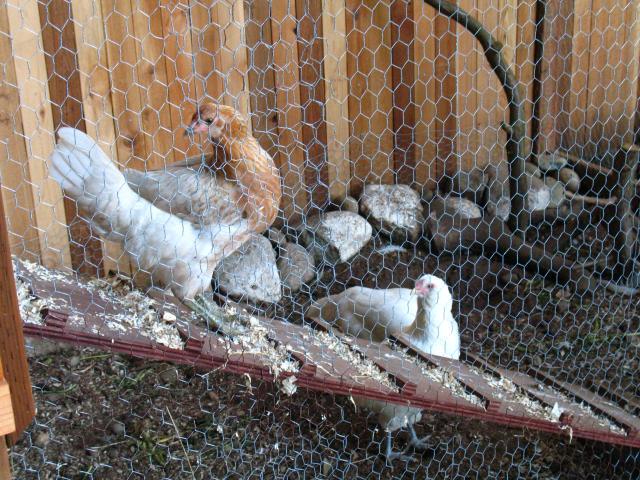
They do seem quite content with their new home, if only a little perturbed by my constant photo taking.
It's been over a year since we finished our coop, and it has thus far performed very well. We would eventually add a light for those colder winter days, but everything else has remained unchanged. Now that our chickens are consistently giving us an egg per day per hen, our only real regret is that we didn't make it a tad bigger to accommodate more hens!
Dimensions are as follows:
- Coop Footprint: 4'-0"W x 5'-0"L
- Enclosure Footprint: 6'-0"W x 12'-4"L
- Height of Coop/Enclosure: Matches the fence at 6'-0" tall
Hope you enjoyed this presentation of our pet project, and for those of you hoping to build your own some day, here are a few pointers:
- Be sure to start construction early, maybe even before you even buy chicks. In the same vein, start your planning and research even earlier, so you have time to formulate ideas. Take the time to get it done right. BYC was a great resource for coop dimensions, layouts, and ideas, which you've probably figured out by now.
- Get an idea of materials, tools, and labor early on. Less trips to the hardware store = more time finishing your project.
- Take plenty of before, during, and after photos.
Have fun!
