This is our Homemade Incubator!!
Thanks to Mrs Prissy's page for instruction and Guidance!
Also thanks to jus1jack's page on thermostat modification!
Thanks to Mrs Prissy's page for instruction and Guidance!
Also thanks to jus1jack's page on thermostat modification!
Well, I have the bug now, and I've heard that the Forum is full of enablers...So, to get inspired I read each and every tutorial there was on building incubators and hatching eggs. My dear hubby got involved and took over the project but he is much more thorough than I, and an excellent electrician. We have tons of computer parts laying around because he loves to build them. So, when he saw me assembling the parts he jumped right in. Anyway, to get to buisness.... This is starting about midway into construction. Get yourself a cooler, Drill a hole into the lower side to run wires through. Get light fixture, lower temp hot water heater thermostat, 60 watt light bulb with a standard sized base and hot glue gun. Duct tape and hardware cloth, tin foil, extra screws and a handheld drill. Make sure to see other folks pages too before jumping in. I did a lot of reading before I started. If you want to see the picture closer, just double-click it and it should take you to my flickr page and you can see more detail.

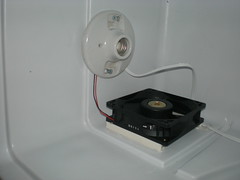
This is the lamp fixture and huge computer fan hubby insisted on using. The fan is a 48 volt fan scrapped from old telecom equipment. It needed a huge power supply. The ceramic light fixture had no switch in it so that it could wire right to the thermostat. It was a hot water thermostat that we used.
He then threaded the wire out through the hole. He had to unhook the ceramic lamp mount to stuff those wires from the fan out the hole.
This is the lamp fixture and huge computer fan hubby insisted on using. The fan is a 48 volt fan scrapped from old telecom equipment. It needed a huge power supply. The ceramic light fixture had no switch in it so that it could wire right to the thermostat. It was a hot water thermostat that we used.

He then threaded the wire out through the hole. He had to unhook the ceramic lamp mount to stuff those wires from the fan out the hole.
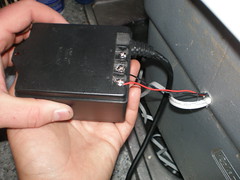
This is the 48 Volt power supply. It has little screws in the bottom to hook the wires to. No too hard to screw this up. We the attached the supply via a screw and some hot glue. Hot glue was used extensively throuout the project as it's instant and non-conductive.

Now I'm molding the hardware cloth into a table of sorts to hold the eggs up off the ground in the incubator. There is a nice groove on the wall that I'll pop a partition of more hardware cloth in to keep little chicks from getting beheaded or burnt or electrocuted (god the things you can think of to baby-proof incubators!!)

More baby-proofing. I was sure little legs and feet might get snagged inbetween the wire and the walls. Hubby patiently filled all the gaps and holes, even a few I didn't think of.

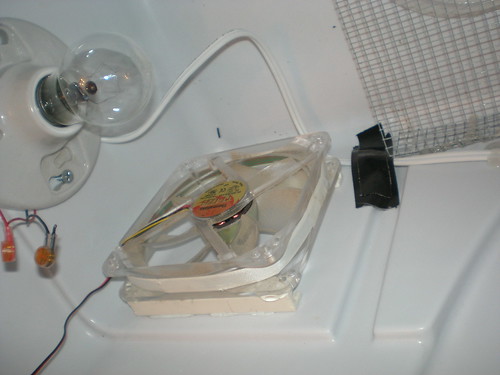
UPDATE!! In this pic you can see the hot water thermostat is in the center of the cooler. jus1jack told me to move it as close to the heat source as possible to stabilize the temperature. I was having fluctuation still after drilling holes in the thermostats housing. So, I moved it above the ceramic lamp bace, directly over the heat source. I also changed the bulb to a soft white 60 watt. Guess what? after adjusting one more time I had no more fluctuation!! AWESOME!
Here is my chick sheild to keep them from getting to the fan or light bulb.

Yay! Everything is working! Now, to see if I can get a stable temp range on it. I got that neat chick thermometer on Ebay that also mesures humidity. I popped a plastic tub of water under the floor and put the lid on to the Incubator. I had went to the dollar store earlier to get a picture frame. I needed the glass out of it, it only cost 3 dollars. I thought it was plastic, but it turned out to be glass. So I wrapped the glass in clear packaging tape to make safetey glass out of it. Hubby cut a hole in the lid a little smaller than the glass and lined the sides of the hole with black duct tape, and hot glued the edges of the glass onto the top of the incubator. Here I might like to add that your incubator will need air holes. I put two air holes in the top there where the second two can holders are. Cant' see em in the pic as there aren't present yet. If it gets too cool in there I'll plug one up with a beer! lol I actually don't drink that much or I wouldn't be makng a incubator out of this cooler lol

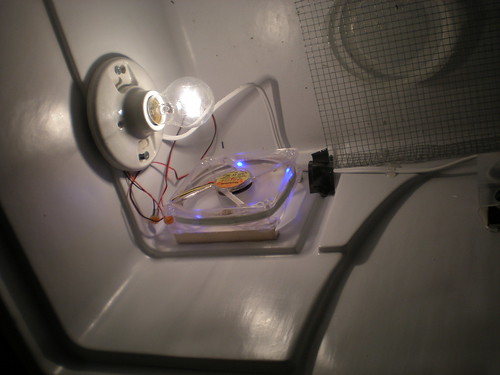
Taa Daaa!! It WORKS!! For about a minute. Then the fan died. We tried three more fans. they were all dead. No wonder they were in the junkpile. We also tested the power supply but it worked. So, back to the scrap pile in the back bedroom. Hubby found a computer fan with blue lights on it.

OK, so we are rewiring a new fan in there. See those cool little connectors off to the left? You can use them without stripping the wire to connect things together. It's pretty neat. I have no idea how it works but hubby reassures me. I am using a 40 (later went up to a 60) watt bulb as it is a big cooler.
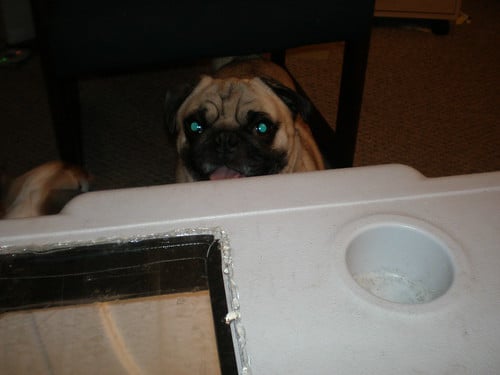
Scooter can't wait to see the eggs hatch..and I haven't even got them yet! I still need to work on stabilizing temperature. Update!! You need to read jus1jack's stuff on thermostat modification! It will make stabilizing your temperature tear-and-worry free!
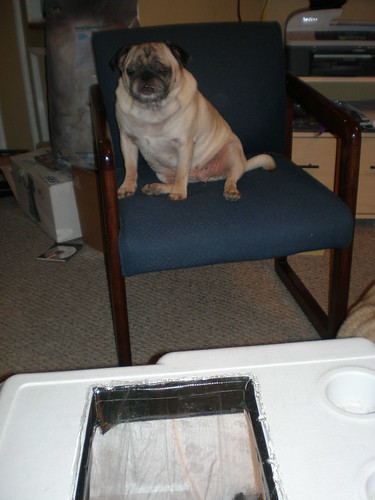
Mai gets into my chair and begins waiting for eggs to hatch. What goofy dogs, these pugs!!

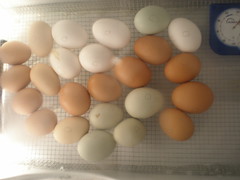
So, here it is. I am still trying to get the temp right. I will probably fool with it all day tomorrow. I found out I can control humidity easily by opening and closing the drain plug at the bottom of the cooler. If I want higher humidity, I close it. To lower I open. That will come in handy when they begin pipping. There are three vent holes in the top, I put them in the can holder spots. The fourth hole is a handy flashlight holder, I check my temps almost hourly. Time for a coffee while we wait for eggs to hatch!! I wanted to add, to stabilize and hold heat more I also filled two jars with water and put them next to the light source in the little squared off area. It helped hold heat in there TREMENDOUSLY. My eggs did not hatch, mostly infertile but 10 out of the 15 mixed eggs I got from a gal down the road hatched Christmas day!
 >
>