I think this is an original design. I have been looking at these pages for months and have not seen one like it. It started ot to be like the Witchata Cabin Coop, but then evolved to be 4'x4' to just use 2 sheets of siding. All of the sudden we had version 3.0 that was bigger and looked nicer also.

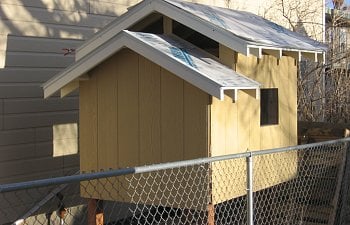
I wanted a coop for 4 to 6 hens, elevated so it is easy on the back to clean, well ventilated and the nest box outside of the run. The coop and run will be tucked in between our garage and the neighbors chainlink fence. It has nice south and east exposure and is under a large silver poplar tree that provides shade in the summer. The tree keeps most of the snow off the ground in winter and dosen't block much sun after it drops its leaves and the sun is lower in the winter.
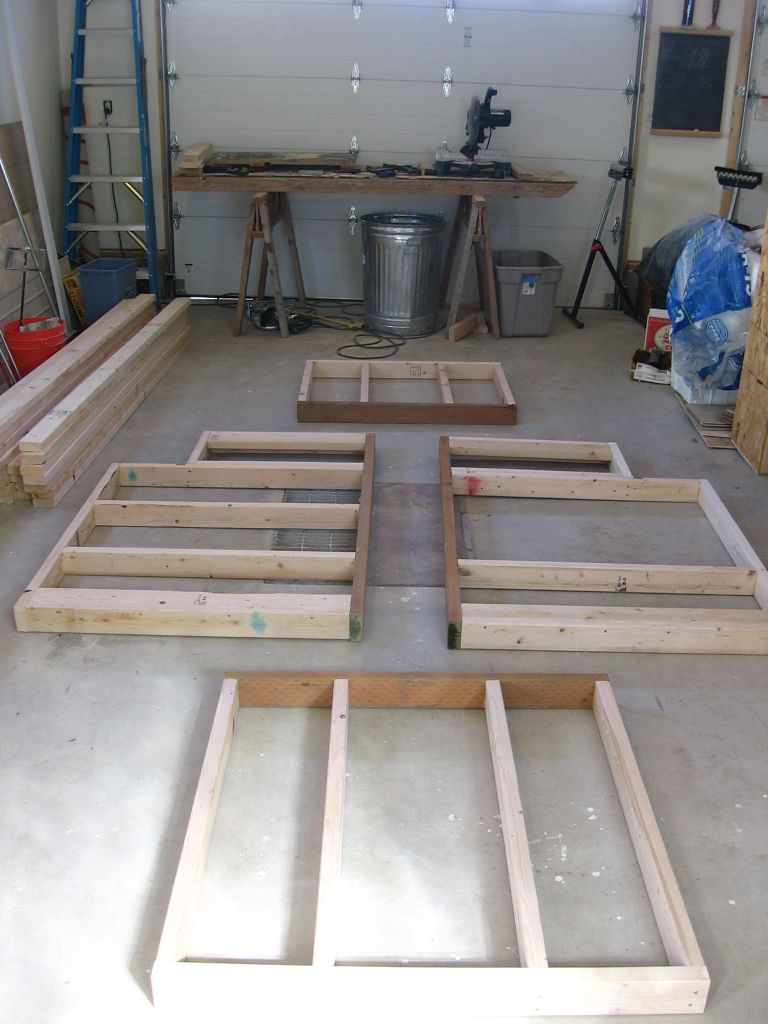
The gound was still frozen here in Wyoming so the framing was done in the garage using a few screws then disassembled and moved to the outside location. Fast framing with a jig set up to cut studs to length, and the air nailer.
I managed to get the posts set for the deck (floor) after some fine warm dry weather. The forcast for the night was spot on.
The observant veiwer might notice one post is not in the corner. I had to dodge a gas line. The joist configuration is called a cantilever, not a problem!
While the snow melted and the mud dried it was back to framing in the garage.
The corners are fastened with just 2 screws because it will have to be moved in sections. I thought this out ahead of time.
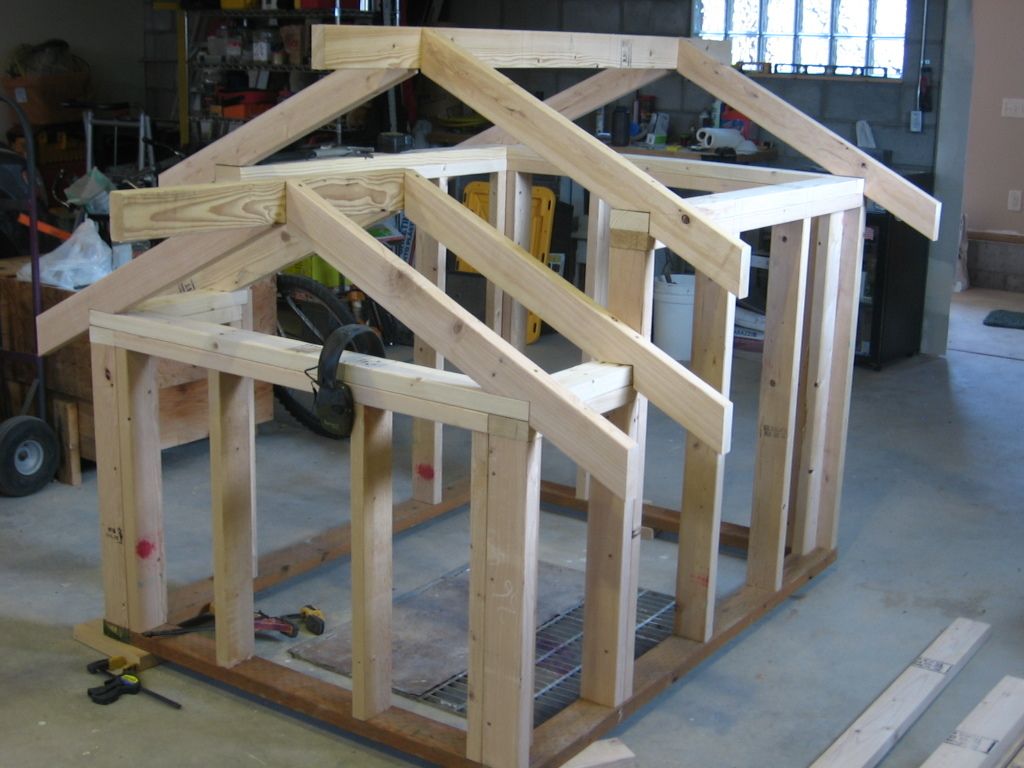
Note the top plates on the front corner. They overlap on the corners to tie it all together. The rafters are figured with the help of the Swanson Speed Square and the Blue Book of Rafter Lengths & Roof Construction. It might look like alot of studs but each one will frame a door or window and/or hold a roost.
The gable vent was dialed in with a cardboard template. This piece of siding is sandwiched between the studs and a pair of rafters as you see here.
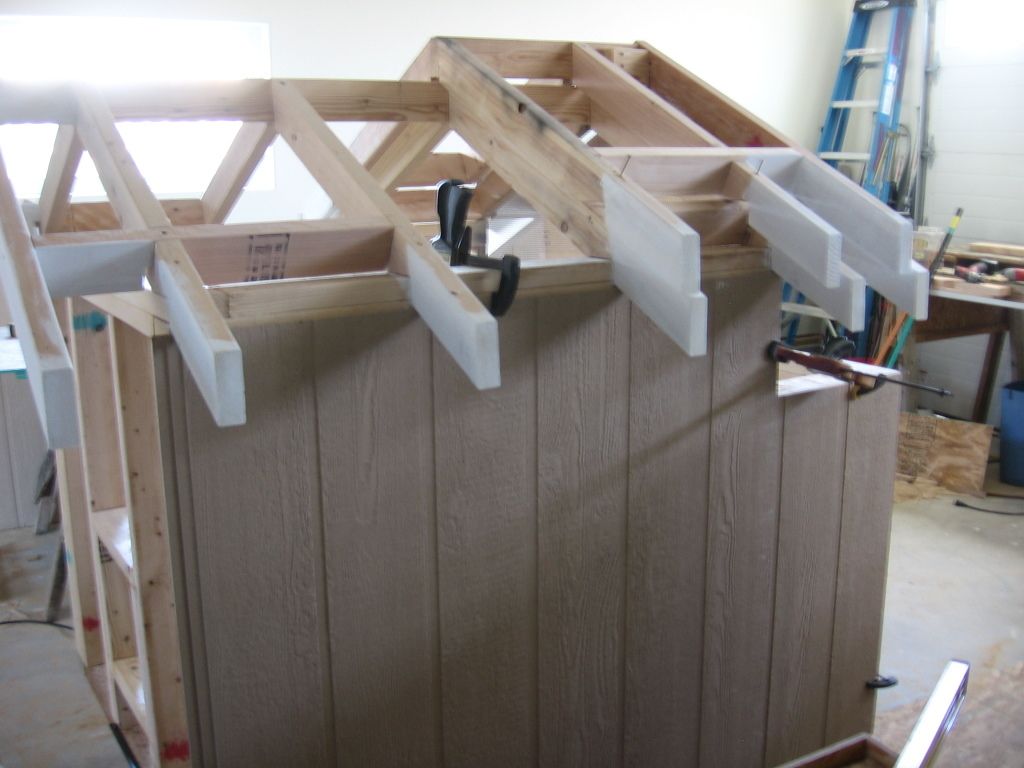
Note the notches on the lower rafters. This is for the blocking as seen on the top rafters. They will support the barge rafters (the ones you will see when it is finished). The gable vents have 1/4" hardware cloth spray painted black. An old timer once told me " If you want to see the fence paint it white. If you want to see the house behind the fence, paint it black." In this case it applies to chickens.
Here is the completed roof framing.
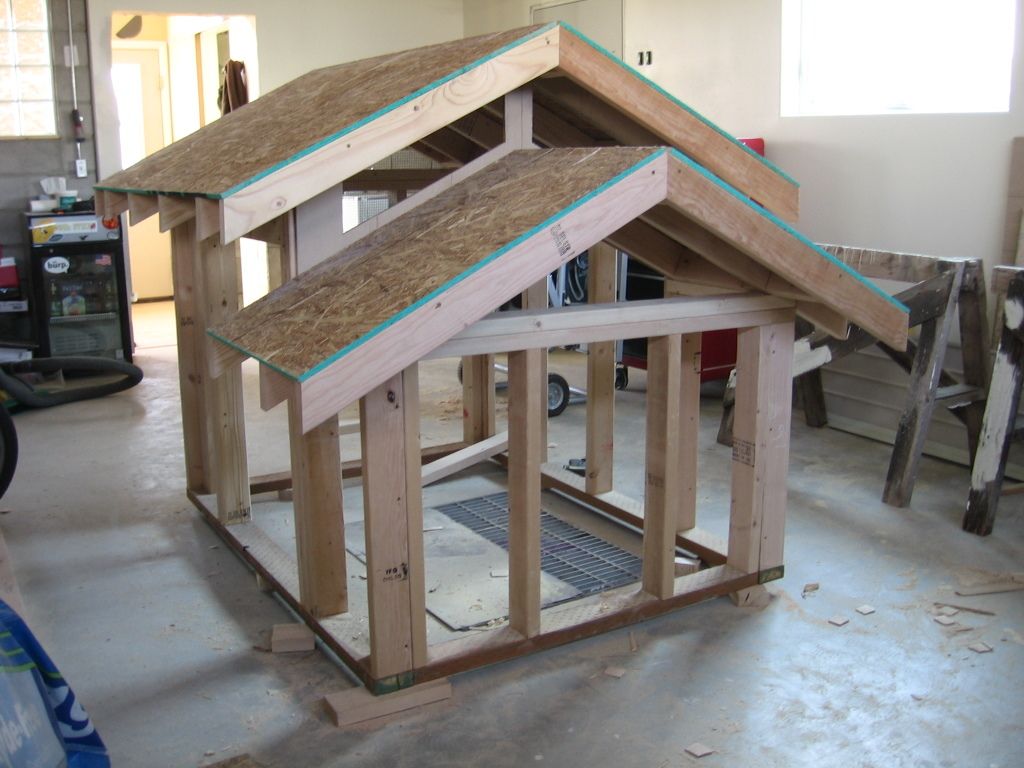
It was much easier to cut and fit the rafters and roof sheathing at shoulder height than from a couple of step ladders with a fence for further difficulty.
The rafter tails were primed and painted and the siding fit. It is notched for the rafters and runs long on the bottom to over-lap the deck joists.
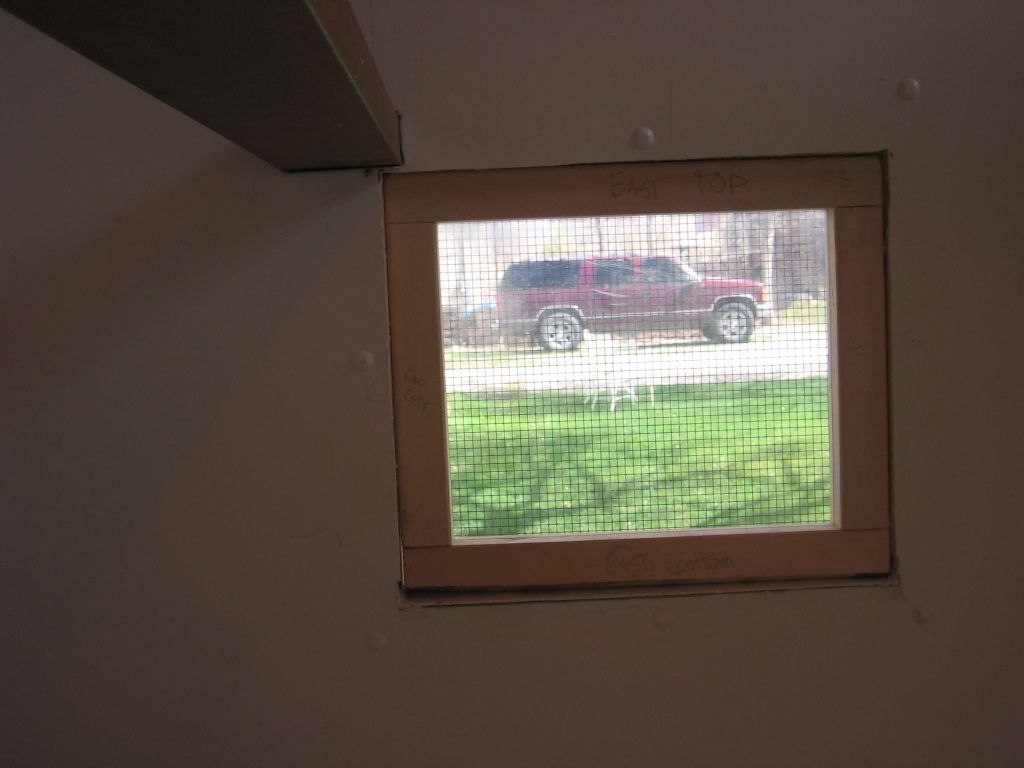
The siding was also pre painted before final outdoor assembly. The window also has 1/4" HC between the framing and siding.
Vinyl floor and the flashing detail of the big clean out door. The floor slopes 1'8" per foot toward this door to facilitate spring cleaning.
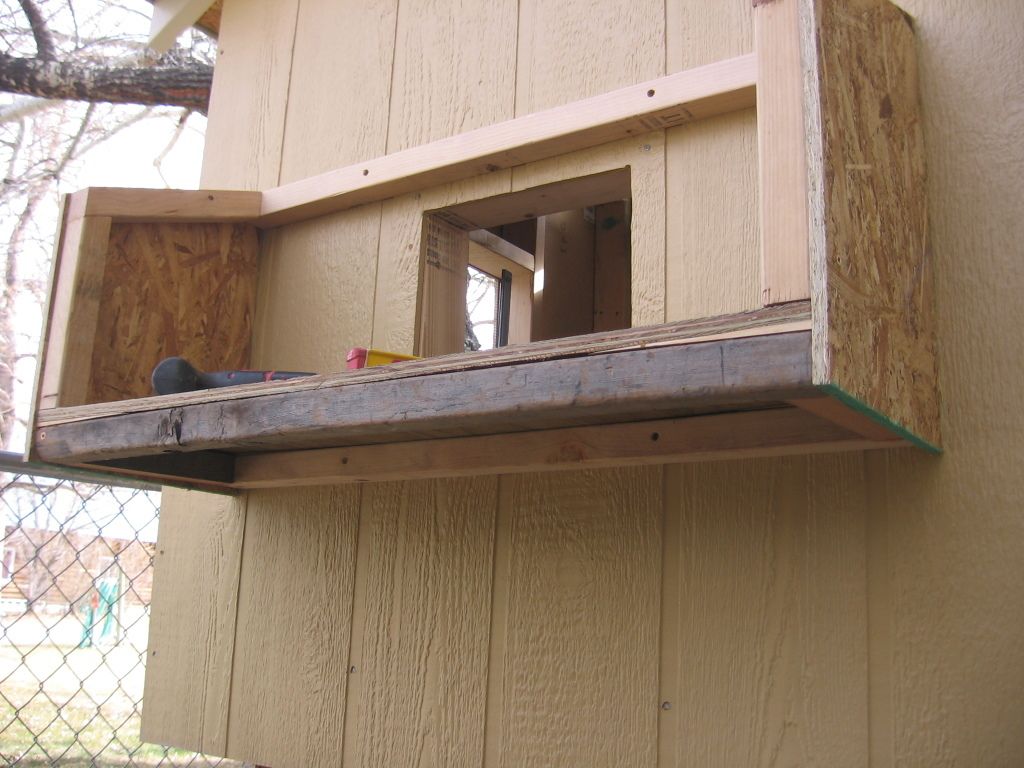
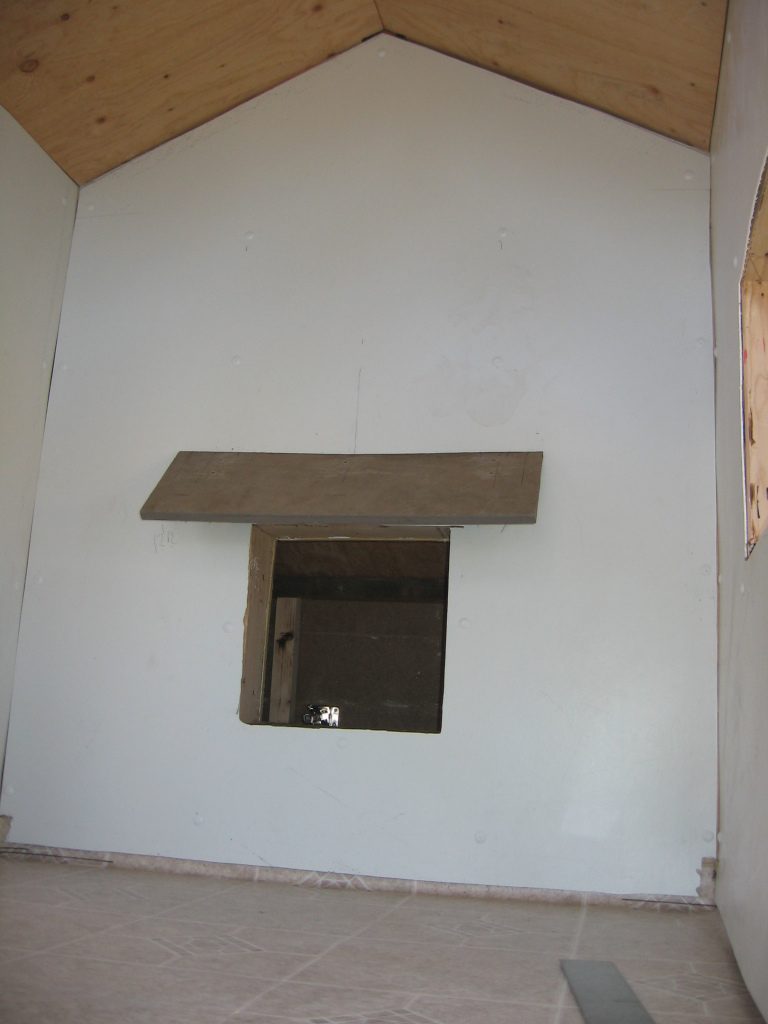
Nest box details feature a floor that slopes slightly toward both doors and also the sides are turned up (note the shims under the corners). It is curved like a Pringles chip, but not quite so much. I hope this will make it eacy to clean and it creates upward tension on the floor; so it should not sag, in addition to screws and glue .
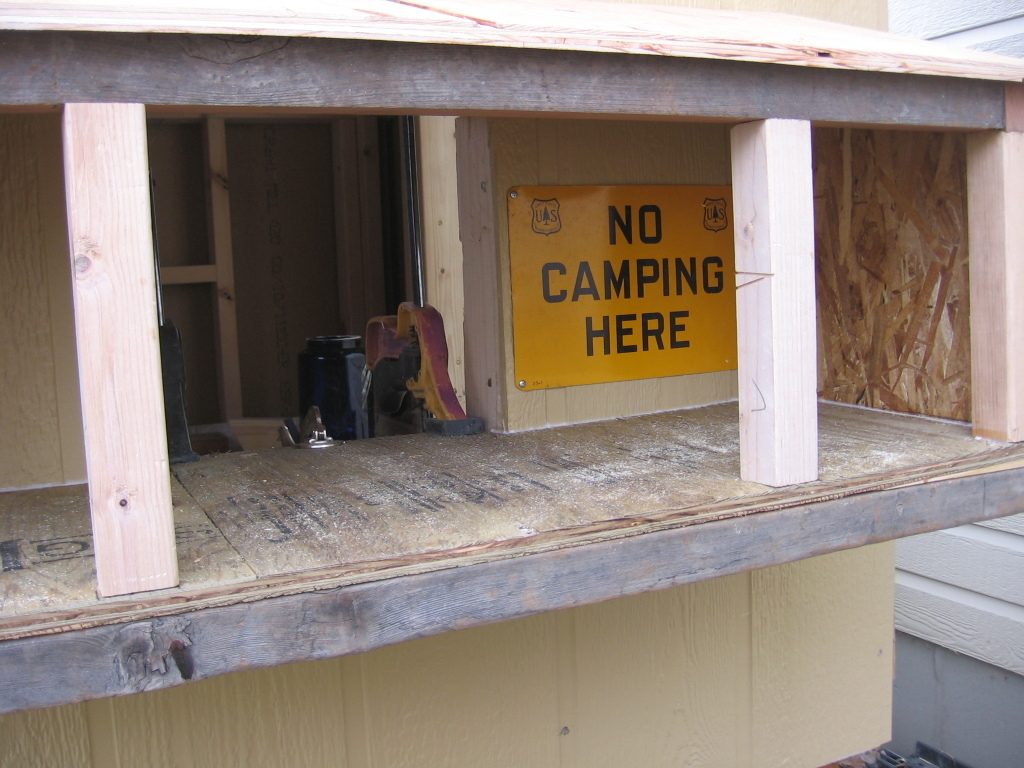
Broodies heed the signage!
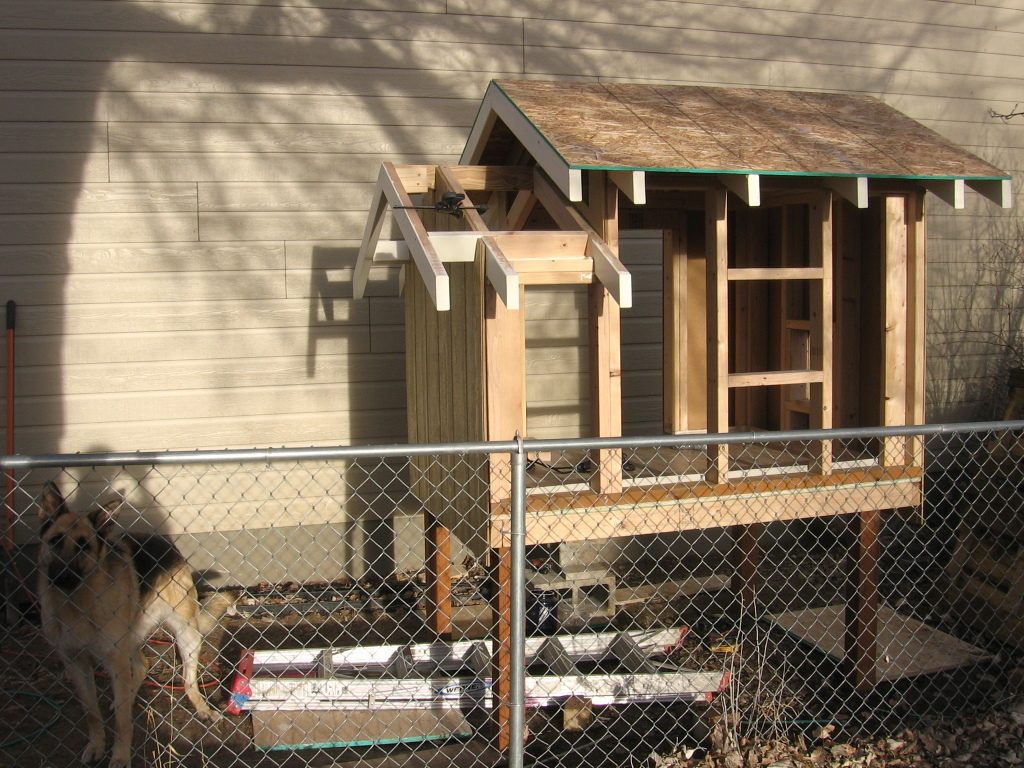
I now have the coop page caught up to construction. It looks like this right now. I have not cut the hole for the front window and pop-door. I have a Poultry Butler automatic door on order and will make sure the framing is right before I ruin a sheet of siding and have to pull a bunch of nails, although I am not afraid to use a awzall if I had to, I would just rather not.
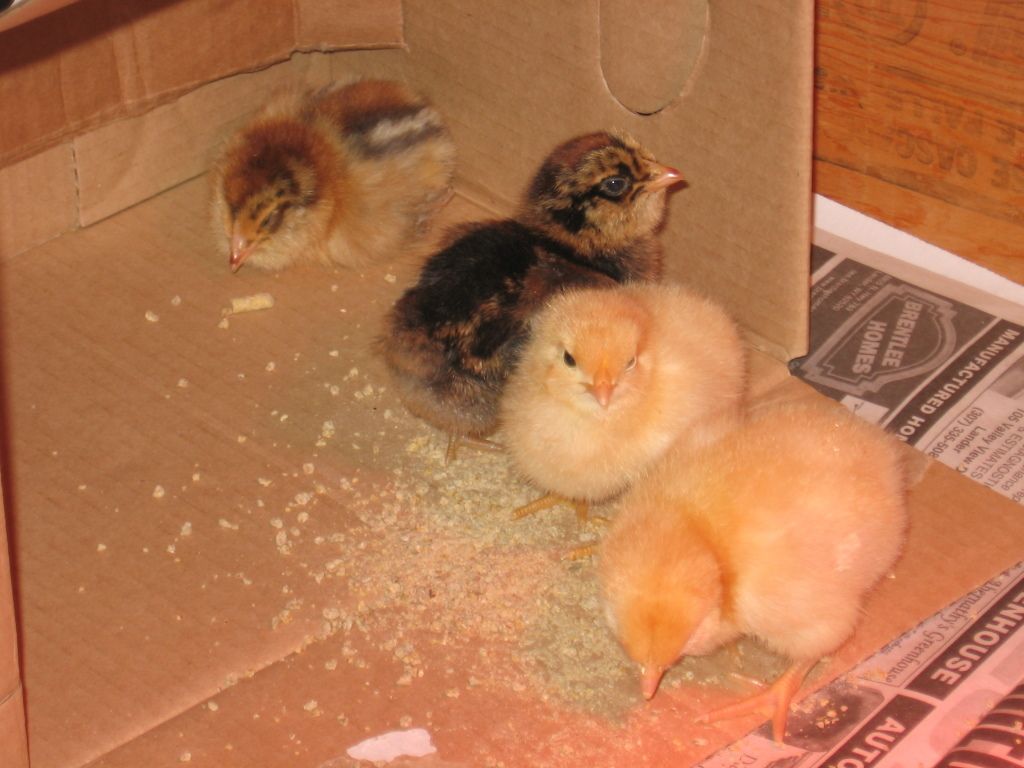
I picked up some chicks today!
It is a good thing the time sprung forward. I sure need the extra hour of daylight in the evening with the added distraction of the peeps. They are SO CUTE!!
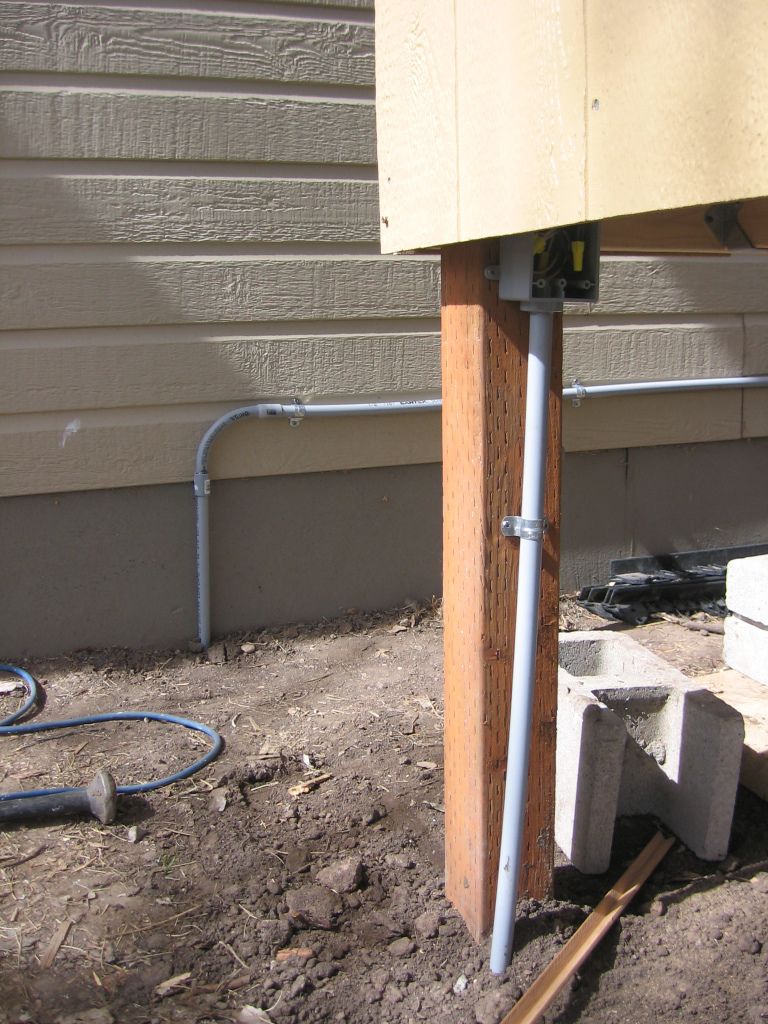
The coop will need power for the automatic door, a heated water drinker, a light in the winter and perhaps a light on a thermo cube. I do not want a permanent temperary extension cord so I ran a PVC conduit down the side of the garage and under the walkway to the coop and installed two outlets inside. The junction box under the coop might come in handy some day.
In the process I found some tiny worms for the tiny pullets.
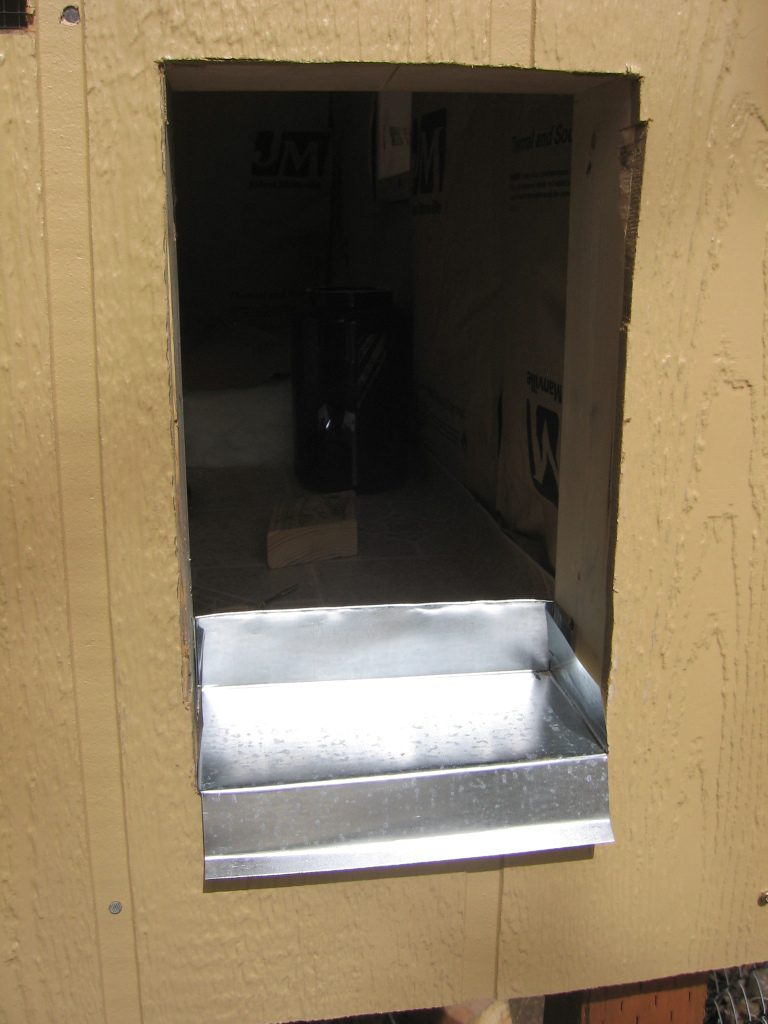
I fabricated a flashing for the auto doorway.
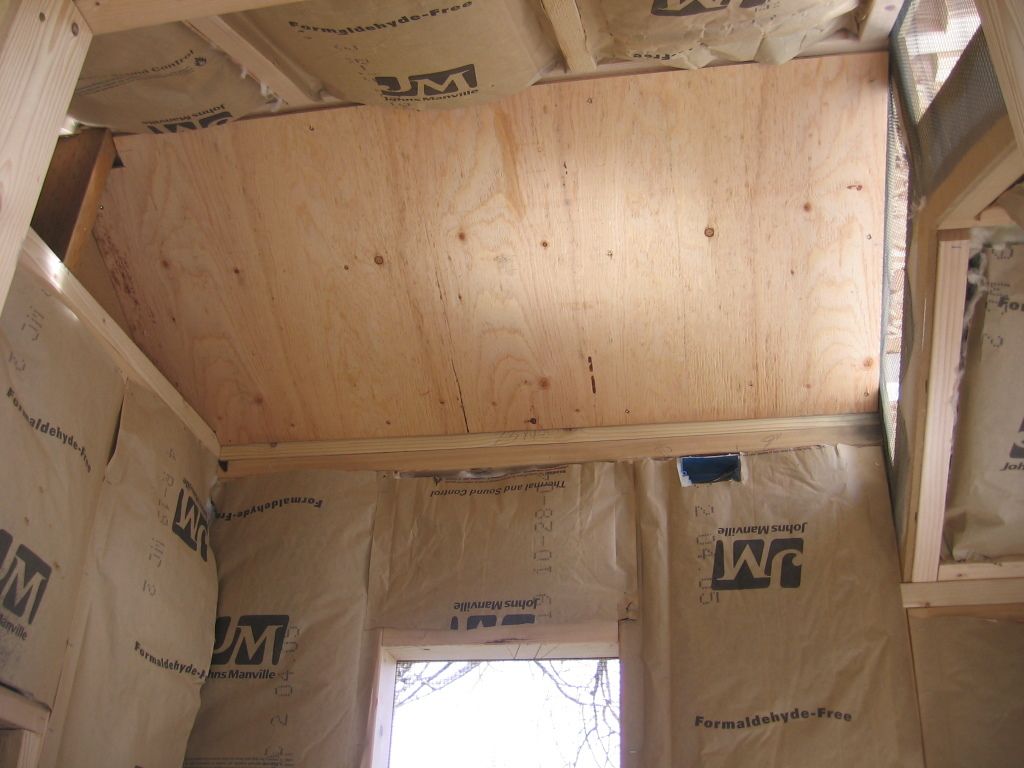
I chose to insulate the walls and ceiling because I had a bundle just laying around. Otherwise I would skip it to help the budget. Starting the finish work with the ceiling. It is 1/2" plywood so I will be able to put in hooks for lights and hanging feeders and waterers.
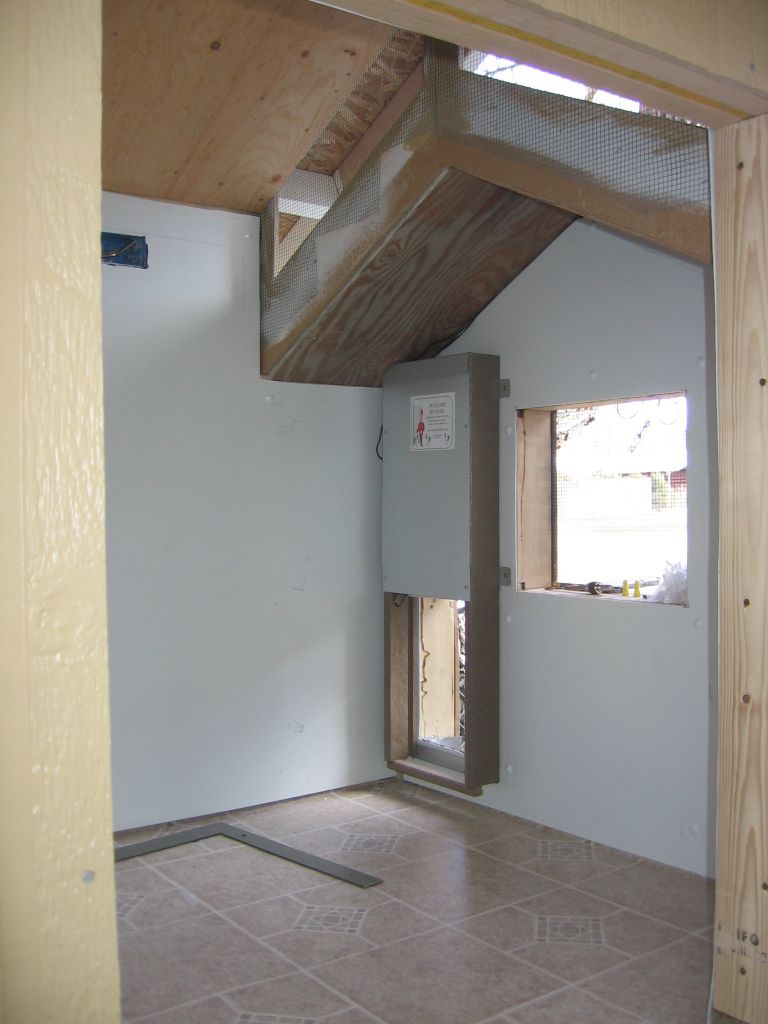
After the ceiling was buttoned up I started cutting FRP board for the wall. FR What? Fiber Reinforced Plastic, you have probably seen it in public restrooms, it is plasticy white with a pebble texture. It is durable, easy to clean as well as waterproof. It also has a smooth side that I hung toward the chickens. Bright and clean and no painting, hoo-ray! I found I could scrap in the wall with the reach in door and return on full sheet to HD for a $25 credit, yeah!
I finished putting the FRP on the walls and the corners are caulked.
Chicken Nugget and Chicken Polka
Koala and Garbanzo
The chicks are just over 4 weeks old and mostly feathered so I am ready to move them out of the garage.
I build up some storm windows for use now and in the winter. I re-pourposed some plexiglas and 2x2 scraps. SAFETY HINT: Wear Eye protection when cutting Plexi on a table saw and go slow! Kick-back hazard!!!
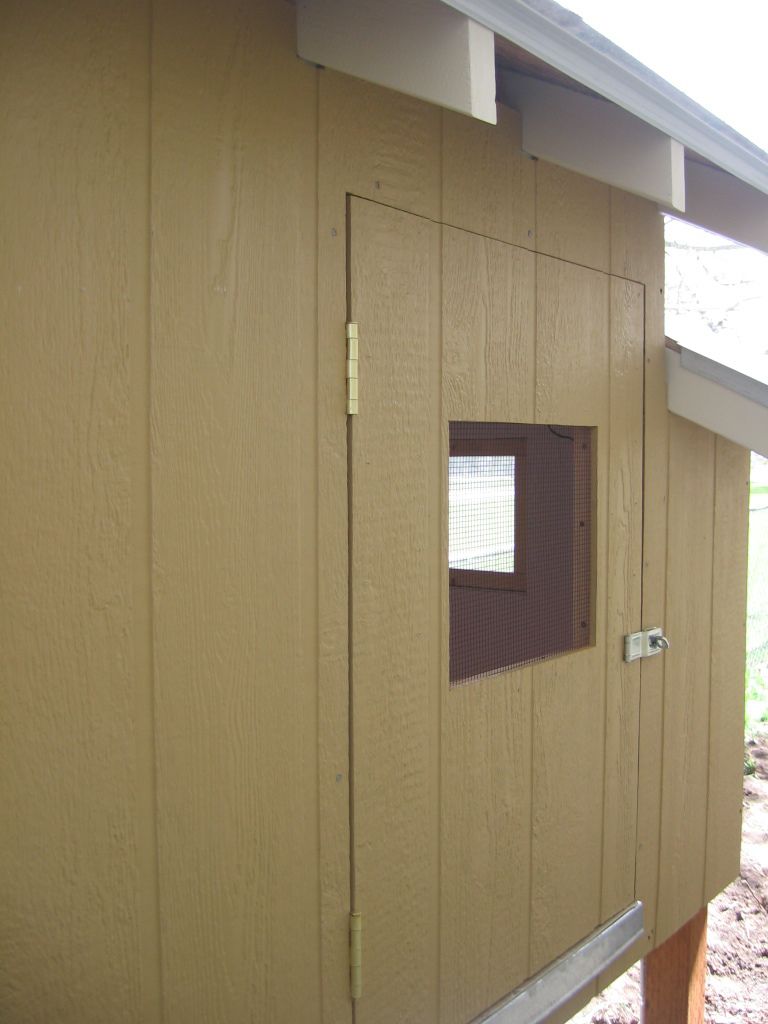
I also framed up the side door, painted the siding and hardwarecloth and assembled it in the garage before hanging it with real door hinges.
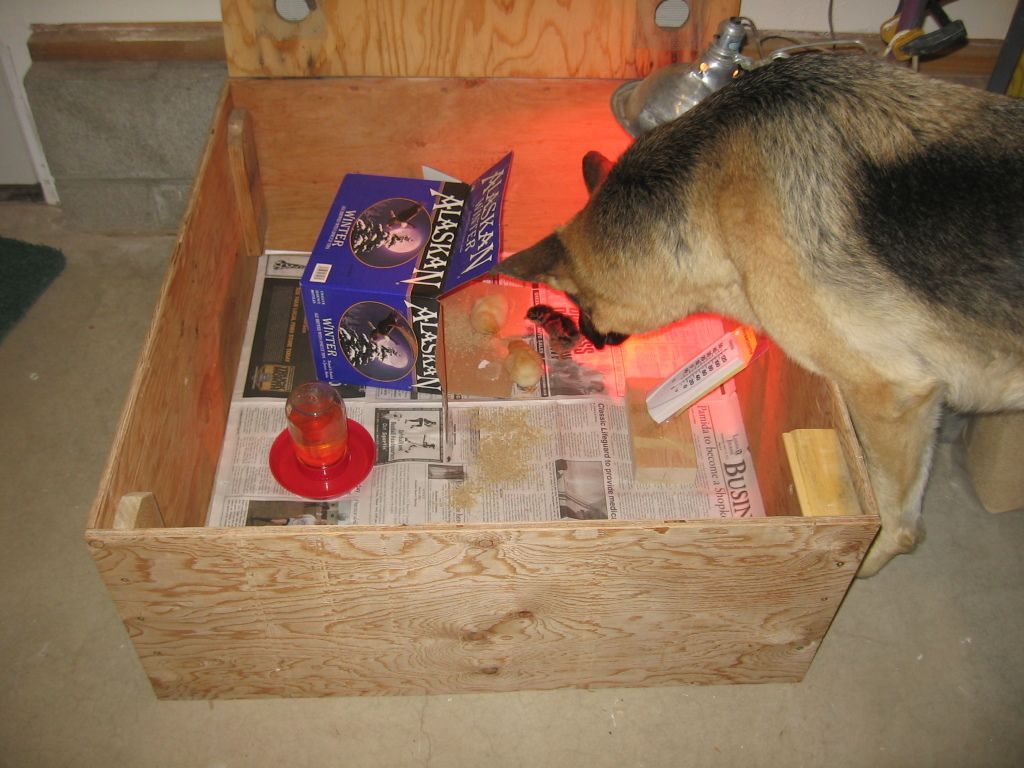
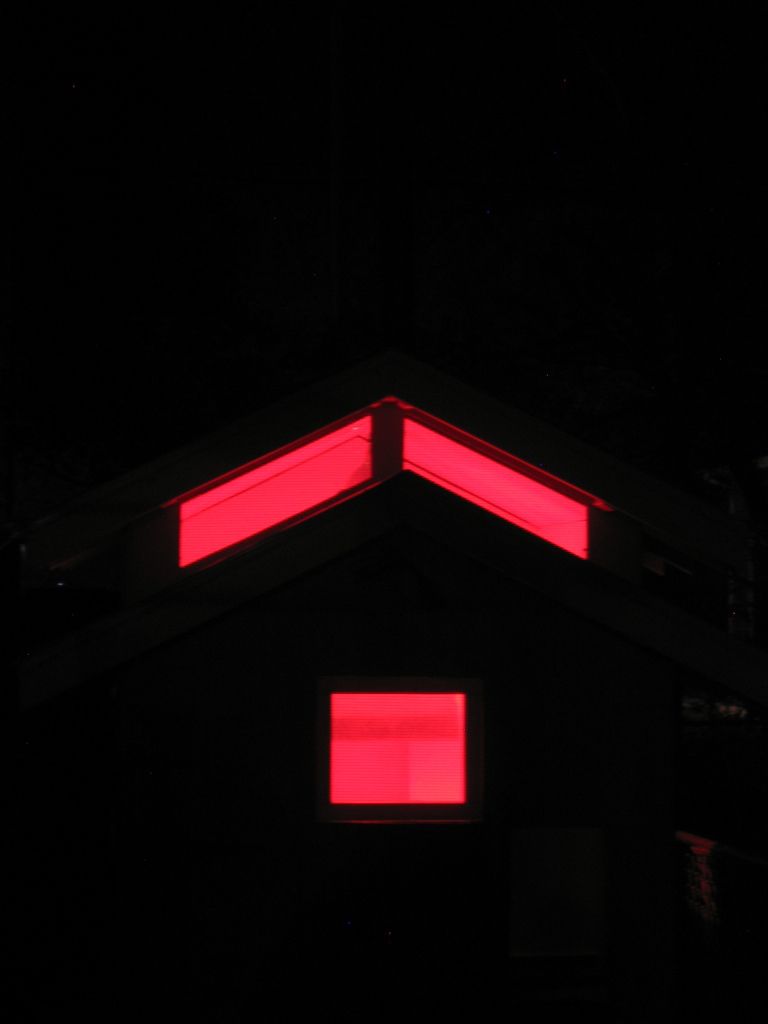
I put in the brooder lamp because our lows at night are still around 30. Kind of eerie to see from the house.
First egg!
The 4 chicks turned out to be all females. I was not sure until we had four eggs in one day. They started laying 21 weeks. Aug 11 was the first egg and Aug 16 we had the four egg day! Since then we (meaning I) have figured out the four differnt egg colors and the respective hens.
Left to right: Garbanzo, light blue egg; Chicken Nugget, dark brown; Chicken Poka, light brown; and Koala, olive green egg
The run and coop
Above shows the people door.
Here (below) is the chicken door. I read on BYC to keep them seperate. It seems to be working, they don't try to escape when I am filling the feeder.
I put together this feed with surplus plumbing parts, although the 30 degree elbow was purchased at great expense (5.95)! The length I had to work with holds about 6 quarts of feed, enough for 5 or 6 days for my 4 hens. Many BYCers that amount would last 5 to 6 minutes LOL!
The nest box is a hit with the residents. I have only found one egg outside of the nest box. I believe it rolled out so I added a strip of wood to the front edge of the entry.
Winter water set-up. The heated waterer sits on a block to keep it out of the duff. The nylon cord has no tension to break the vacuum, but is just there as insurance against getting knocked over. I have not had any issues although others have given poor reviews.
All of those outlets I put in are getting used. The auto door used a transformer and a timer. The photo sensor closed the door too early in the shade of the garage, so it opens and closes on a timer. The light uses a timer (2 hours pre dawn and 2 hours in the evening) and one plug for the water. I planned that out just right.
After 9 months I think the temporary ramp is temperary-permanent.

I wanted a coop for 4 to 6 hens, elevated so it is easy on the back to clean, well ventilated and the nest box outside of the run. The coop and run will be tucked in between our garage and the neighbors chainlink fence. It has nice south and east exposure and is under a large silver poplar tree that provides shade in the summer. The tree keeps most of the snow off the ground in winter and dosen't block much sun after it drops its leaves and the sun is lower in the winter.
The gound was still frozen here in Wyoming so the framing was done in the garage using a few screws then disassembled and moved to the outside location. Fast framing with a jig set up to cut studs to length, and the air nailer.
I managed to get the posts set for the deck (floor) after some fine warm dry weather. The forcast for the night was spot on.
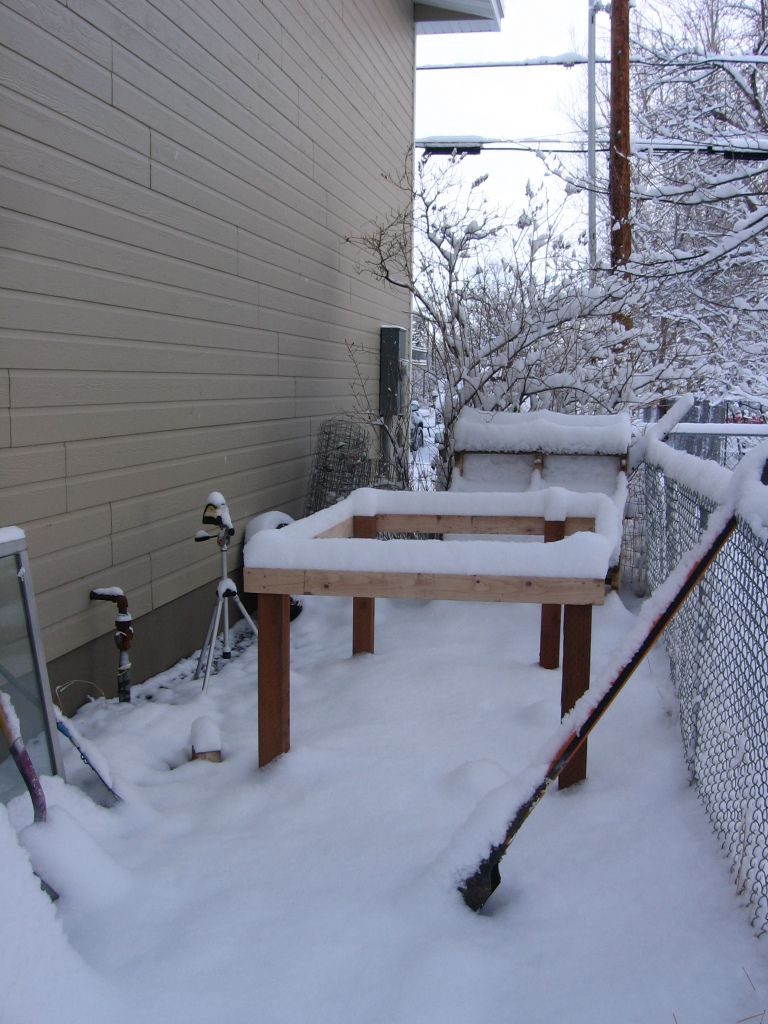
The observant veiwer might notice one post is not in the corner. I had to dodge a gas line. The joist configuration is called a cantilever, not a problem!
While the snow melted and the mud dried it was back to framing in the garage.
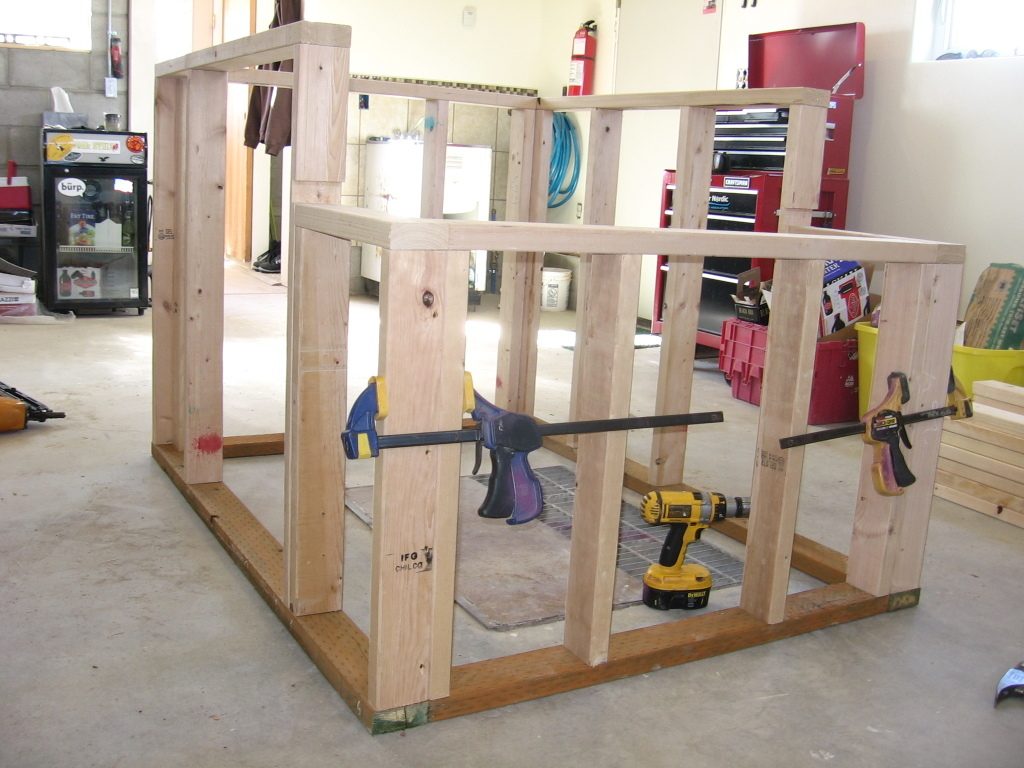
The corners are fastened with just 2 screws because it will have to be moved in sections. I thought this out ahead of time.
Note the top plates on the front corner. They overlap on the corners to tie it all together. The rafters are figured with the help of the Swanson Speed Square and the Blue Book of Rafter Lengths & Roof Construction. It might look like alot of studs but each one will frame a door or window and/or hold a roost.
The gable vent was dialed in with a cardboard template. This piece of siding is sandwiched between the studs and a pair of rafters as you see here.
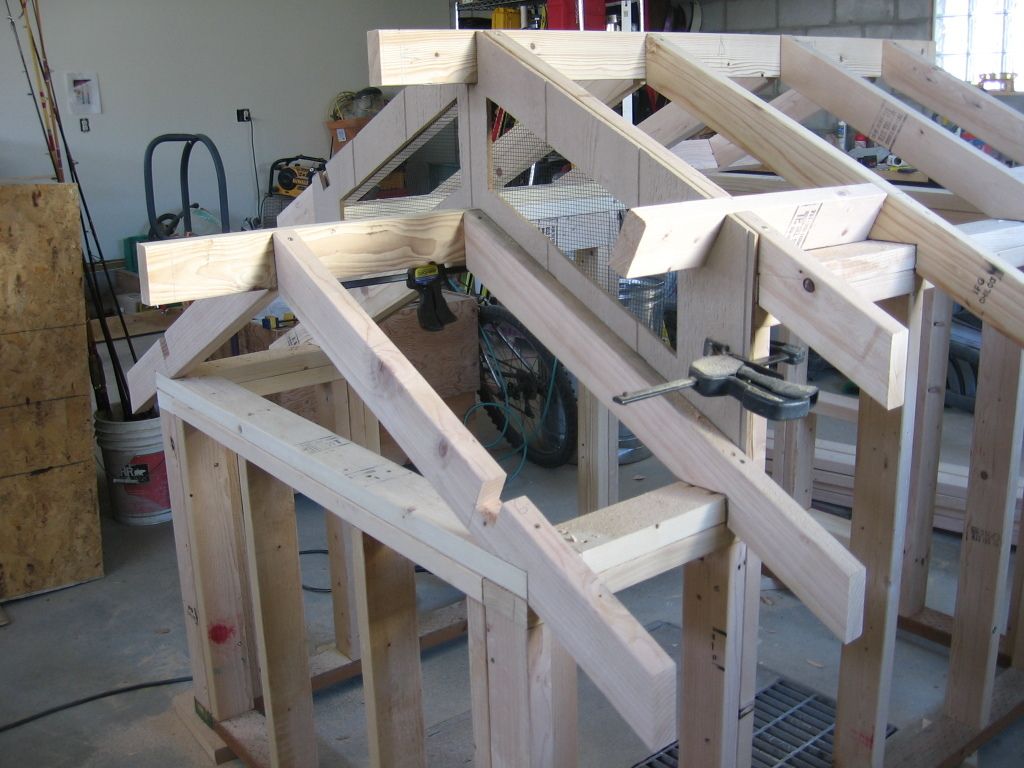
Note the notches on the lower rafters. This is for the blocking as seen on the top rafters. They will support the barge rafters (the ones you will see when it is finished). The gable vents have 1/4" hardware cloth spray painted black. An old timer once told me " If you want to see the fence paint it white. If you want to see the house behind the fence, paint it black." In this case it applies to chickens.
Here is the completed roof framing.
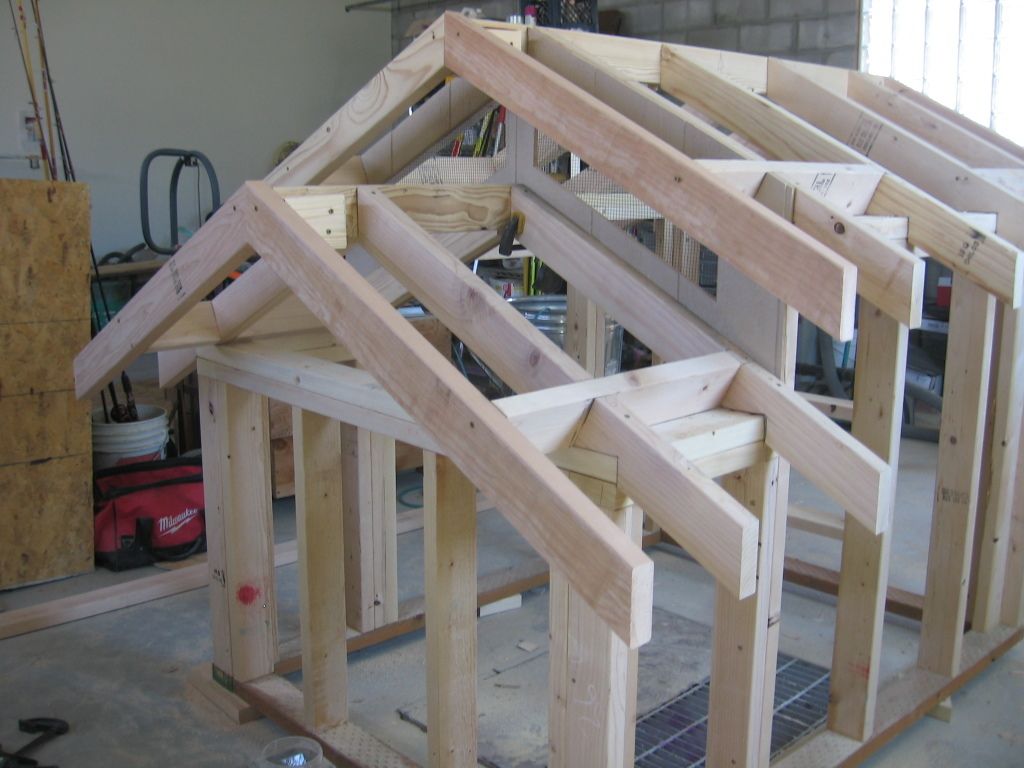
It was much easier to cut and fit the rafters and roof sheathing at shoulder height than from a couple of step ladders with a fence for further difficulty.
The rafter tails were primed and painted and the siding fit. It is notched for the rafters and runs long on the bottom to over-lap the deck joists.
The siding was also pre painted before final outdoor assembly. The window also has 1/4" HC between the framing and siding.
Vinyl floor and the flashing detail of the big clean out door. The floor slopes 1'8" per foot toward this door to facilitate spring cleaning.

Nest box details feature a floor that slopes slightly toward both doors and also the sides are turned up (note the shims under the corners). It is curved like a Pringles chip, but not quite so much. I hope this will make it eacy to clean and it creates upward tension on the floor; so it should not sag, in addition to screws and glue .
Broodies heed the signage!
I now have the coop page caught up to construction. It looks like this right now. I have not cut the hole for the front window and pop-door. I have a Poultry Butler automatic door on order and will make sure the framing is right before I ruin a sheet of siding and have to pull a bunch of nails, although I am not afraid to use a awzall if I had to, I would just rather not.

I picked up some chicks today!
It is a good thing the time sprung forward. I sure need the extra hour of daylight in the evening with the added distraction of the peeps. They are SO CUTE!!
The coop will need power for the automatic door, a heated water drinker, a light in the winter and perhaps a light on a thermo cube. I do not want a permanent temperary extension cord so I ran a PVC conduit down the side of the garage and under the walkway to the coop and installed two outlets inside. The junction box under the coop might come in handy some day.
In the process I found some tiny worms for the tiny pullets.
I fabricated a flashing for the auto doorway.
I chose to insulate the walls and ceiling because I had a bundle just laying around. Otherwise I would skip it to help the budget. Starting the finish work with the ceiling. It is 1/2" plywood so I will be able to put in hooks for lights and hanging feeders and waterers.
After the ceiling was buttoned up I started cutting FRP board for the wall. FR What? Fiber Reinforced Plastic, you have probably seen it in public restrooms, it is plasticy white with a pebble texture. It is durable, easy to clean as well as waterproof. It also has a smooth side that I hung toward the chickens. Bright and clean and no painting, hoo-ray! I found I could scrap in the wall with the reach in door and return on full sheet to HD for a $25 credit, yeah!
I finished putting the FRP on the walls and the corners are caulked.
Chicken Nugget and Chicken Polka
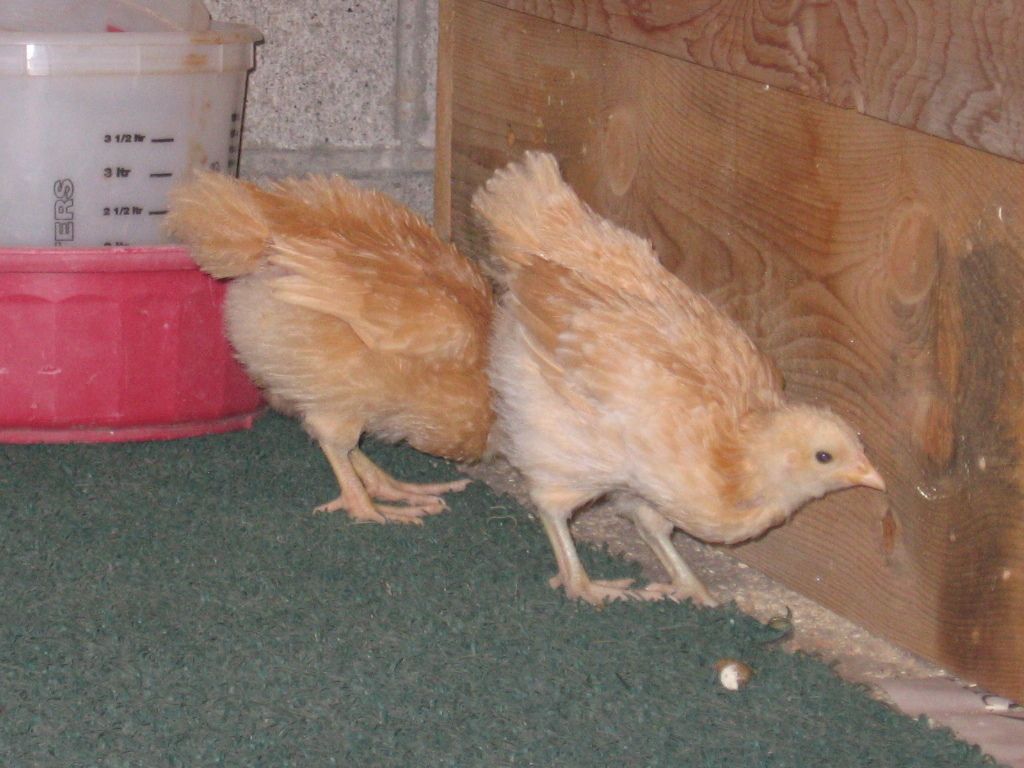
Koala and Garbanzo
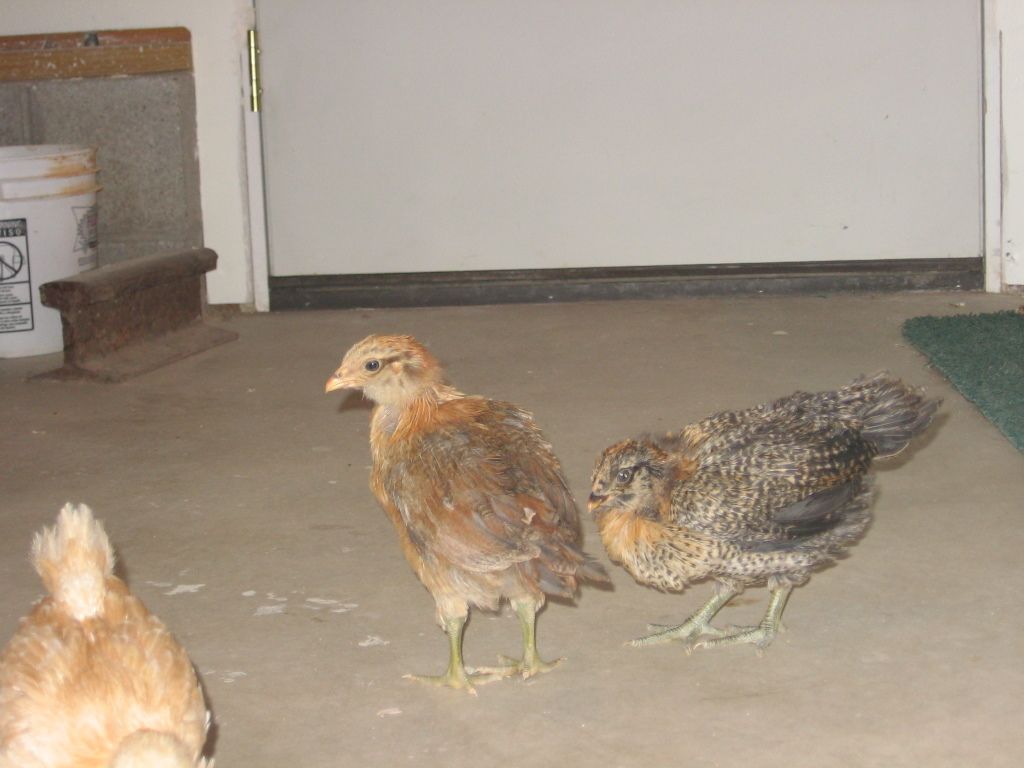
The chicks are just over 4 weeks old and mostly feathered so I am ready to move them out of the garage.
I build up some storm windows for use now and in the winter. I re-pourposed some plexiglas and 2x2 scraps. SAFETY HINT: Wear Eye protection when cutting Plexi on a table saw and go slow! Kick-back hazard!!!
I also framed up the side door, painted the siding and hardwarecloth and assembled it in the garage before hanging it with real door hinges.
I put in the brooder lamp because our lows at night are still around 30. Kind of eerie to see from the house.
First egg!
The 4 chicks turned out to be all females. I was not sure until we had four eggs in one day. They started laying 21 weeks. Aug 11 was the first egg and Aug 16 we had the four egg day! Since then we (meaning I) have figured out the four differnt egg colors and the respective hens.
Left to right: Garbanzo, light blue egg; Chicken Nugget, dark brown; Chicken Poka, light brown; and Koala, olive green eggThe run and coop
Above shows the people door.
Here (below) is the chicken door. I read on BYC to keep them seperate. It seems to be working, they don't try to escape when I am filling the feeder.
I put together this feed with surplus plumbing parts, although the 30 degree elbow was purchased at great expense (5.95)! The length I had to work with holds about 6 quarts of feed, enough for 5 or 6 days for my 4 hens. Many BYCers that amount would last 5 to 6 minutes LOL!
The nest box is a hit with the residents. I have only found one egg outside of the nest box. I believe it rolled out so I added a strip of wood to the front edge of the entry.
Winter water set-up. The heated waterer sits on a block to keep it out of the duff. The nylon cord has no tension to break the vacuum, but is just there as insurance against getting knocked over. I have not had any issues although others have given poor reviews.
All of those outlets I put in are getting used. The auto door used a transformer and a timer. The photo sensor closed the door too early in the shade of the garage, so it opens and closes on a timer. The light uses a timer (2 hours pre dawn and 2 hours in the evening) and one plug for the water. I planned that out just right.
After 9 months I think the temporary ramp is temperary-permanent.