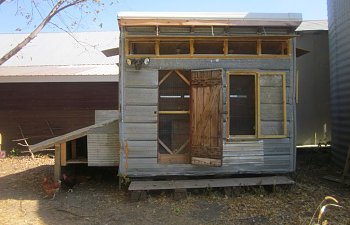
We've been planning on getting chickens since moving to the country about 5 years ago. But there were always other projects that ended up coming first. This summer we finally said, "let's just do it." And we're so glad we did! It's nothing fancy, but we live in the country and the coop isn't visable from the road so the neighbors don't care, we wanted to use as much scrap material as possible, and we didn't think the chickens would mind.

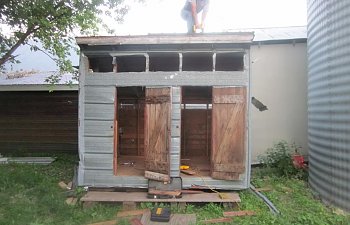
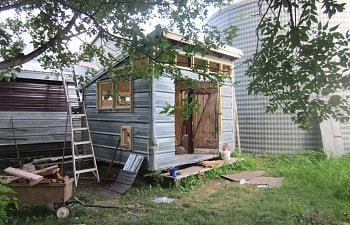
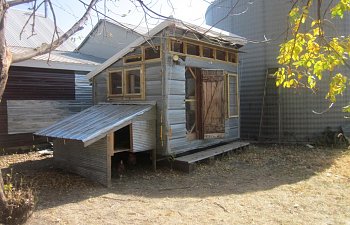
Instead of starting from scratch, we decided to buy a small grainery from my brother-in-law; about 9'x7' for inside measurements. We wanted about 20 chickens so this figured out to be the perfect size since it gives about 3 sq ft of space per bird. We put it up on railroad ties so the bottom wasn't resting directly on the ground.
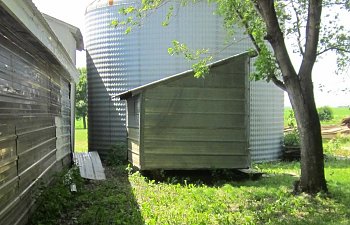
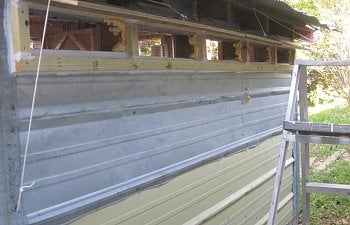
We started by re-tinning the roof and sawsalling holes for the windows and vents. Framing the windows and vents was the most time consuming part since the building wasn't square. We used insulation and vapor barrier for the walls for added moisture protection and warmth because in Minnesota the windchill can get -40 below or more.
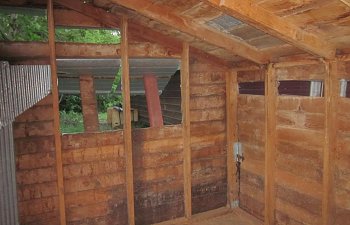
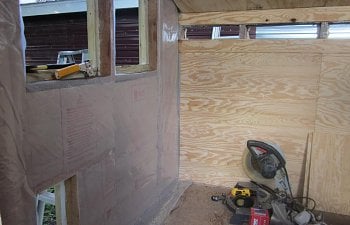
Then came the fun part. So many of our ideas came from pouring over posts here at BYC - we learned so much more than we did from any books we read. (Thank you so much!)
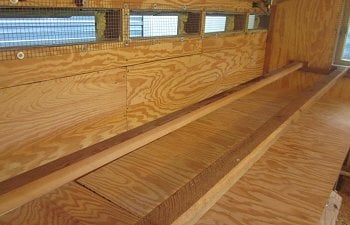
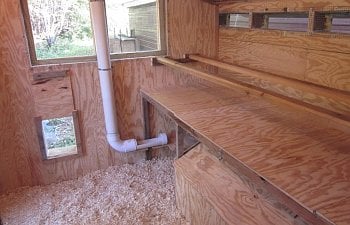
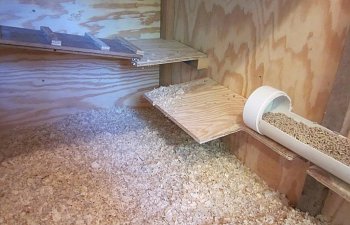
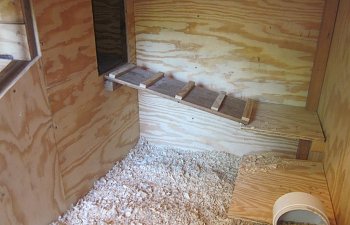
We decided on the deep litter method. Less major cleaning each year and a few minutes of daily maintenance fit what we wanted. Because poop boards seemed so popular and looked so much easier in keeping the coop clean, we built a long poop board with parallel roosting boards above it so there wouldn't be bickering among the ladies. The roosting boards have angled/rounded edges so it's easier on the hens' feet and can be removed for cleaning.
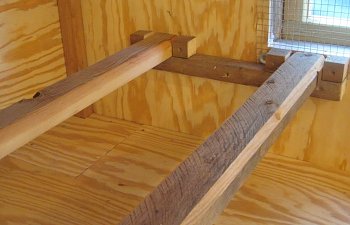
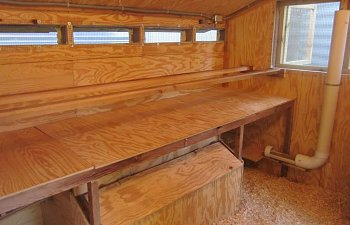
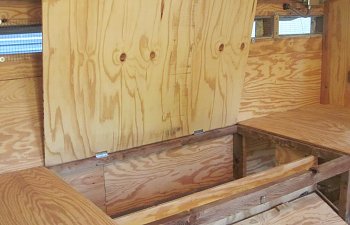
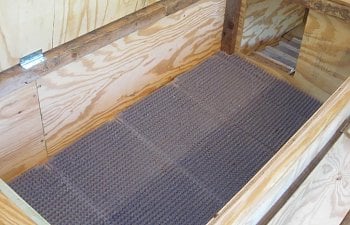
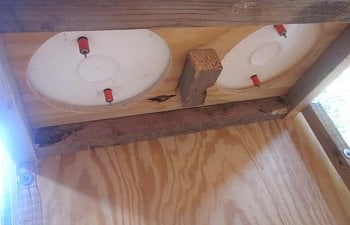
We built a rollaway community nesting box directly underneath the poop board. A cut out section of the poop board doubles as the roof. To clean the box we take the roosting boards down and hook the poop board/roof to an eye screwed into the ceiling. The egg collecting comes from the bottom front; again using a hook and eye to hold the lid open. The front, where the eggs bump, has a nice thick strip of foam to prevent breaking. So far it's worked great. We used astroturf on the floor of the nesting box bought at FarmTek.com (need to order one more for the corner). This was another idea read here. It makes cleaning easier and the eggs roll nicely.
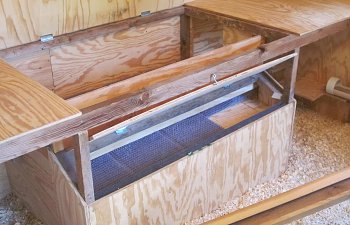
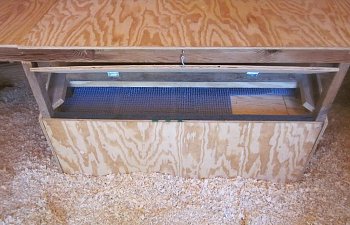
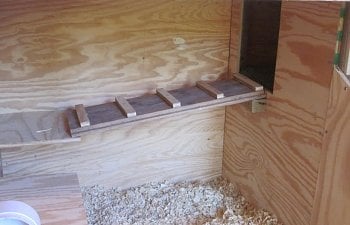
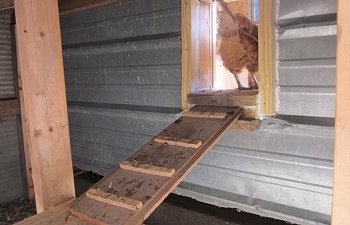
The hens have access from each side.
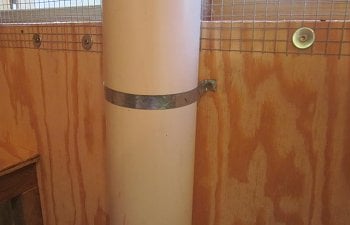
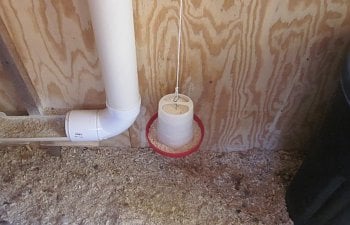
There is a large PVC feeder along each wall (thanks again for the idea!) and it works fantastic. Minimal mess and it feeds through without any problems. We've also added two small feeders with grit and calcium and hung them from the ceiling to prevent them tipping them over or pooping in them.
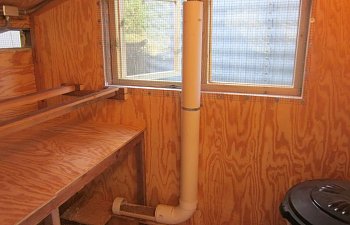
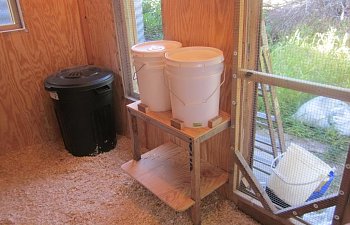
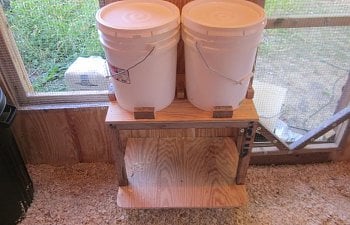
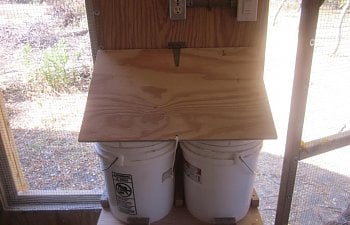
The water stand was my husband's idea (as was just about everything). The hens have a platform to stand on so no matter how high the litter gets, they can reach it comfortably. The chicken nipples are another wonderful idea shared by BYC that I LOVE. The water doesn't drip, there is no poop or mud to worry about, and our full grown hens figured it out within 24 hrs. There is electricity on the wall above it with a timed light switch. We plan to use bird bath heaters to keep the water from freezing during the winter. We added the slanted plywood because they were roosting on the pails.
One of our initial concerns with chickens was the fact that we are sometimes gone for several days to a week or more at a time and didn't want to bother the neighbors with chicken chores every day. Our feeders will hold enough for almost 2 weeks and the water (with apple cider vinegar added) lasts just as long. We don't have to worry about them tipping their food or water over while we're gone. The roll away nesting box works great for this too because the hens have no access to the eggs and we don't have to worry about them eating them out of boredom.
The door was also made with a removable board across the bottom for rising litter.
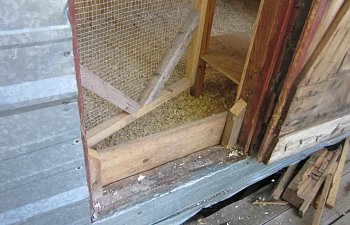
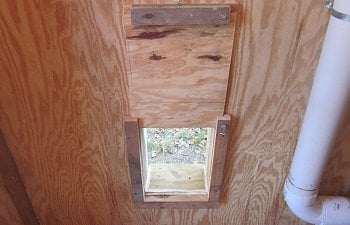
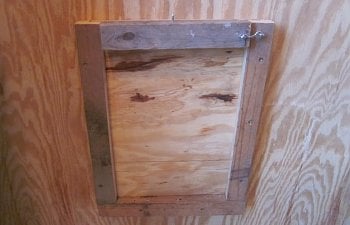
The pop door is a simple design, and it works great. It slides up and down, held in by L shaped boards.
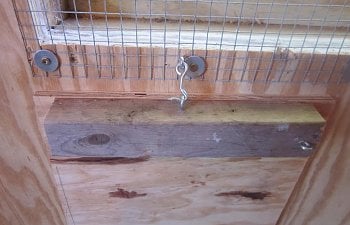
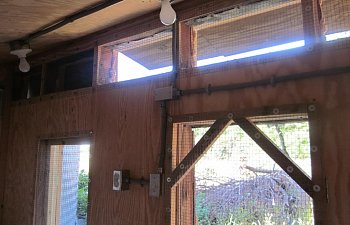
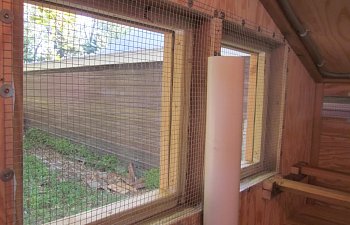
We used 1/2" x 1/2" hardware cloth to cover the insides of the windows and vents, and plexiglass for the actual windows.
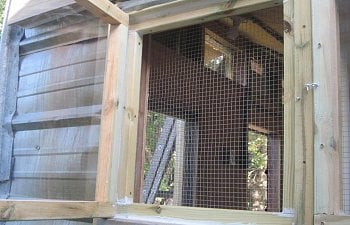
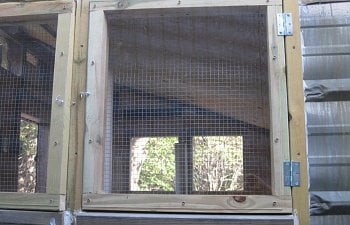
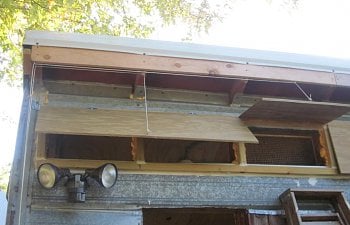
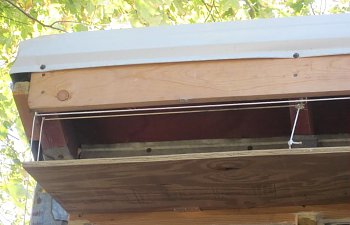
We made sure to have plenty of vents (thanks to Pat's Ventilation Page) and used eyes and rope to open and close them at different heights.
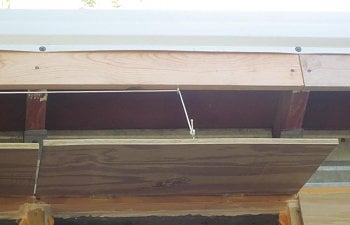
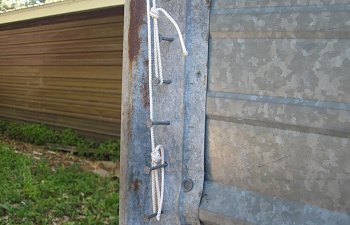
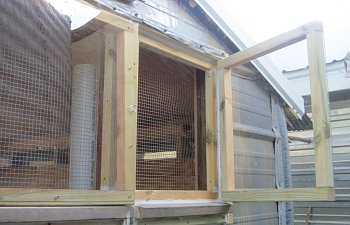
The last part of the project was building a little 'lean-to' for winter. The sides block the snow drifts but they can still come out for some fresh air and sunshine when they get cabin fever.
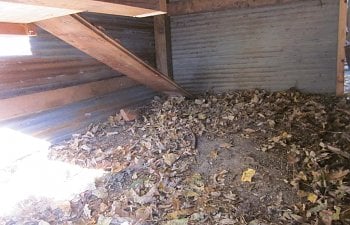
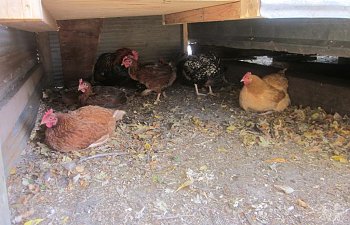
Have not built a run yet - they are free ranging for now with a motion detector light and their friend Sampson for protection.
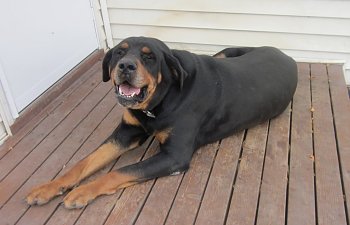
Thanks again for everyone's pictures, descriptions, and help - we hope our coop was helpful.

