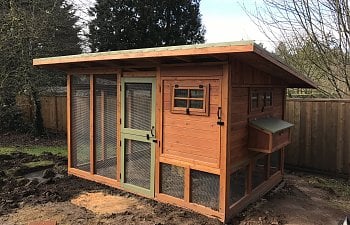
Design
Since my wife and I moved into our fixer home we knew we wanted chickens but building a chicken coop ended up a ways down the initial priority list of projects. As far as a coop design, I had a general idea of what I wanted out of a coop but it wasn’t until I found BackYardChickens.com that it all came together. The coop articles and forums on the site were invaluable! Special shout out to The Palace, BoiseMarker’s Coop and Wichita Cabin Coop as my prime sources for inspiration, mainly because they best matched my goals for our coop.
To get started, here is the list of priorities I set out with for our coop:
- Predator proof: in our Oregon neighborhood, we have coyotes, raccoons and hawks living in close proximity, not to mention dogs off leash, who all enjoy a nice chicken dinner. I also wanted to minimize rodent access.
- Easy to clean.
- Storage in the coop for chicken feed and supplies.
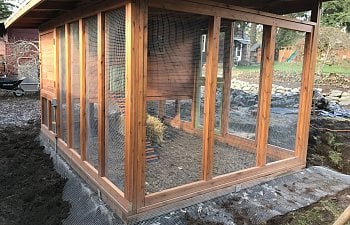
- Large, contained run.
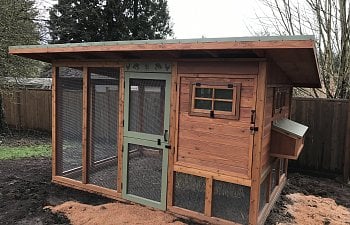
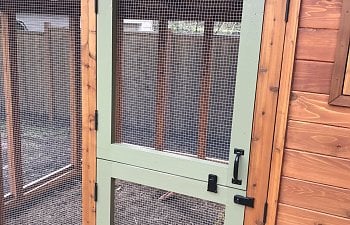
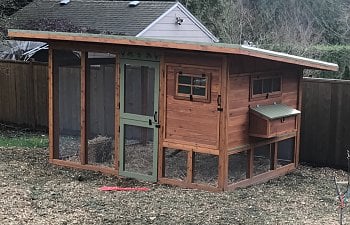
- Dutch door for ease of filling water and food without the ladies trying to escape each time.
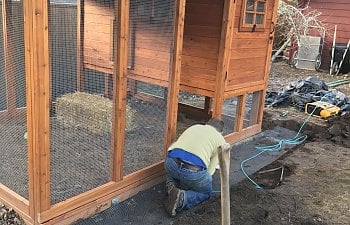
The first big decision I struggled with was choosing a foundation. I initially looked into a concrete pad since it would certainly keep tunneling animals out the best but the cost and permanence of it pushed me to look into other options. Where we live, our neighbors have the right to ask your chickens to be moved or removed if they are a nuisance (luckily we have chicken loving neighbors but things can change). I also had to consider that I was building on a slope and wanted to use the Deep Litter method for the run.
I ended up deciding on concrete pier blocks with brackets, holding up 4x4 outdoor treated timbers, connected at the corners with half lap joints. On the downhill half of the foundation I added cinder blocks mainly to help block any tunneling pests. And you can’t see it in the photos but I ended up adding a layer of 1/2” hardware cloth as a floor, stapled to the foundation timbers. I then covered that with pine nettles that I had laying around the yard, which ended up being the primary material I would use for the run.
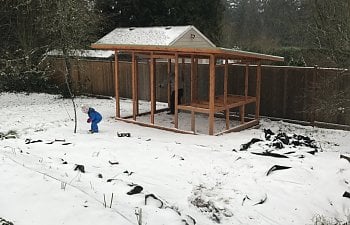
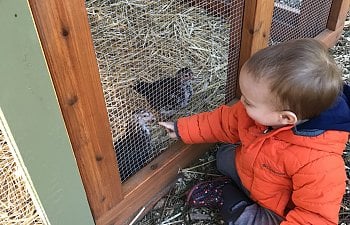
You can tell by the green, plastic shovel that I had some help!
The inspectors arrive...
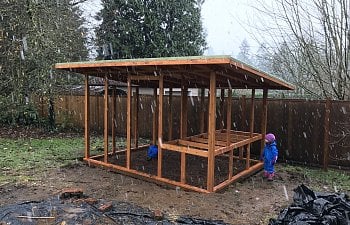
Framing
With framing the coop I decided to construct each of the 4 walls separately indoors. I pre-stained all the cedar boards indoors, which was tedious initially but I think saved me time in the long run, and was really my only option since I was building the coop in the middle of winter in a rainy climate. I used outdoor deck screws to hold everything together.
Inspectors testing the structure.
The roof I assembled in the garage with the minimum number of cross pieces (2 end joists plus 3 middle joists) so my brother and I could more easily lift it. I attached the roof joists to the coop with hurricane ties, then added the remaining joists once the roof was secured.
I ended up installing the coop floor before adding all of the remaining joists mainly because it gave me something to stand on inside the coop for ease of install. I also thought it would come in handy when I started installing the plywood on the roof.
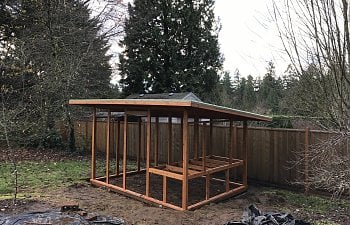
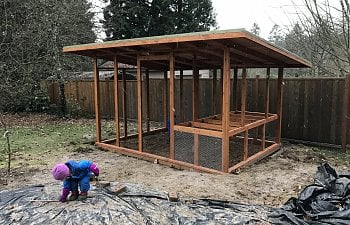
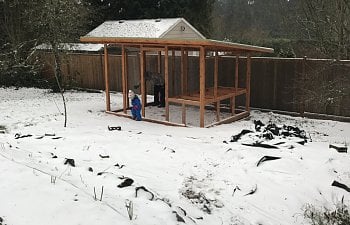
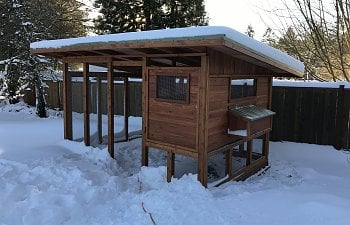
For the roof I used 1/2” CDX (outdoor exposure) plywood screwed to the roof joists, then stapled down felt roofing paper, added flashing around the edges, and installed the metal sheet roofing, which did come with instructions. I should have taken more pictures of these steps but I was a little rushed because of an impending snow storm.
And I also wanted to satisfy my local inspectors.
The next step was installing 1/2” hardware cloth. I used a pneumatic 1/4” crown staple gun to attach the hardware cloth, which made the hardware cloth install go pretty smoothly.
The challenge I ran across with the hardware cloth was how to cut it as quickly and accurately as possible. As usual, YouTube saved the day! I propped two 2x4s on end spaced about 3-4” apart, laid the hardware cloth across them with the intended cut line oriented between the two boards, then used a jigsaw to make the cuts. It was a little cumbersome to set up but the cuts themselves went much faster than using tin snips.
Here’s a pic of the set-up:
Here are some pics showing how I reinforced the hardware cloth attachments.
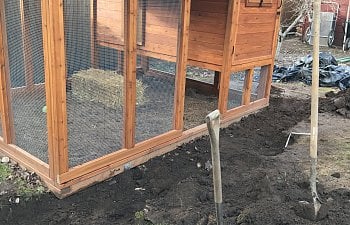
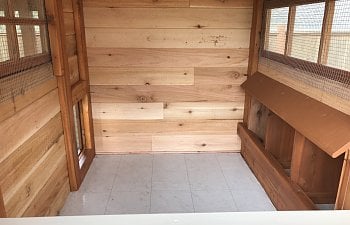
1/2" plywood installed onto the coop floor, followed by cheap linoleum flooring.
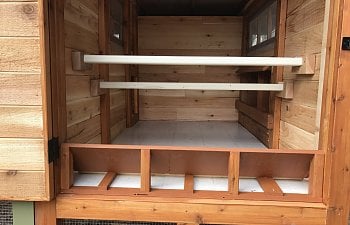
Next came the framing and laying box, which ended up very similar to those built in The Palace and Boisemaker’s Coop.
A few other finishing details I added to my coop:

I buried a perimeter of 2' wide hardware cloth around the coop to discourage any tunneling animals.
- Oyster shell and grit feeders made of white PVC pipe.
- Automatic chicken door: I bought the Chicken Guard door opener and have been very impressed. The first model I got ended up having a malfunction about 8 months in but I called the company and they replaced it at no charge. Excellent customer service and great product.
- Carabiner locks to ward off raccoons. I read on this site that raccoons, while very adept at opening various latches and knobs, have never shown the ability to open carabiners.
- Garbage cans for chicken manure storage. I ended up putting pine shavings in the coop and scoop the manure out once per week. With the roosting bars in place, all the manure ends up concentrated in a small, linear area (chickens mostly poop at night) so cleaning is quick and easy.
- Storage area. I wanted an area in the coop to safely store the food but I also wanted to make sure I could open the entire length of the coop for cleaning. I ended up mounting a removable panel separating the storage area from the coop that is held in by bolt latches and having doors at both ends of the coop.
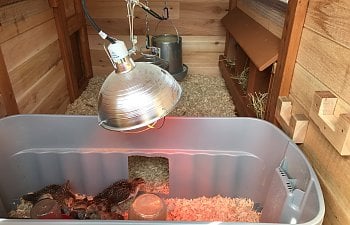
I ran electricity out to the coop to power my chicken door. It's also come in handy to plug in the warmer I bought to prevent the chickens' water from freezing on cold nights.
I hope this helps with your own chicken coop plans! Feel free to message me with any questions.