THE MASTER TRAPPER
Original

Revised
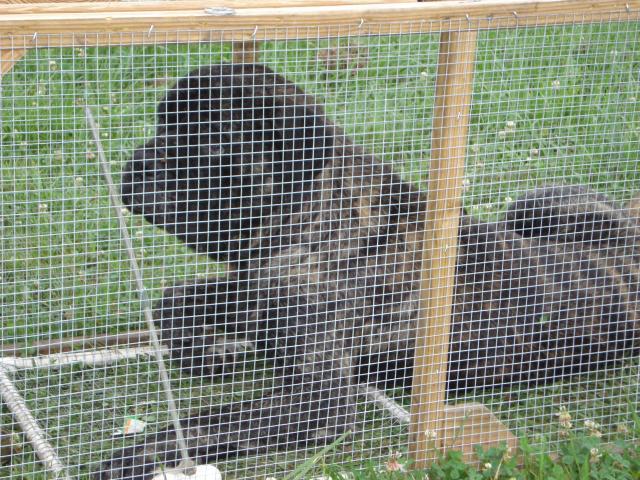
I am making this page for all of you who get sick and tired of your store bought trap not working, either because the critter didn't get in all of the way, they tripped it off from the outside, or they just are too big to fit! I had that problem. For 2 weeks, constantly going out checking the trap only to find it set off, with nothing in it. After all of my aggravation and worry for my chickens, and all of the countless nights of it swiping my homemade suet for my wildbirds, my husband built me this trap. We had most of the materials at home just lying around, so if you have ways to modify it with what you have--go for it!!Original
Revised
Your supply list:
6 treated 2x4x8's
25 ft. of 2ft. wide fencing (we modified it to hardware cloth after numerous escapes)
Hardware cloth (for the trip plate)
wire ties
2 latches
nylon cord
1 box of poultry net staples
4 exterior grade hinges
1/2" pvc
1/2" pvc t's and elbows
metal rod
4 pcs. angle iron (for stability on latches and on top hatch)
3" exterior wood screws
1 eyelet screw
1 washer
1 pulley
gusset/braces at 45* angle (just need to know our length)
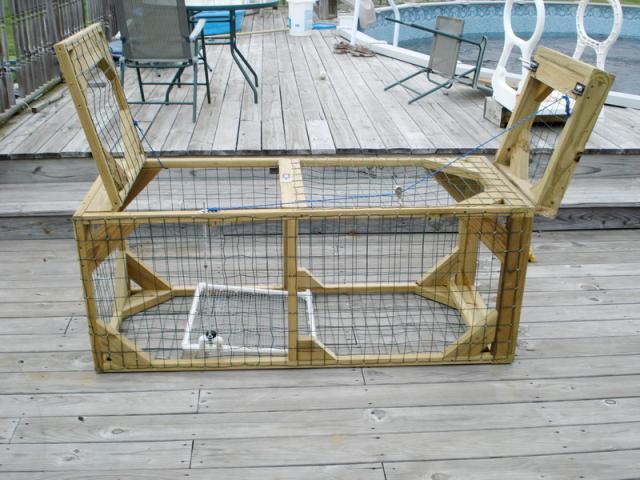
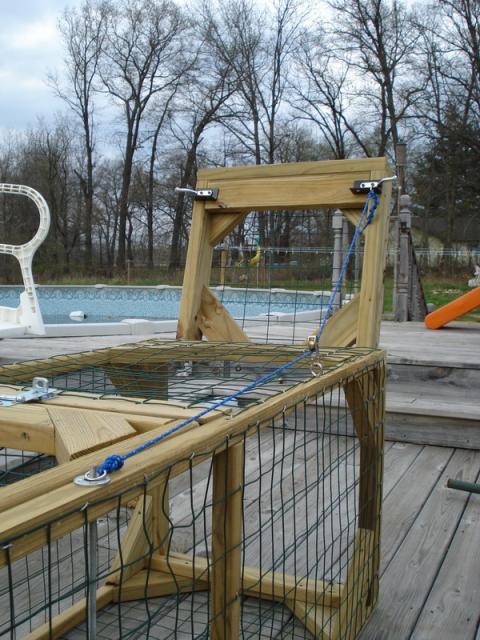
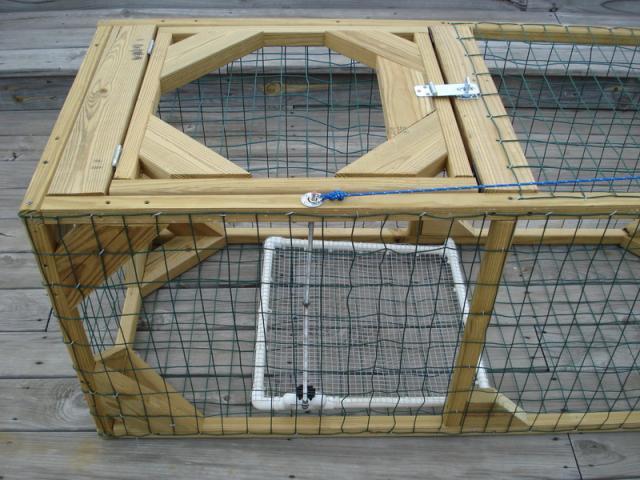
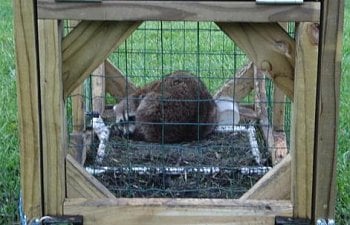
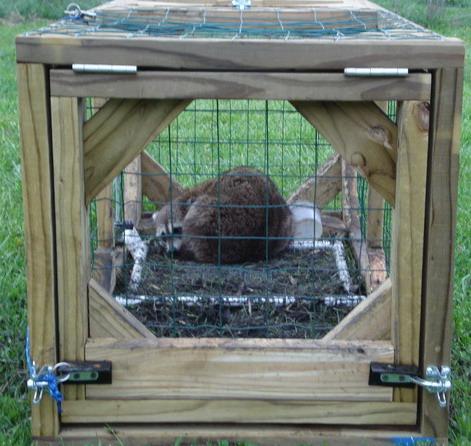
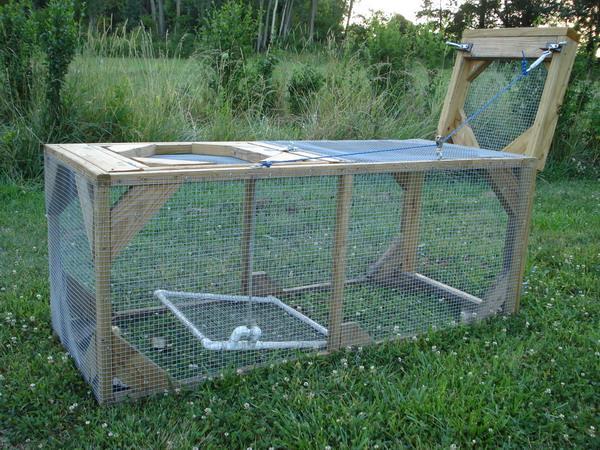
First Step- Frame up your cage to the desired size. Taking into consideration the width of your fencing, making sure that fence will be centered on the frame when you tack it down. It will save you alot of time cutting. We just used 24 inch wide fencing. He also felt it would be best and easiest to have a front door (the one that falls to trap the critter) and one along the opposite end on the top of the trap above the trip plate--excellent. That's usually where I end up pulling out the critters after I shoot 'em. The trap is 5 ft. long so this makes it much more convenient. Also when it comes to attaching the trip line ring to the rod.
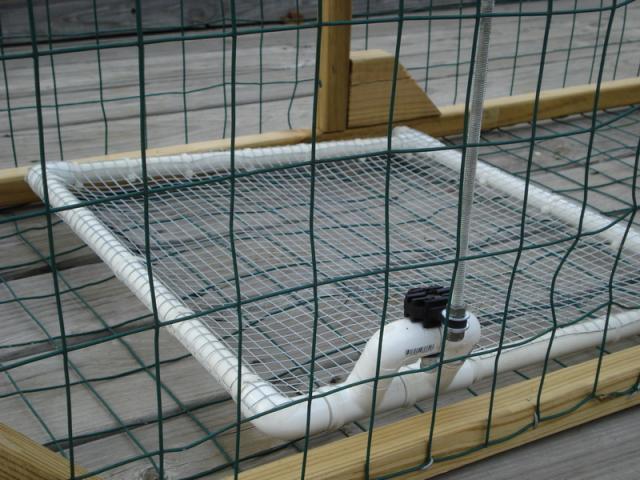
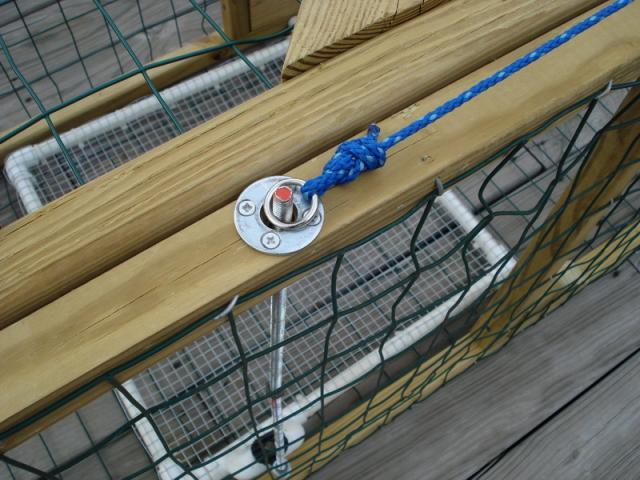
Second Step-Design a trip plate and install it to the trap. We used pvc and hardware cloth. My husband took a rod running up from the trip plate that goes through the top of the rap where a ring on a string, which is attached to the pulley and door to make the trip mechanism. He also installed 2 latches on the front door...to ensure the critter couldn't get out...we all know how tricky critters can be.
Third Step-Bait it!! We use oooey gooey stinky cat food!
Please read this for modifications we made!!!!
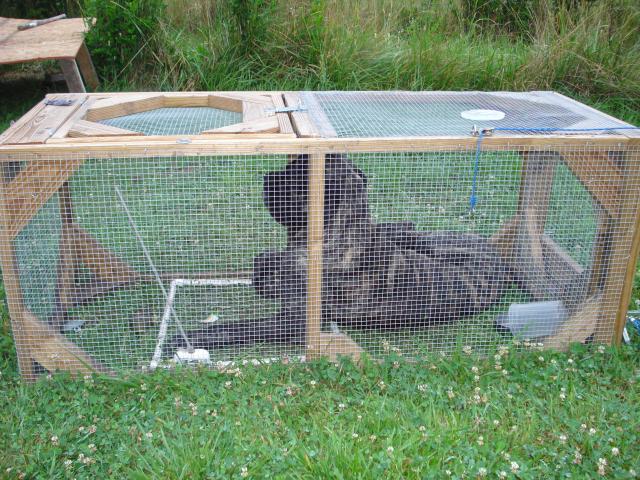
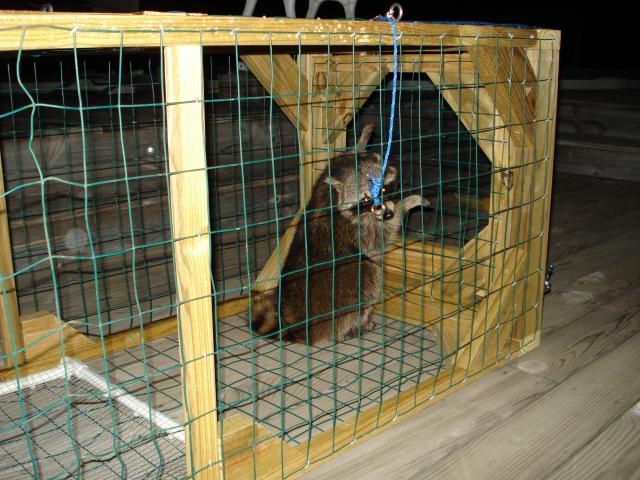
After a few weeks of this, we pulled off the fencing and did the entire cage with hardware cloth. However, we left the floor of the trap with the green fencing material. We were having animals reaching through and tripping the mechanism without even going inside...also, we were catching stray cats that were literally morphing their bodies out of those tiny little fence squares like octupi. So we changed it out--no more getaways or false trips!! I woke up one morning to find a cat literally wringing its' neck trying to get out. Had to cut the fence. Either way. So, out came the fencing, in went the hardware cloth!
We also want to - but haven't yet, put wheels on the trap along with a rope handle on the other hand that allows you to roll it away. Right now, we have to up-end it onto a dolly cart to move it, or just have 2 people to move it.
If you have any questions, please PM or email me. I can always answer questions!! With the revised trap, we haven't had one single false trip or failure. Now I know my chickens are safer and know that what can get in....can't get out.