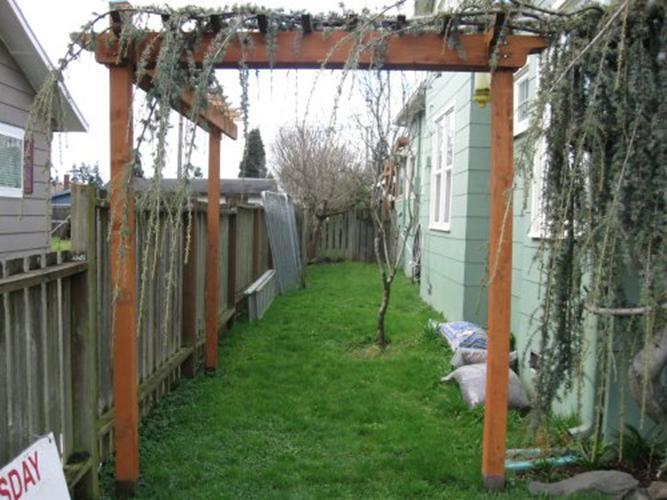
Before the new fence 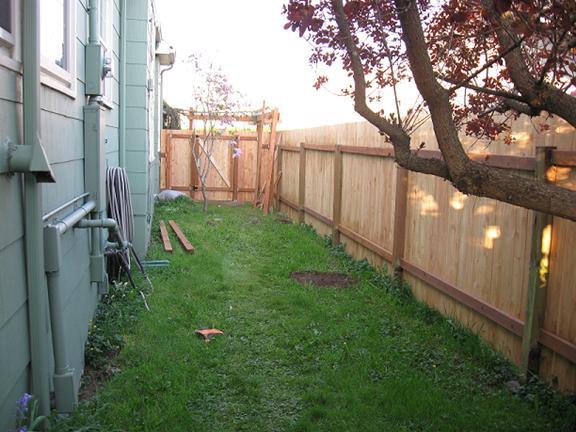
After the new fence
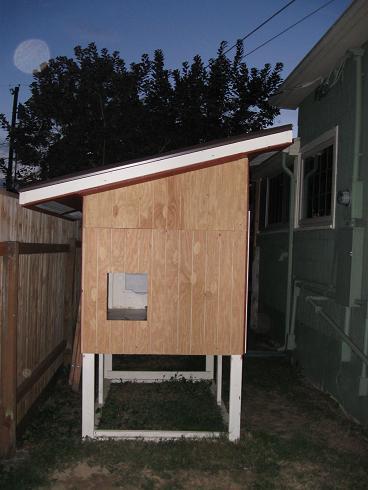
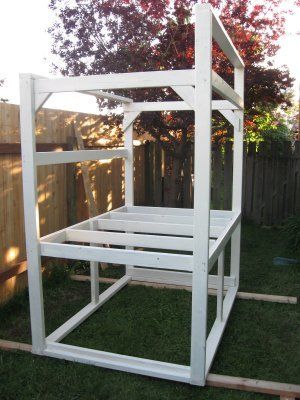
Now the coop was starting to make progress and I felt like I would be able to get this done pretty quickly. I finished framing the basic coop and started to get the holes cut in the right places. 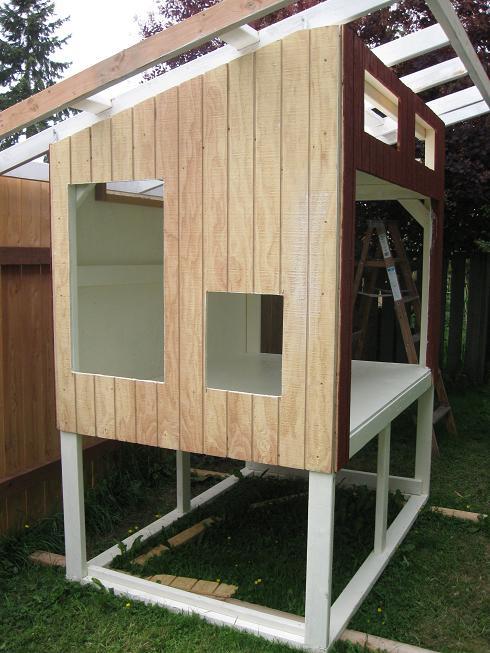

The design of the coop is to use the deep liter method. So I figured that 6 inch sides would be good for all the entries to the living space. THE TEMP COOP WAS CREATED In early June the girls were growing out of their Rubbermaid brooder. I decided to build a temporary coop. It took 4.5 hours and scrap wood and a few pieces of hardware. It works great and they are out of the house. 


One morning my wife found that the food container had landed and trapped two of our chicks. When I told a friend of mine about it, he gave me a video baby monitor that we have now set up in the coop so we can keep a closer eye on things. Now to get back to working on the real coop. Thinking it would be easier to build the roof and attach it to the cop after I got it done. I built the roof in the backyard. 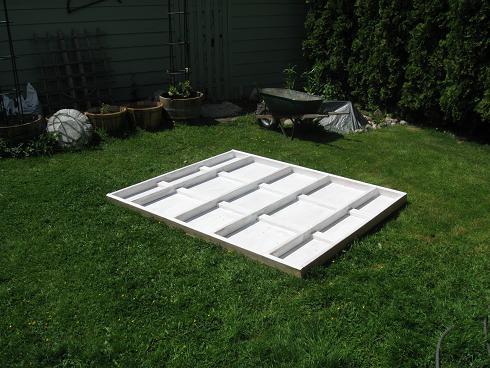
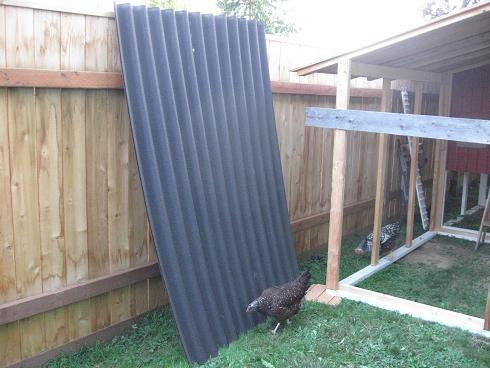
WOW! That roof was blooming heavy. It took three guys to move it into place. I'd like to thank my neighbor Chris and his friend for their help. I would still be standing there trying to figure out what to do next. I was worried about doing any damage to the Onduro roofing material, so I finshed the roof once it was moved into place. Thanks to Jason who came by and helped me with that. It is really nice to have friends who can help you when you need it. 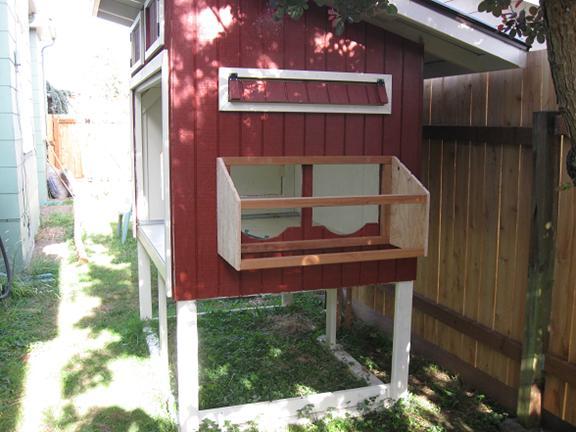
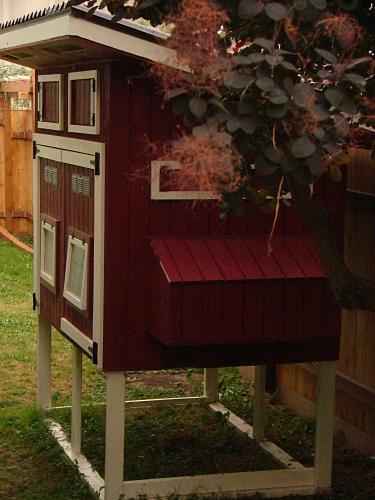
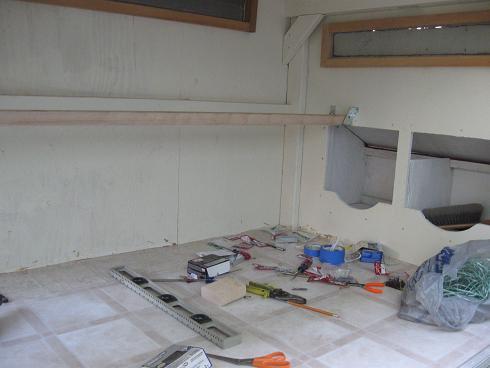
started making the nesting boxes by attaching 2” x 2” wood on the side of the coop to support the structure. The rectangular window above the nest box is a vent for summer usage. I 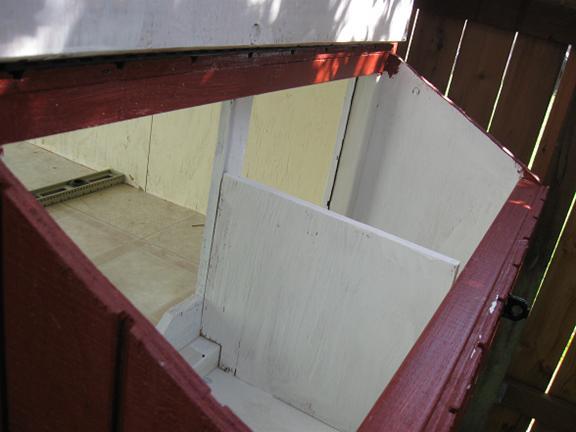
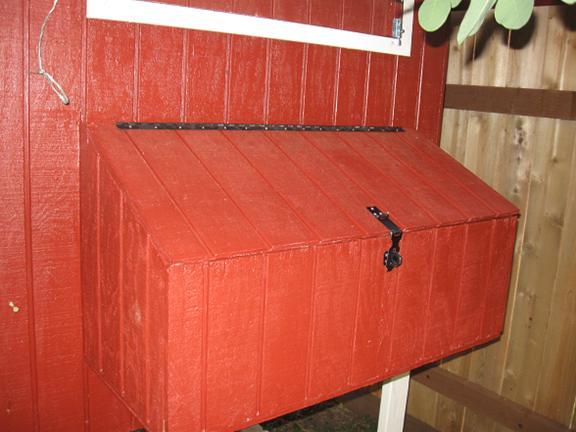
The finished boxes look great. I placed an additional latch up on the coop wall to keep the door open while cleaning and gathering eggs. 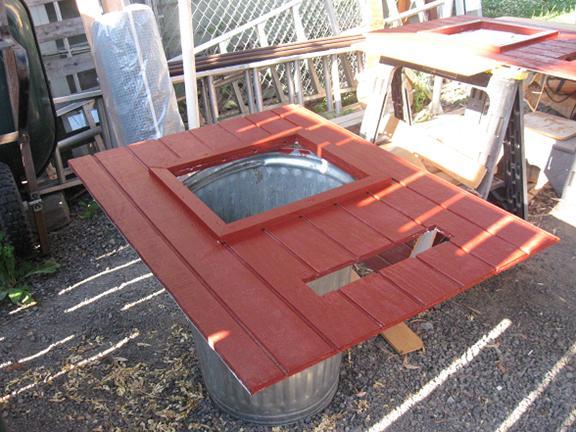
I built the front doors for the coop. I made the windows from 2” x 2” wood and routed them to place the glass in. I glued and sealed the window frames with the glass in place. I used screen from the local hardware store on the doors for ventilation. The windows also open for additional ventilation if needed. The inside of all vents has screening in place. 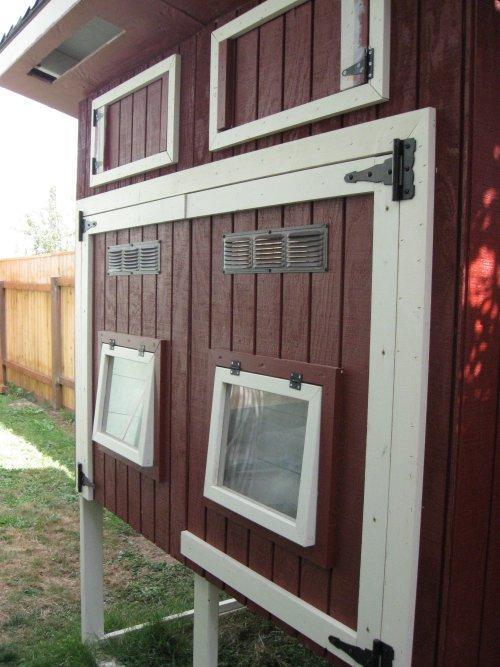
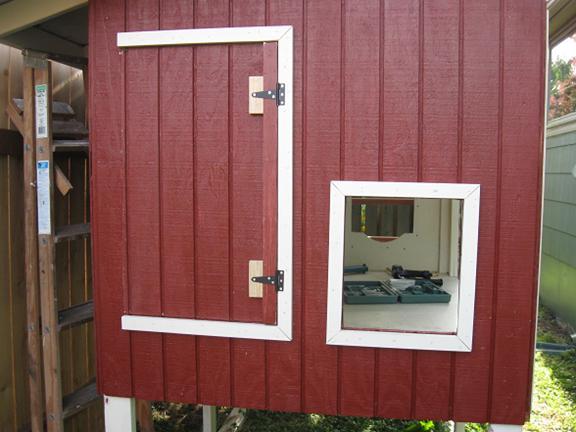
I got the pop door in place along with a access door. Should make cleaning easier. the pop door has 2” x 3” wood in place routed out to support directing the door. I also installed a pull string in place that is near the next boxes. The Coop is almost done - a little trim work and add the roost. OPPS!!!! The one side is putting the roost in a really bad spot and I am having much difficulty determining how to proceed. Pull the wall and rebuild it. Good thing I have enough extra wood. 
The new wall had to be built with 2 pieces. 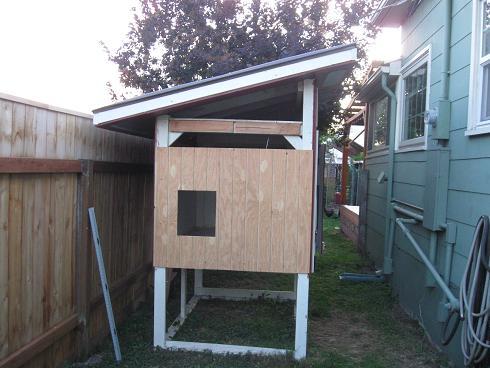
It came together pretty nicely. I am pleased and now the roost can go where I want it. 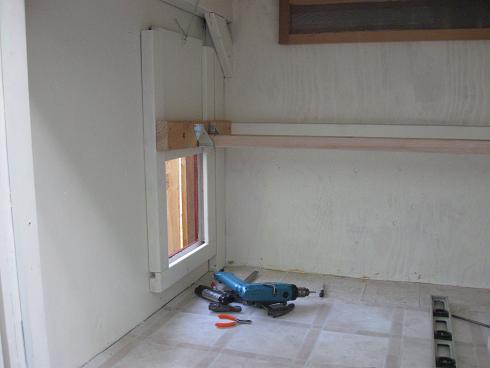
The roost is removable, it’s a 2x4 placed in 4x4 hanger and mounted to 2x4 attached to the pop door guides. The roost will not be painted. Instead I will occasionally cover it with DE. Vinyl was laid on the floor to help protect the wood and aid in clean up. With a few minor trim pieces to do still the coop is just about finished. Time to get the run built and get the girls in their new coop. Its now September and I started designing this back in May. The chicken run… 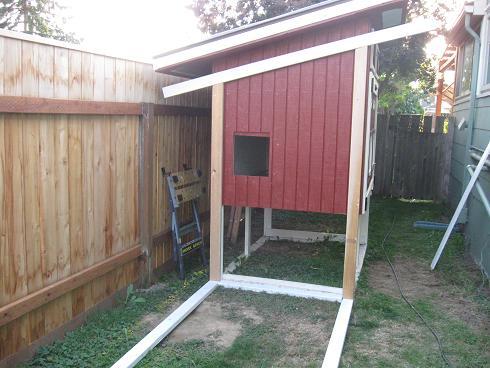
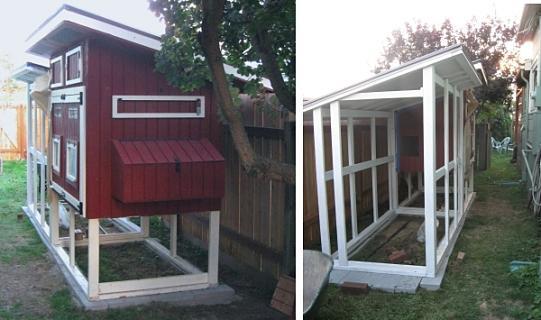
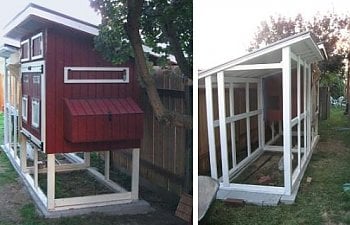
I decided to make the run a little shorter than the coop. It will be easier to get the run in place. I made it about 8 inches shorter. The frame is made of 2x4’s and 2x2’s. I decided the roof would attach directly to the frame with plywood and Onduro roofing material. 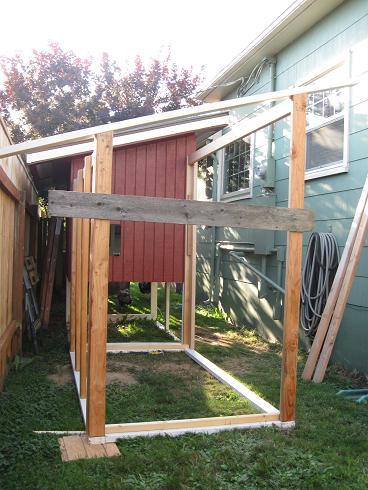
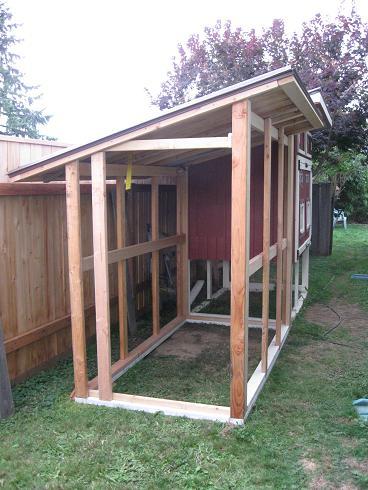
Well it’s all framed in and the roof is in place. I had primed and painted the board on the bottom (ground contact) with porch paint to make sure they last longer. Now if the weather will cooperate I'll be able to get the framing painted. Once that’s done, put the 1/2 inch hardware cloth in place. I have the people door and 2 access doors under the coop to frame out and then all the building should be done. September 10, 2009: Our first eggs. One of our Silverlace Wyandottes laid 2 small light brown eggs. How egg-citing! September 14, 2009: update. Placed the concrete blocks under the coop and run. Still working to level everything out 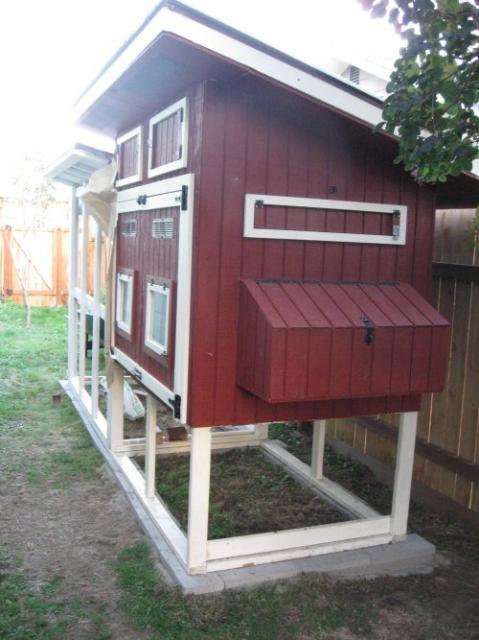
Construction Supervisor I decided I needed to add a picture of the coop construction supervisor. Everyone always includes pictures of their dog in the Here is mine, his name is Tonka and like the toy truck and he is built Tonka tough. 
This coop has been inspected and approved by TONKA. |
The Red Roost Inn Chicken Coop
- Author nwmud
- Publish date
- Updated
- Article read time 5 min read
-
- Tags
- small-coops


Article information
More from nwmud
-
 Mustard SalmonIngredients: 1 Salmon Fillet (prefer fresh Coho Salmon) 3/4 cup...