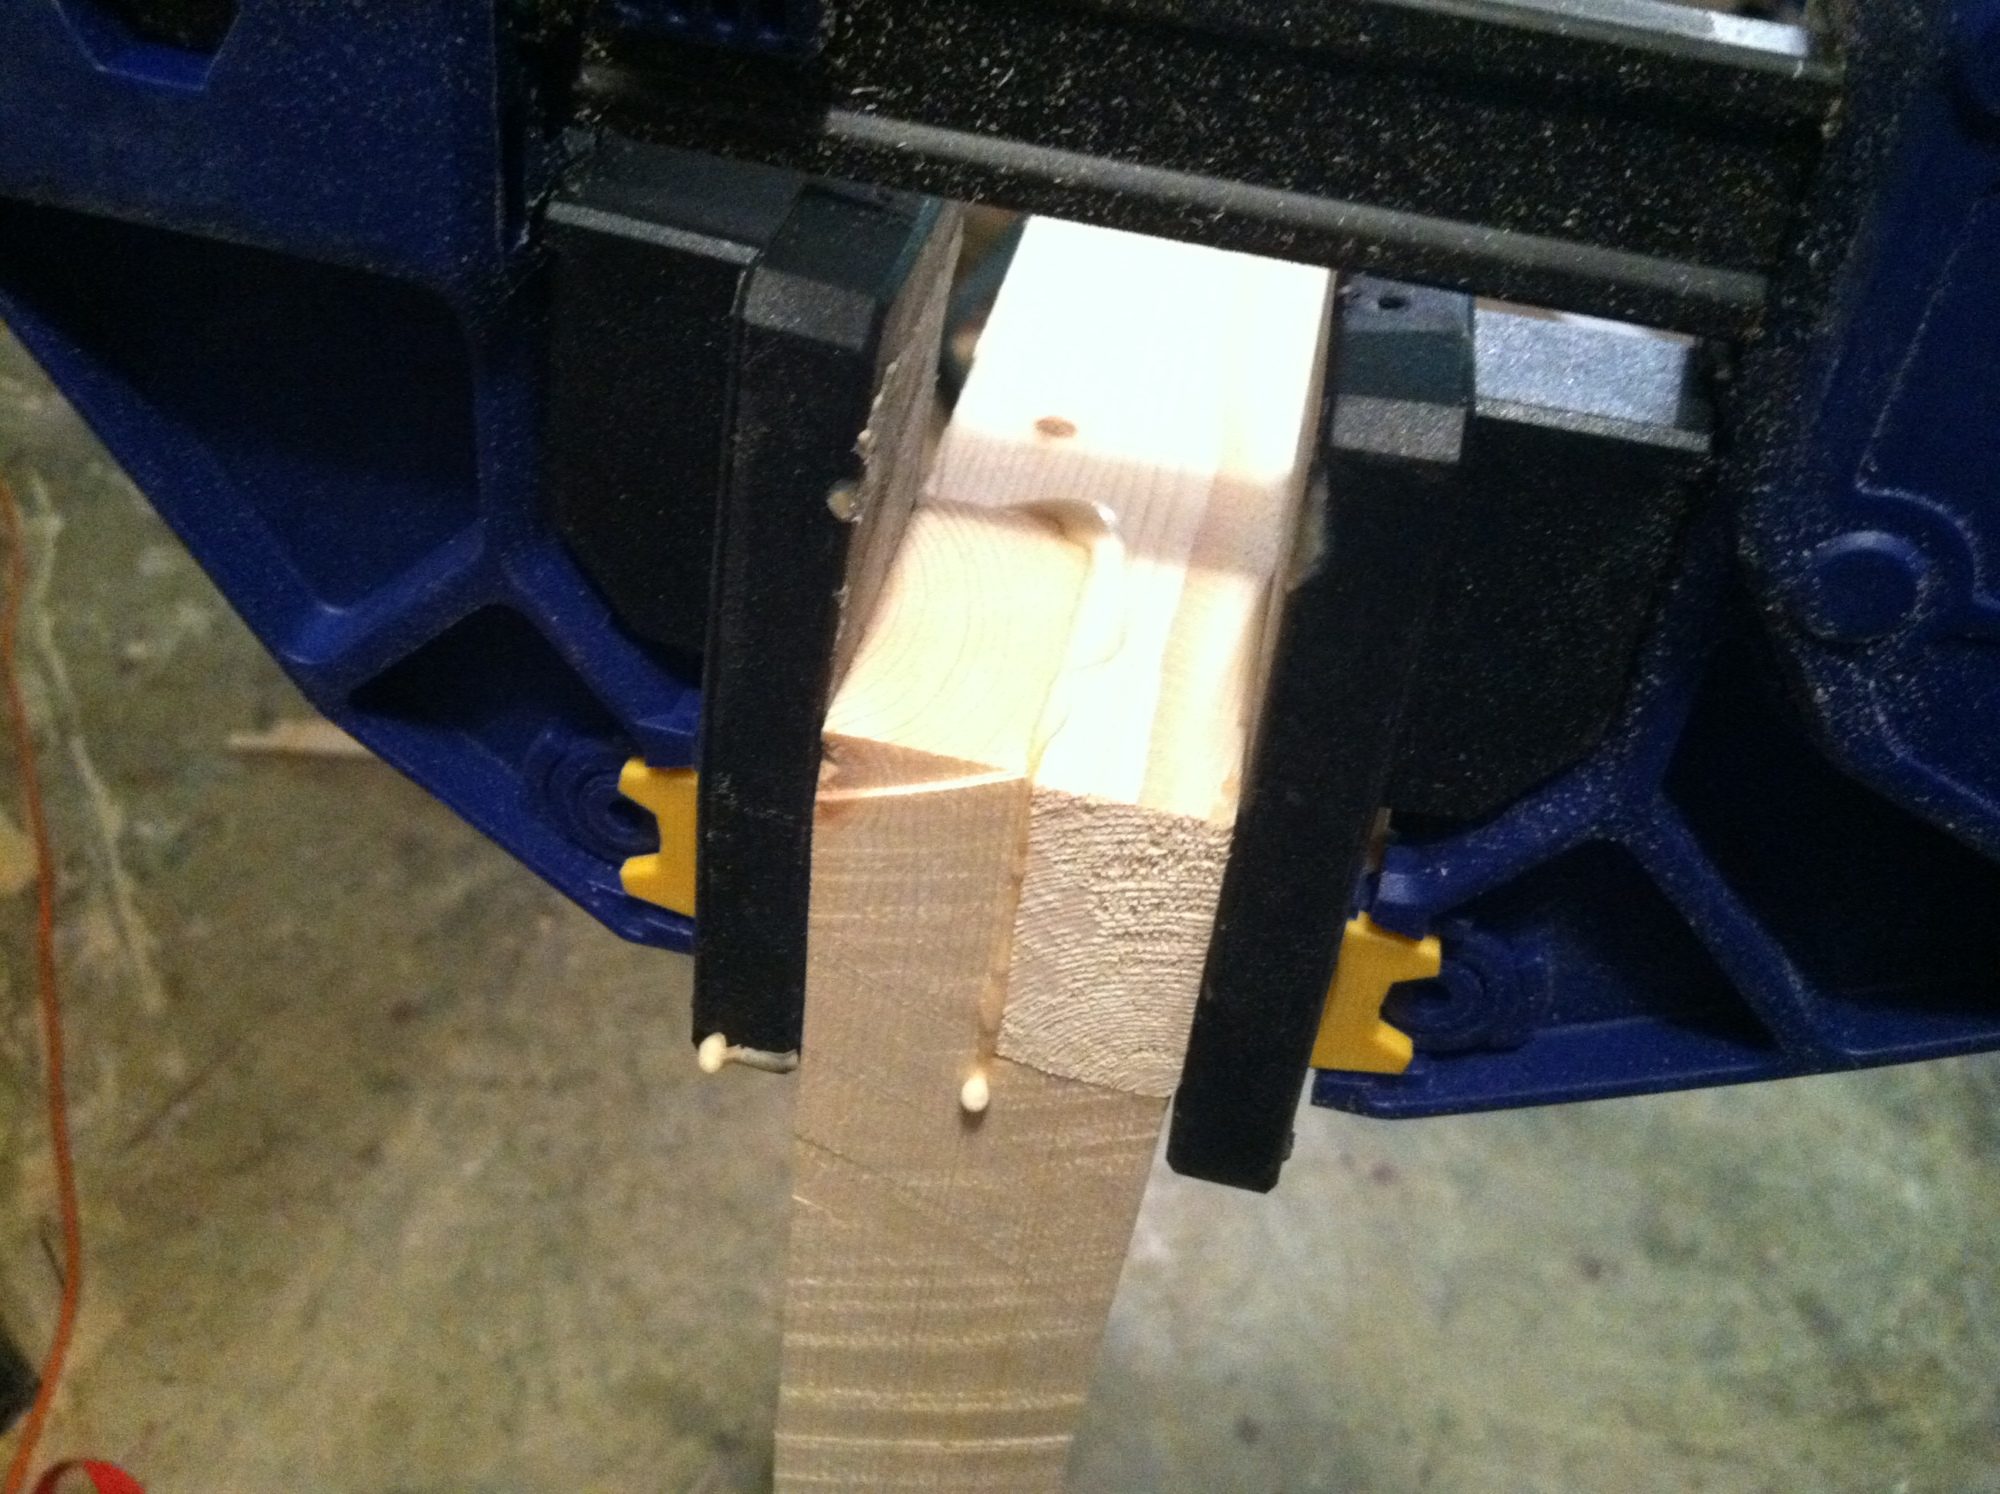
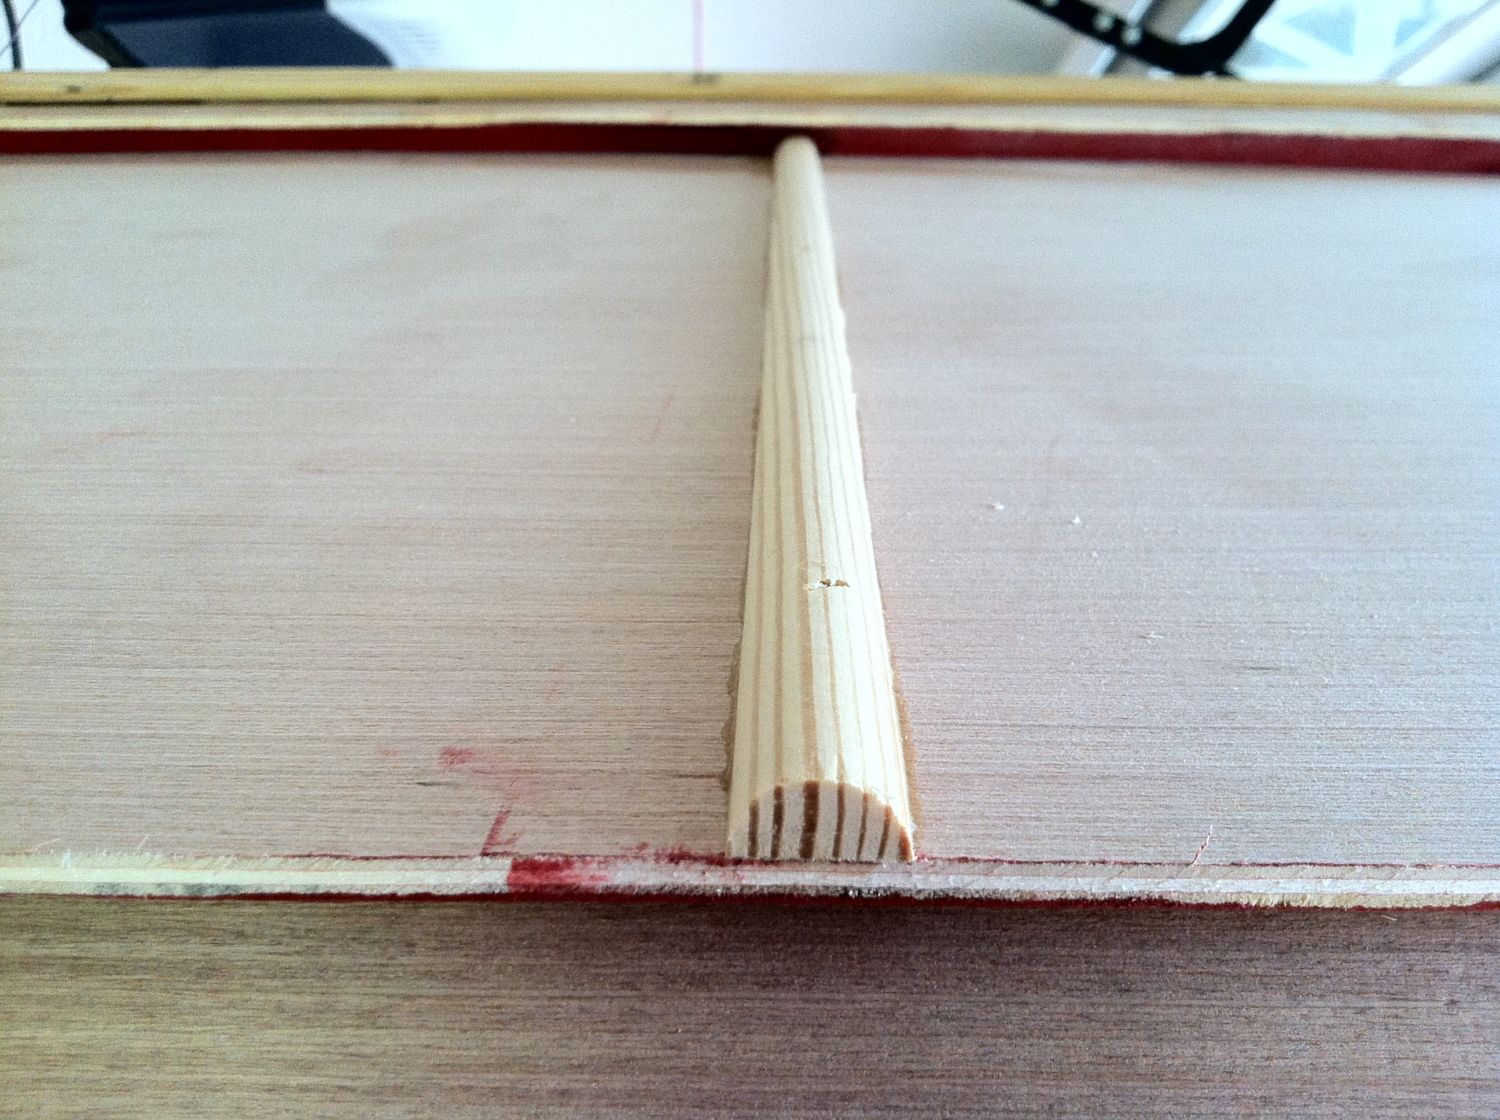
I'm still in the building process of this coop but I thought I'd add some pics up to BYC. It is a 4'W x 8'L x 6'H coop that has a 2' run underneath, 2' walk space immediately above that, with roost space at the very top. I am also going to use the run that I made before this one as an additional run area that will be hinged on the side so that the birds have an 8' x 8' run area, maybe more later with another wing making it 12' x 8'. The pic below is one of the two 2x4's that I dado'd to accept the vertical 1.5" x 1.5" boards.

This is the bottom section of the 1.5x1.5 that attaches to the 2x4
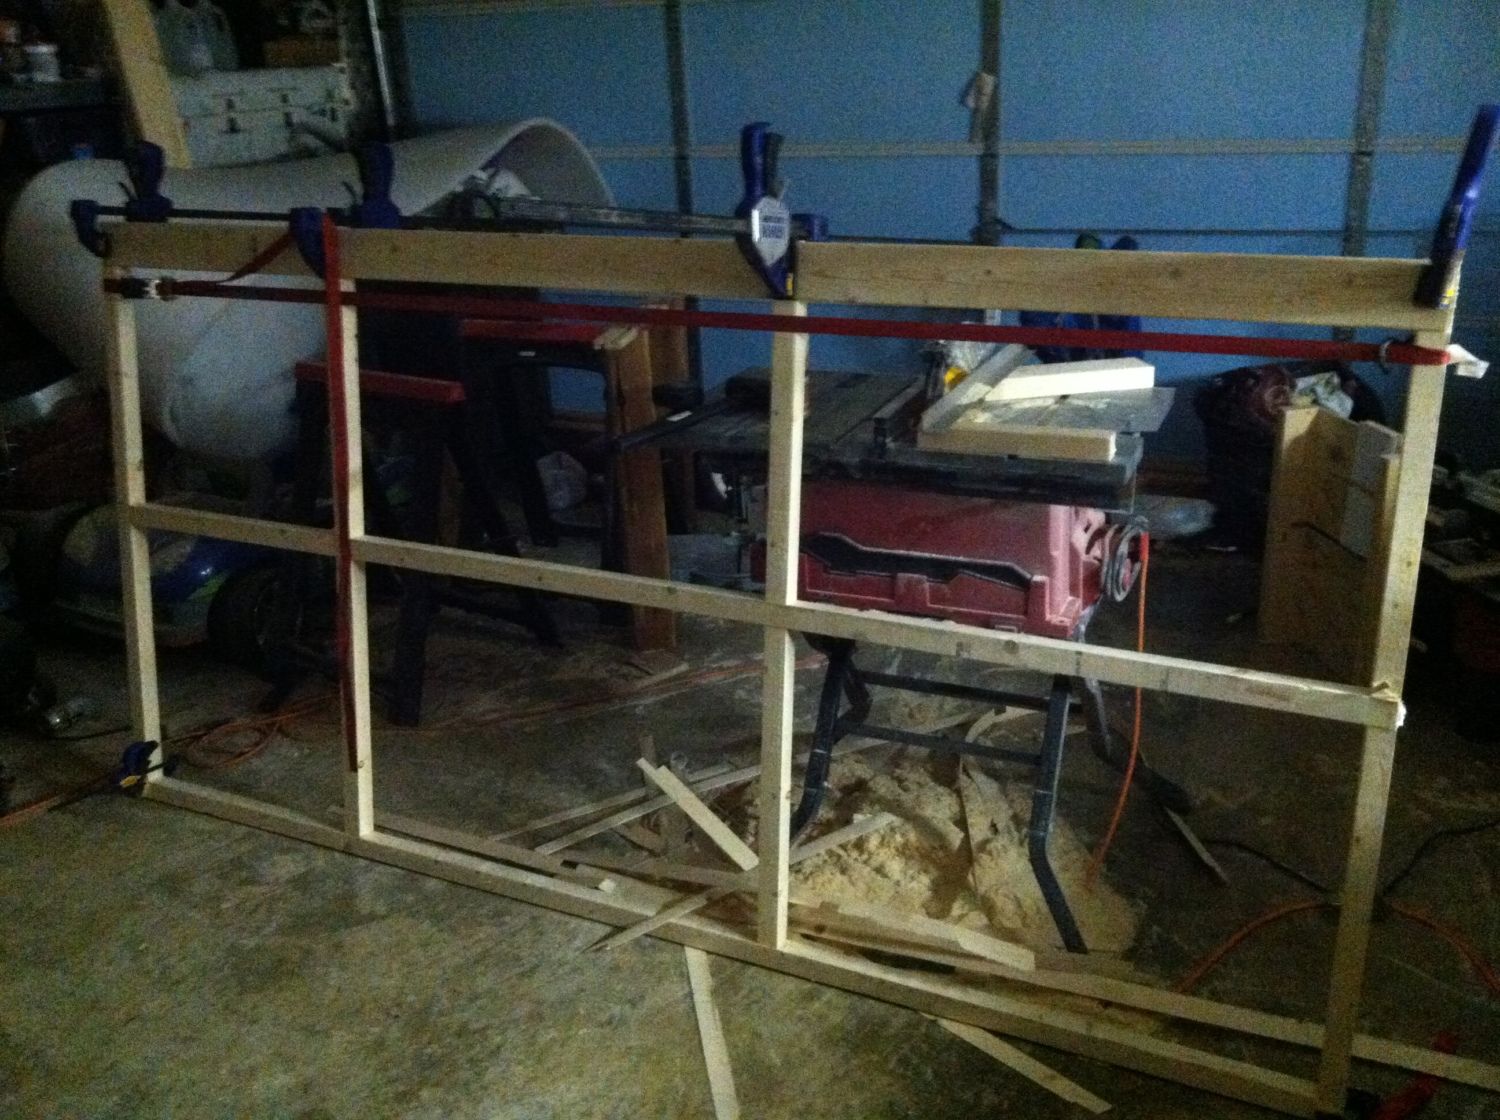
Started the clamping and glueing here for the first side piece.
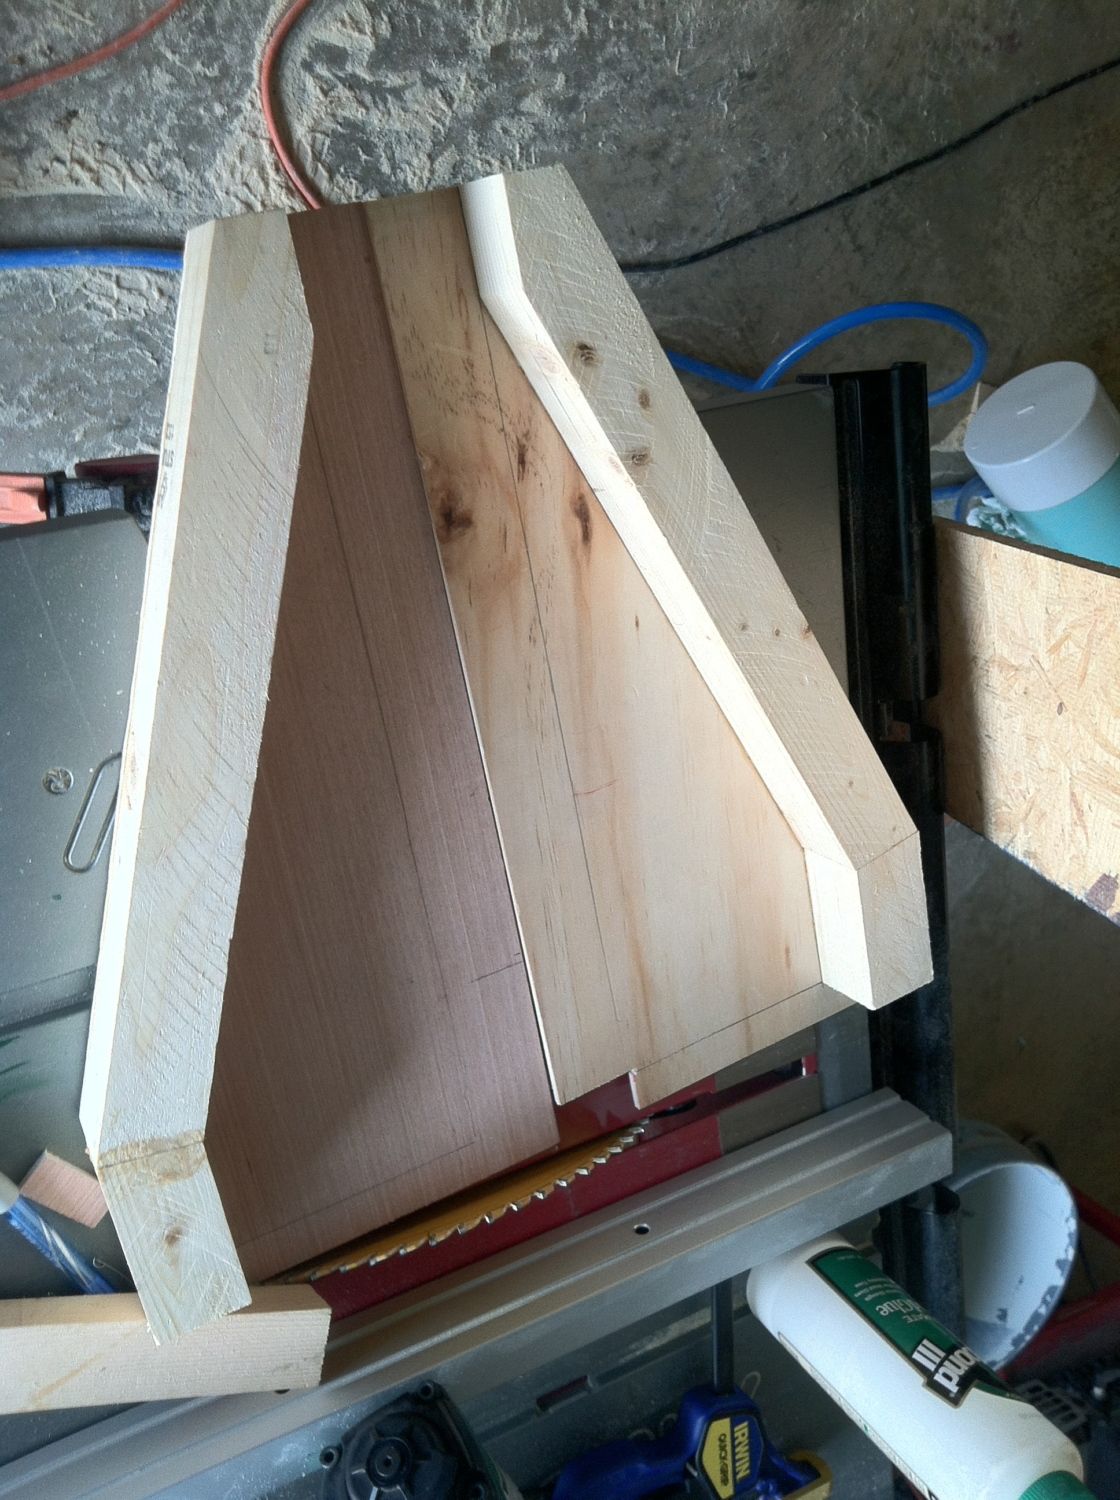
Here you can see a corner so you understand what I was going for. At this point there are no screws in the assembly yet and it was quite strong. Some of the boards were warped after ripping them into their sizes, so the clamps held them together until the glue was set.
One side complete! It is actually upside down here, the 2x4 will be on the bottom.
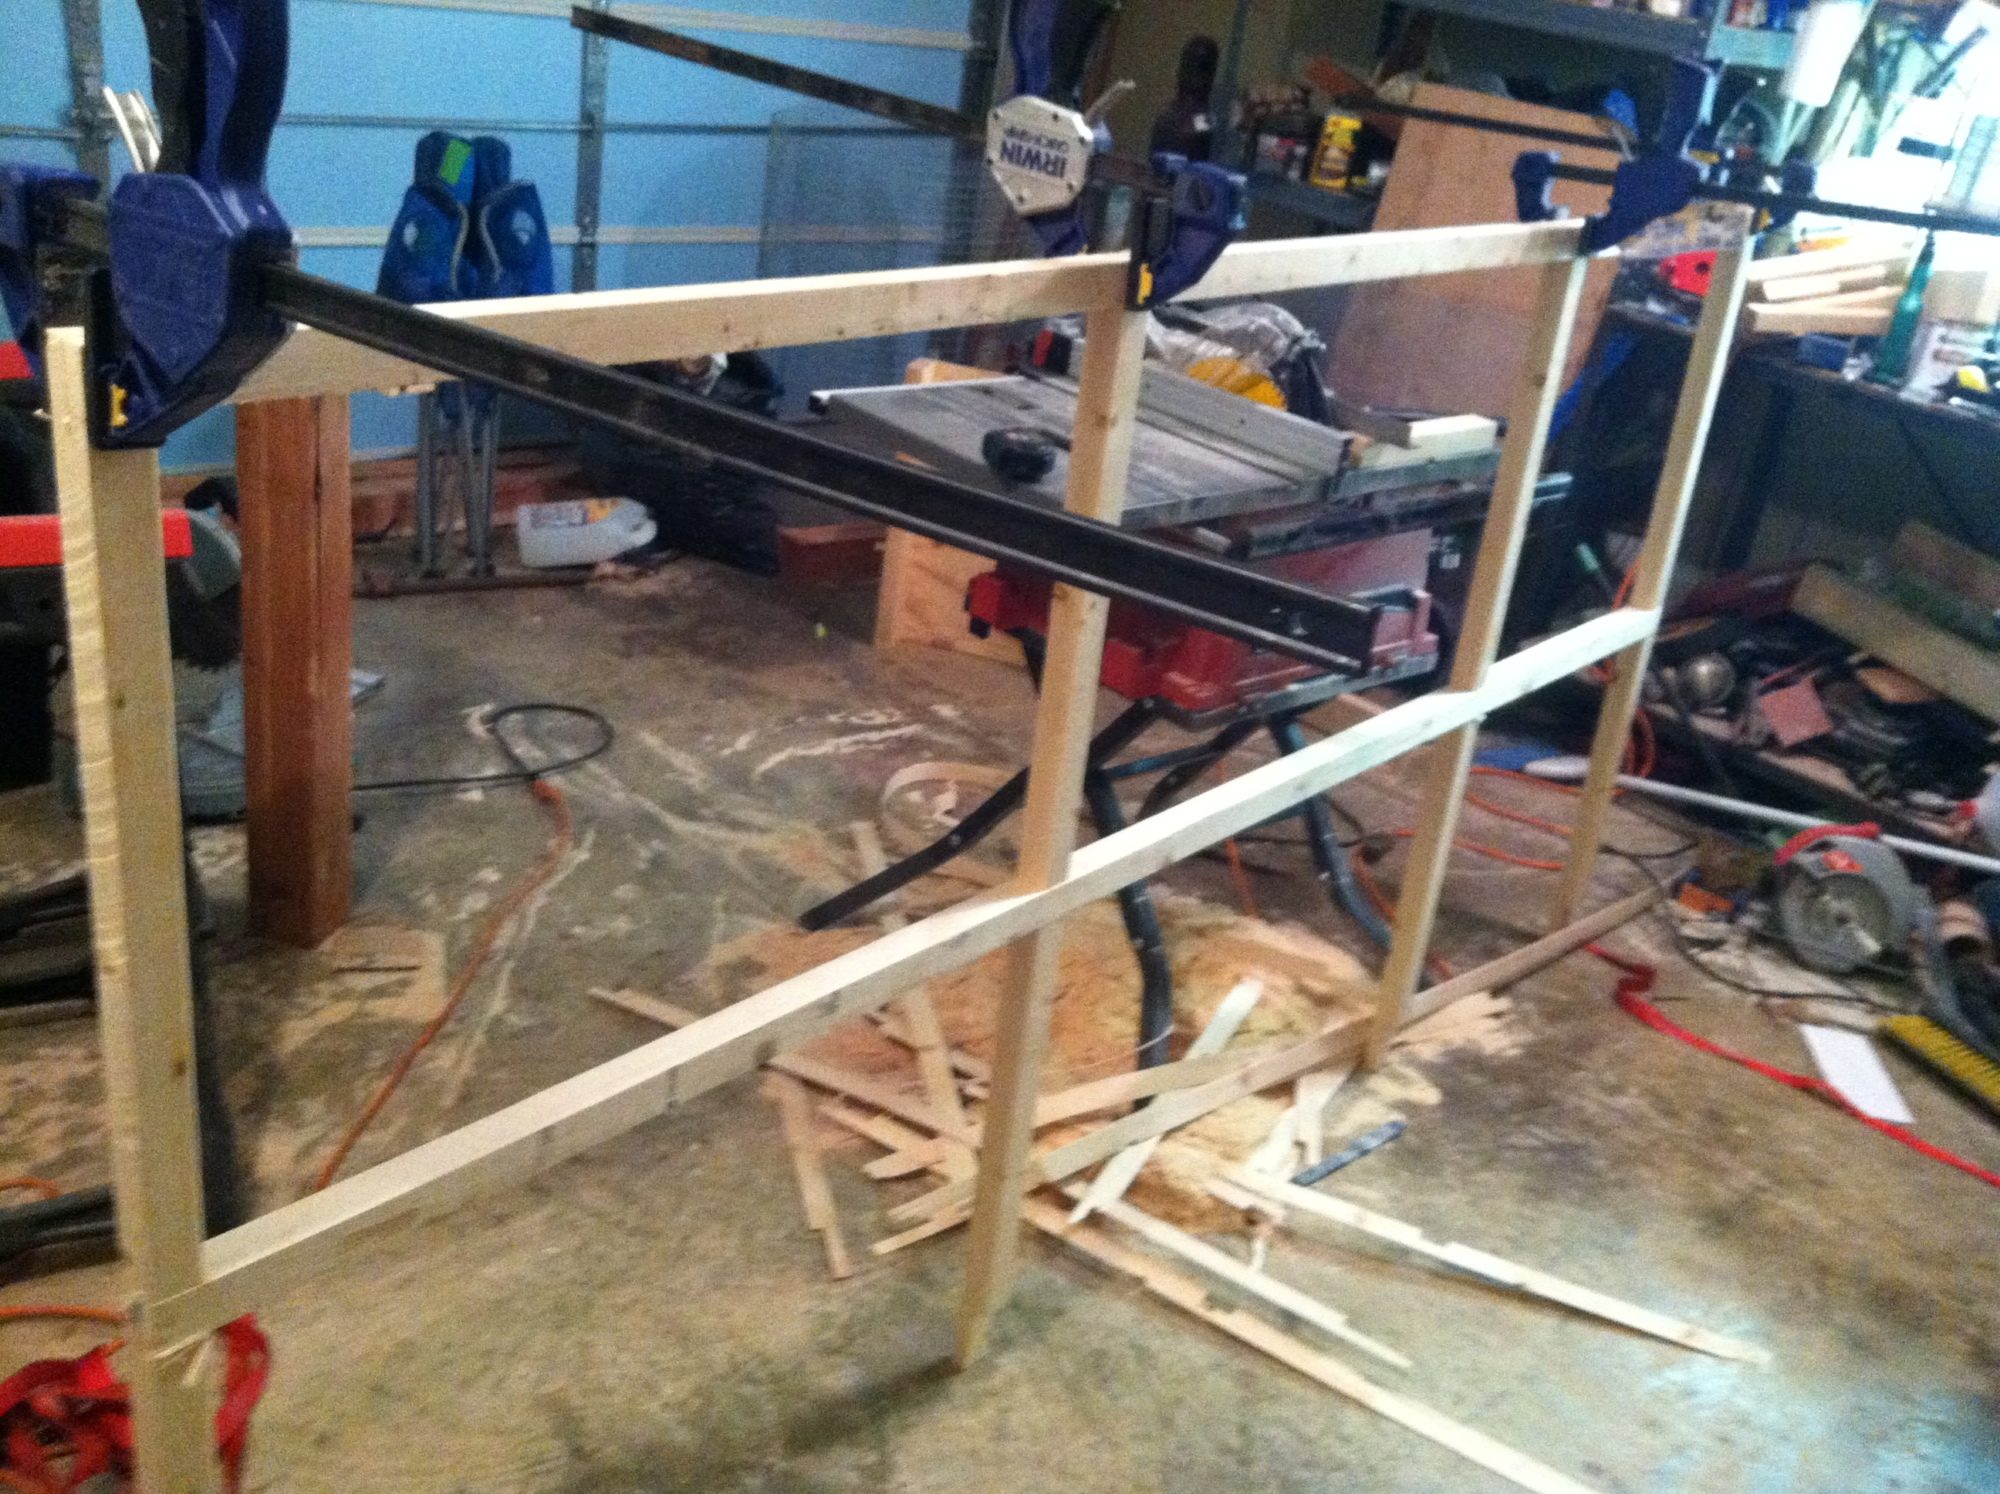
Both sides are done and now I'm putting the center pieces in place. One screw attaches all three boards together at every joint, that is why I only used glue early on the sides. Stronger joints than only screws, stronger joints than screws and glue, dado cut cut joints with glue and screws. With glue alone on the sides with the dado they didn't flex at all with lateral force (pushing on the end of the side)
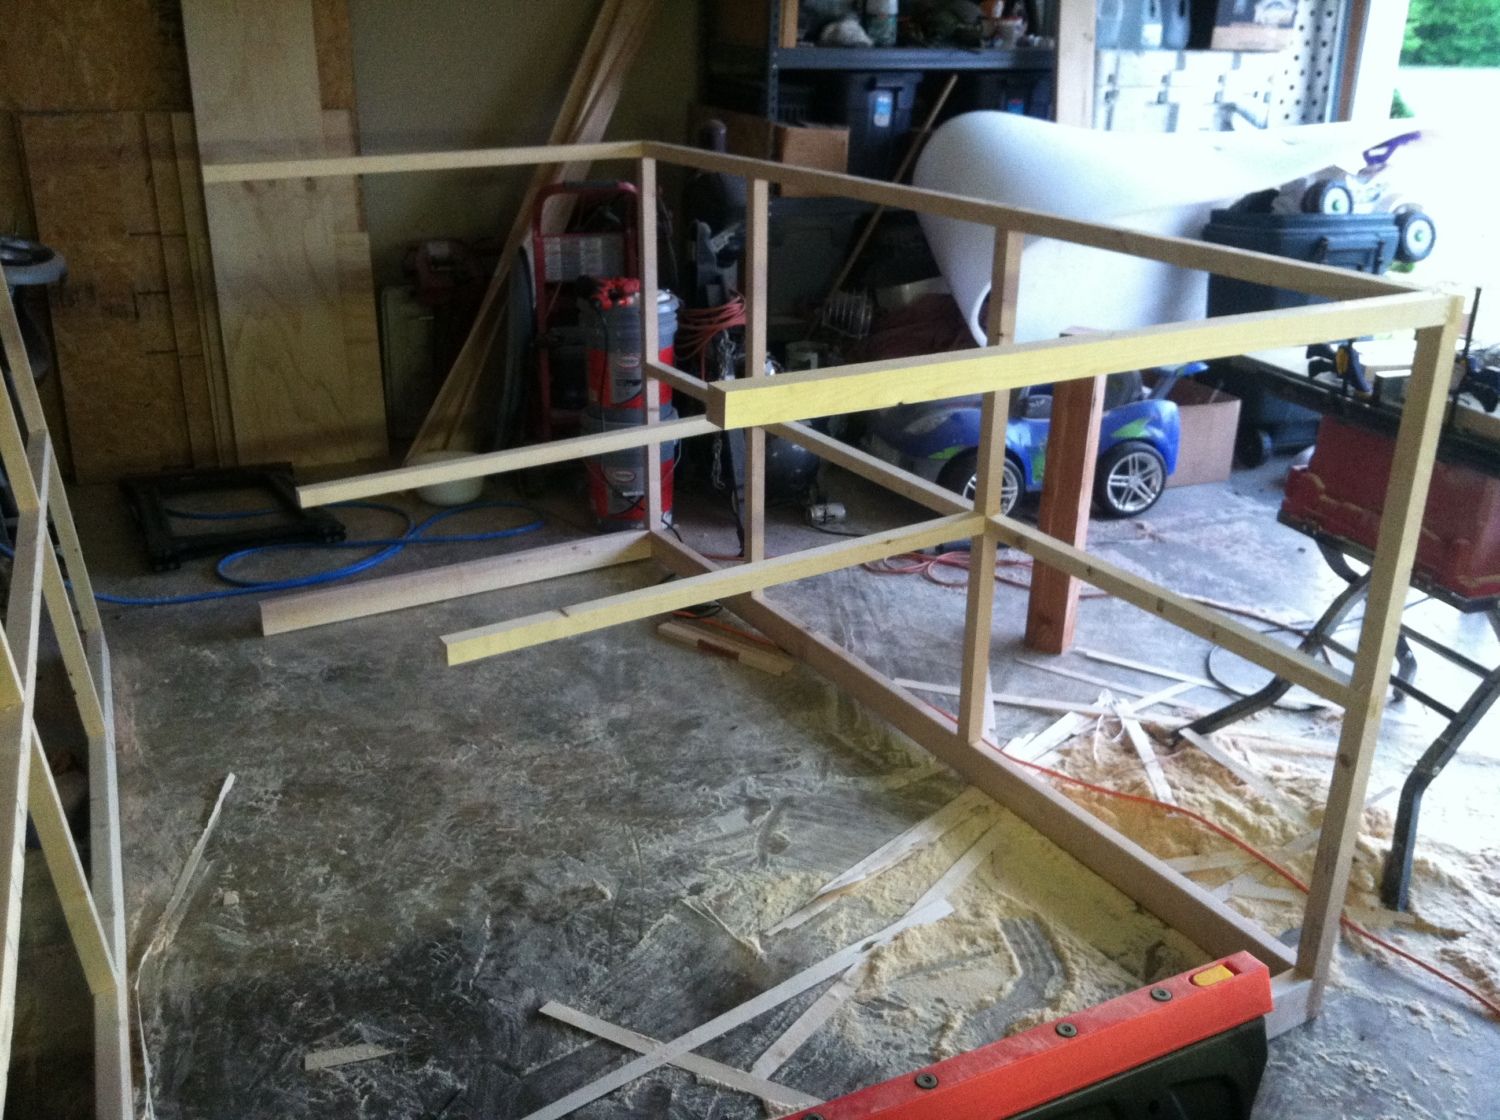
Both sides attached and still working on putting in the center pieces.
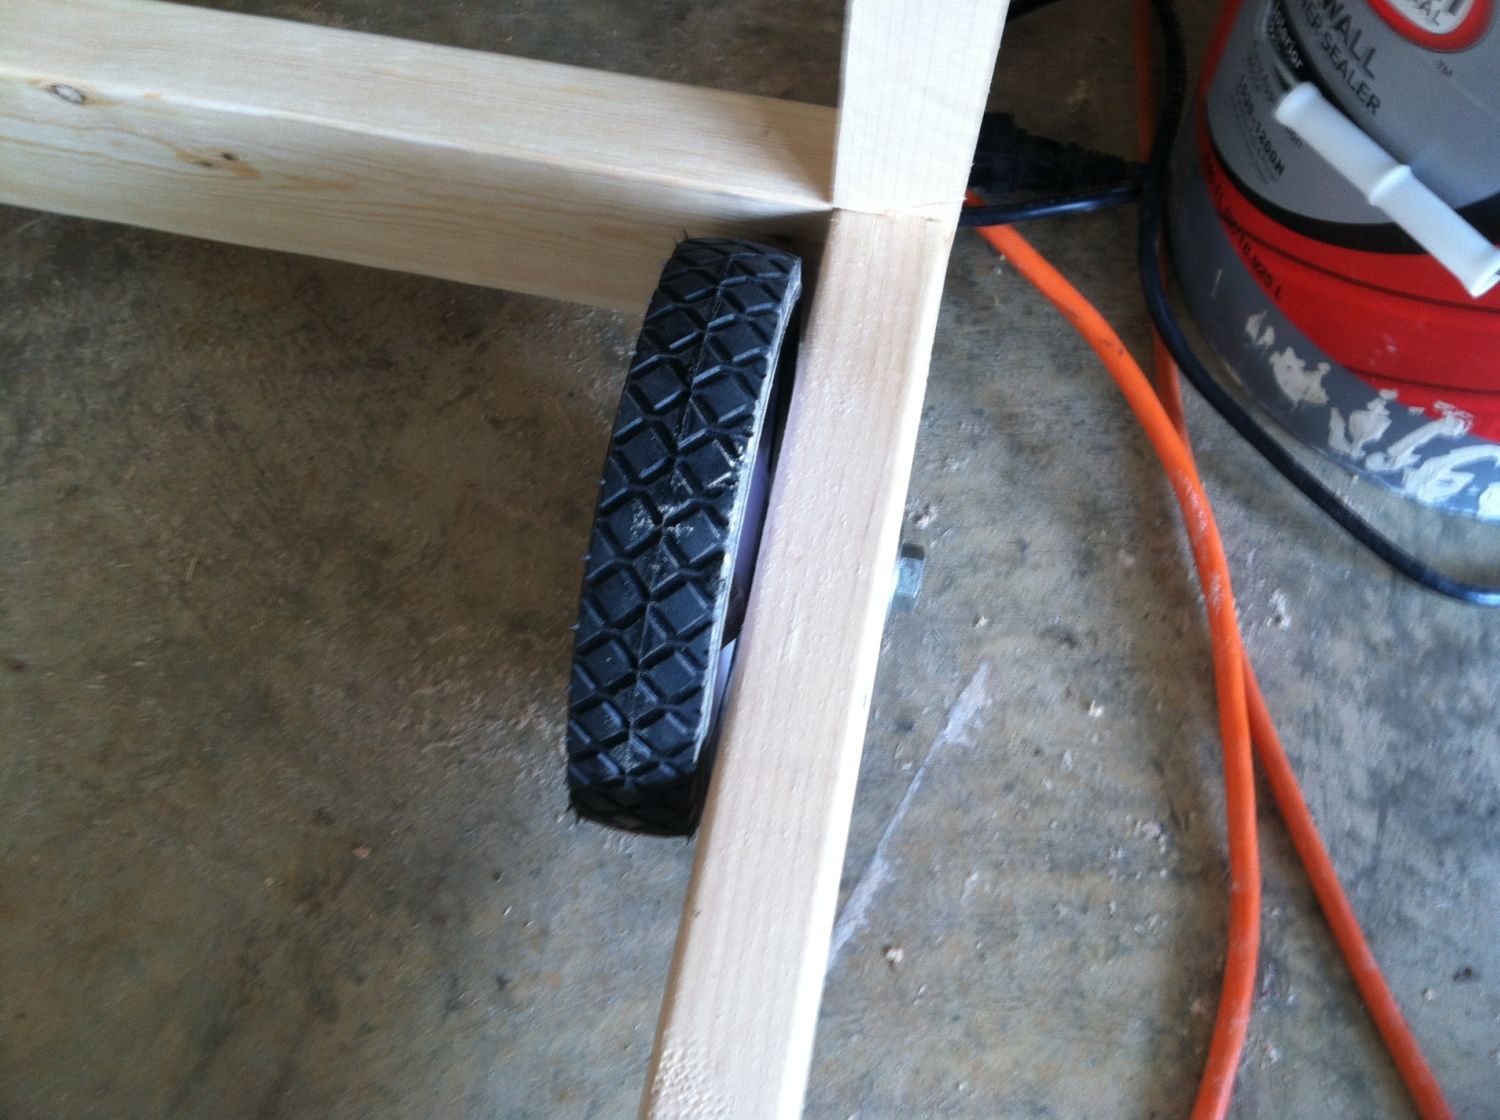
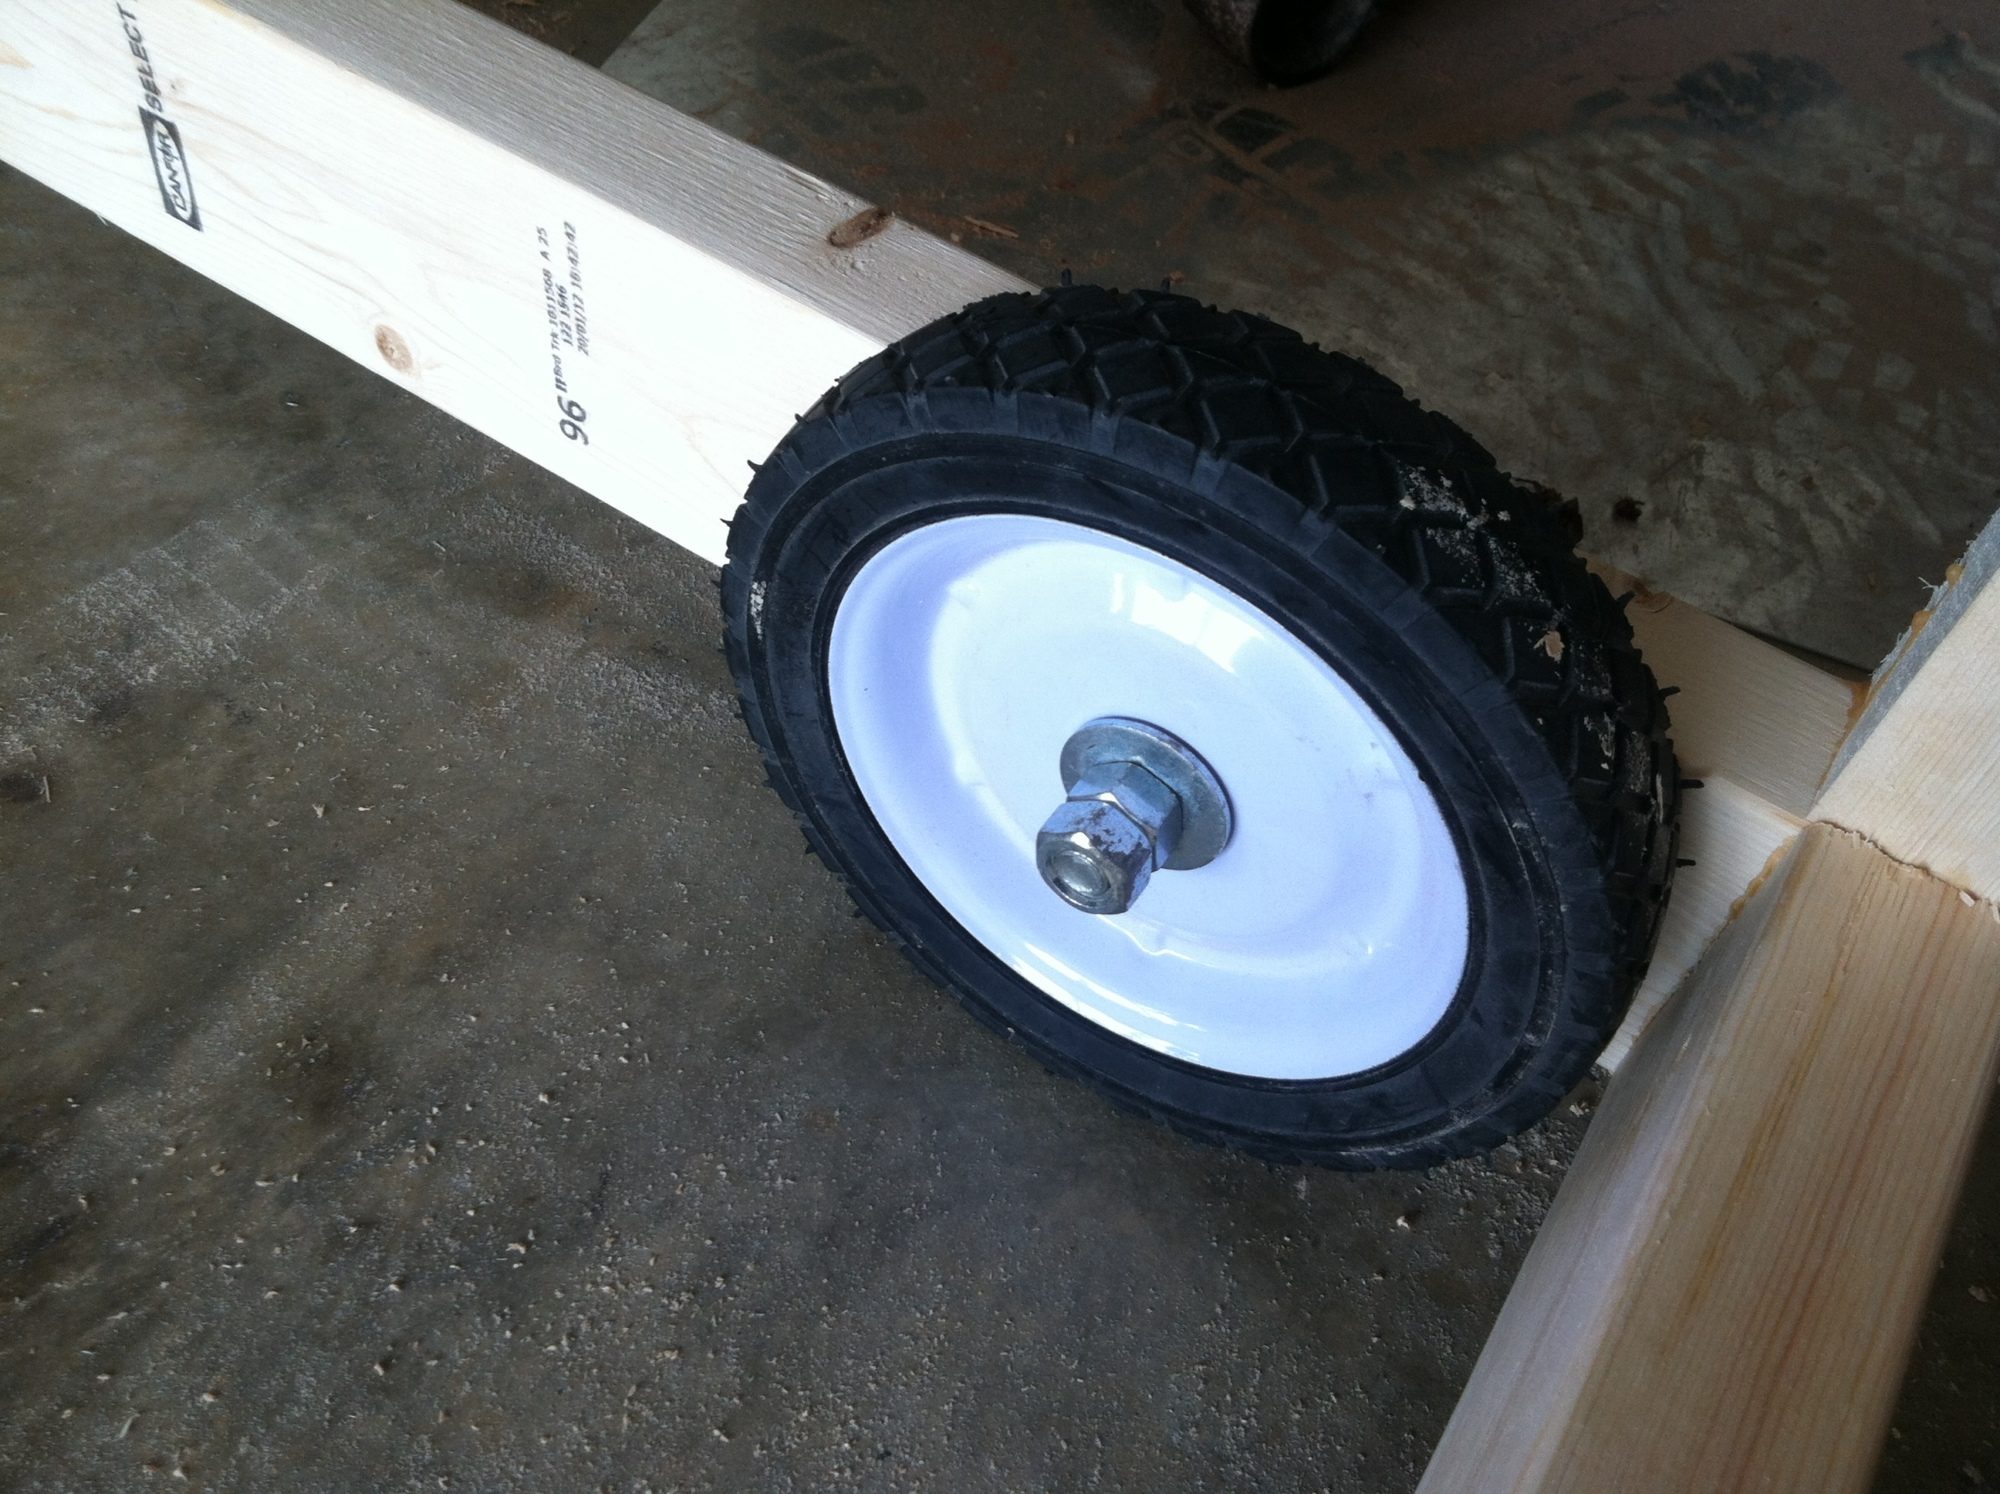
Here are the wheels for the heavy end of the coop.
These are 7" wheels that I picked up in the mower repair section of Walmart for a couple dollars. They are mounted on 1/2" bolts and jam nut'd since a lock washer tight wouldn't let the wheel spin. Took me a while to figure out how tight to make it where the wheel wasn't floppy but still spun easily.
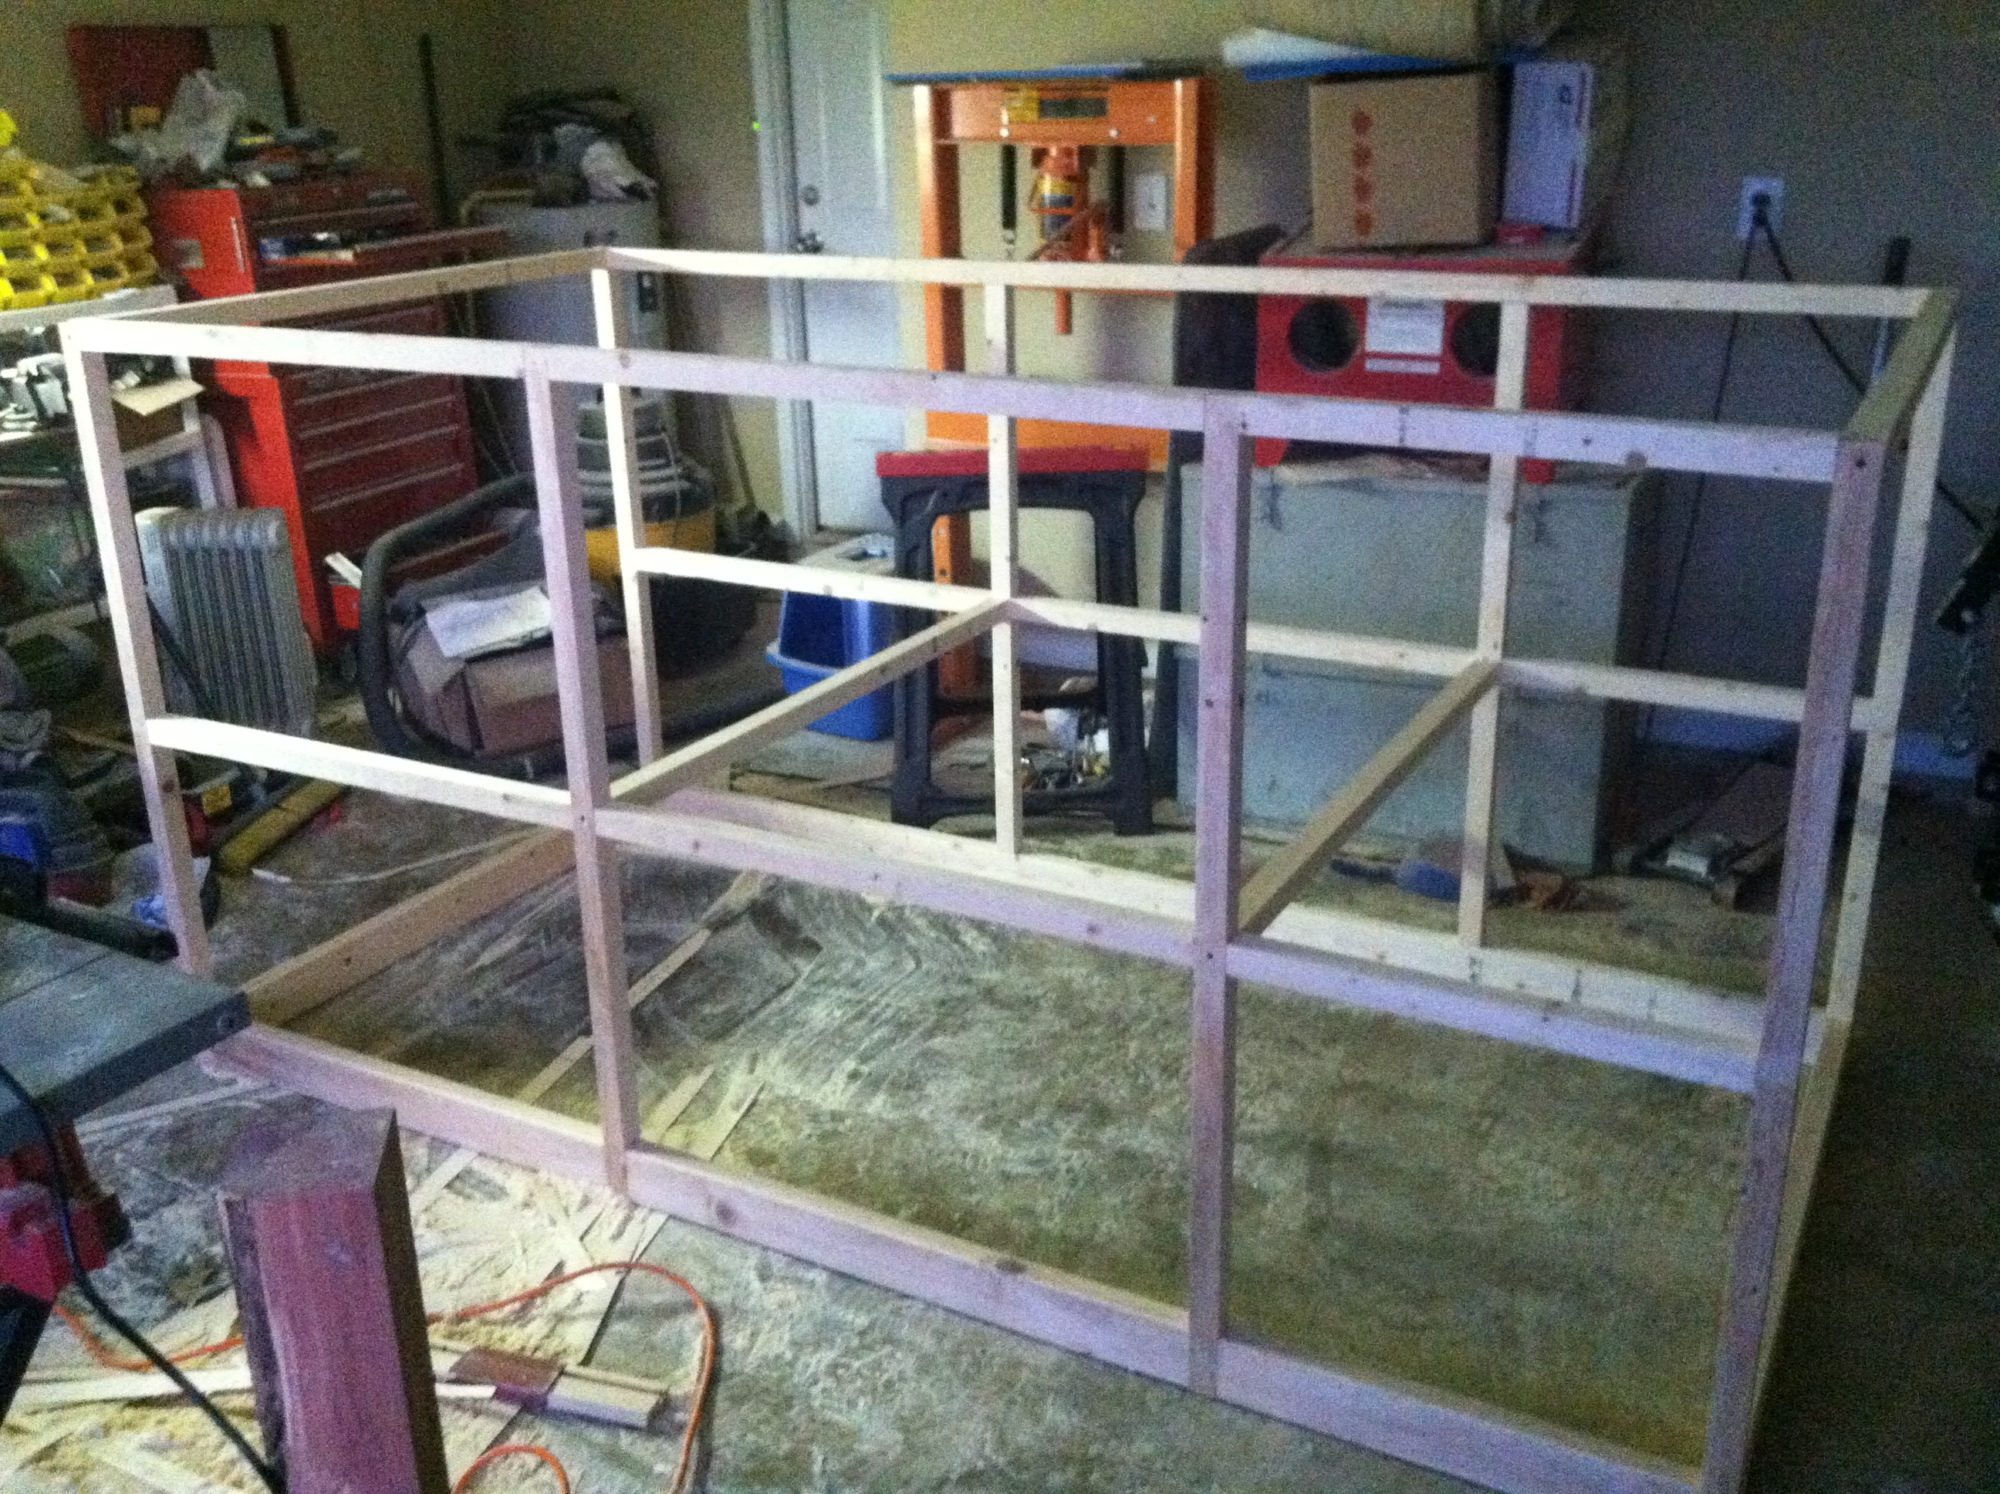
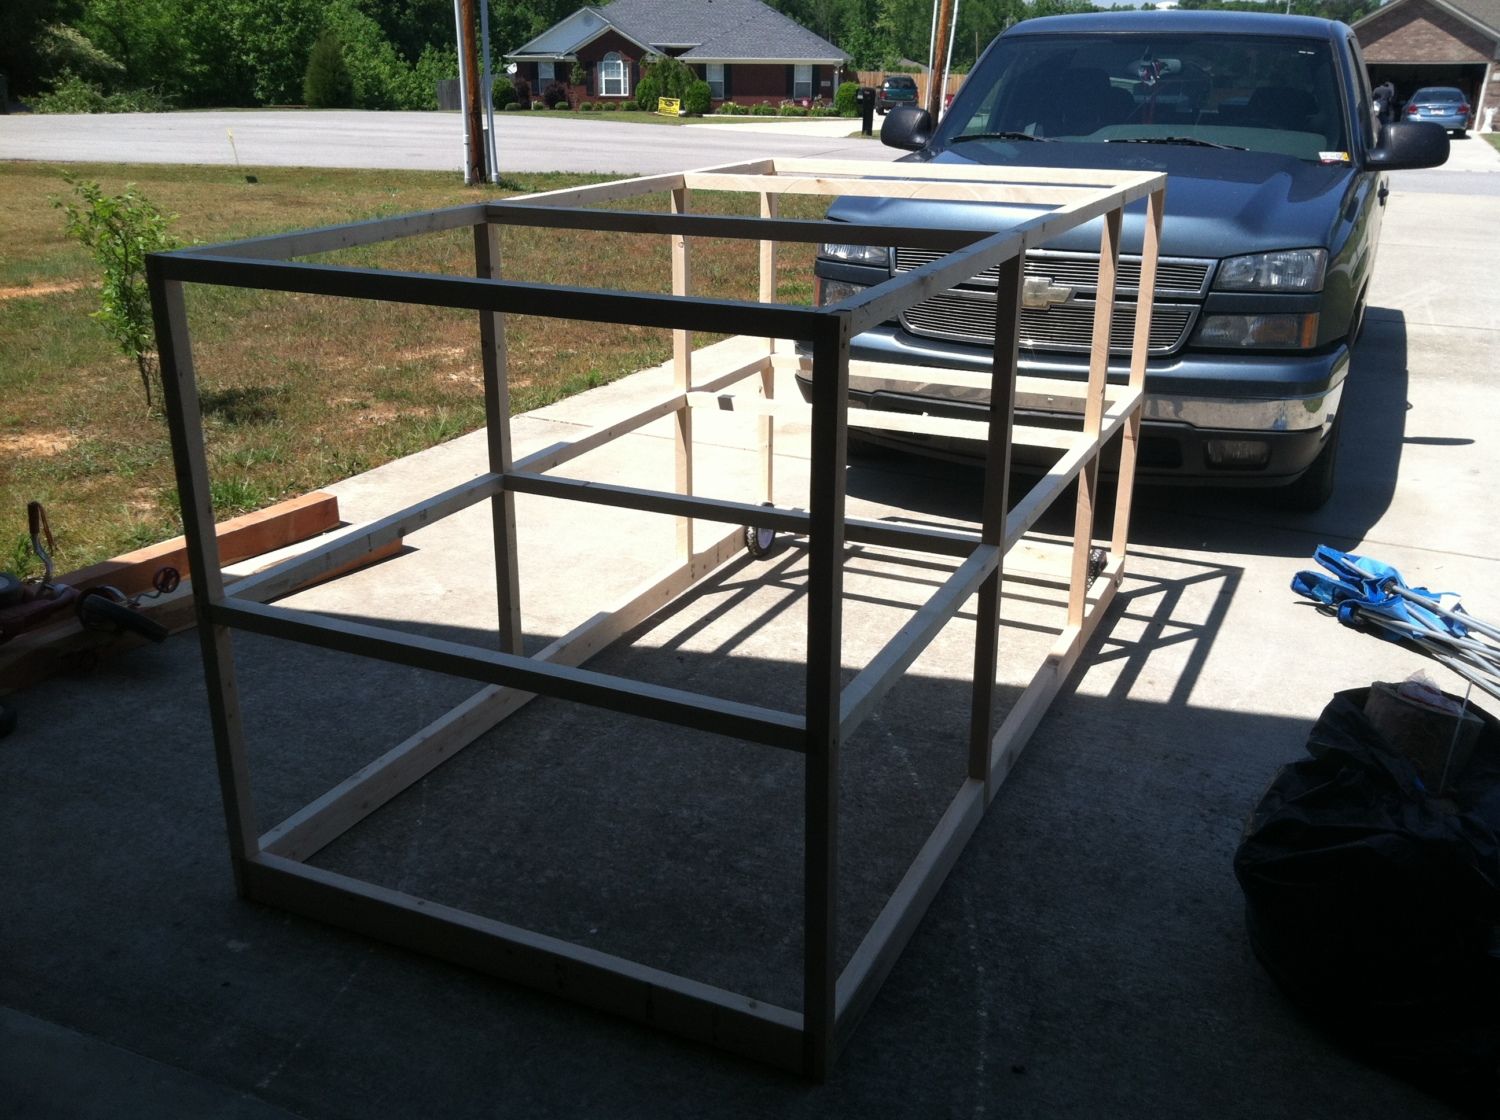
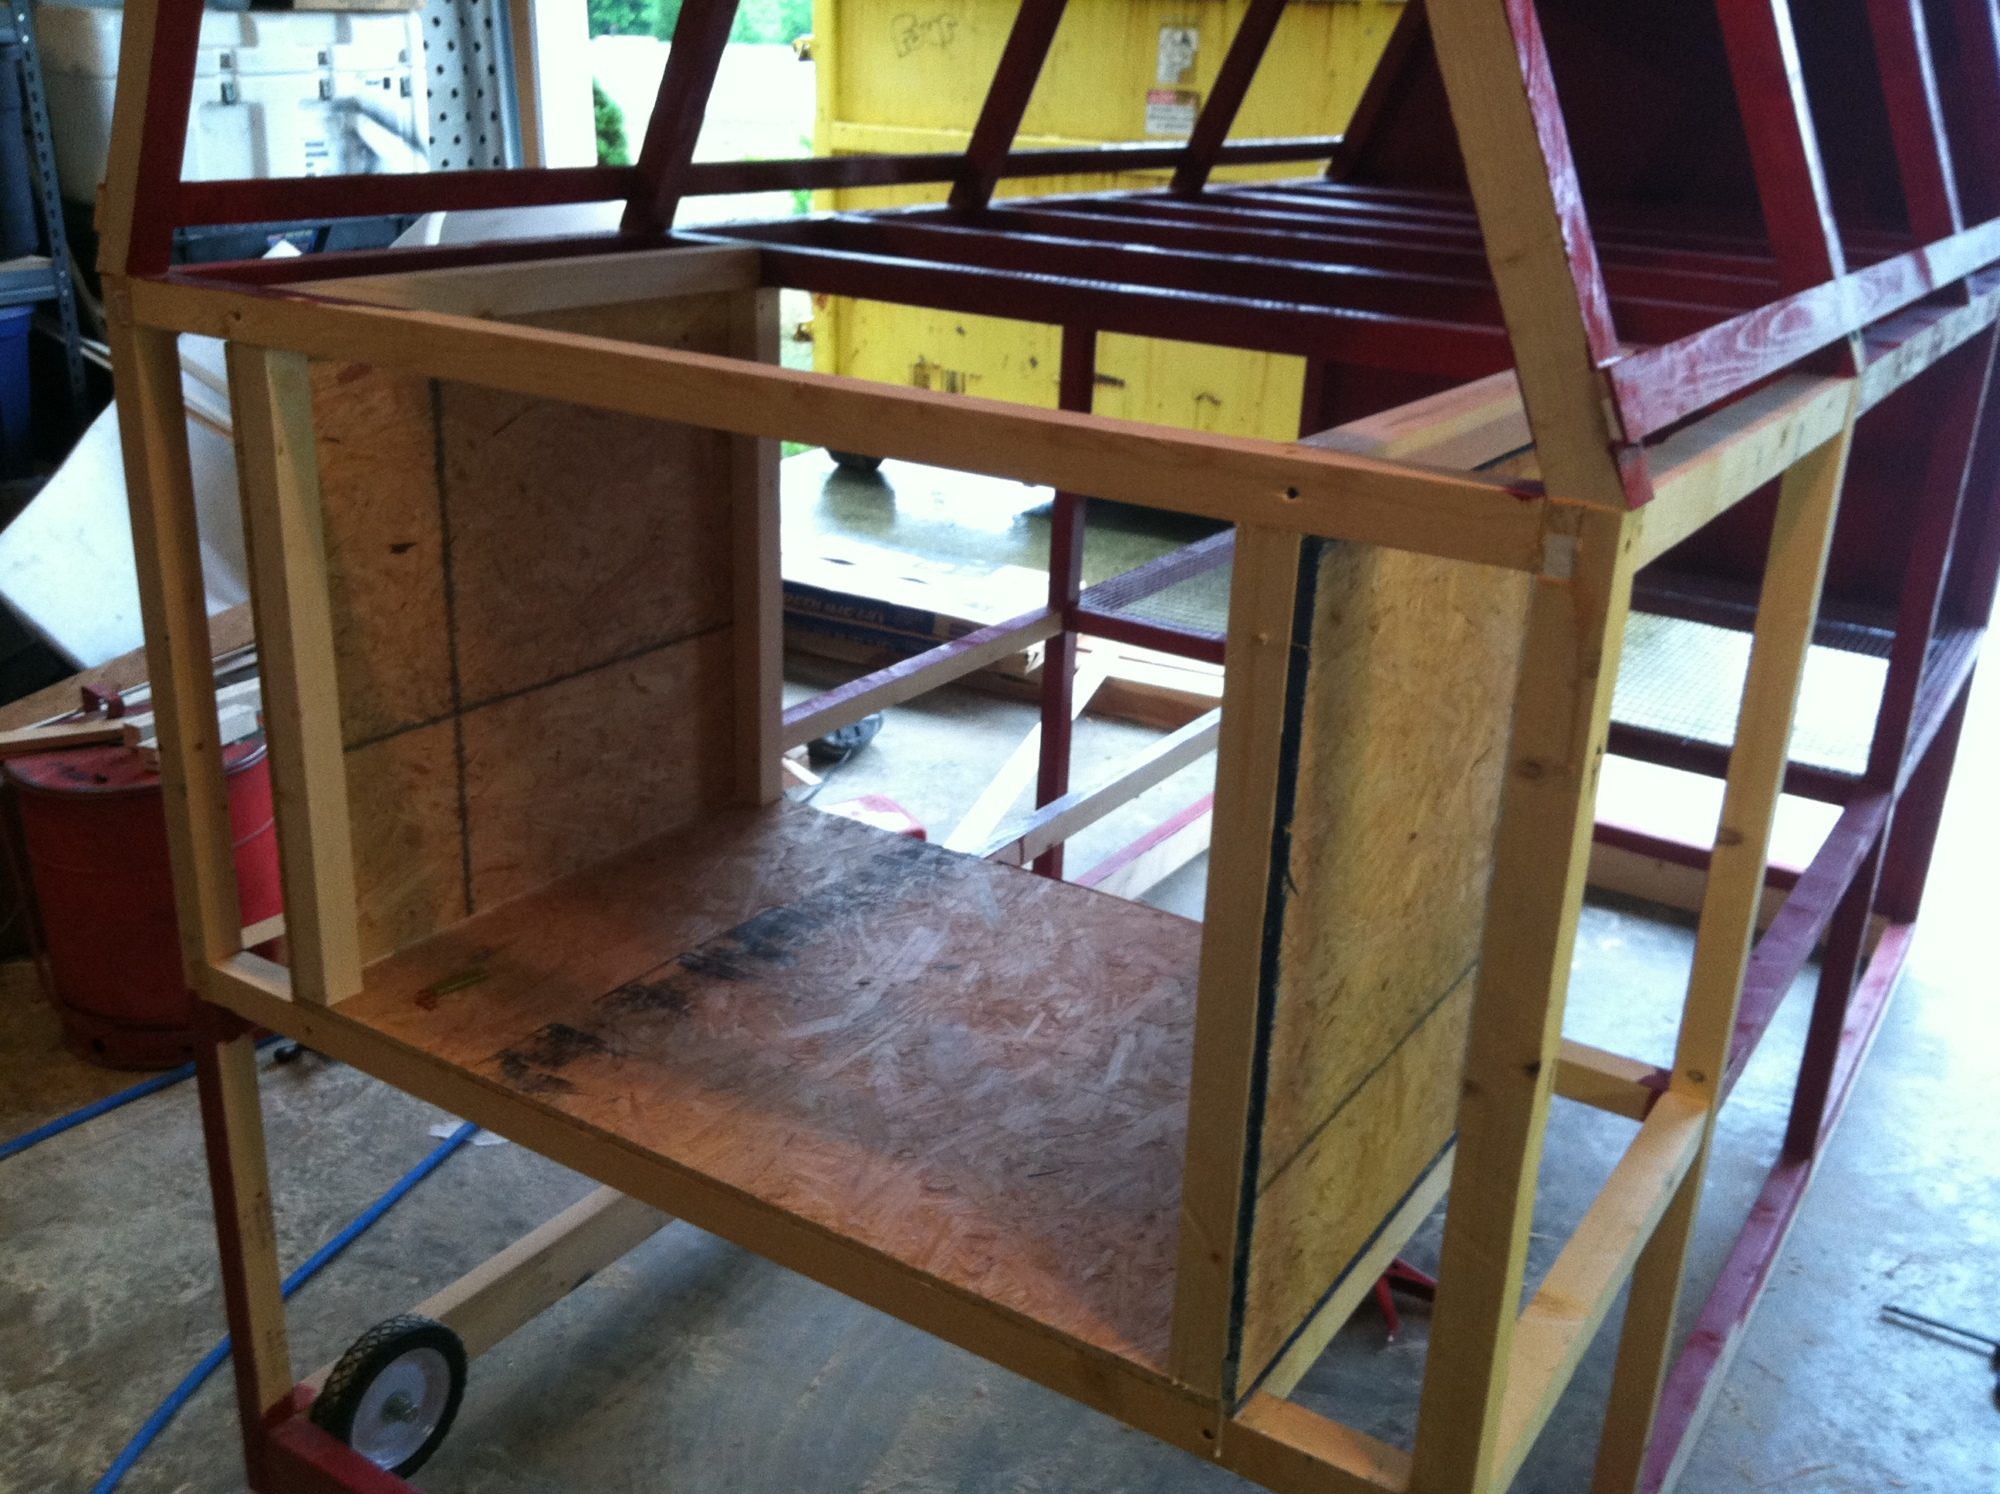
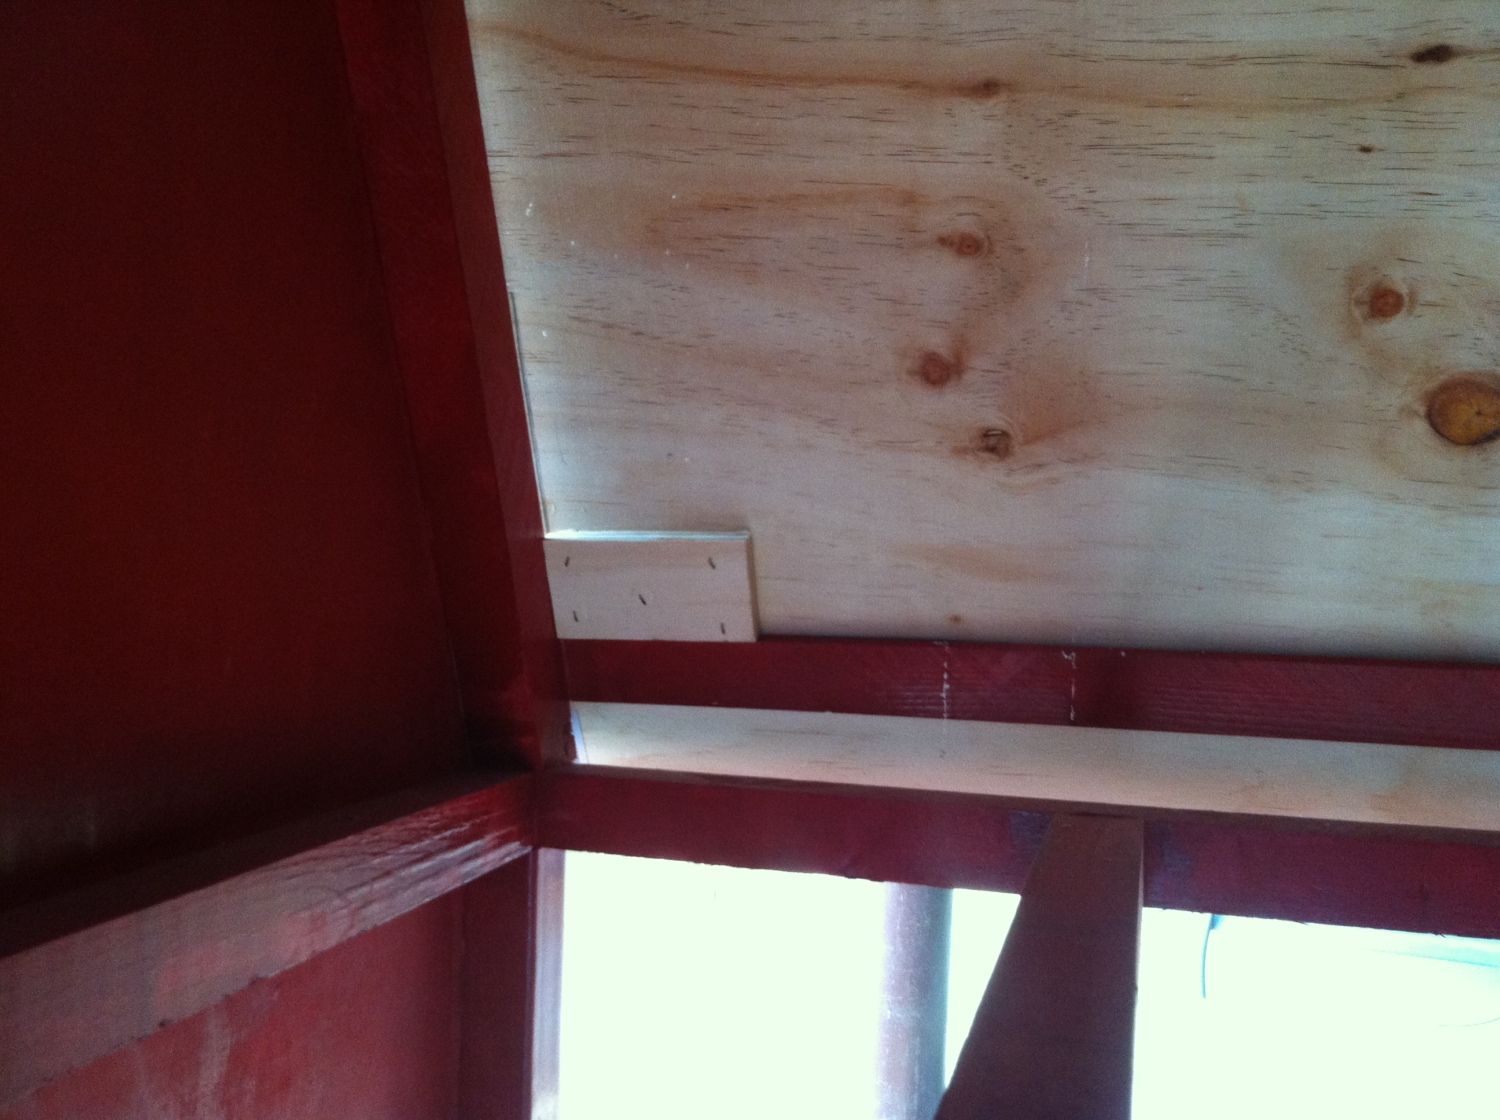
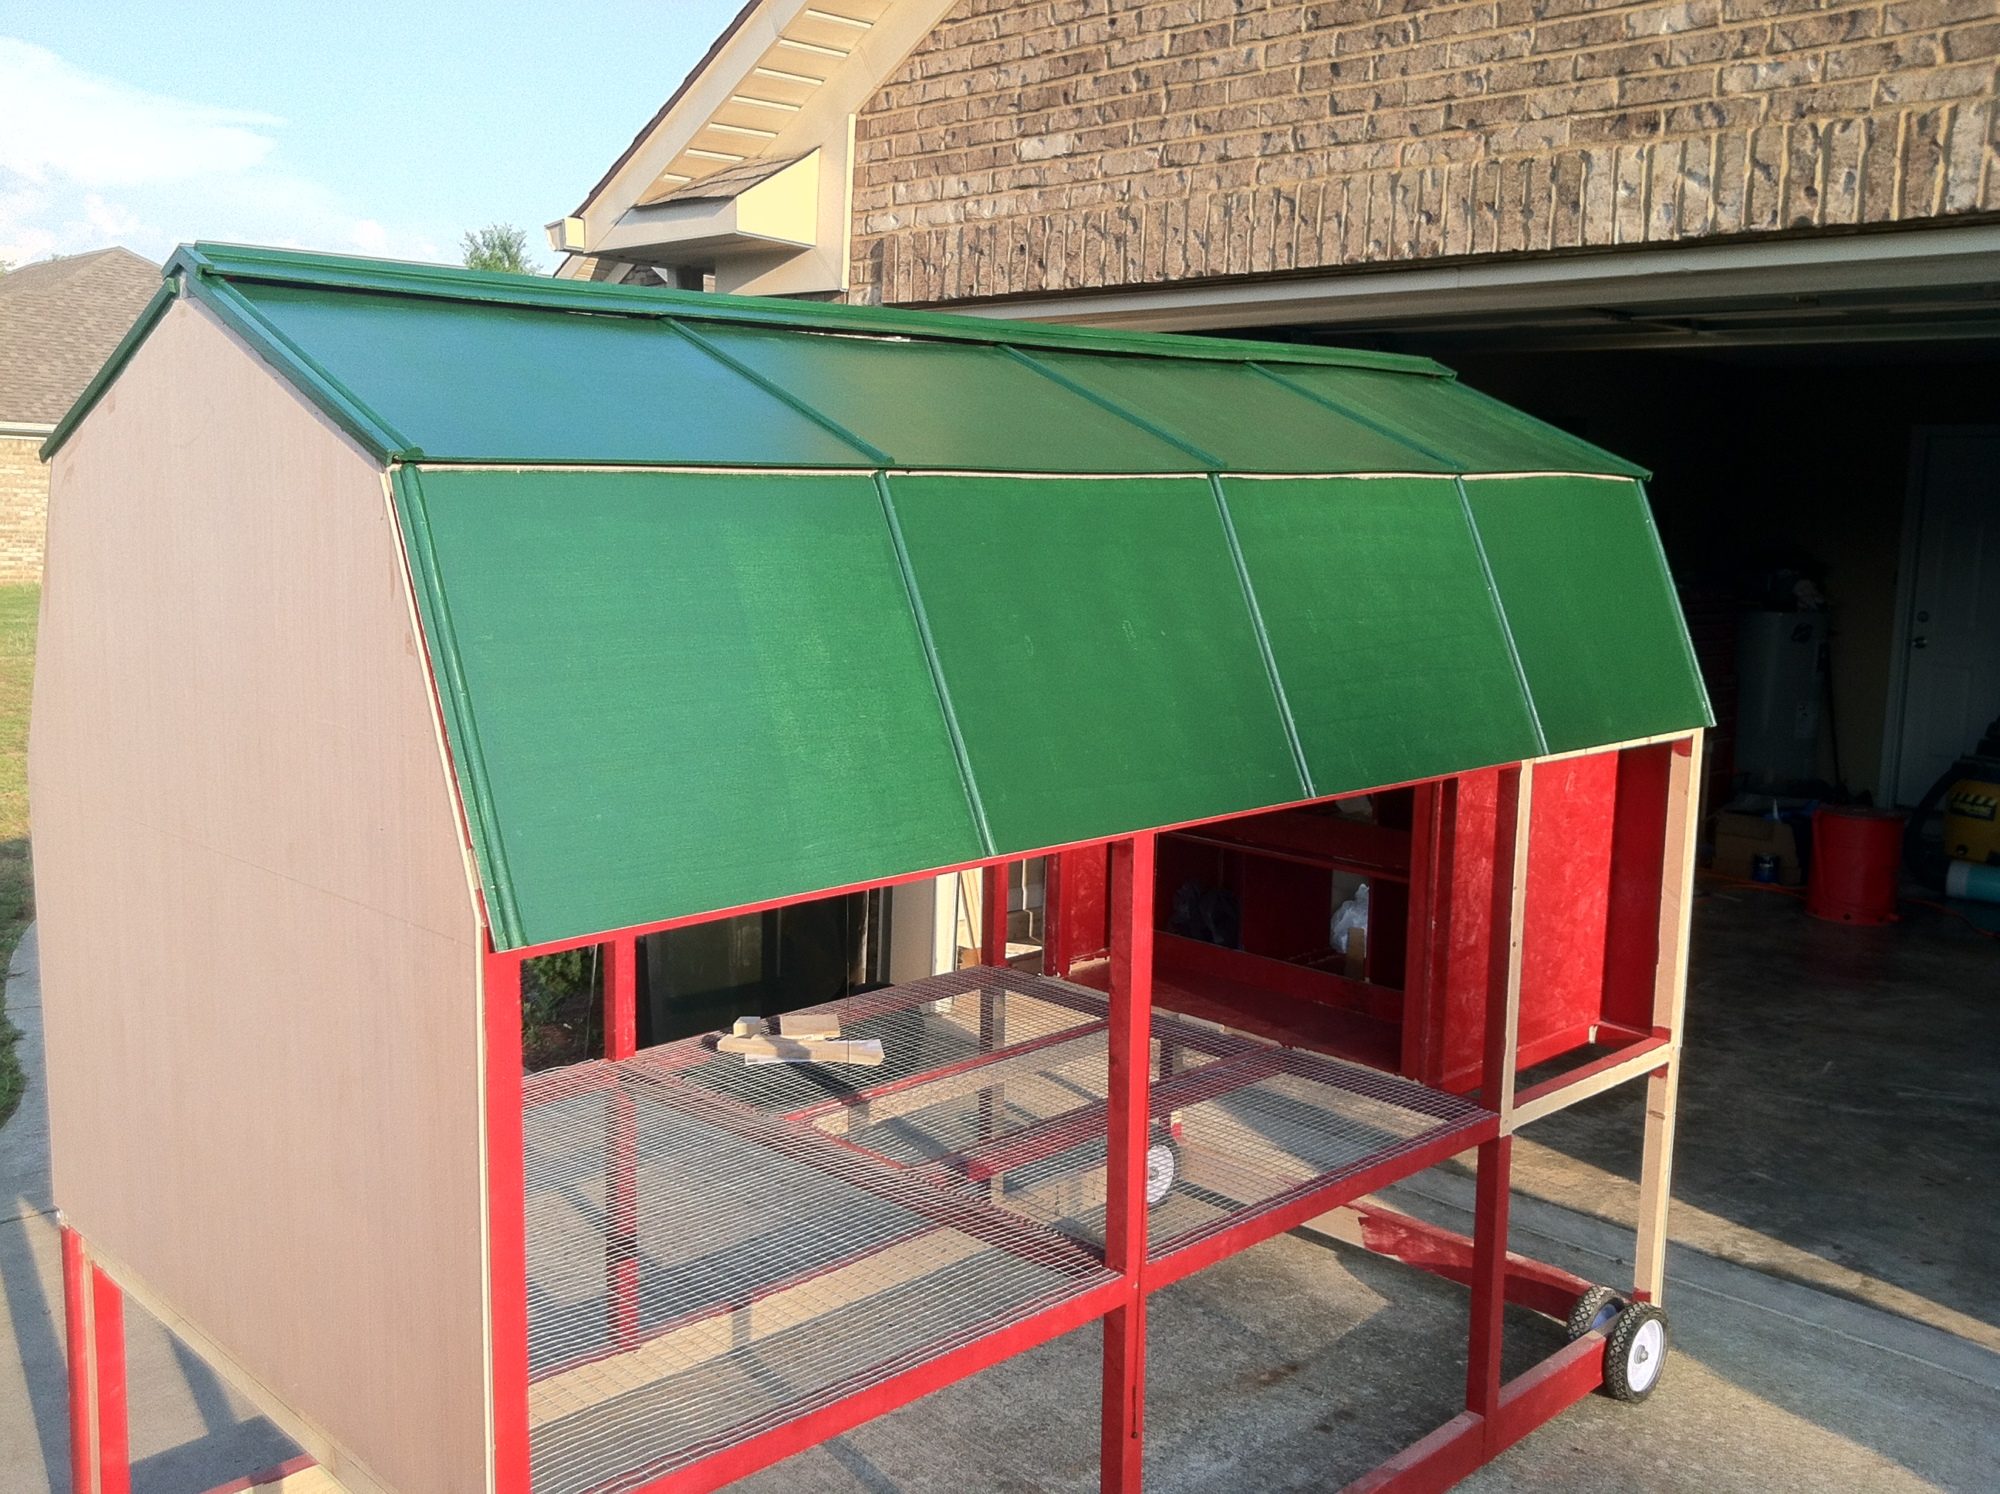
Here is the main frame of the coop completed, without the 2' of roof and roost space on it yet.
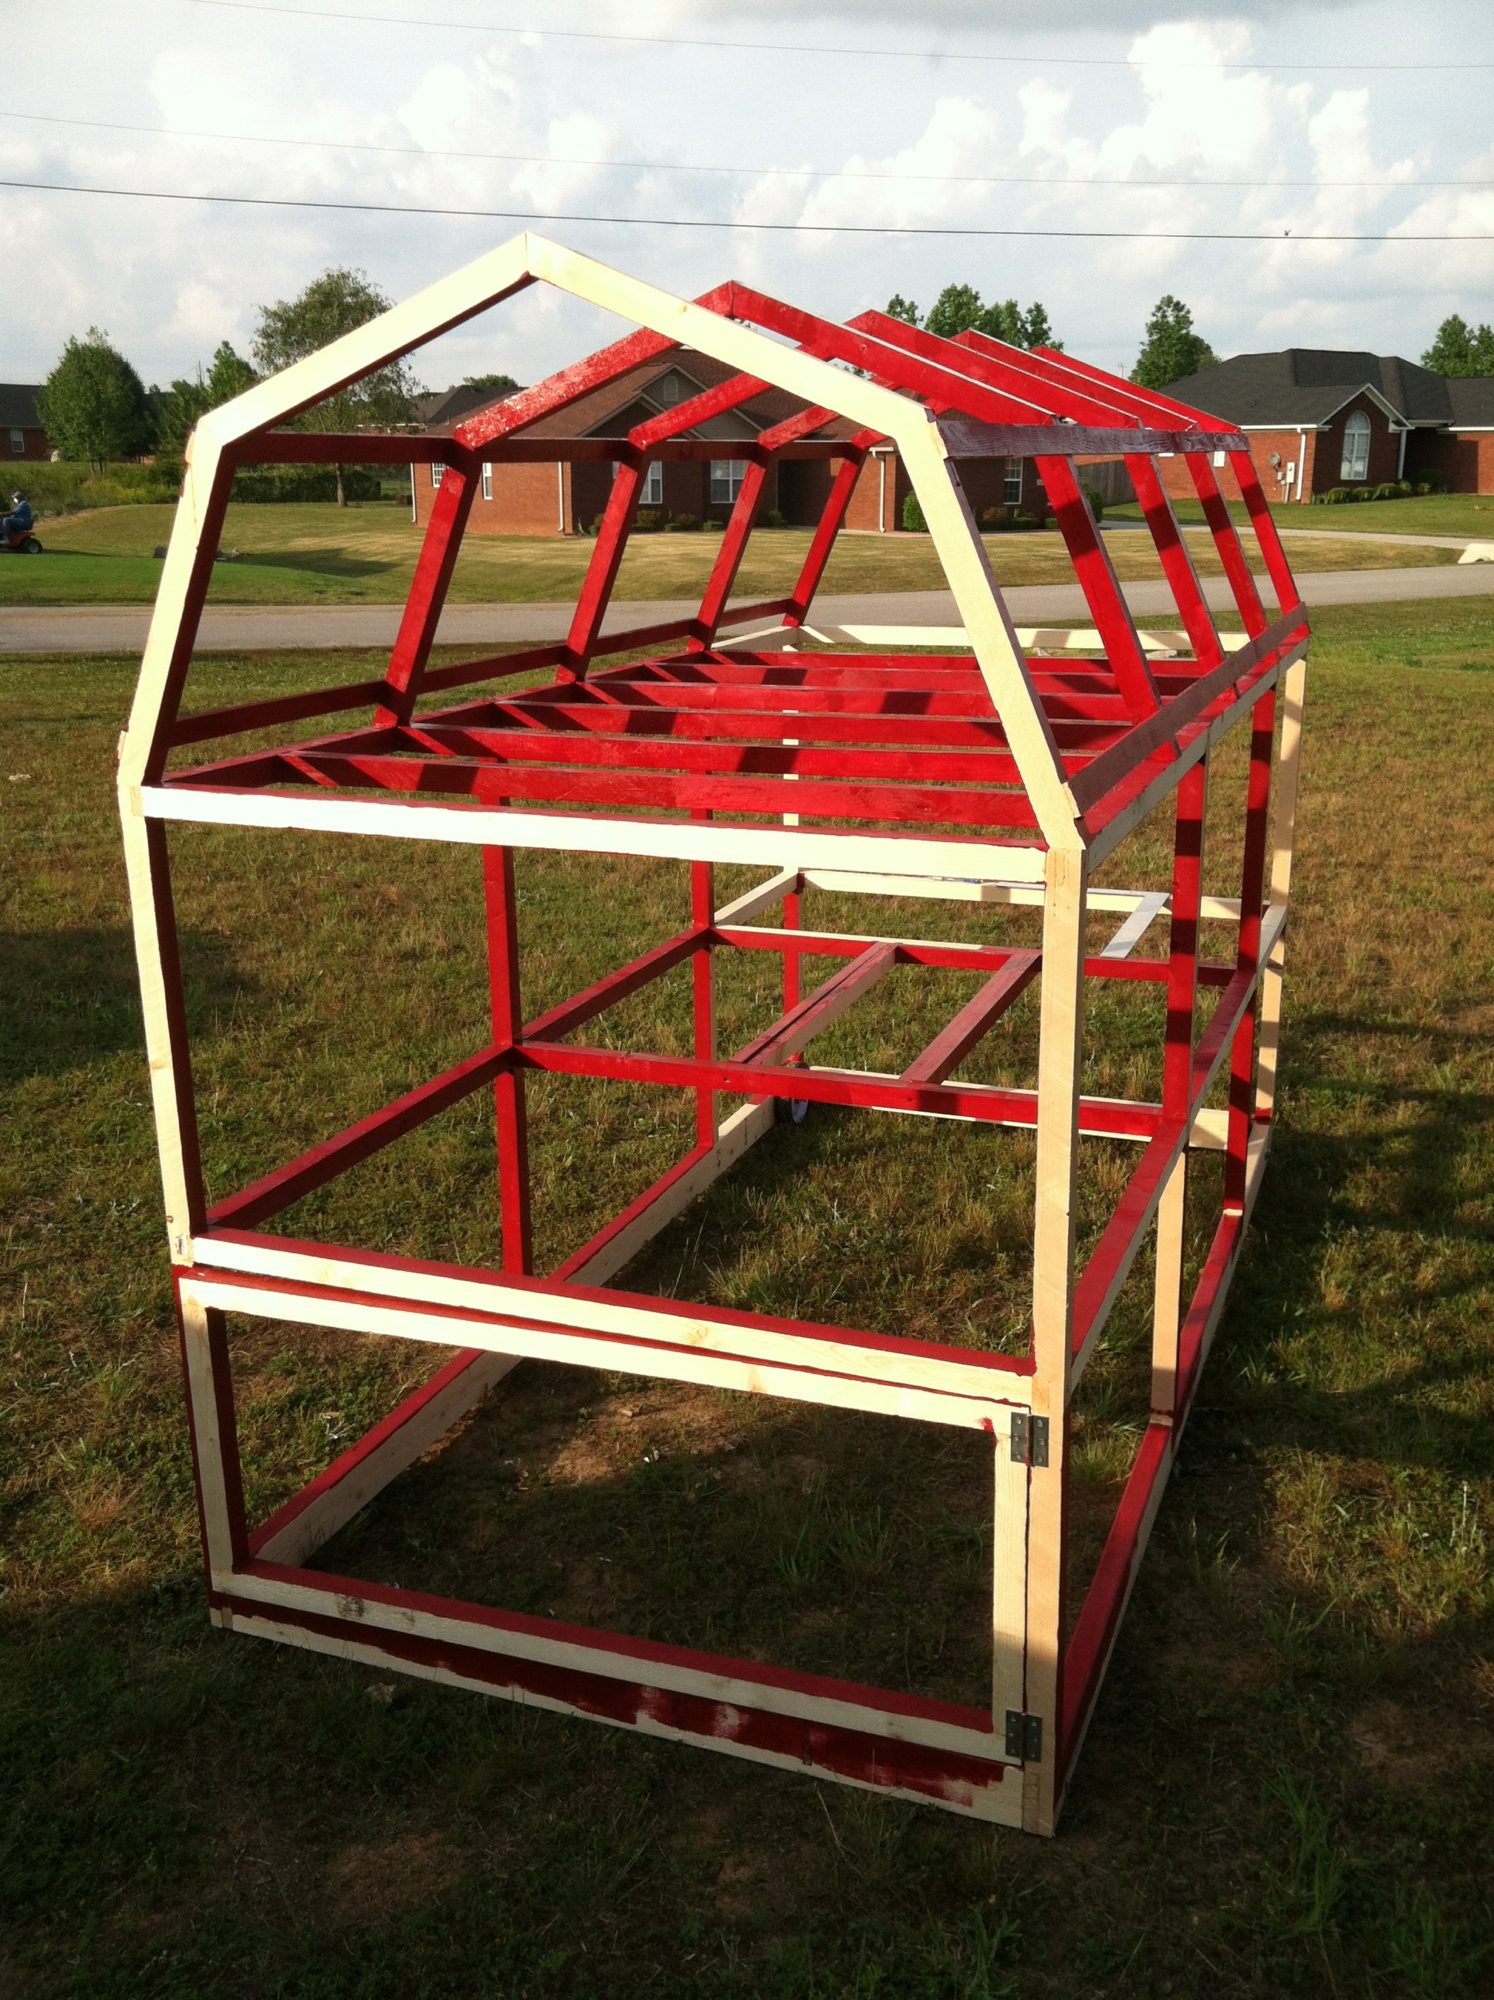
Got the gambrel roof trusses installed here with some furring strips cut from a single 2x4. Love the headroom and no lost space idea of the gambrel roof design, but man it is a PITA, not sure if I'd really want to go through that again. Notice the swinging door on this end of the frame, that will be their door to the outside world, while the ramp in the middle of the run leads up to the "living room" of the coop. Bedroom on top "floor", living room on the middle floor, with the latrines and dining room on the bottom floor lol. Imagine copies of just the bottom floor to the right and left, swinging up on hinges to be rolled around. THAT is the end goal and plan, we'll have to see how far I get towards that lol
Started painting most of the insides, leaving areas that either require a wood glue joint, or got too tired of painting....I HATE painting, I normally leave that crap to the wife since she LOVES it lo
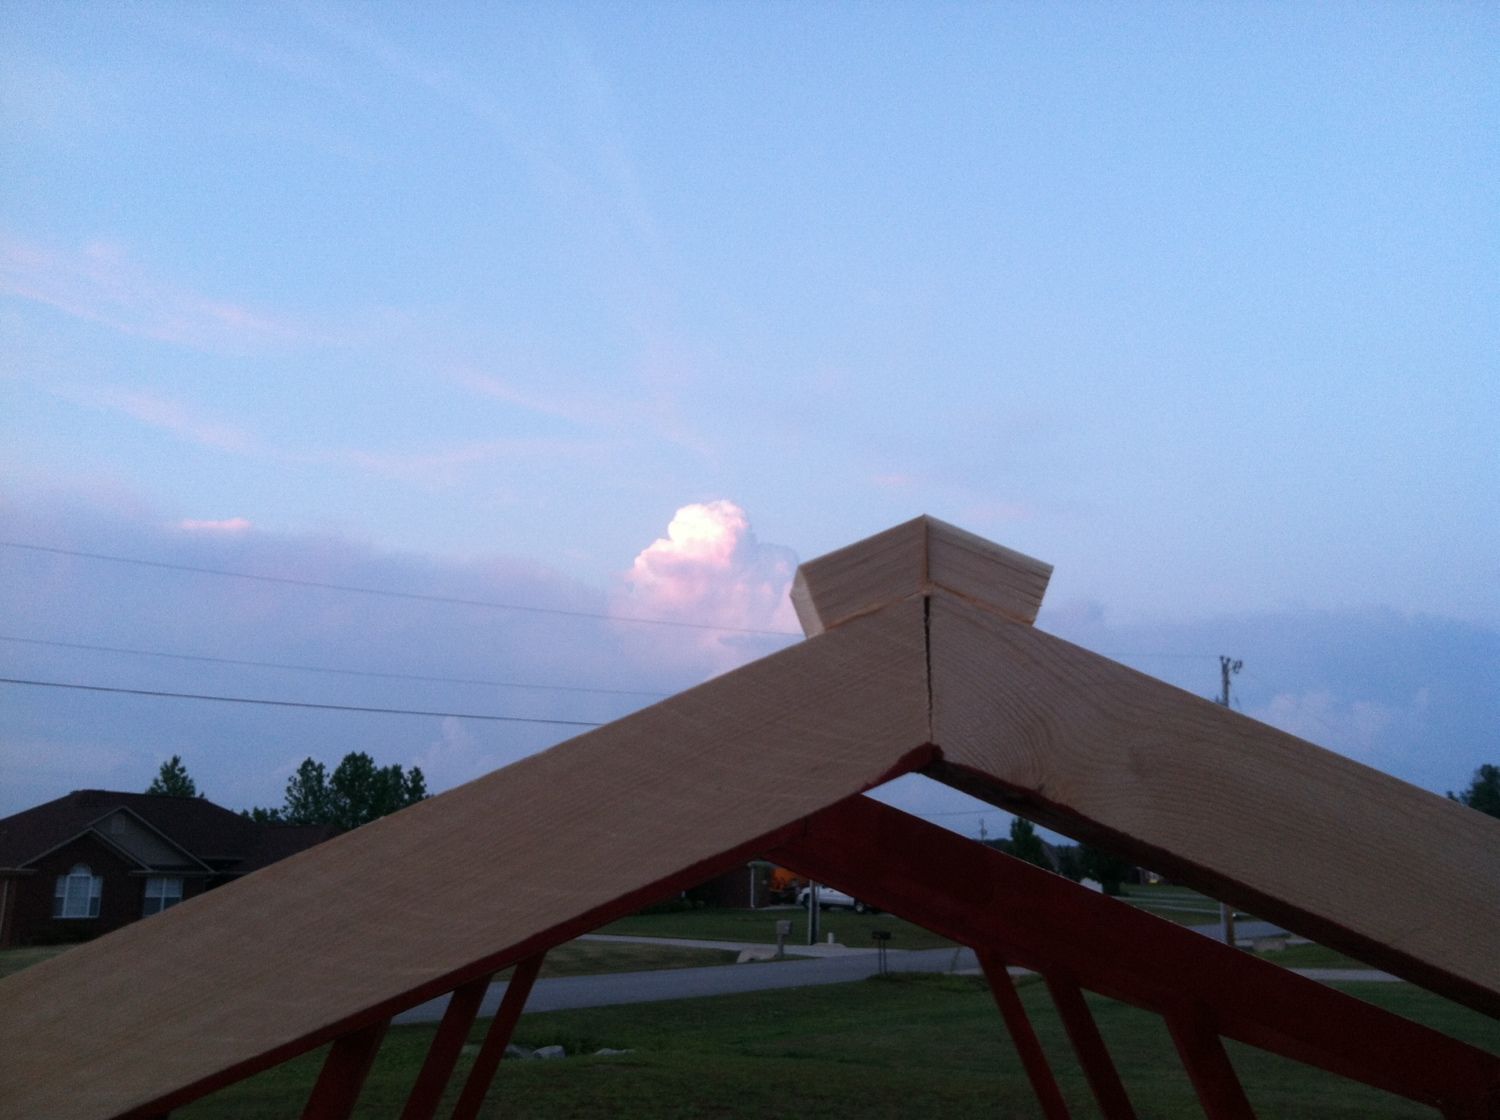
Here are the pieces I put on the peak of the roof to act as a ridgecap vent, couldn't resist capturing that beautiful cloud behind it lol
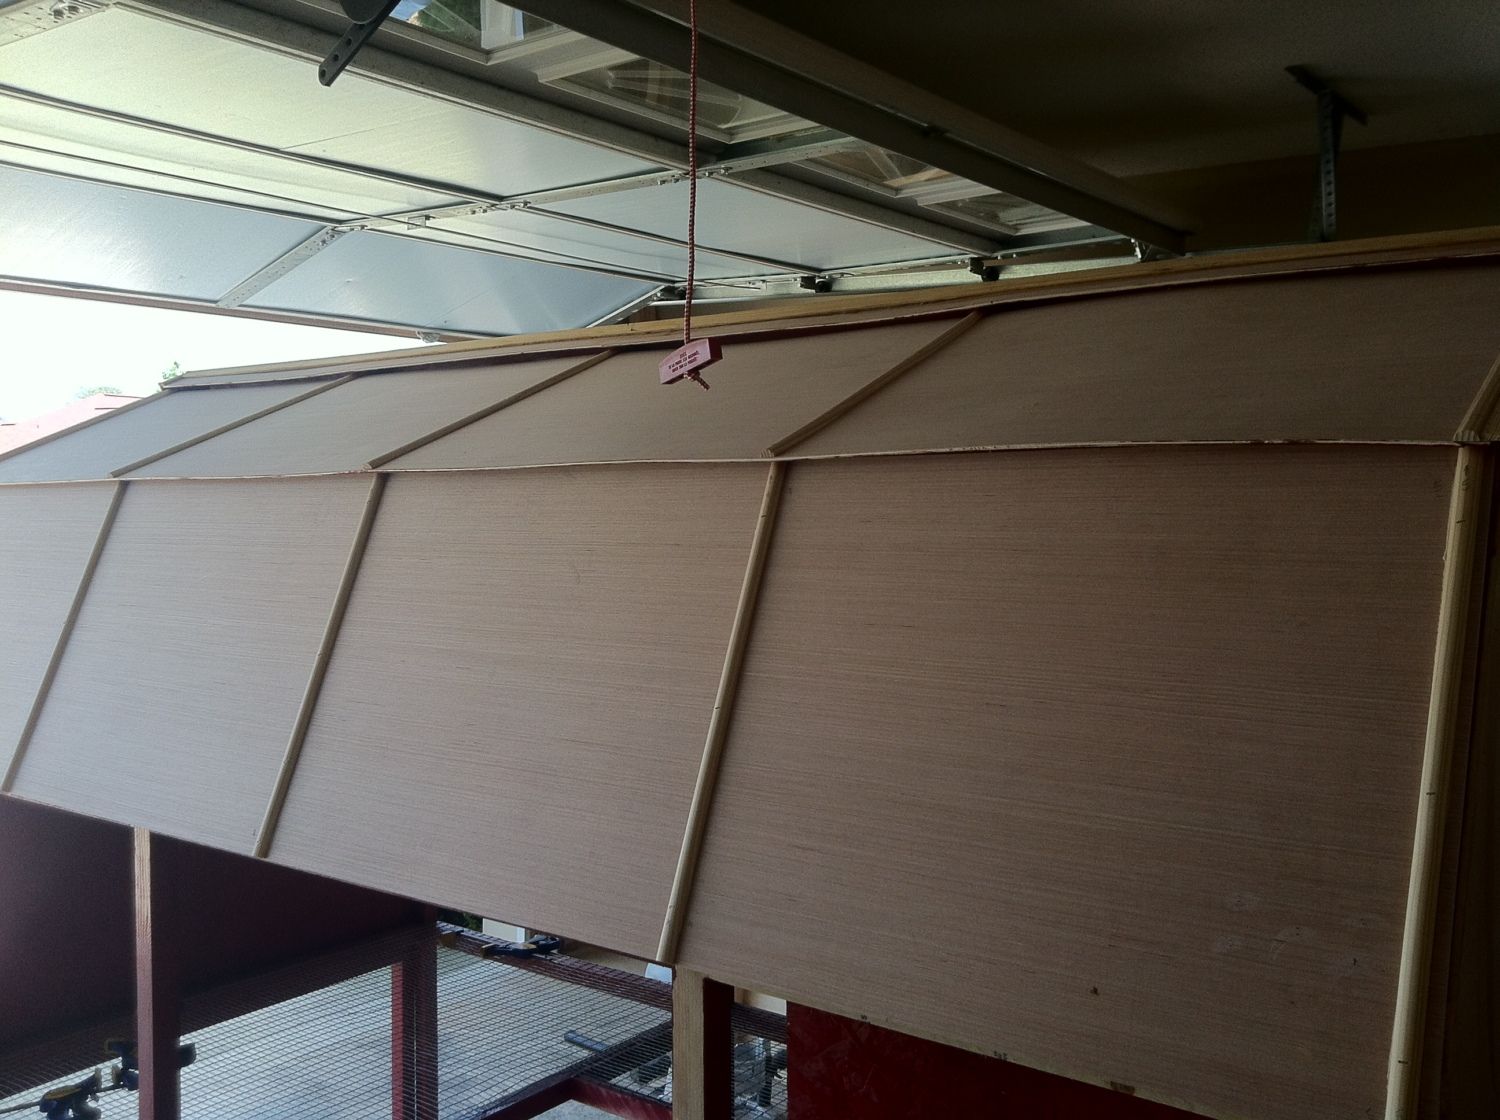
Top roof panels cut from 1/4" luan and painted, minus glue joint areas, the painted area is the inside of the coop since I didn't want to fight the coop trying to paint it. Would rather paint it at smarter times so that I wouldn't get paint on myself while trying to paint it had it been completely assembled. Tops of the panels aren't yet painted, will do that later after I put more pieces on.
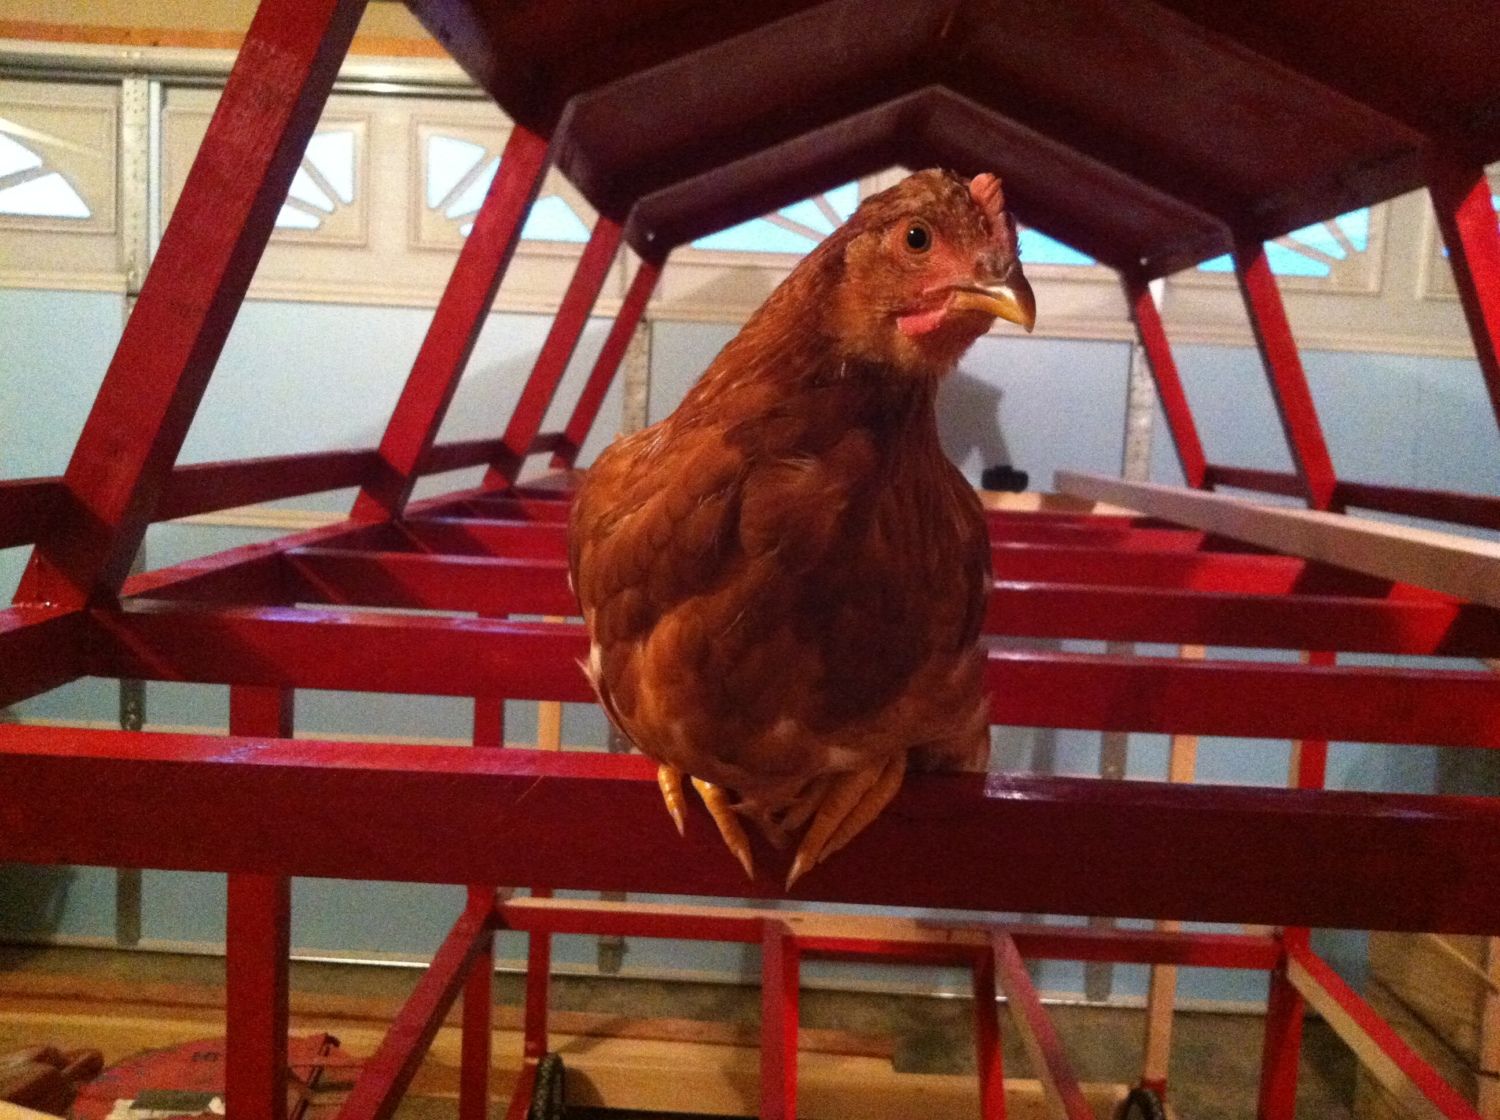
I forgot to take good pics of the roof installed with the ridgecap vent, but I did bring one of the "soon-to-be-tenants" inside the house and into the garage to test it out. Seemed like he liked it a lot")
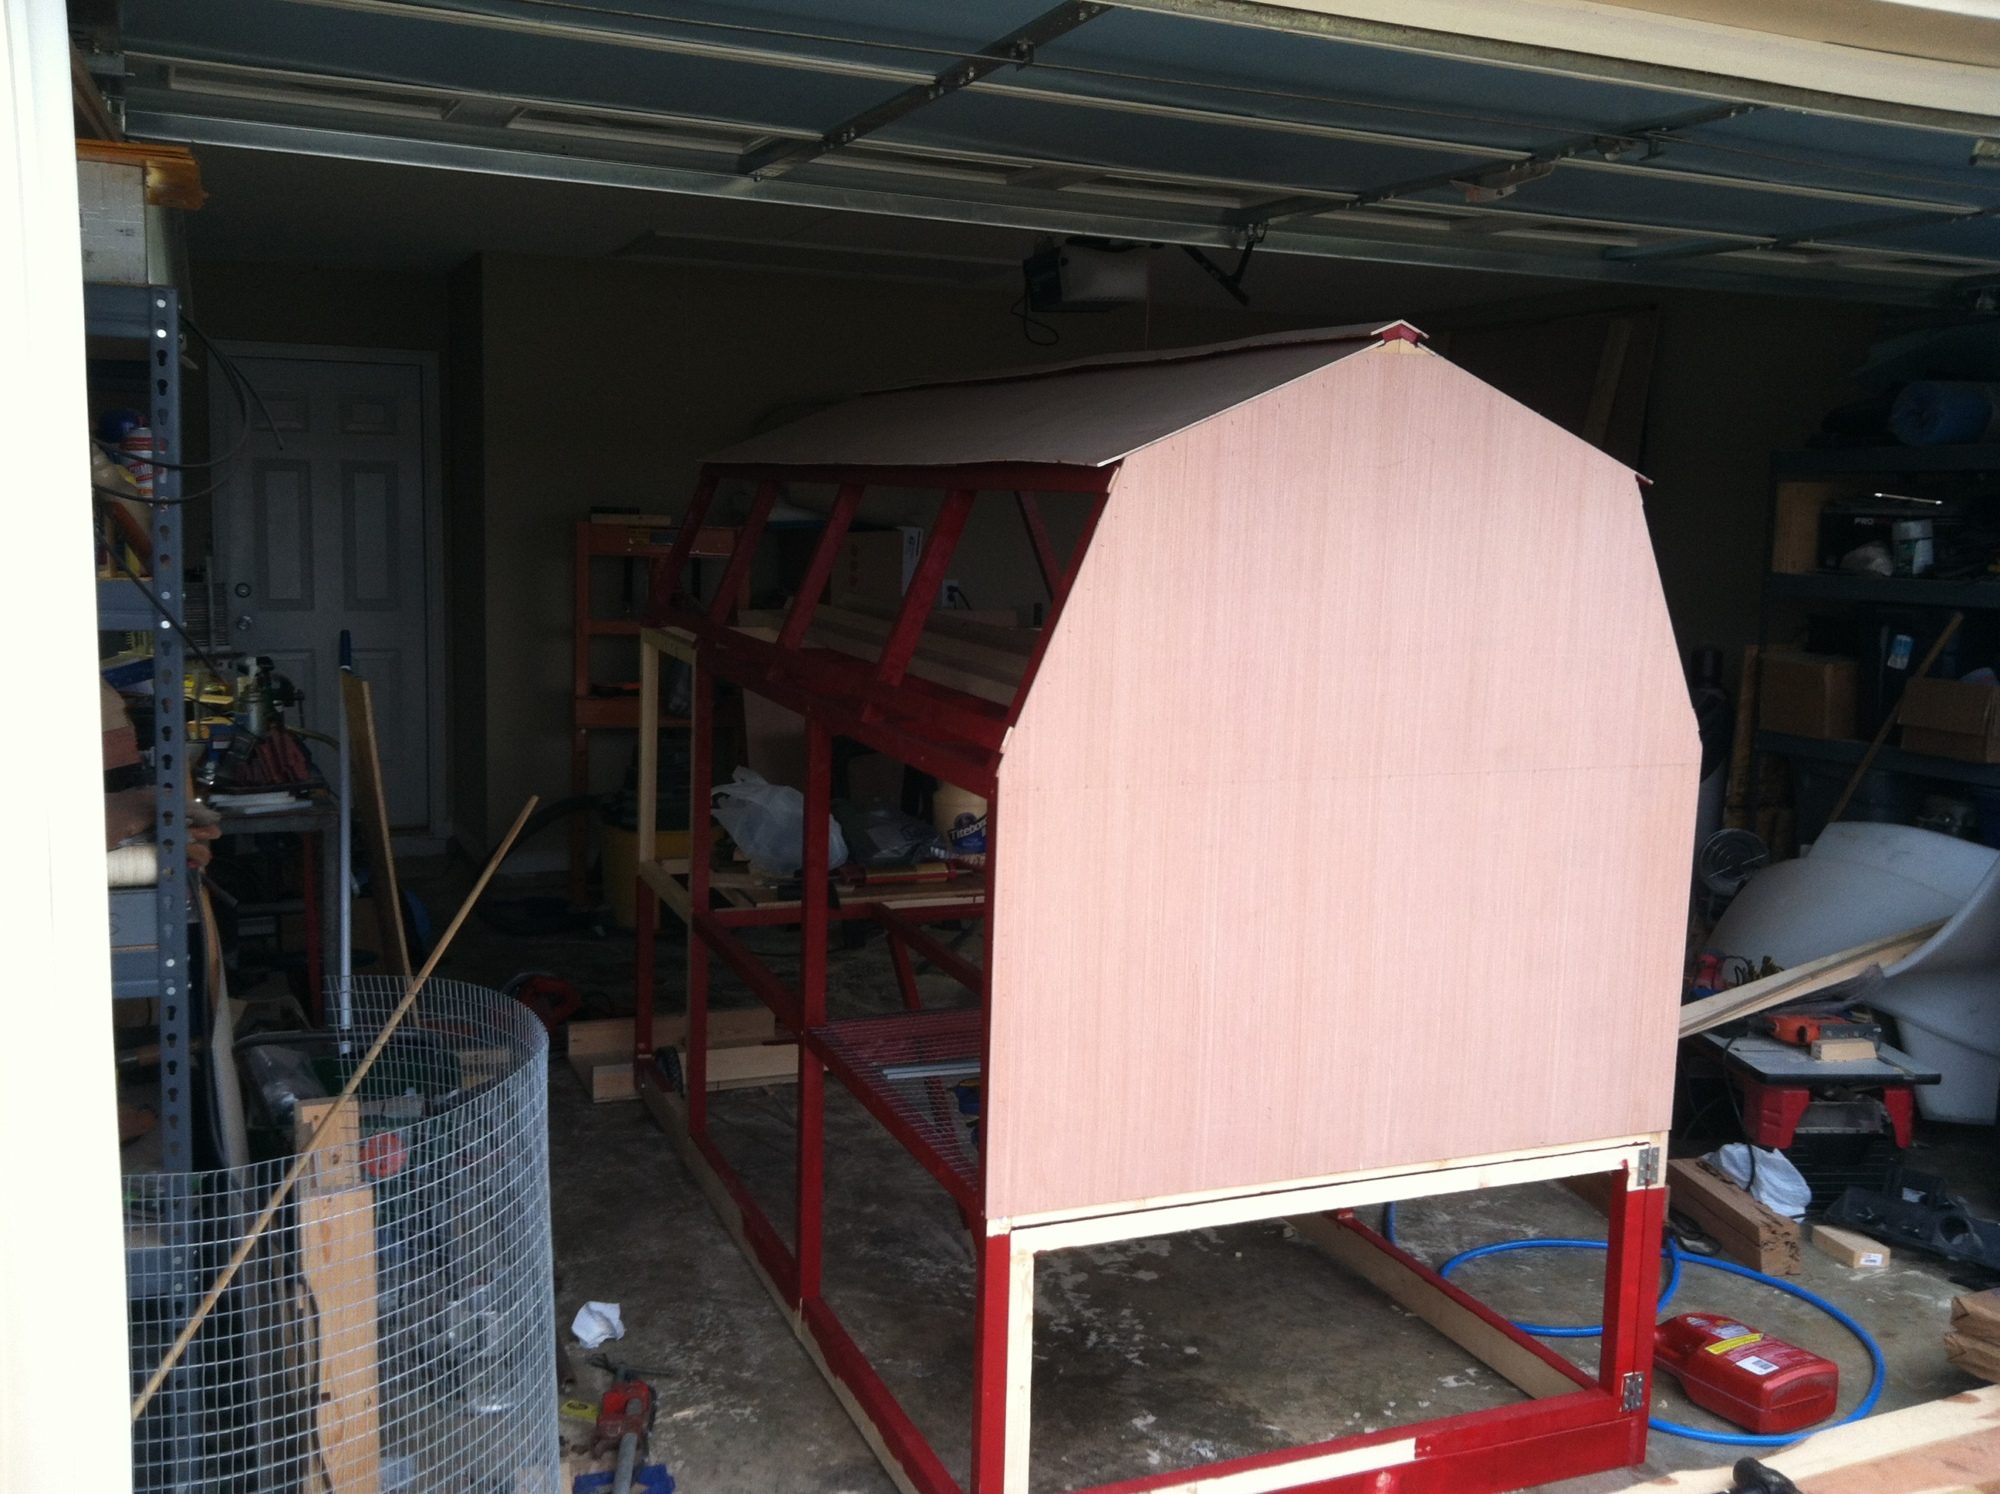
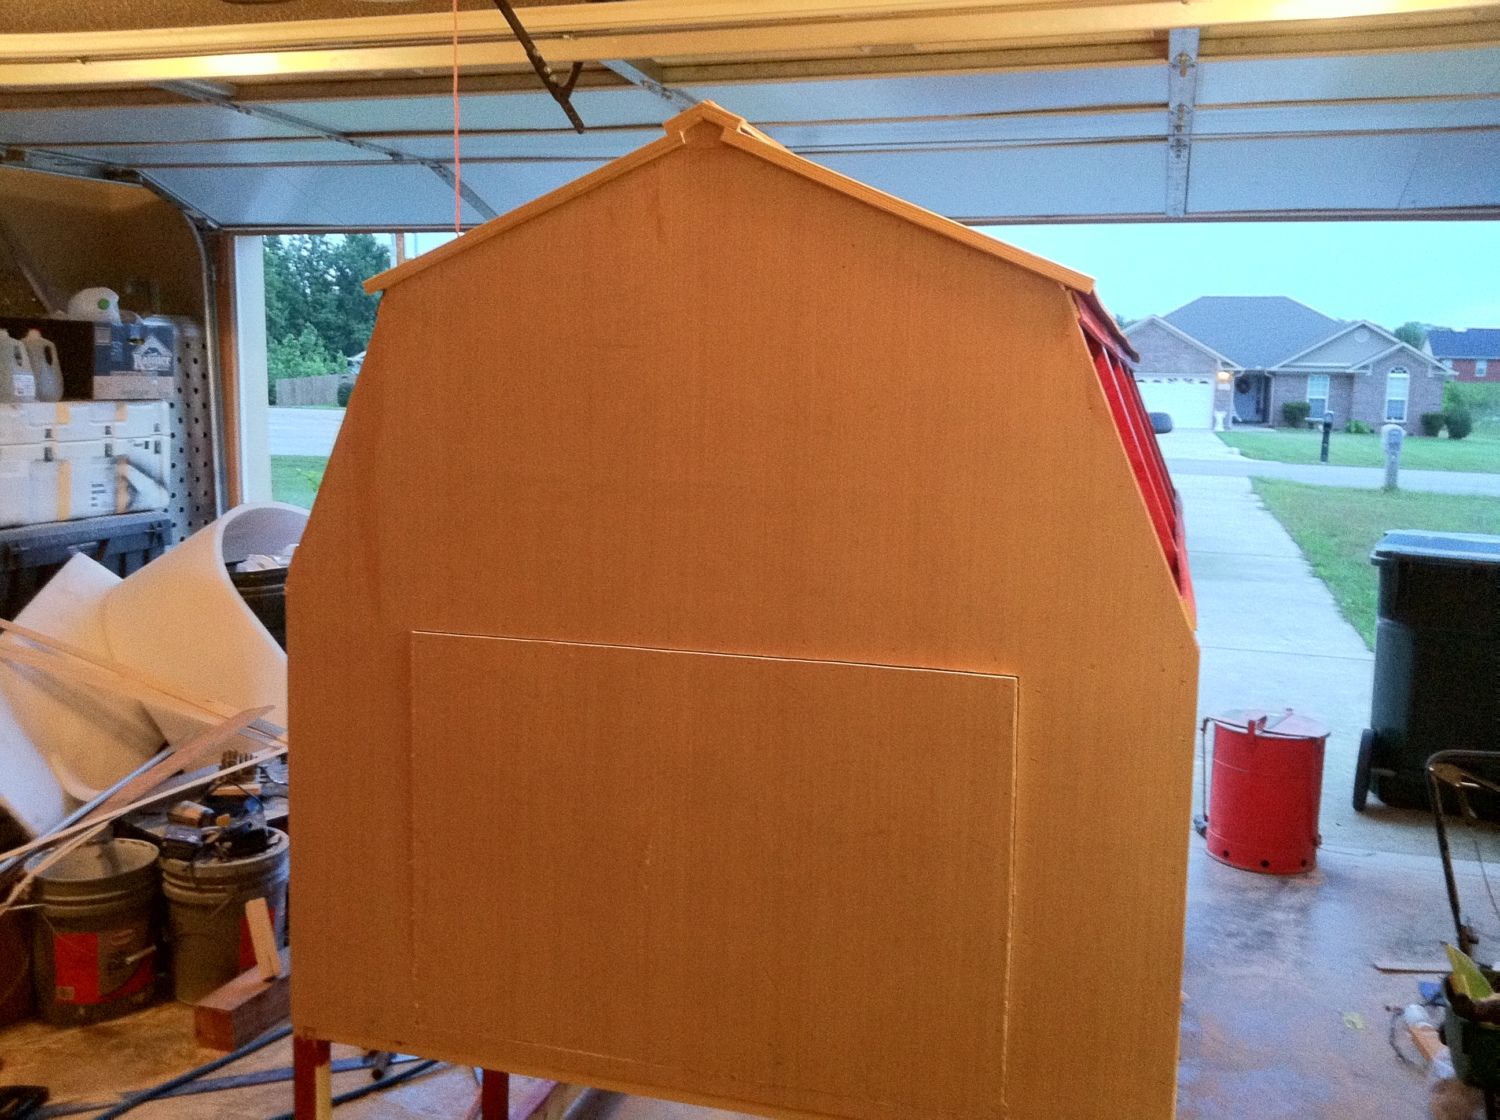
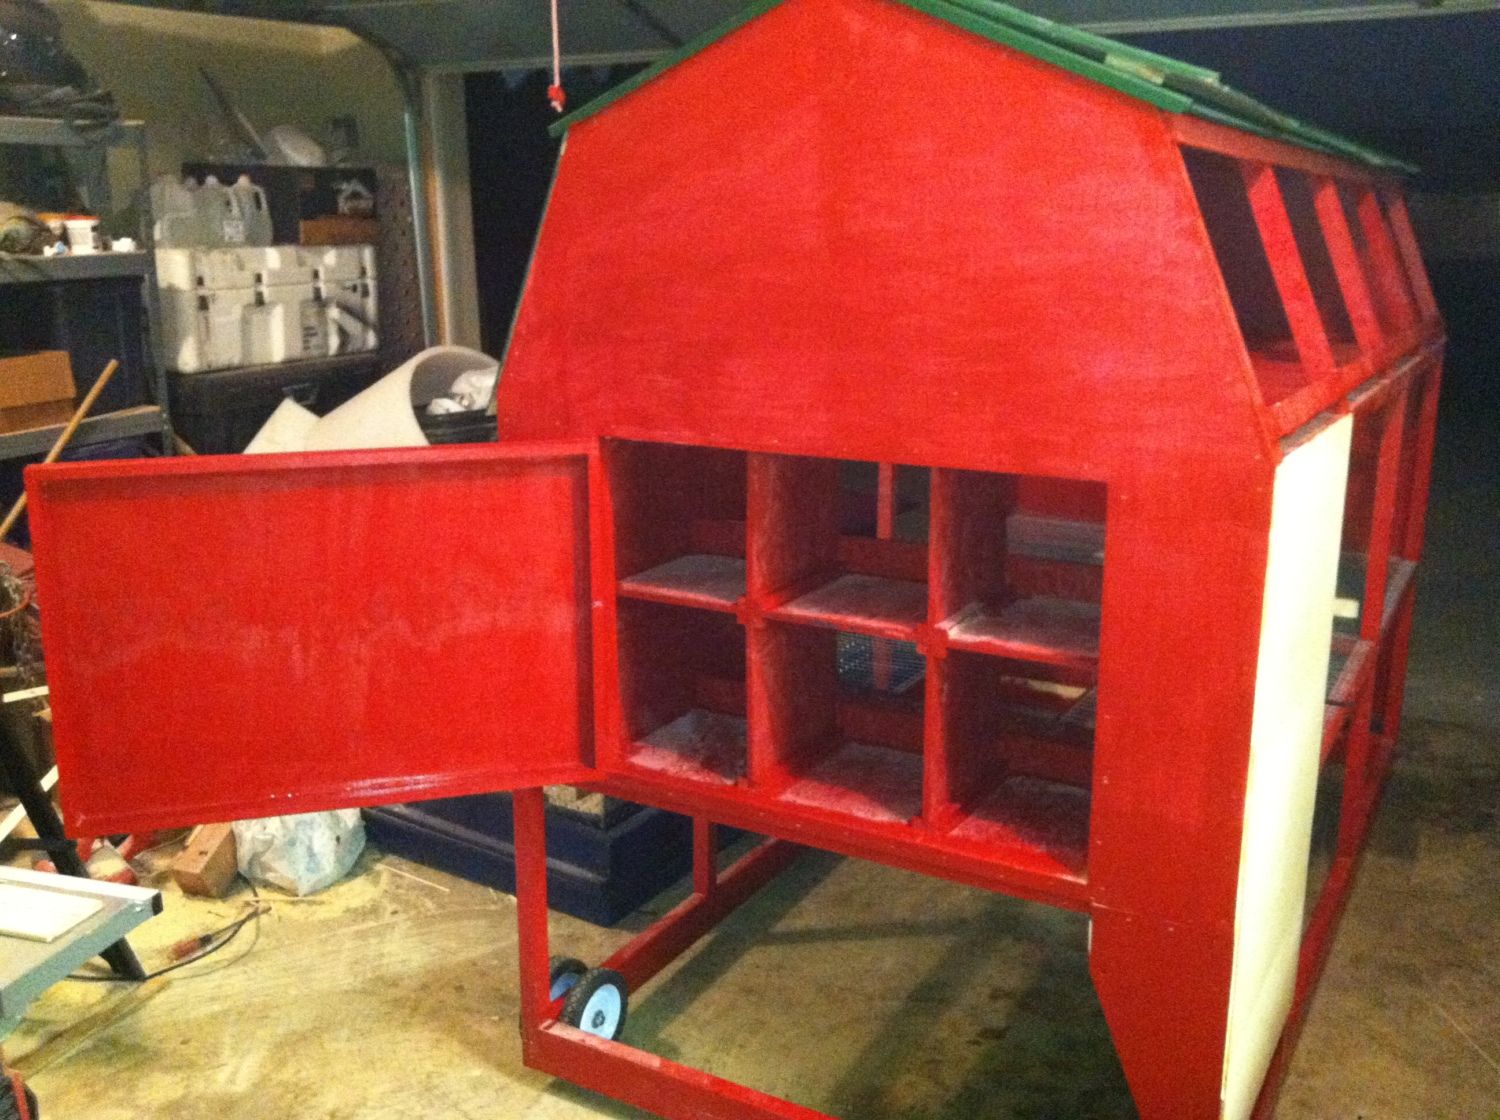
End panels attached, starting to look more like a barn!
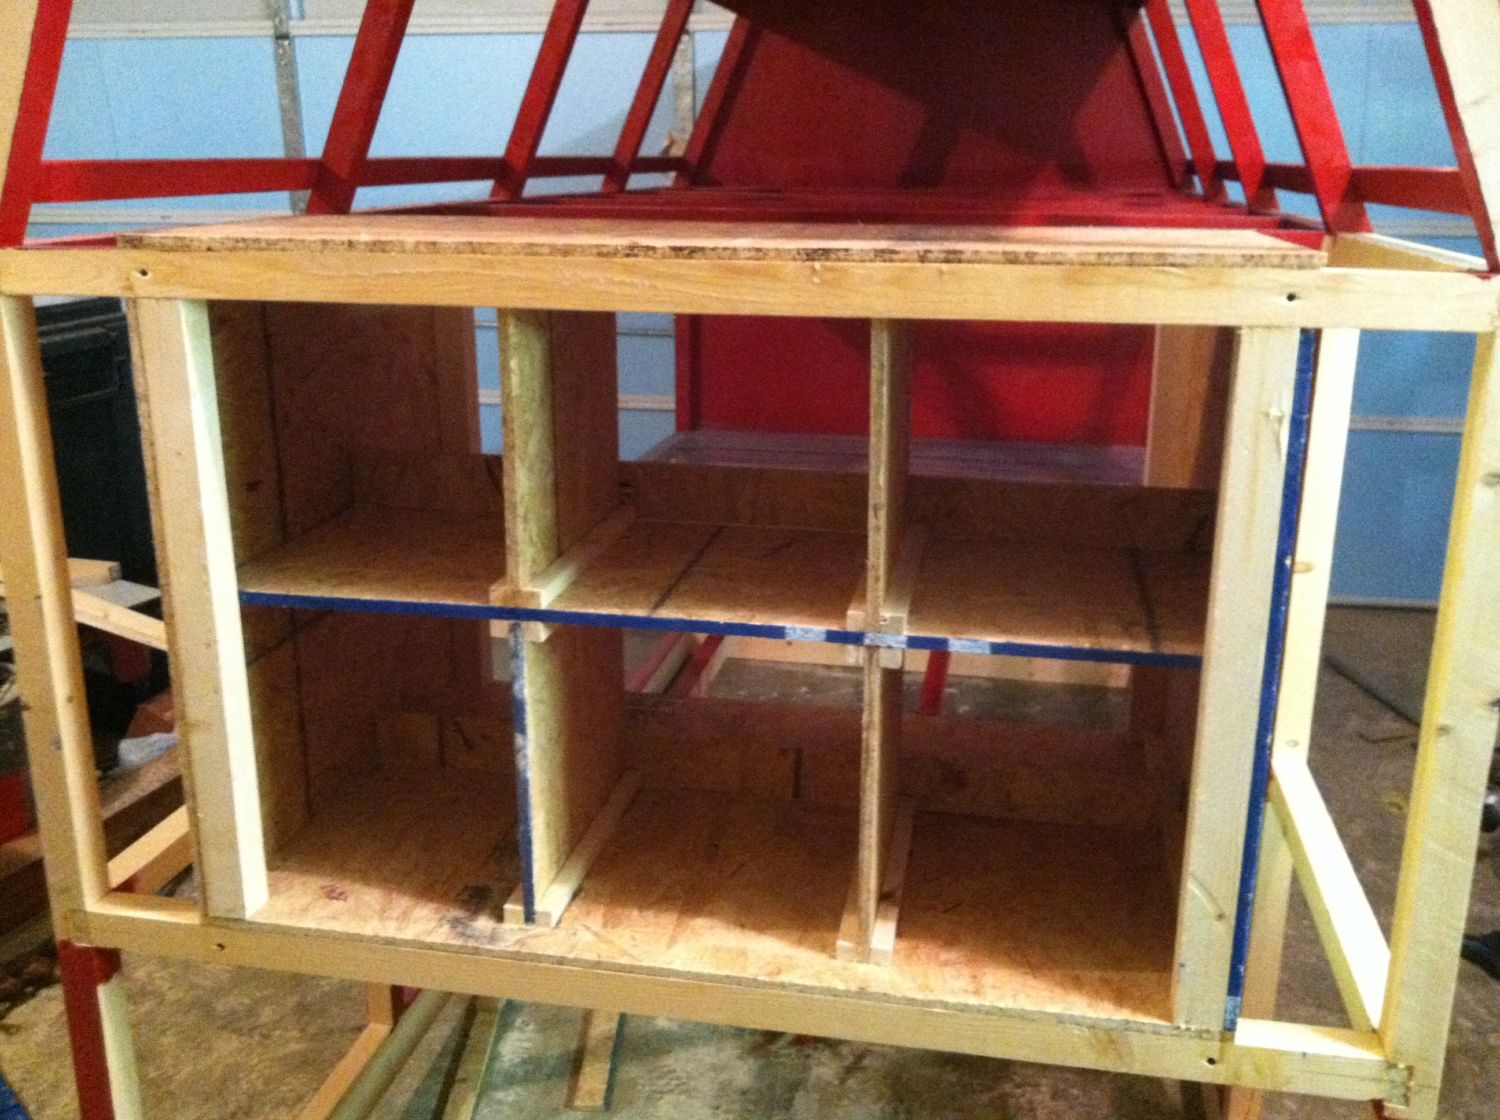
Started the nesting boxes, the empty spaces beside the nesting boxes are for a feed hopper and waterer
Nesting box complete, works ok but not happy with it. Really wish I had made it out of plywood instead of the crap OSB, oh well, maybe later
The nesting boxes do have a perch right in front of them
Used some old corner trim that I never used up on an old project and thought it cleaned up the edges nice here after I attached this end panel
Looks nice with the roof trim and the nesting box door installed
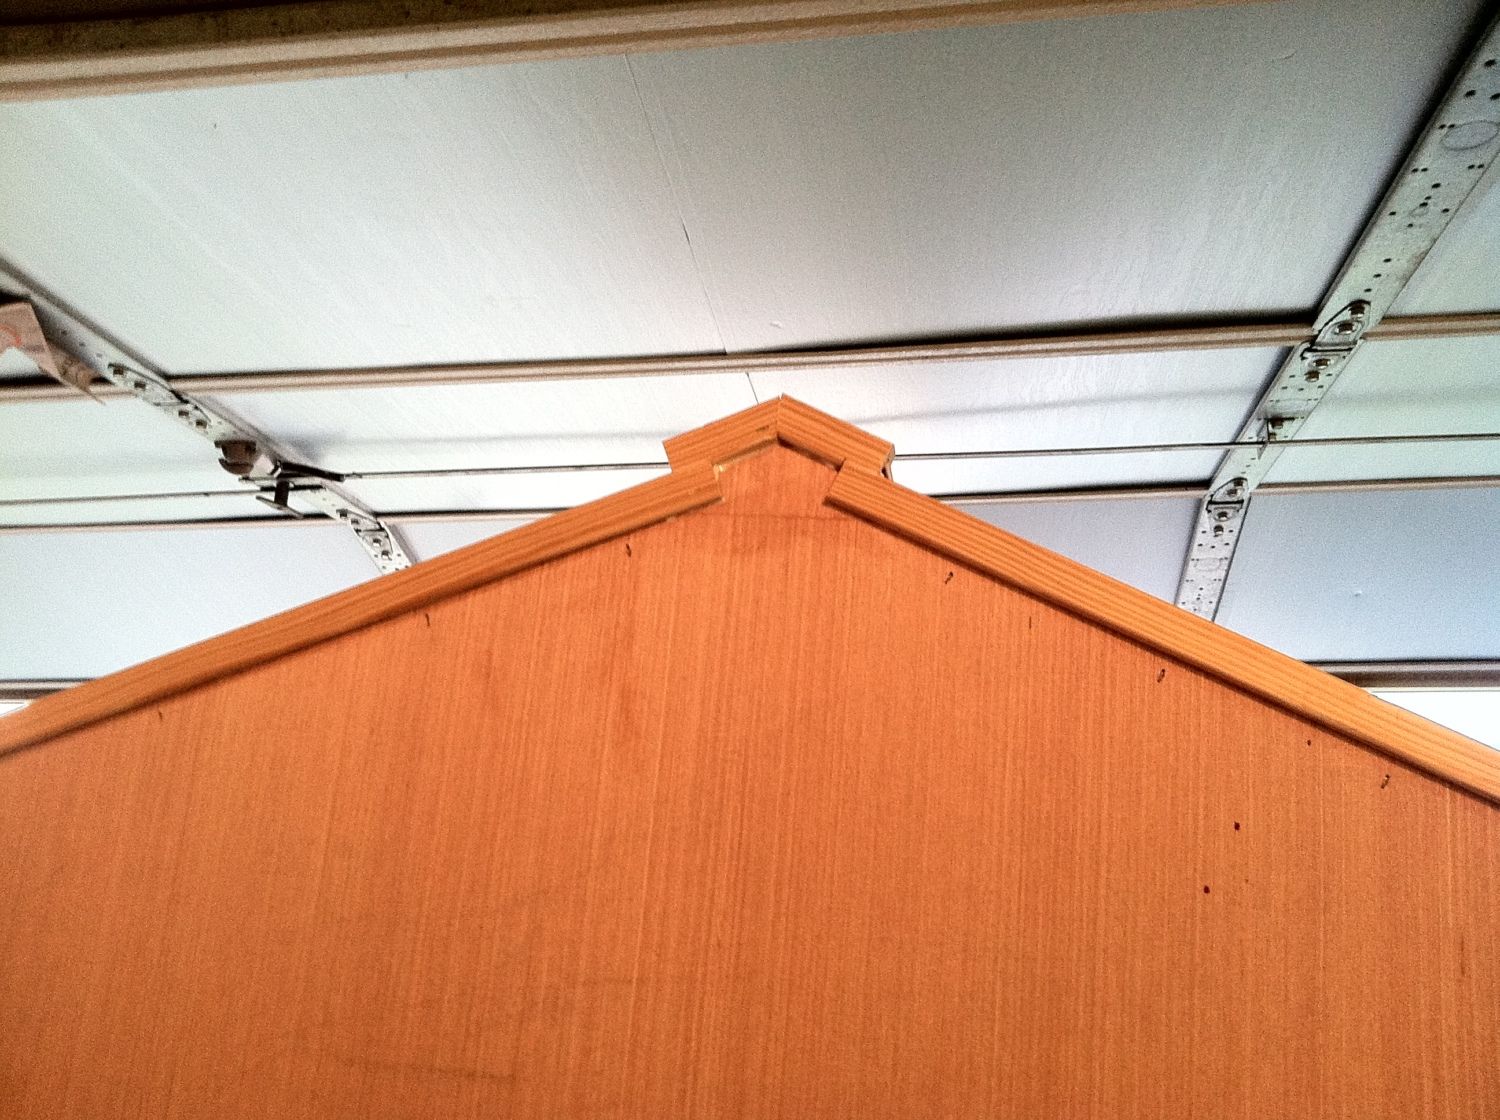
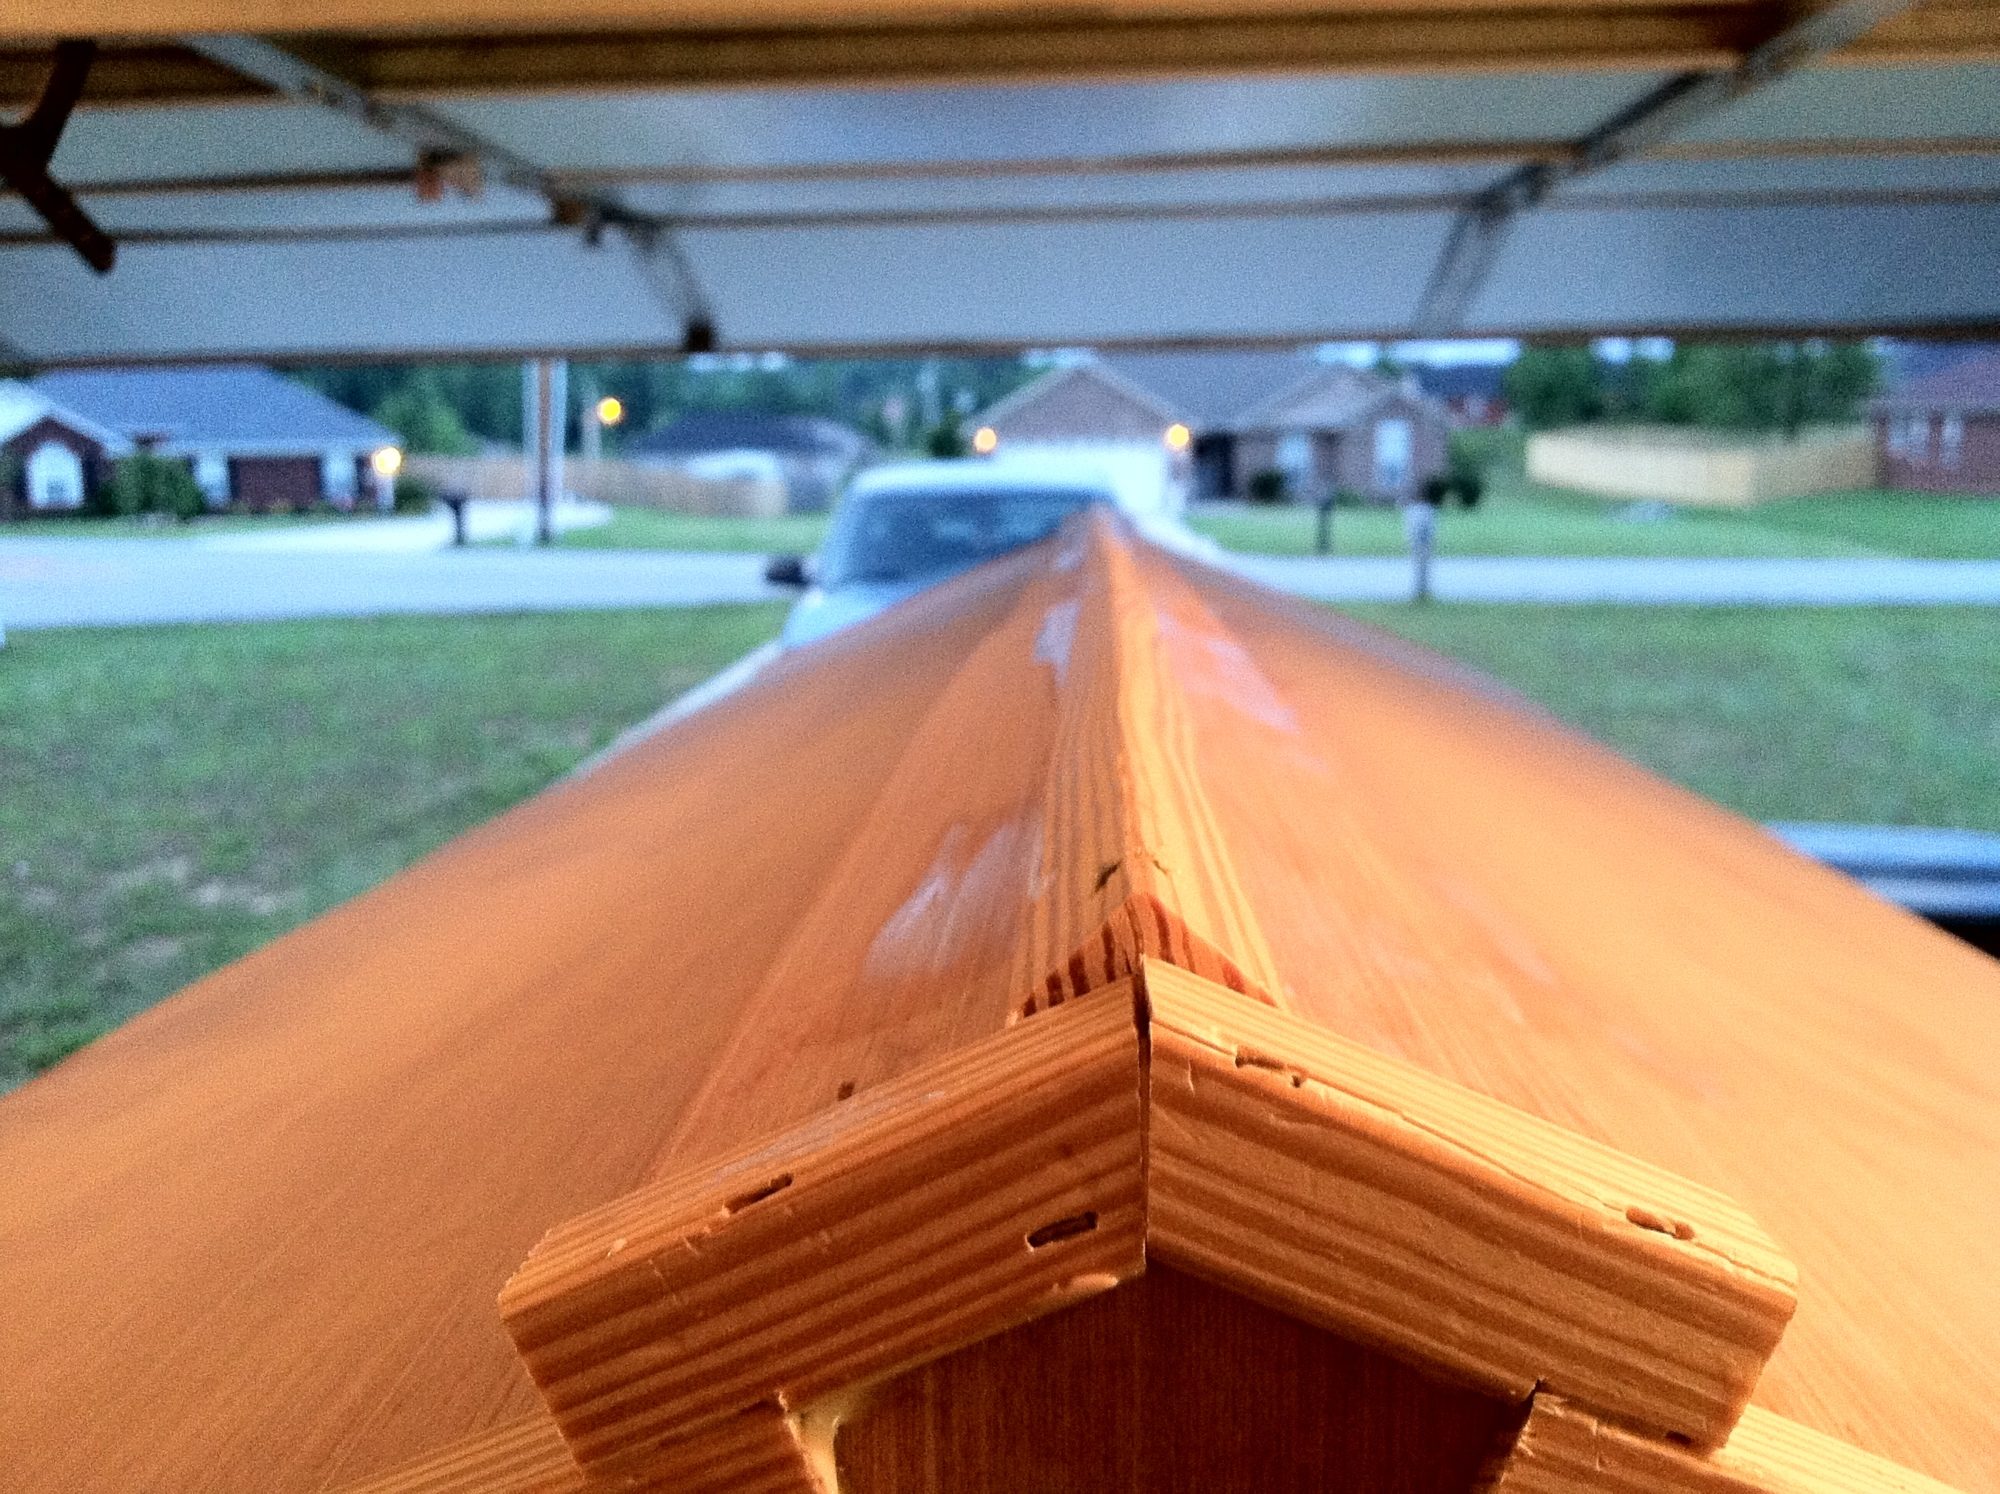
Used more corner trim to hide the seam on the roof peak, just as much for leaks as for looks
Looks pretty good considering
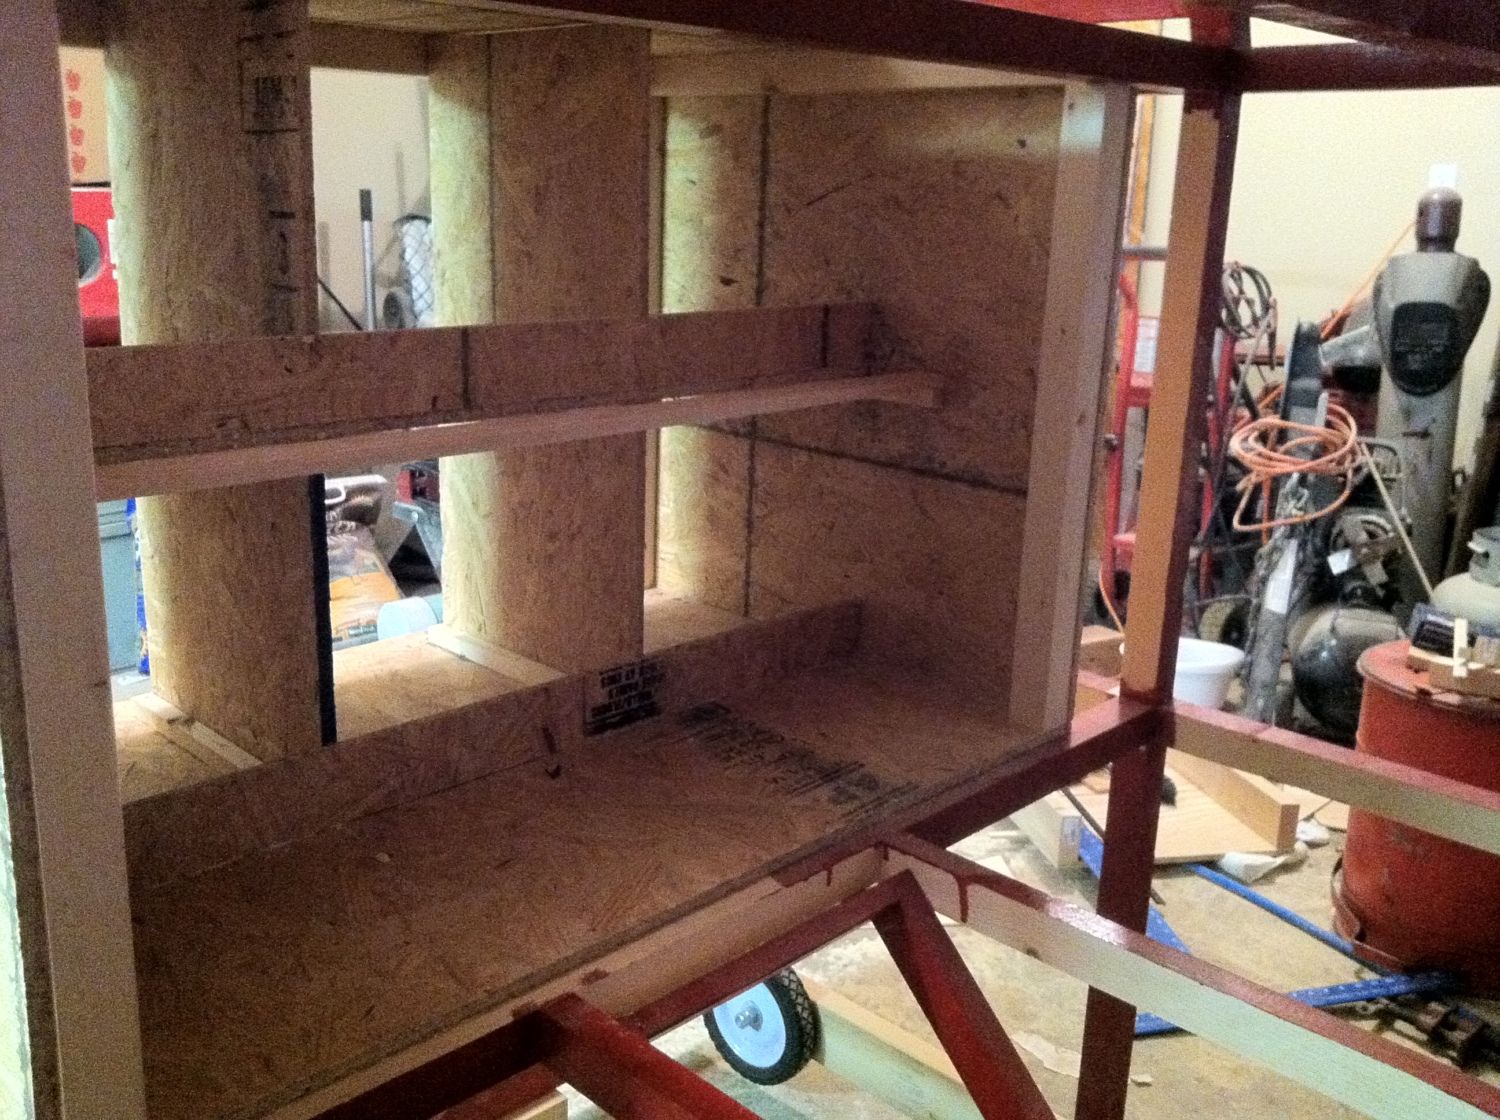
This is the inside of the lower roof panels, put a block on each end to locate the panel and to keep it up in place. I'm planning on putting a couple latches on these and then drilling holes in the truss to hold the roof panel in place against the trusses.
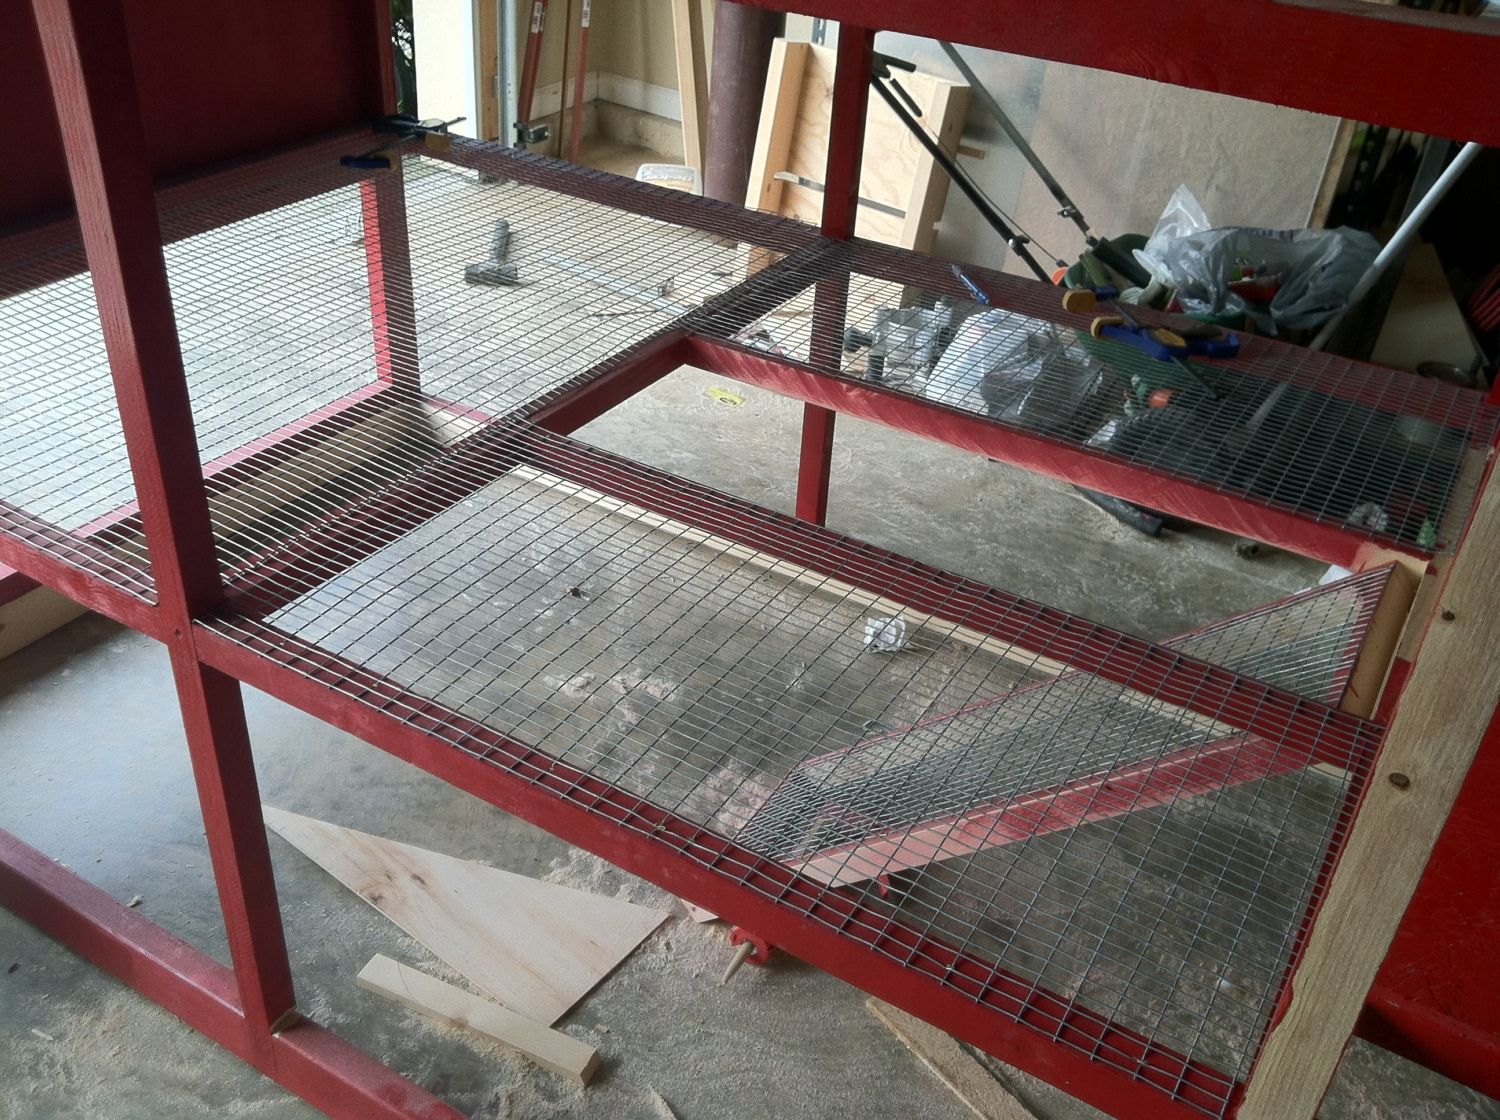
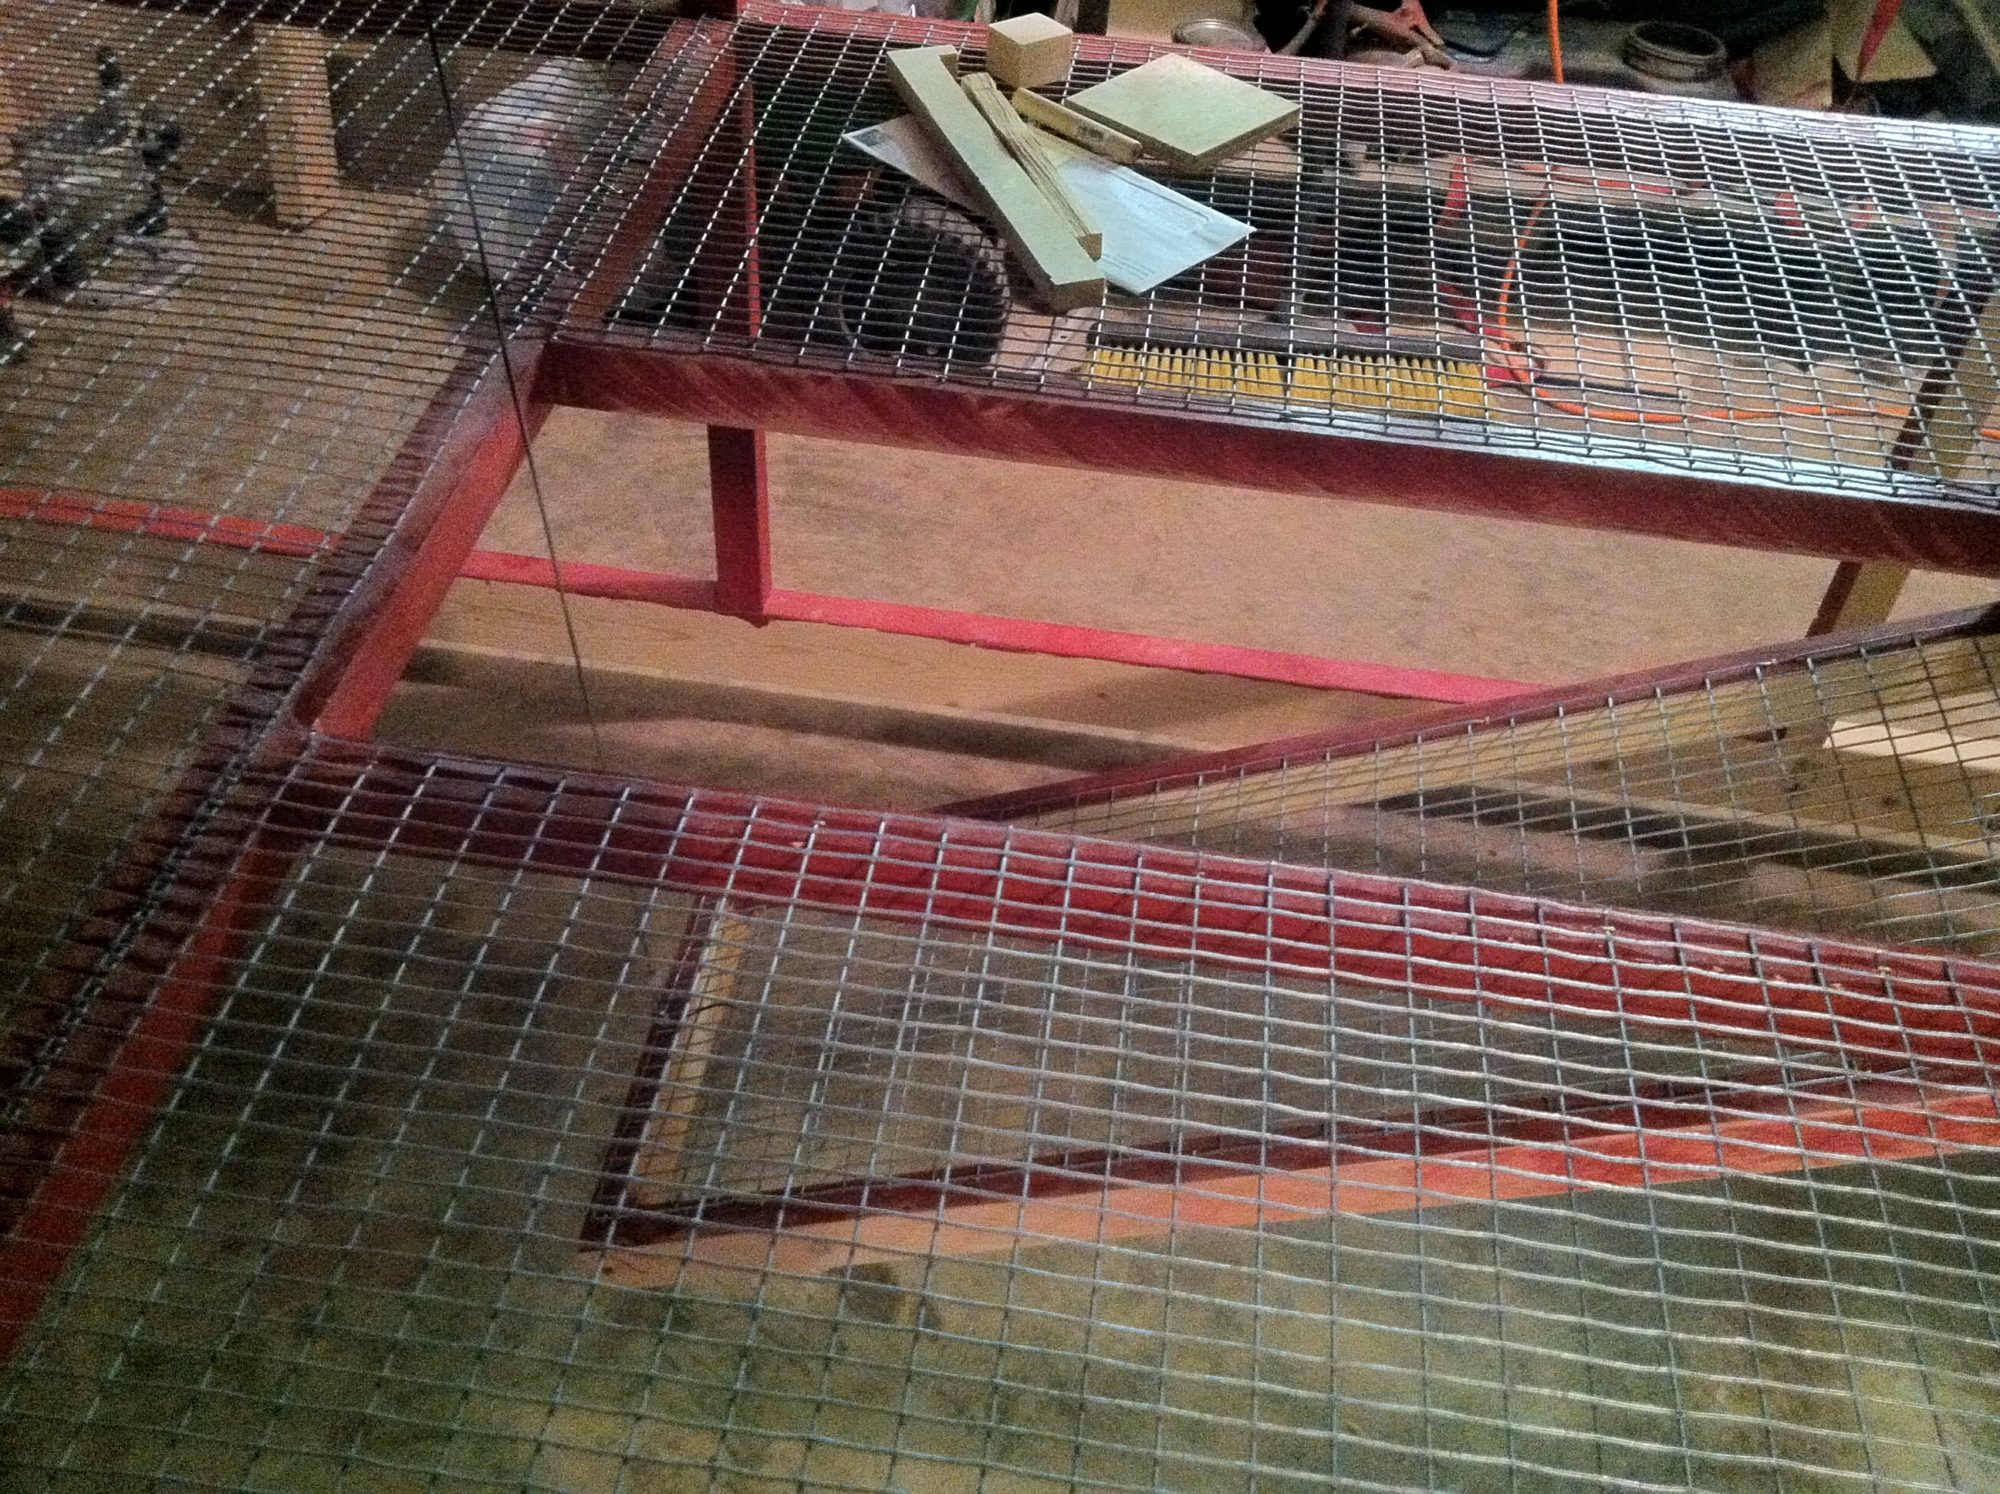
Got the hardware cloth installed and cut for the ramp, which I didn't like how steep the ramp was.
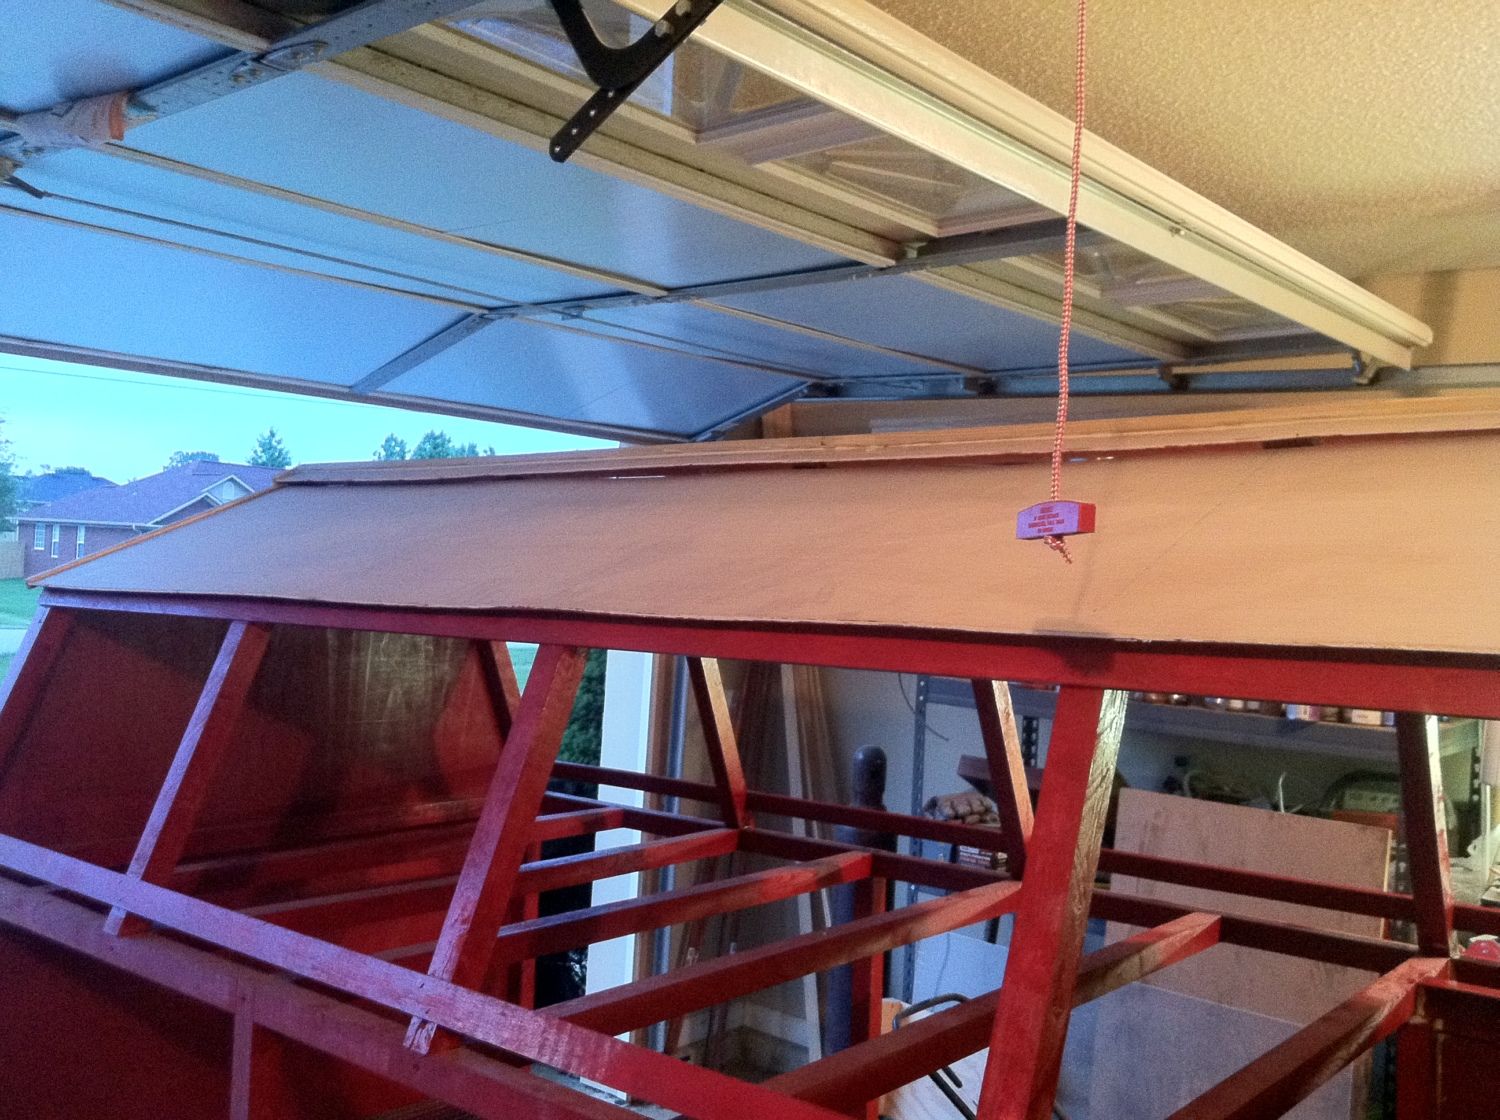
Got back to the roof and put on the half round pieces that I hope will make it look like a tin roof without the expense or weight.
Besides looking good with the trim, it also hid all the staple holes in the plywood
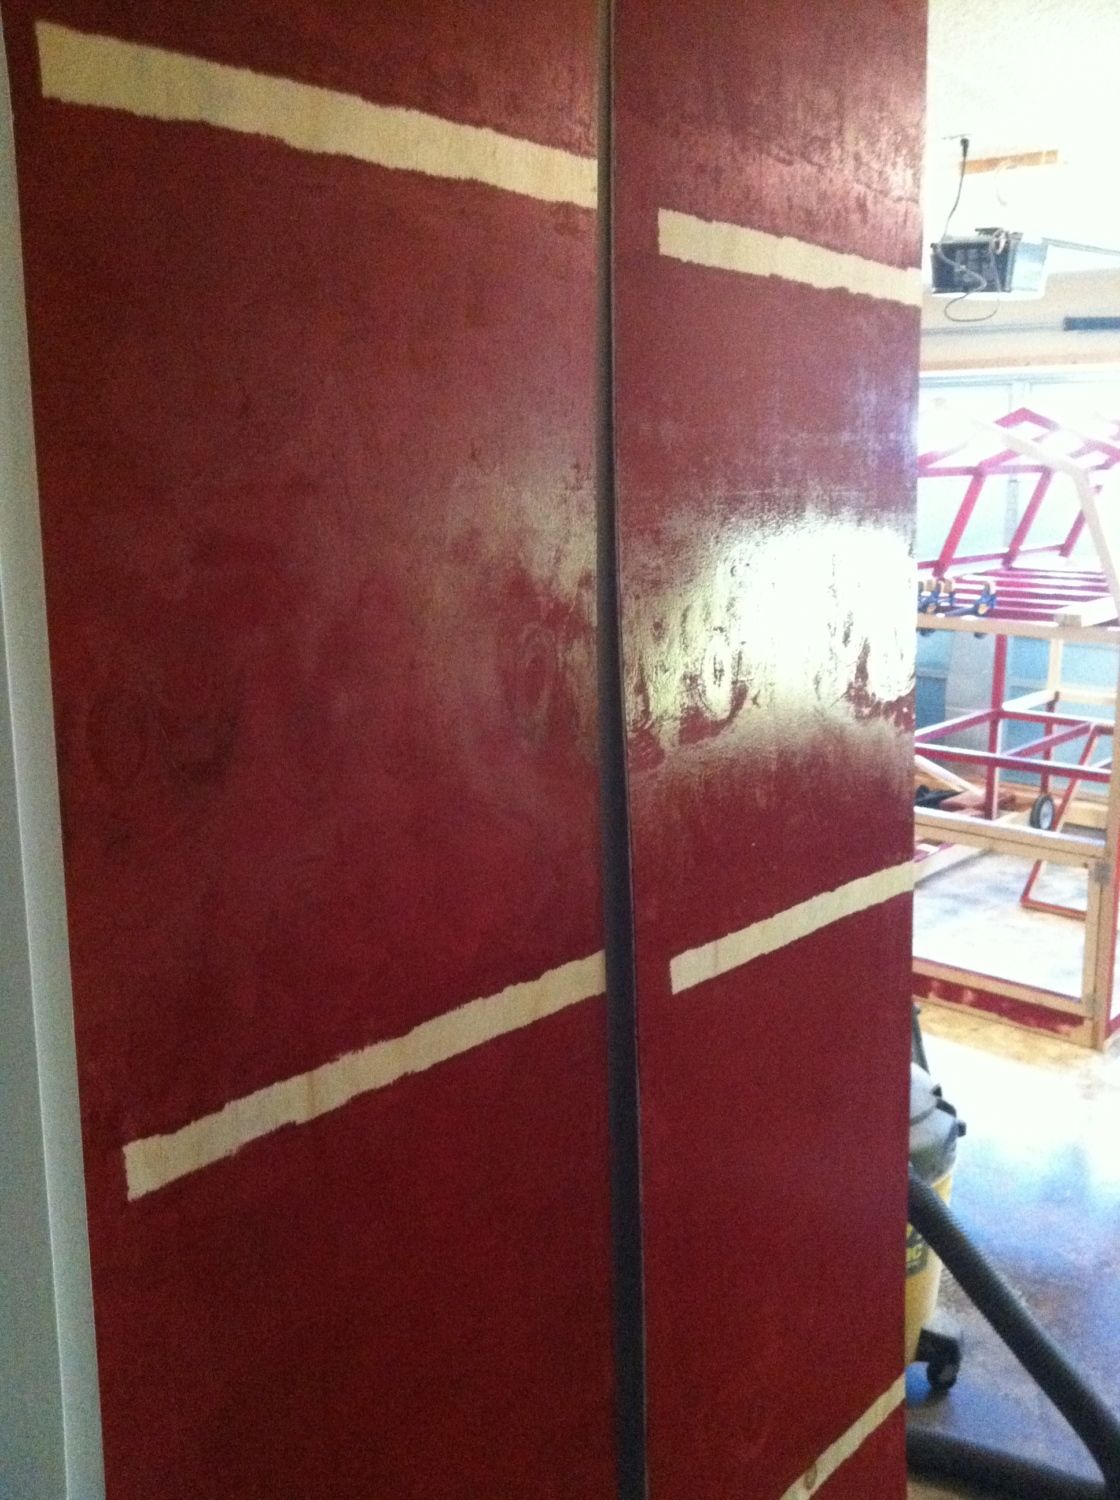
First coat of paint here, have a second on but forgot to take pictures after painting it.
Had some black string, use it to decide a good height for an elevated ramp access into the coop.
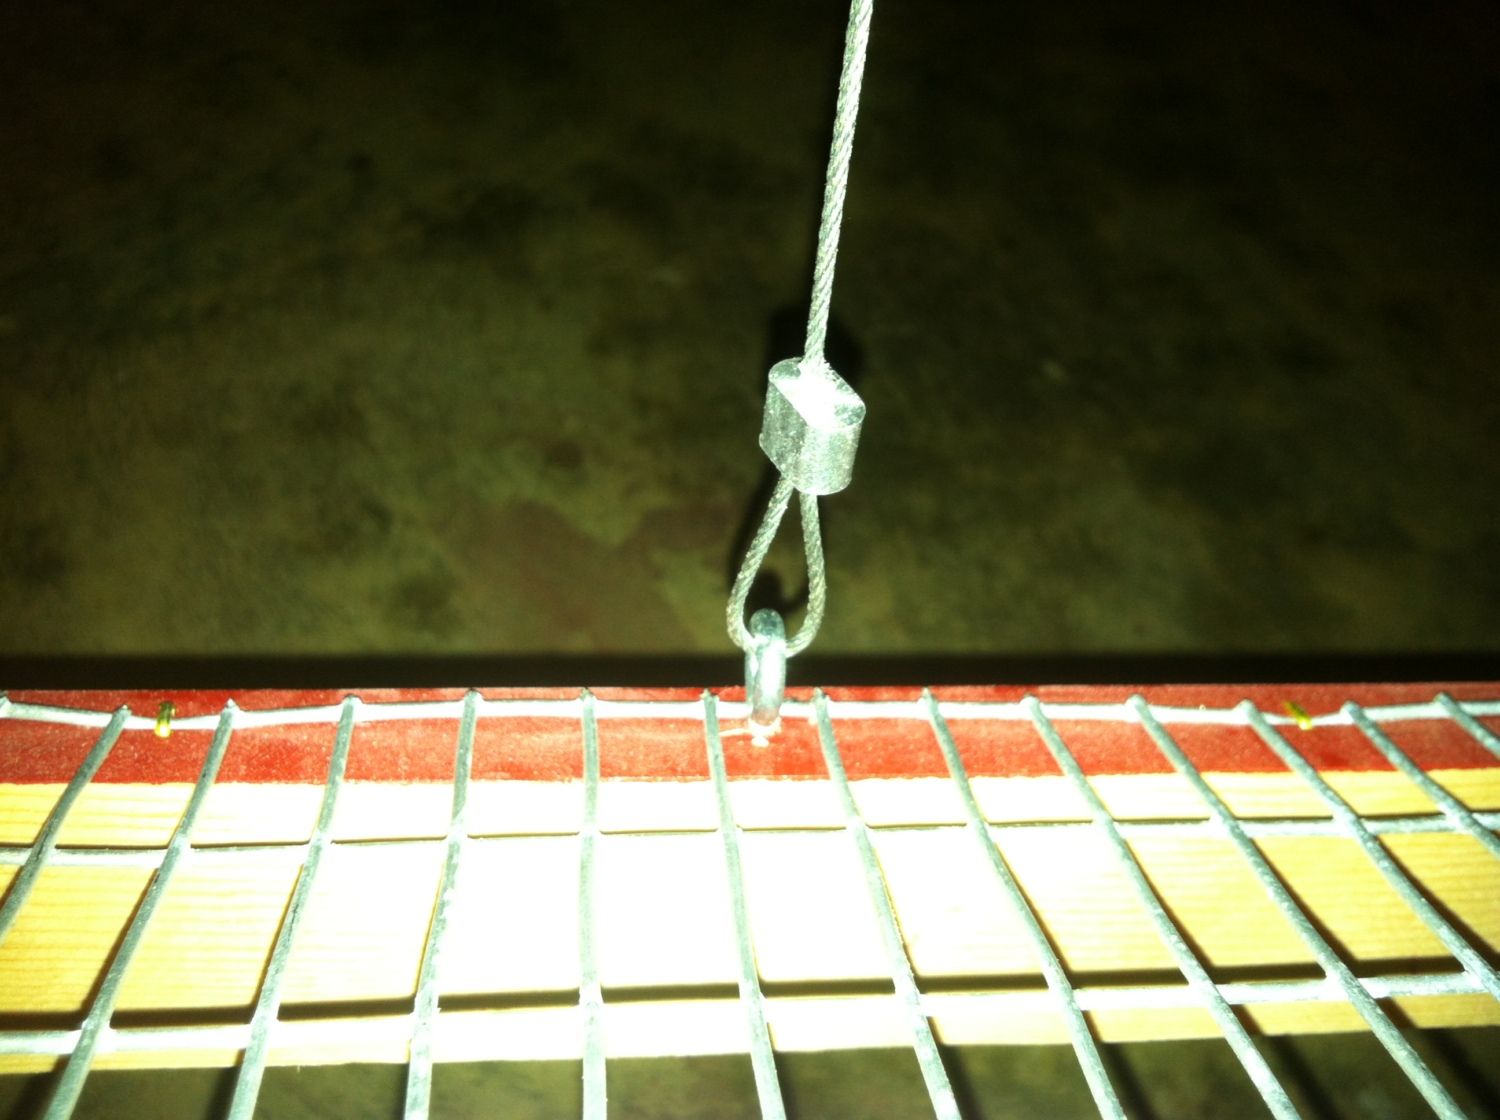
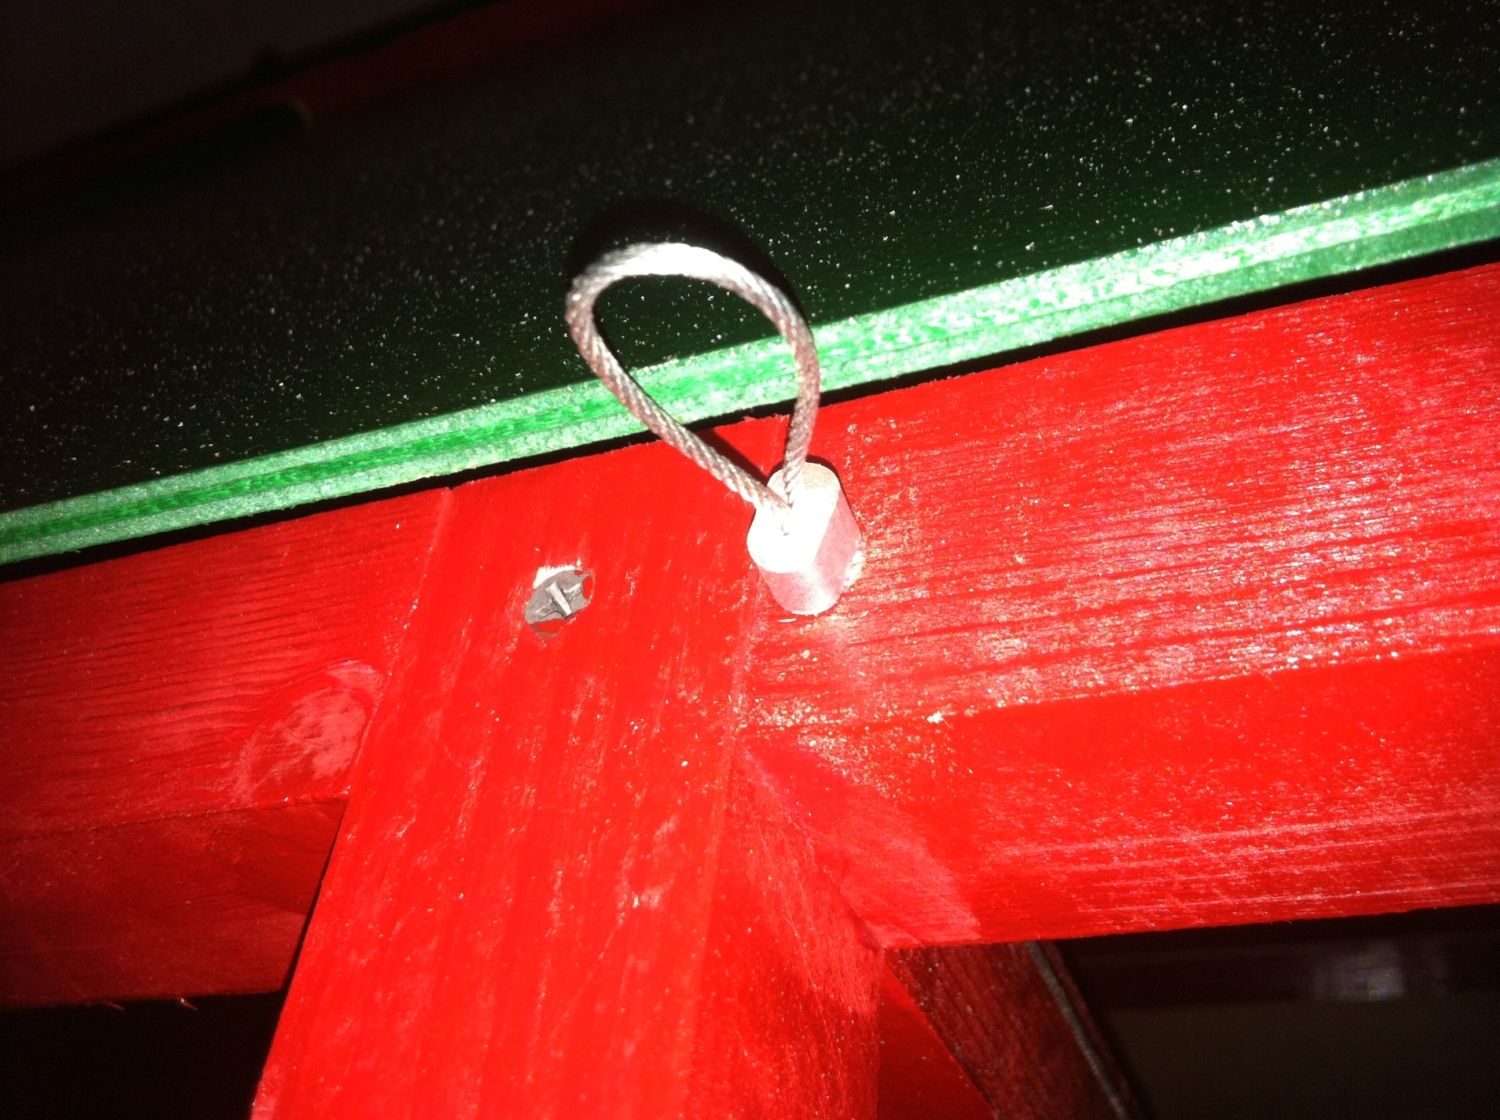
Went to Lowes and grabbed some 1/8" cable and ferrules. Didn't have the right size ferrules nor any crimpers, so I had to make do and used over sized ferrules and used my 20 ton press to crimp them. Overkill I know, but sometimes you have to make do with what you have available.
Other end when the ramp is lowered, the crimped ferrule holds the ramp in the lowered position.
These are the end panels for the feed hopper, used the cuttings from the end pieces for the coop.
Then glued them in place, should give you an idea what it'll look like.
Forgot to take pictures again, I ended up using tongue and groove pieces for the inside part where it angles at the bottom. Glued the exterior "wall" in place too.
Here you can see the hopper from where the chickens will see it. Tongue and groove boards on the inside of the 1.5" supports, but don't go all the way to the bottom. There is one full piece on the bottom on the outside to make the trough part of the feed hopper.
Inside view looking down
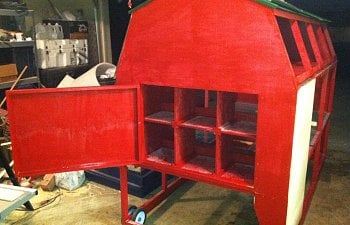
Got almost everything done, just need to get the little place that missed paint taken care of and put chicken wire on.
I have completed the coop as far as I can for the time being. Need to get another hinge, but have chicken wire up at least so that they have protection. Moved it out to the back yard and put the chickens in it one at a time, probably going to take several days for them to realize that it is "home". By the time I finished it was too dark for pics so I'll wait until I get home from work tomorrow to take some and fill their feed hopper too. Going to have to start making their water tanks too sometime, lol
This is the bottom section of the 1.5x1.5 that attaches to the 2x4
Started the clamping and glueing here for the first side piece.
Here you can see a corner so you understand what I was going for. At this point there are no screws in the assembly yet and it was quite strong. Some of the boards were warped after ripping them into their sizes, so the clamps held them together until the glue was set.
One side complete! It is actually upside down here, the 2x4 will be on the bottom.
Both sides are done and now I'm putting the center pieces in place. One screw attaches all three boards together at every joint, that is why I only used glue early on the sides. Stronger joints than only screws, stronger joints than screws and glue, dado cut cut joints with glue and screws. With glue alone on the sides with the dado they didn't flex at all with lateral force (pushing on the end of the side)
Both sides attached and still working on putting in the center pieces.
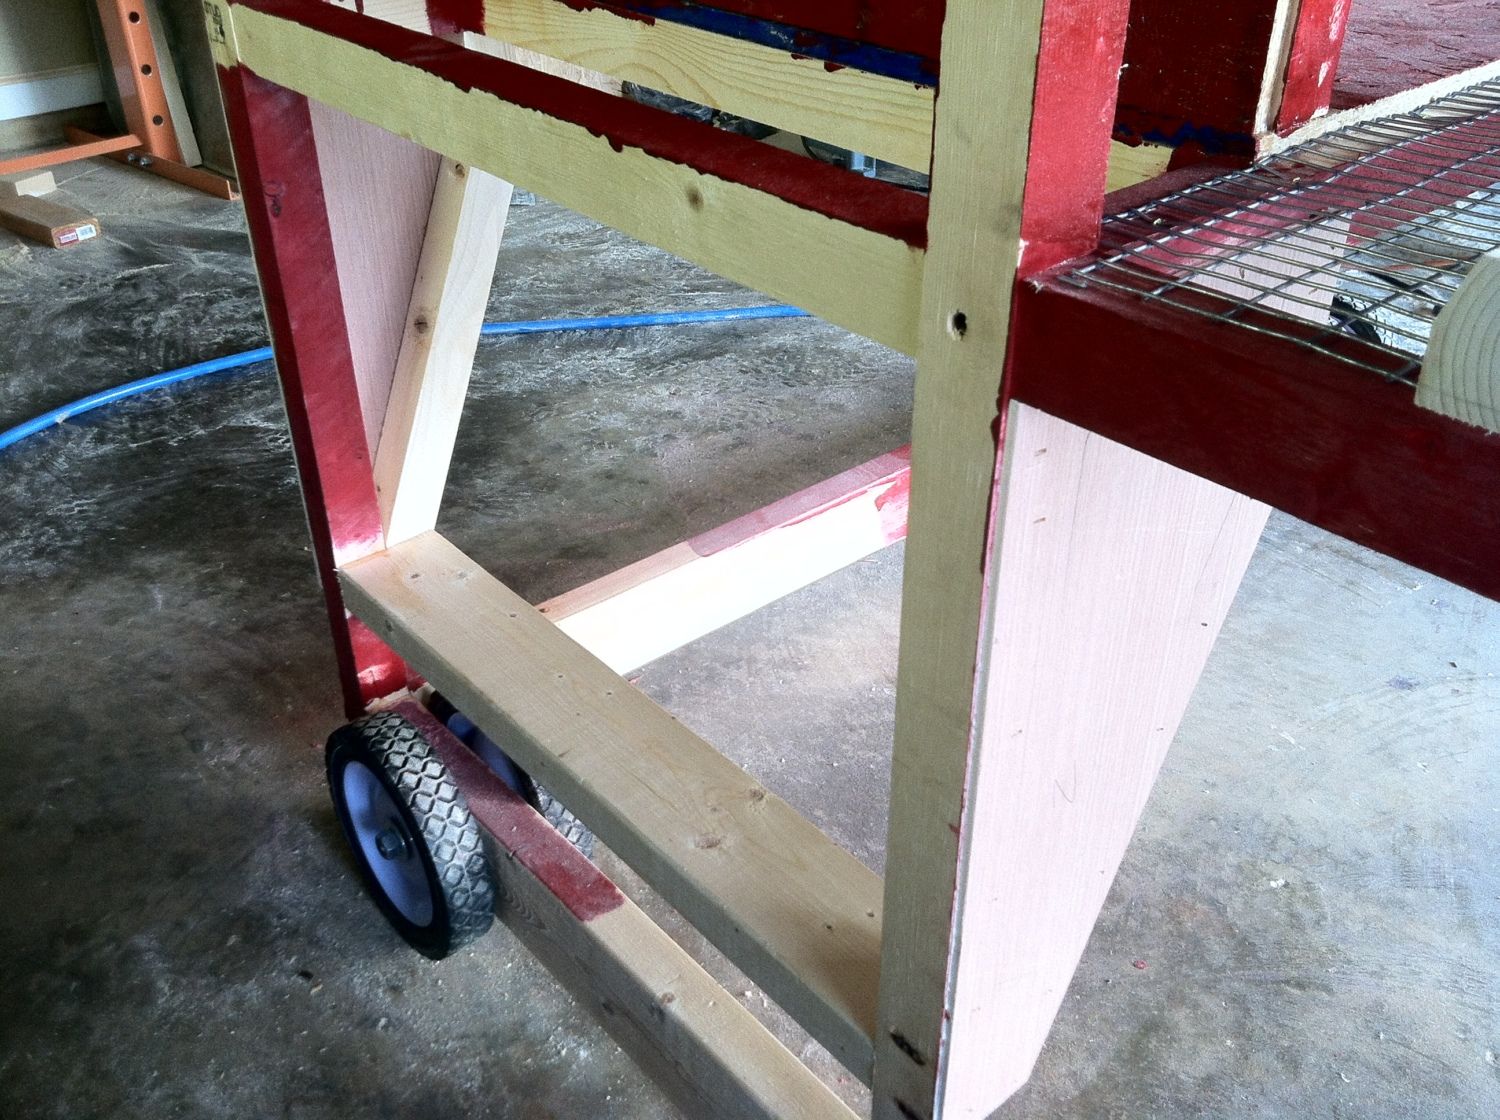
Here are the wheels for the heavy end of the coop.
These are 7" wheels that I picked up in the mower repair section of Walmart for a couple dollars. They are mounted on 1/2" bolts and jam nut'd since a lock washer tight wouldn't let the wheel spin. Took me a while to figure out how tight to make it where the wheel wasn't floppy but still spun easily.
Here is the main frame of the coop completed, without the 2' of roof and roost space on it yet.
Got the gambrel roof trusses installed here with some furring strips cut from a single 2x4. Love the headroom and no lost space idea of the gambrel roof design, but man it is a PITA, not sure if I'd really want to go through that again. Notice the swinging door on this end of the frame, that will be their door to the outside world, while the ramp in the middle of the run leads up to the "living room" of the coop. Bedroom on top "floor", living room on the middle floor, with the latrines and dining room on the bottom floor lol. Imagine copies of just the bottom floor to the right and left, swinging up on hinges to be rolled around. THAT is the end goal and plan, we'll have to see how far I get towards that lol

Started painting most of the insides, leaving areas that either require a wood glue joint, or got too tired of painting....I HATE painting, I normally leave that crap to the wife since she LOVES it lo
Here are the pieces I put on the peak of the roof to act as a ridgecap vent, couldn't resist capturing that beautiful cloud behind it lol
Top roof panels cut from 1/4" luan and painted, minus glue joint areas, the painted area is the inside of the coop since I didn't want to fight the coop trying to paint it. Would rather paint it at smarter times so that I wouldn't get paint on myself while trying to paint it had it been completely assembled. Tops of the panels aren't yet painted, will do that later after I put more pieces on.
I forgot to take good pics of the roof installed with the ridgecap vent, but I did bring one of the "soon-to-be-tenants" inside the house and into the garage to test it out. Seemed like he liked it a lot
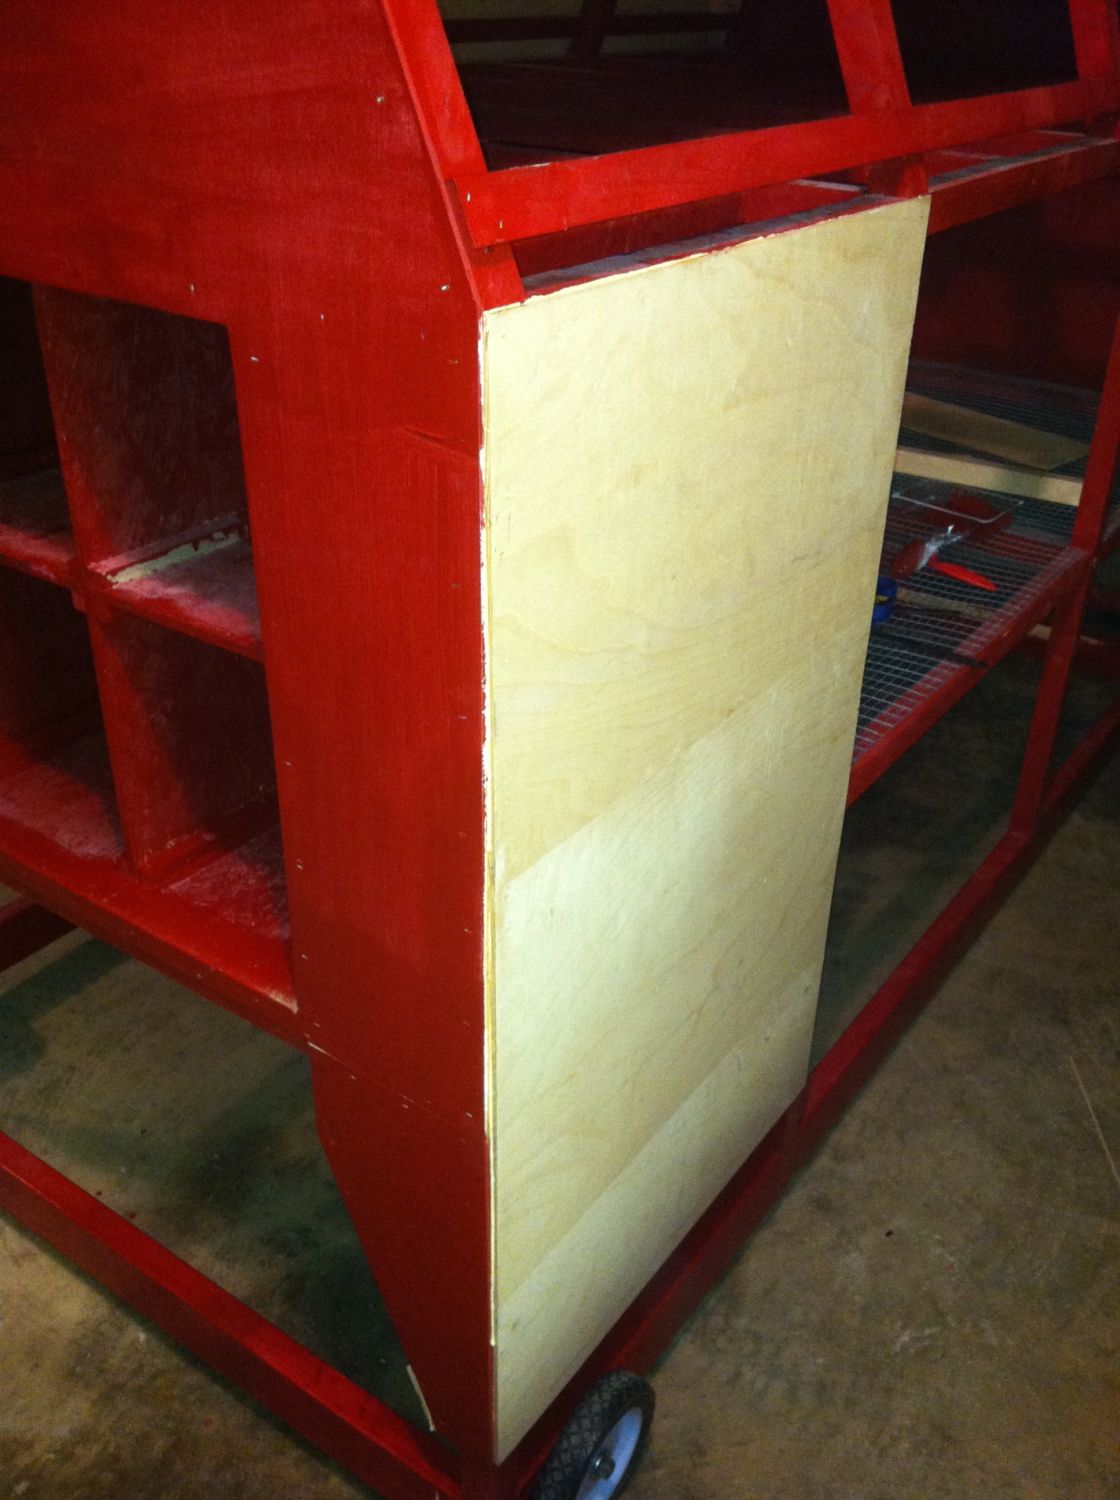
End panels attached, starting to look more like a barn!
Started the nesting boxes, the empty spaces beside the nesting boxes are for a feed hopper and waterer
Nesting box complete, works ok but not happy with it. Really wish I had made it out of plywood instead of the crap OSB, oh well, maybe later
The nesting boxes do have a perch right in front of them
Used some old corner trim that I never used up on an old project and thought it cleaned up the edges nice here after I attached this end panel
Looks nice with the roof trim and the nesting box door installed
Used more corner trim to hide the seam on the roof peak, just as much for leaks as for looks
Looks pretty good considering
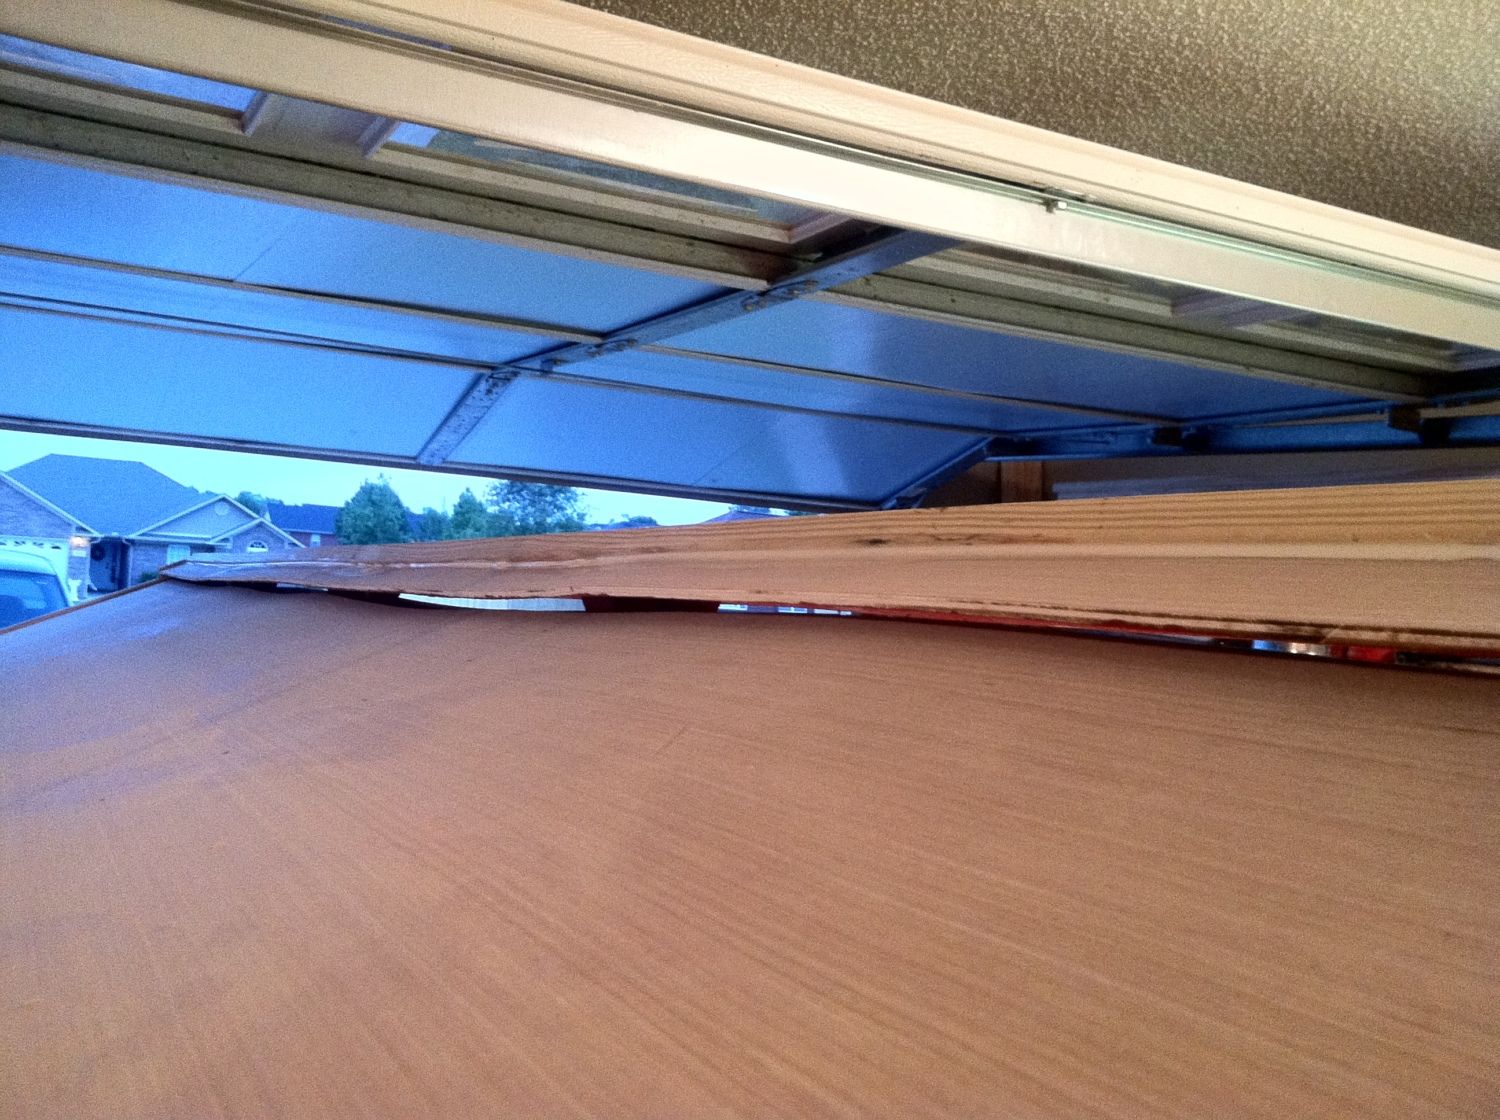
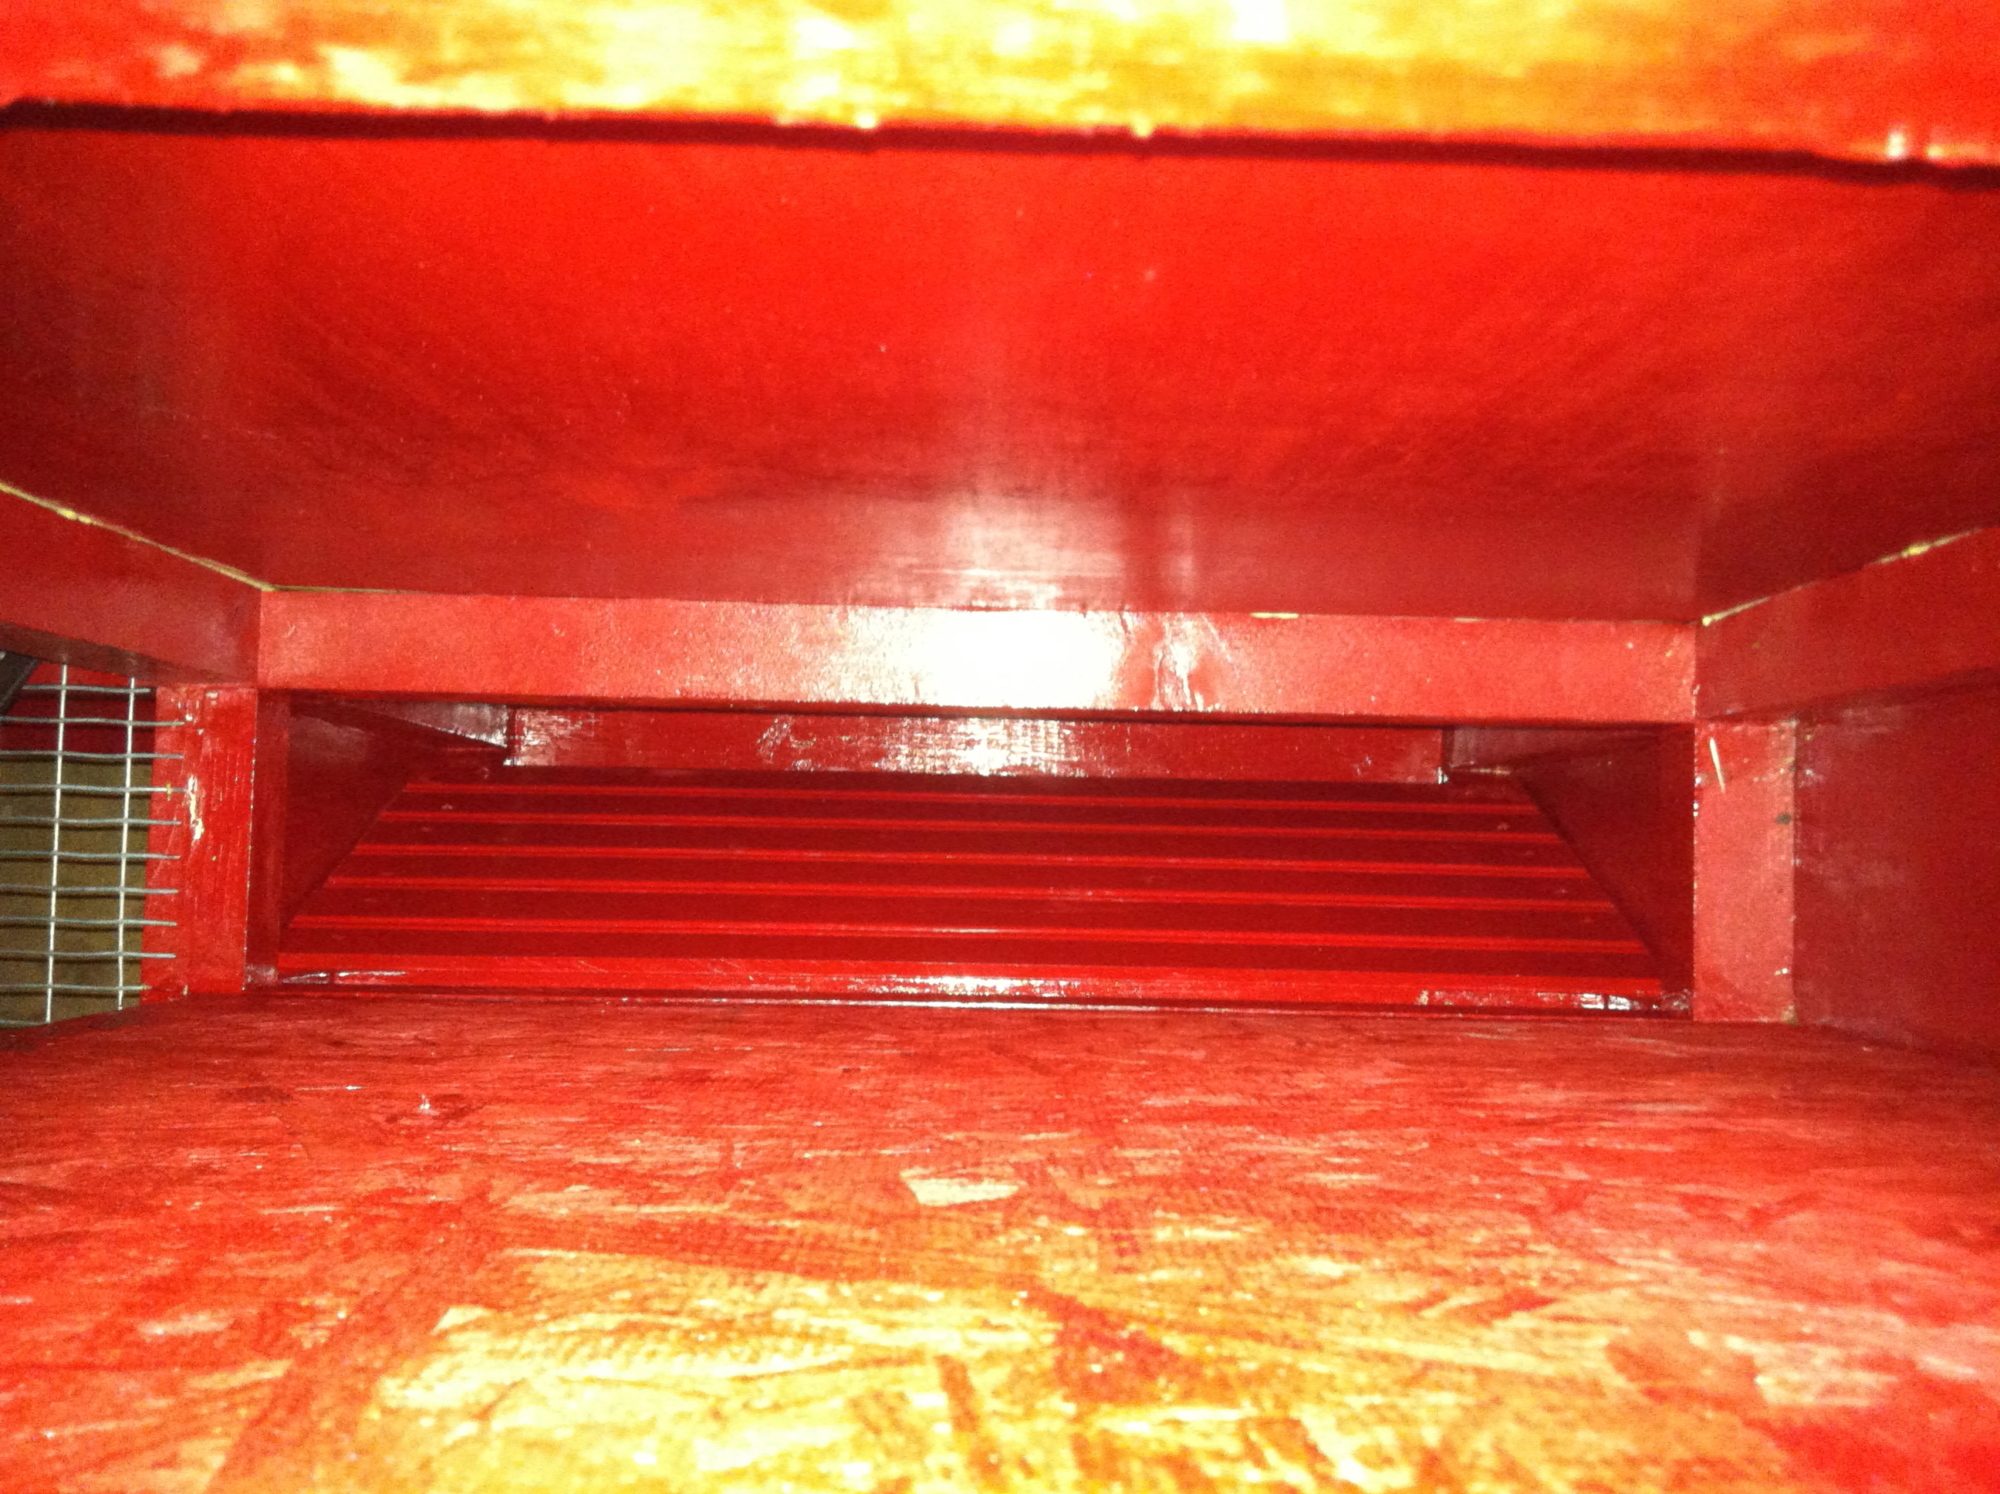
This is the inside of the lower roof panels, put a block on each end to locate the panel and to keep it up in place. I'm planning on putting a couple latches on these and then drilling holes in the truss to hold the roof panel in place against the trusses.
Got the hardware cloth installed and cut for the ramp, which I didn't like how steep the ramp was.
Got back to the roof and put on the half round pieces that I hope will make it look like a tin roof without the expense or weight.
Besides looking good with the trim, it also hid all the staple holes in the plywood
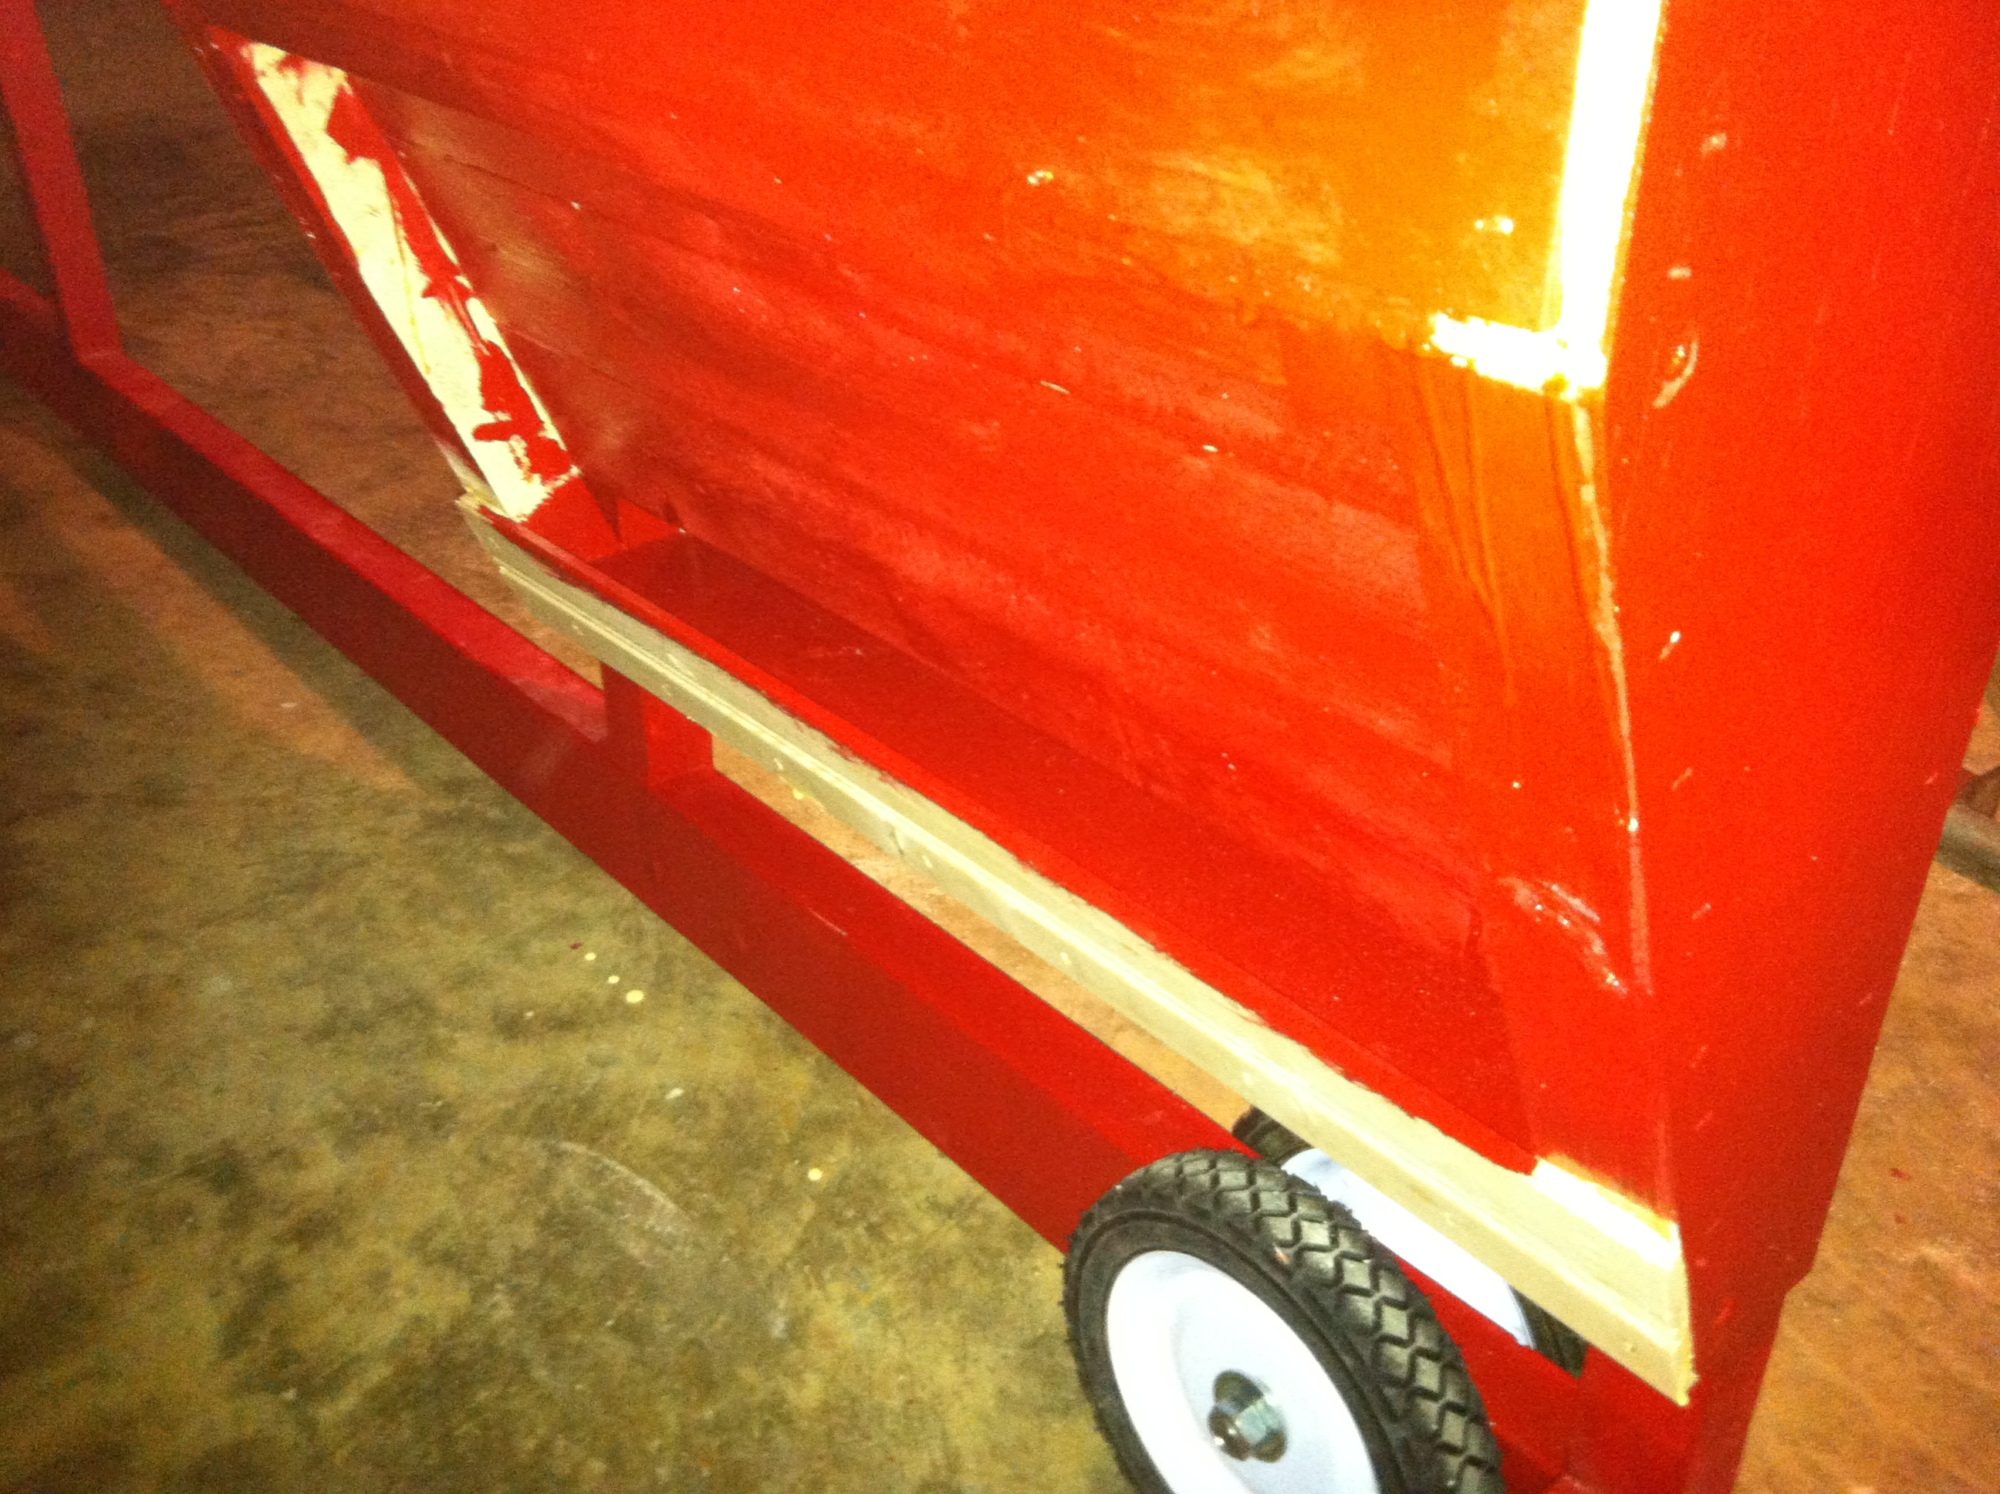
First coat of paint here, have a second on but forgot to take pictures after painting it.
Had some black string, use it to decide a good height for an elevated ramp access into the coop.
Went to Lowes and grabbed some 1/8" cable and ferrules. Didn't have the right size ferrules nor any crimpers, so I had to make do and used over sized ferrules and used my 20 ton press to crimp them. Overkill I know, but sometimes you have to make do with what you have available.
Other end when the ramp is lowered, the crimped ferrule holds the ramp in the lowered position.
These are the end panels for the feed hopper, used the cuttings from the end pieces for the coop.
Then glued them in place, should give you an idea what it'll look like.
Forgot to take pictures again, I ended up using tongue and groove pieces for the inside part where it angles at the bottom. Glued the exterior "wall" in place too.
Here you can see the hopper from where the chickens will see it. Tongue and groove boards on the inside of the 1.5" supports, but don't go all the way to the bottom. There is one full piece on the bottom on the outside to make the trough part of the feed hopper.
Inside view looking down
Got almost everything done, just need to get the little place that missed paint taken care of and put chicken wire on.
I have completed the coop as far as I can for the time being. Need to get another hinge, but have chicken wire up at least so that they have protection. Moved it out to the back yard and put the chickens in it one at a time, probably going to take several days for them to realize that it is "home". By the time I finished it was too dark for pics so I'll wait until I get home from work tomorrow to take some and fill their feed hopper too. Going to have to start making their water tanks too sometime, lol