Quote:
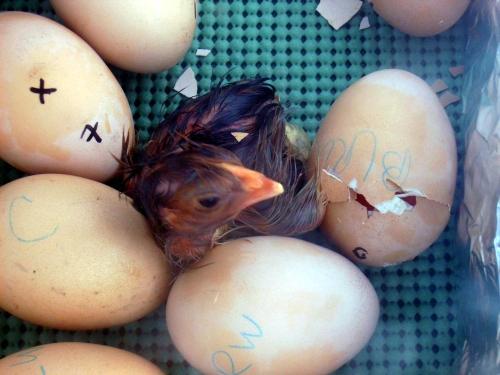
Thanks everyone! I had 13 eggs. 8 hatched out of 9 fertile eggs. 4 were not fertile.
The bator was cheap and easy to make. I did have some issues at first, but it was my fault. There are some things I would change about the bator and it would make humidity levels work even better. As it was, my water dishes were too shallow, so the water dried out quickly. A very kind BYB member told me to add paper towels to help hold the moisture and it worked like a charm! However, if I could redo it I would raise the lightbulb and add deeper water dishes of the same L x Wdimensions as the shallow. I would also add a full wall of mesh wire instead of the half wall I did. The chicks tried to climb it!
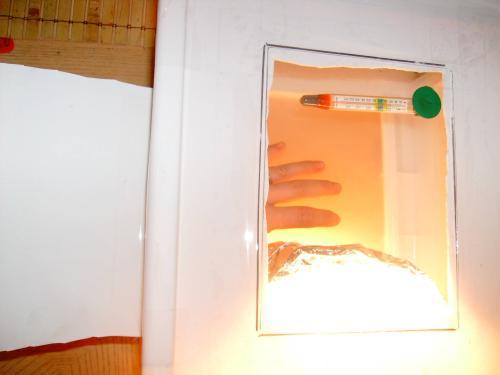
Anyhow, I used a small Sterlite container. I cut out a window for the top and used an old picture frame glass for the top. I cut out a hold in the side to slip my hand into so that I could turn the eggs without letting out a lot of heat/humidity (this feature worked GREAT). I made insulation for the turning flap with clear tape and left it hanging in the door. Then, I re-attached the piece I cut off as the actual flap. This way, when I reached my hand inside, I still had plastic tape surrounding my hand and holding in the heat/humidity.
Inside, I lined the bottom with mesh/rubber shelf liner. I added a half wall of aluminum foil around the lightbulb to prevent direct heat. I also added a wall of aluminum foil along the opposite side for insulation and to help stabalize the heat. I added my water dishes under the light bulb.
The bottle lamp kit can be found at any
Wal-mart or hardware store. It's $5 and is basically a socket for lightbulbs. Someone from BYB suggested a dimmer switch, also found at
Wal-mart, that plugged into the actual lightbulb and allowed me to precisely control the temperature.
I did have a few temp issues at first, but that was because the bator was under a draft. As soon as I moved it out of the draft, the temp stabalized without issue.
Best of all, it is EASY to clean since it is plastic
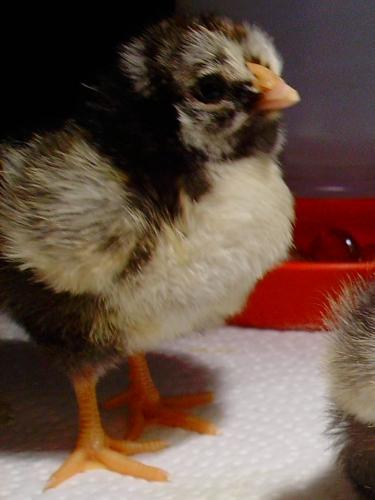
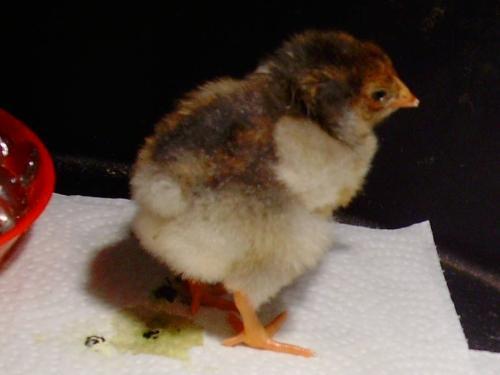
Here are more pics.
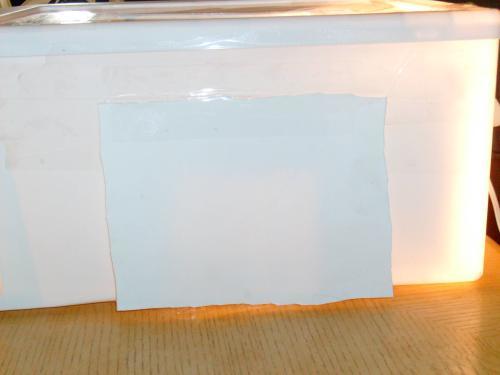
This is under the turning flap:
Turning flap closed:
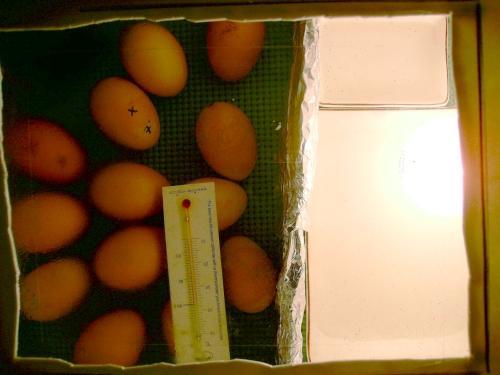
Direct inside view showing the half bulb and light from the bulb:
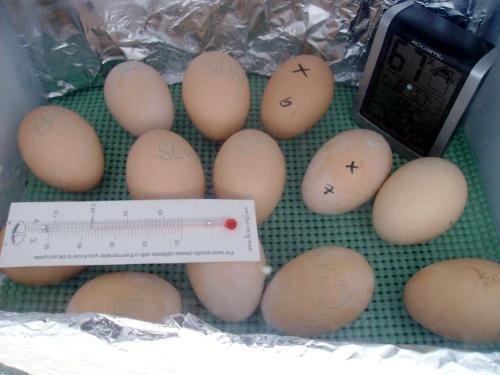
This is the back wall with the added foil wall (the temp was down because I had the top off while getting ready for lockdown)
Oh, almost forgot. It held 13 eggs easily. I probably could have squeezedin one or two more. So, great incubator for small hatches!