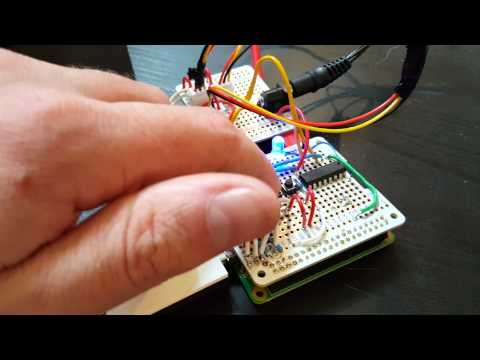
I've decided to buy a Raspberry Pi 2 and a big sensor kit to play around with a bit of everything. I don't have a specific project in mind since I already ordered a coop door.
So I still have one question about using a 12v motor, which seems like would be the minimum required to power anything other than a toy. I believe the Pi only outputs 5v, plus it must be shielded from the motor by a special GPIO controller right? Which one did you go with? I see tons for the Arduino, but not for Pi.