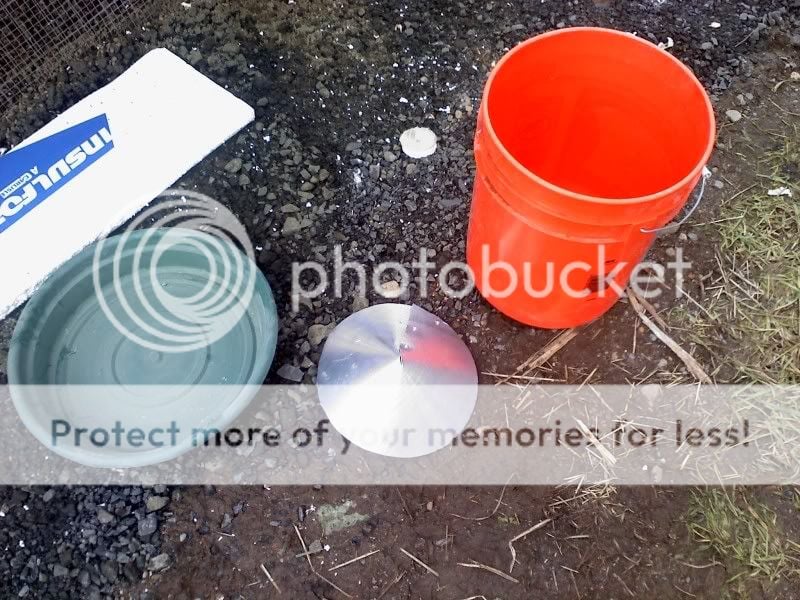
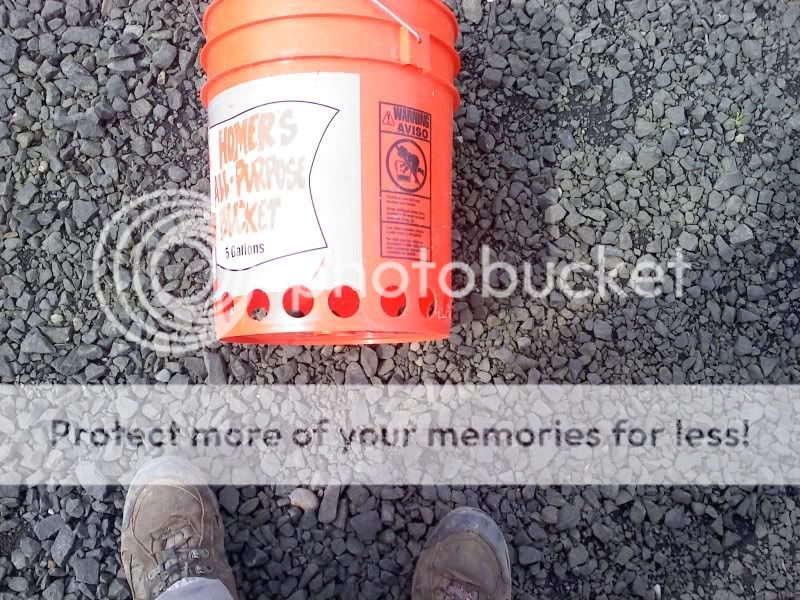
WATERERS: We're going through metal waterers like crazy and wanted something cheaper lol They're simply too expensive and I have a LOT of 5 plastic gallon buckets around.
Our water here is full of minerals and so it builds up on the metal more than anything, I think it would be easier to just replace the nipples if need be.
Does anyone have plans to build a waterer?
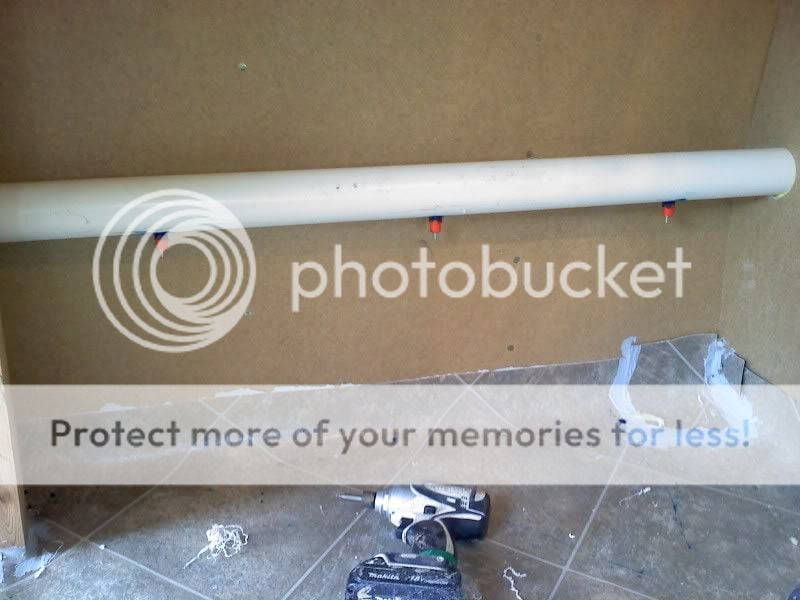
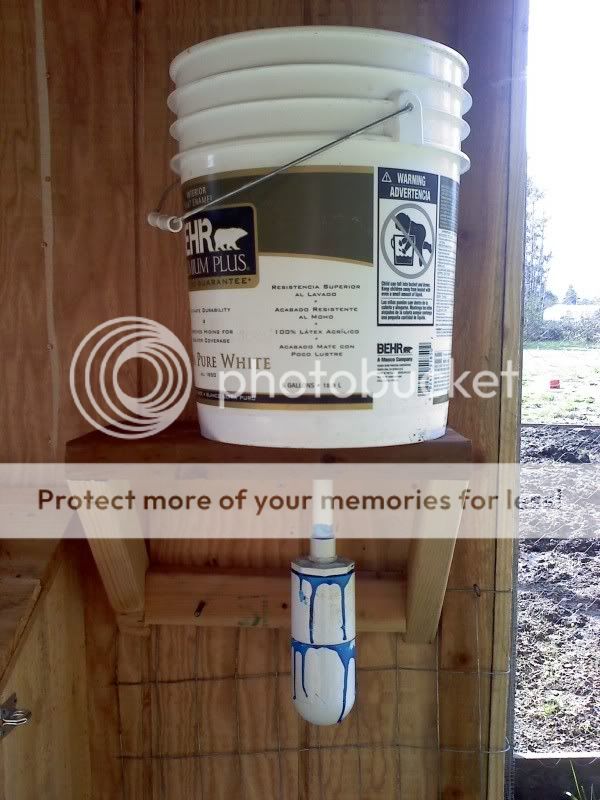
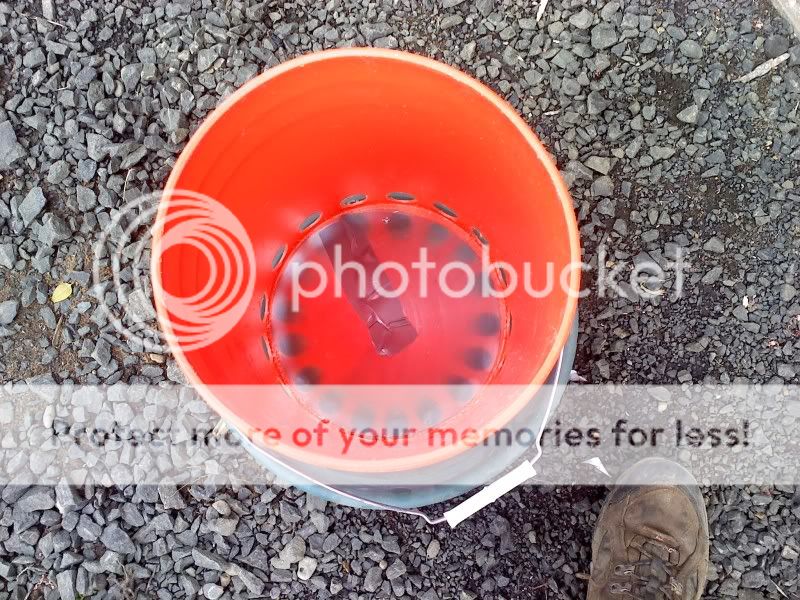
I was thinking of using a five gallon bucket on a stand, so the adult birds can reach it, with a cap so nothing can get into it. It'll be easier to clean, since I can just "scrub" or "wipe" the slime away and wha-lah!
I use these little metal nipples for my mice, what kind can you use for birds? I know there is a little needle in the "nipple" and when you hit it, it lets out water. We rarely get leakage and plan on making sure there are two waterers in each coop!

FEEDERS: Now here comes the tricky part. Our birds waste food like crazy, pellets, crumble, fancy scratch, you name it. They LOVE to get in it and peck it out or use their heads to peck it out (less with their heads, but them bantams are sure sneaky!).
For my greens and snacks, I use those freezer bins (metal, my plastic ones are broken lol) and elevate it above the birds so they can "peck at it".
On the other hand, we've tried feeders and tubs, etc. They always knock it ALL out and then look at me like I'm starving them lol when MOST of their food is on the ground.
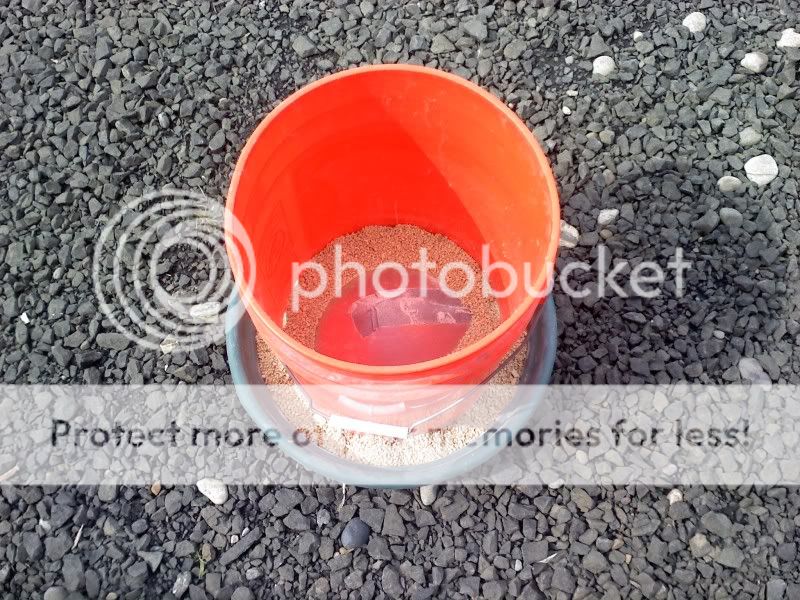
Anyone have any plans for an automatic feeder you could use that would be good to last the birds a couple days? I'm thinking of something that will hold 40 pounds of feed
Thanks for sharing plans!
Our water here is full of minerals and so it builds up on the metal more than anything, I think it would be easier to just replace the nipples if need be.
Does anyone have plans to build a waterer?
I was thinking of using a five gallon bucket on a stand, so the adult birds can reach it, with a cap so nothing can get into it. It'll be easier to clean, since I can just "scrub" or "wipe" the slime away and wha-lah!
I use these little metal nipples for my mice, what kind can you use for birds? I know there is a little needle in the "nipple" and when you hit it, it lets out water. We rarely get leakage and plan on making sure there are two waterers in each coop!
FEEDERS: Now here comes the tricky part. Our birds waste food like crazy, pellets, crumble, fancy scratch, you name it. They LOVE to get in it and peck it out or use their heads to peck it out (less with their heads, but them bantams are sure sneaky!).
For my greens and snacks, I use those freezer bins (metal, my plastic ones are broken lol) and elevate it above the birds so they can "peck at it".
On the other hand, we've tried feeders and tubs, etc. They always knock it ALL out and then look at me like I'm starving them lol when MOST of their food is on the ground.
Anyone have any plans for an automatic feeder you could use that would be good to last the birds a couple days? I'm thinking of something that will hold 40 pounds of feed
Thanks for sharing plans!