If I am not too late, here is mine. (This thread says to post until the 31st, but back at the contests page, it says you have till the 19th to post?)
Well, I will post mine and see.
I wanted the chicks in the kitchen, but with small children I didn't want a heat lamp hanging around.
So I made my own brooder. I bought a heating panel meant for reptiles, and taped it to a wire shelf thing (the kind that you hang under shelves). I then bent it to the right height for the chicks. I did add a heating pad underneath them for the first week or so to keep temps up. It worked rather well.
In the hopes this contest is sill open, or at least in the spirit that this may help someone else. Here is our Broody Hen Brooder, which your grandmom could build (I did, and I'm a grandmom).
Our problem was that when a hen lower in the pecking order would hatch in the main coop, chicks would get killed by the other hens. SOOOO we wanted a brooder that was predator safe, light enough for me to move and provided a run so Broody Momma could show her babies how to scratch. After searching this website, we found one close to what we needed, but made adjustments to make it lighter, more mobile and provide air flow. We also use this brooder to quarantine sick birds, we may build more as breeder pens for breeding single pairs of our banty cochins.
The Brooder:
Building Process:
Painting the pieces first help VERY much.
Yes, my basement's a mess.
Cutting the hardware cloth
The Girls making use of it.. we've made 2 more since...
Materials:
(8) 2 x 2 x 8
(3) 1 x 3 x 8 (skids)
(1) plastic roofing panel sold in 2 x 8 which I cut to fit brooder at 2 x 6
(3) hingers for top
(2) hingers for door
(1) slide bolt for door
(2) 2' x 2' heavy plywood for floor and door (I used 5/8")
(3) 2' x 19" pieces of light plywood for walls (I used 1/4")
(1) 2' x2' peice of linoleum for floor
(1) 2' x 10" piece of hardware cloth cut in (3) 2' long strips I used a scrap piece we had in basement rather than buy a whole roll
(1) 2' wide roll of plastic Poultry netting, *this run screening is not predator proof , you MUST put your babies in the coop part at night
The materials ALL together cost somewhere around $150, I could have cut costs by buying the hardware at a Habitat for Humanity store and will for our next one.
All of these ideas have been really cool , I just wanted to say this looks like soemthing I might actually be able to make and thats saying something as I have all thumbs and no sense when it comes to building or putting things together. THank you for shareing
I don't have pictures of the process but it's pretty easy to explain and understand, I think. So, here goes...
The structure which the blue one is under is his "Mama"
I took an empty apple cider container and put about an inch of water in it for weight, turned it on its side, wrapped a heating pad around it and put some fabric over that and safety-pinned it all in place. Then I just had to find something to put under it so it would be off the floor of their little box about an inch and a half. The heating pad is on low and it keeps them toasty warm underneath it and I don't have to have the light on 24/7. Pretty cool hu? I have some little snippets of grass from one of my fodder trays in there for them to pick at when they decide to try eating.
I have "s" hooks hooked though the safety pins at the top and hooked onto the edge of their box so that it cannot fall over.
I also made a "hatcher" last hatching season... I started out with an old, stained ice chest.
I bought two 5x7 photo frames from Walmart for pretty cheap and got some plumber's putty tape
(I think that's what its called) and some mirror/glass holders. I put the putty tape between the glass
and the ice chest. The holders hold everything in place. This is done inside and out.
Inside, I have a computer fan, a ceramic light socket which has a plug for the fan to plug into,
and a wafer thermostat. Also, you can see the ventilation holes. The fan is mounted on an angle
so that when it is on it blows air into the corners and it circulates all around.
This little tupperware dish, also from Walmart, fits perfectly across the top and provides my humidity on a level that chicks cannot get into it.
This is a rubber "flap" that covers part or all of each ventilation hole, which is instrumental in controlling humidity.
I am very pleased with this little set up. It works great!
As long as people are still entering... This summer, I had two coops... A layer coop and a meaty coop. My problem was trying to get water to both of them. I made a dual watering system that supplied both coops with one reservoir...
First, I had to find chicken nipples. I love saying that... "Chicken nipples"... I also had great fun going to the feed store and asking the owner if he had any chicken nipples... "Nooooo...." giving me a weird look... Me: "Why not??" innocently... "Chickens... don't... have... nipples..." looking at me as if I had just stepped off of the short bus... Me, barely containing my hysterical laughter... "No!! Chicken nipples... For building a watering system for my chickens..." Hee, hee, hee, heeeeee.....
I found them in a Farm Tek catalog, but they wanted $13 in shipping for $12 worth of nipples!! I found a nice company right here in MN that shipped them to me for free, so nipples in hand, I headed to my local fleet store where I bought my chicks from for the rest of the supplies. A nice young man helped me make sense of all the different tubings and fittings and I purchased what I hoped would be the stuff to make my waterer. Several more trips later, I finally had all of the fittings and piping I needed... I did eventually trade out the brass T peice with a plastic one...
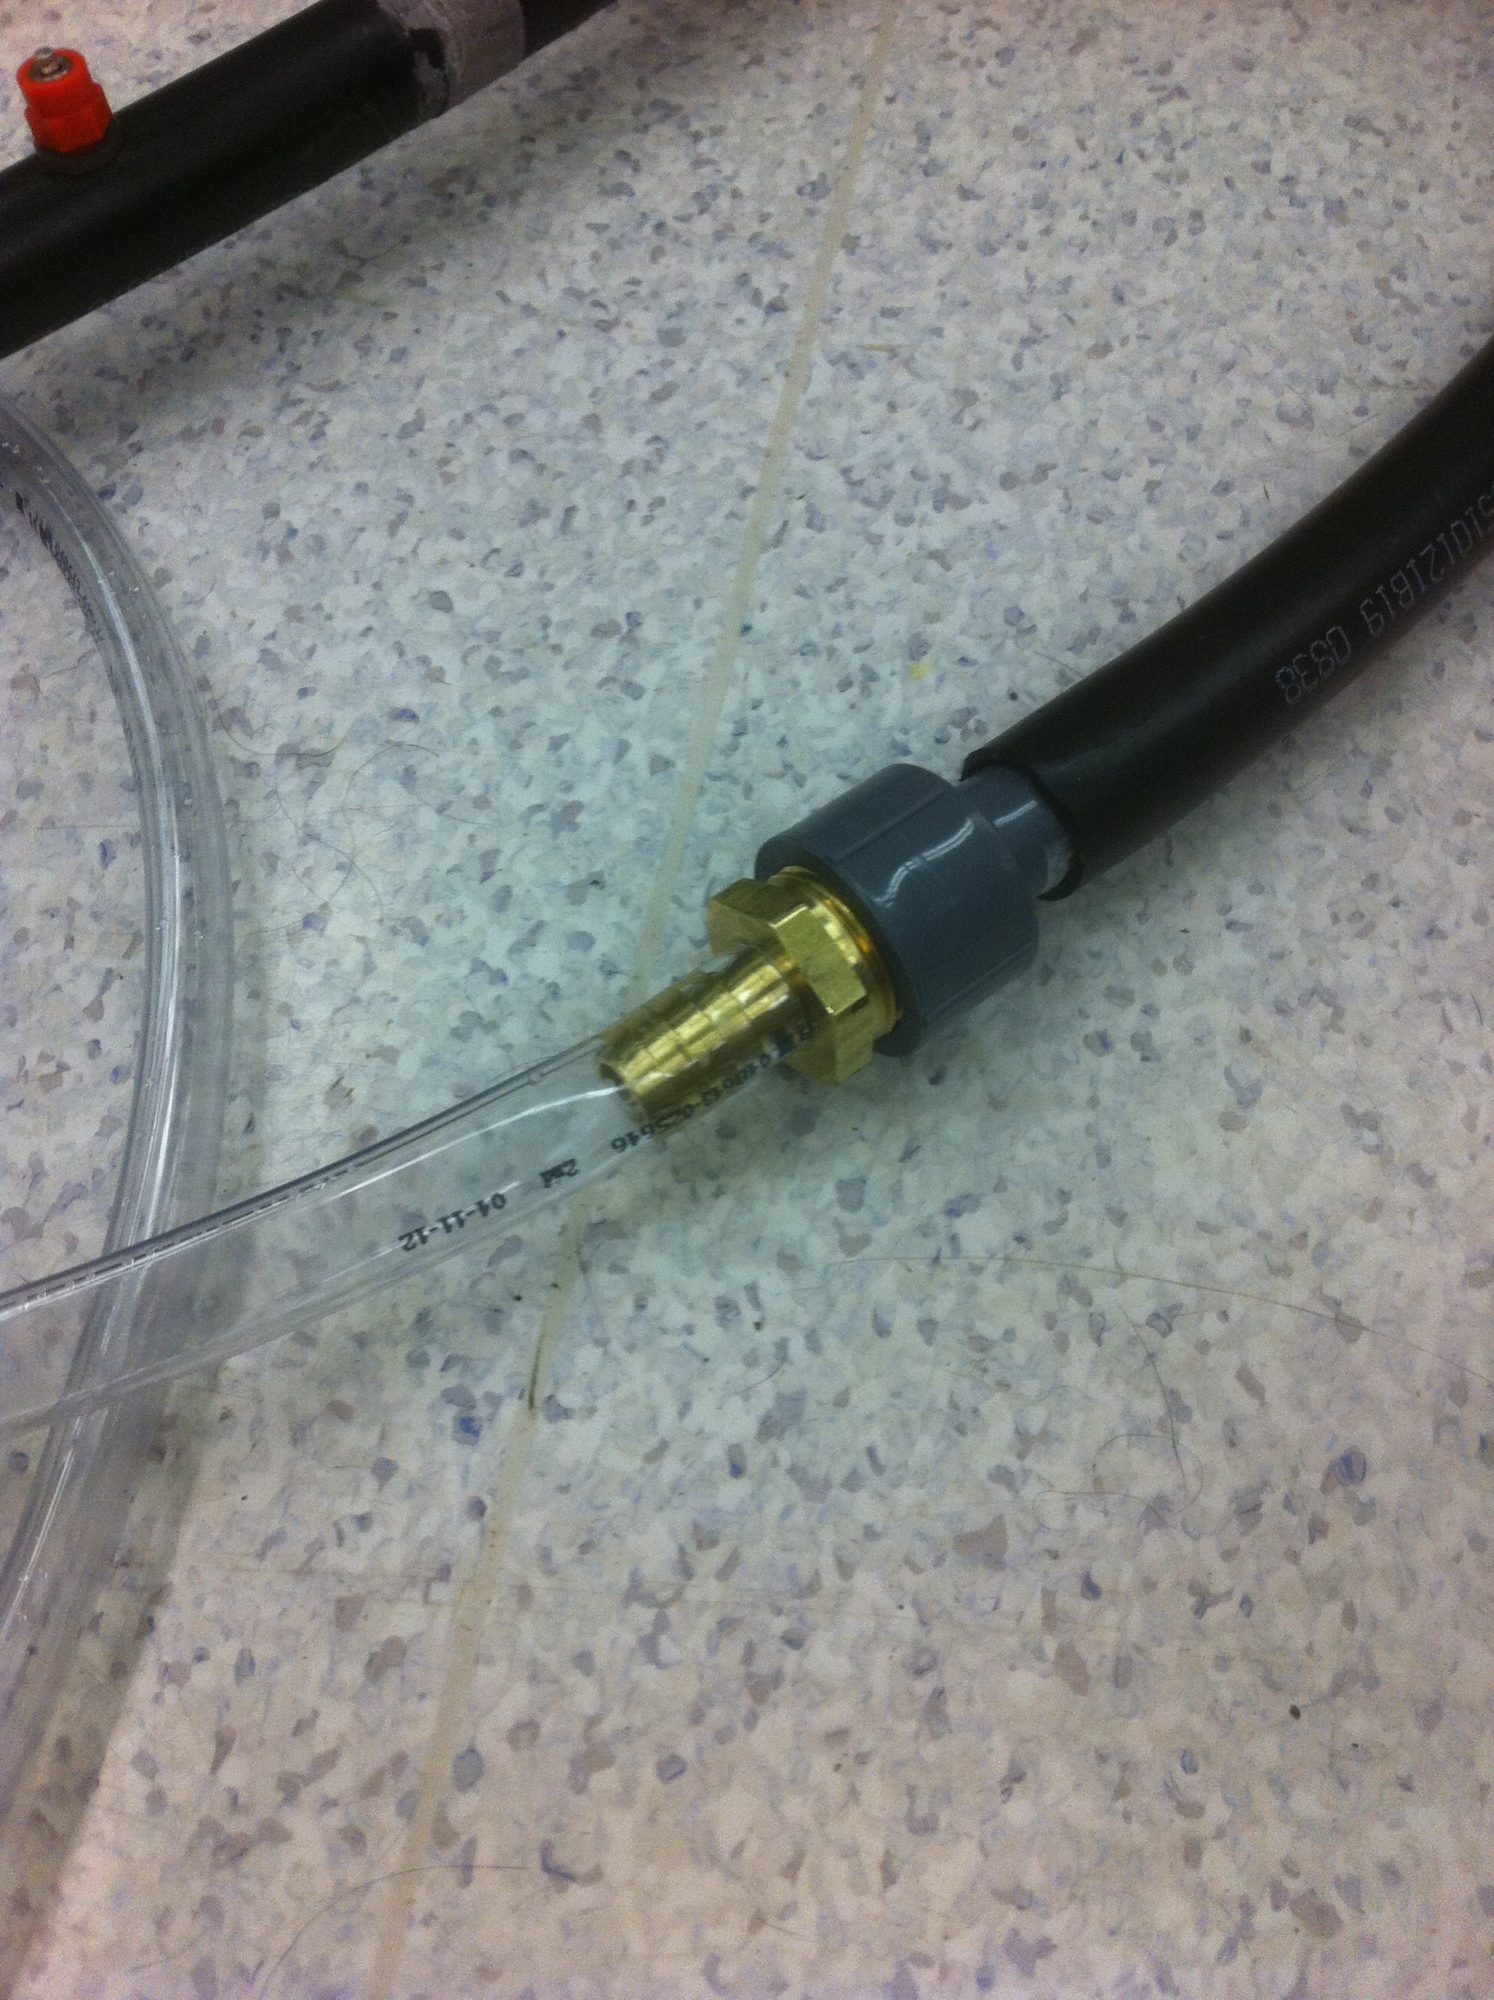
I assembled the watering tubes and nipples in the back room at work one afternoon...
Close up of the connection between the flexible tubing and the tubing with the nipples installed...
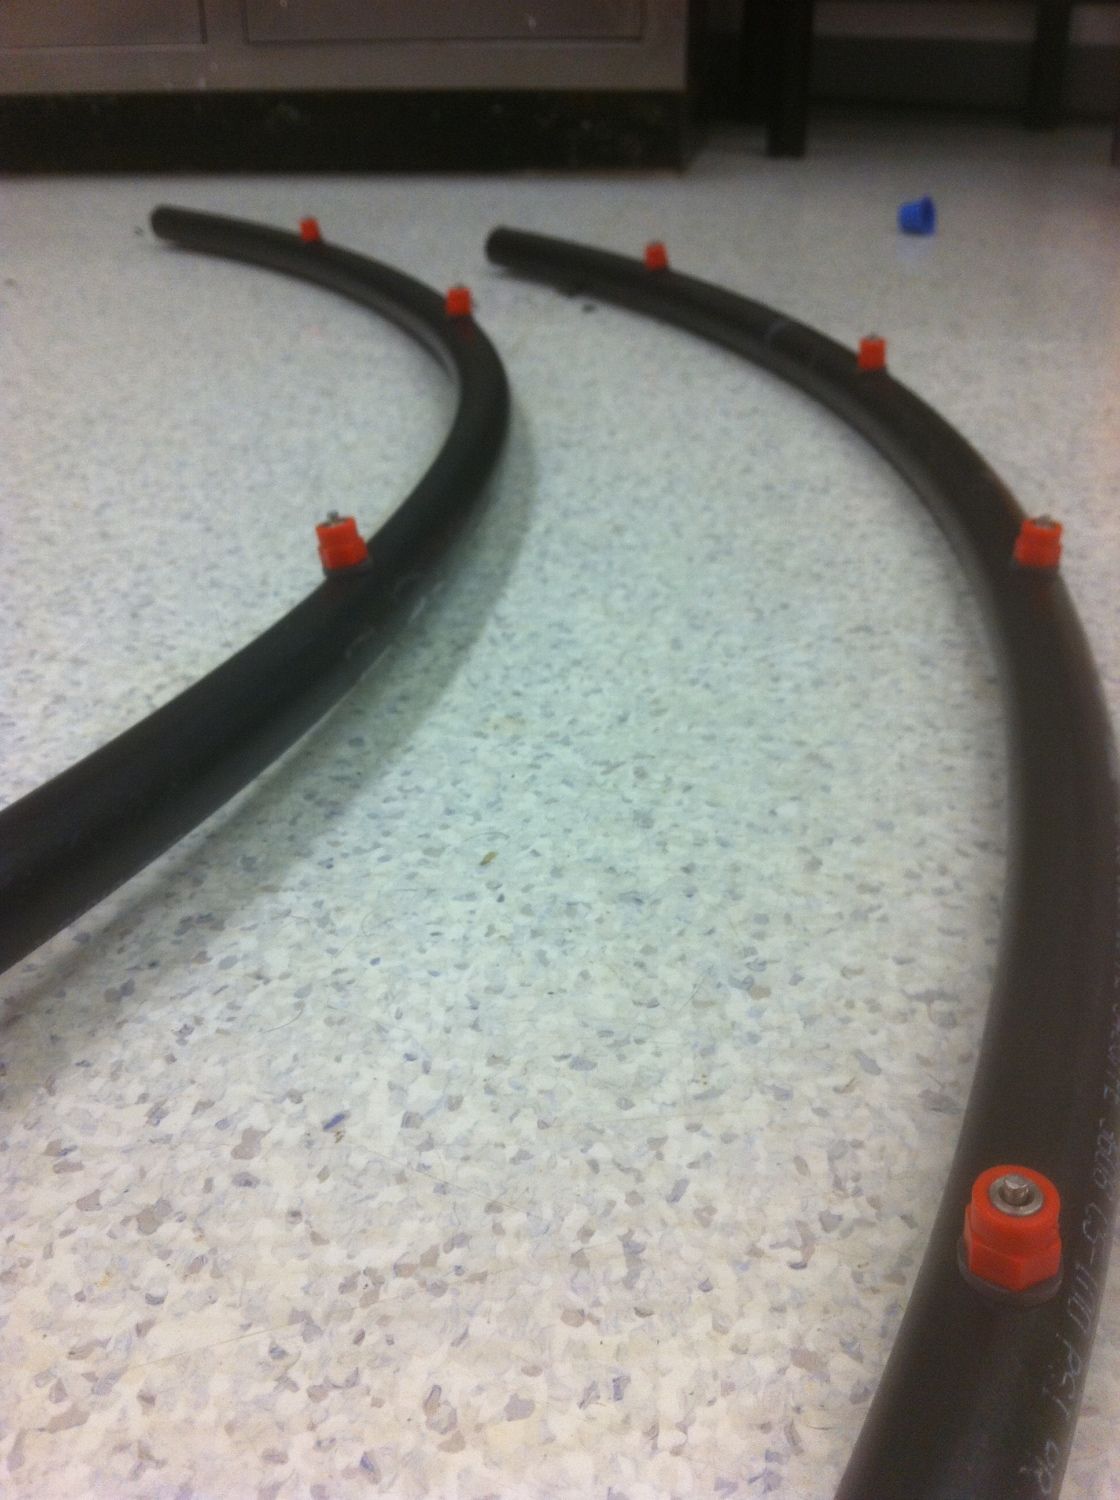
A closer look at the nipples installed in the tube.... I have 2 coops, a layer coop and a meaty coop, so I built 2 of them, each about 3 feet long with 4 nipples in each one...
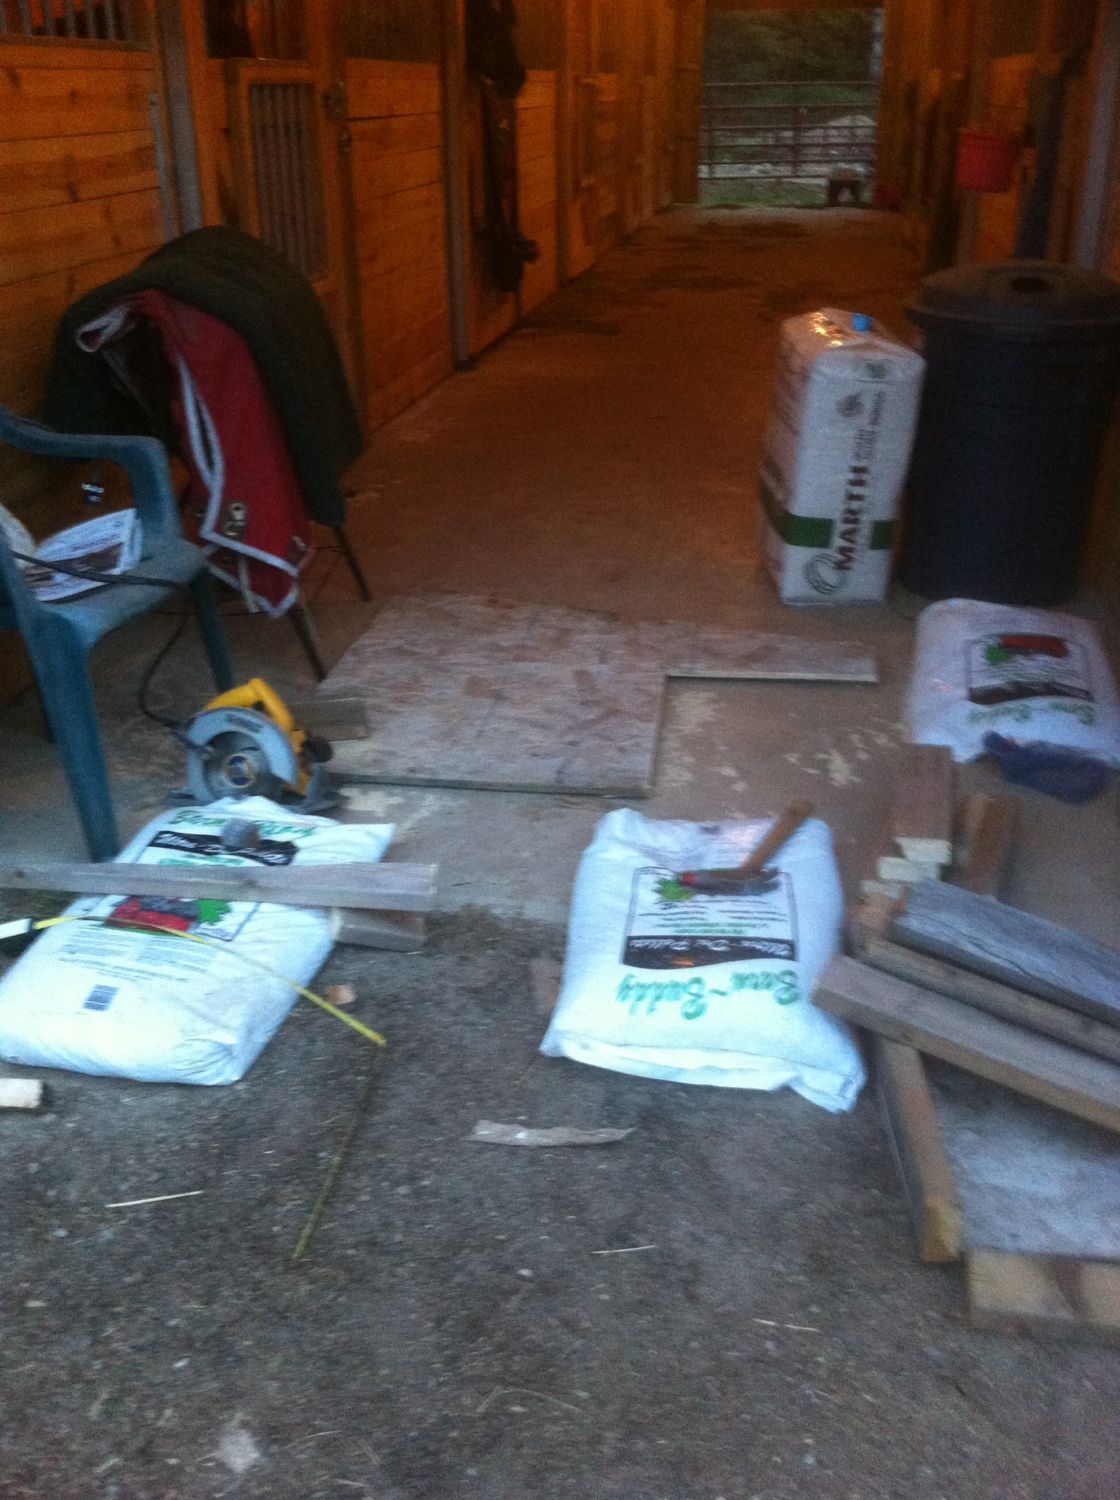
Then I had to build a stand to put in between my coops to put an old cooler on for the reservoir... I found all of the materials in a pile left over from the construction of my barn last year...
Here is the cooler on the stand. I was able to feed the tube through the creases in the sheet metal sides of the meaty coop, but I had to drill a hole in the wall of the layer coop. I built 2 stands to hold the water pipe.
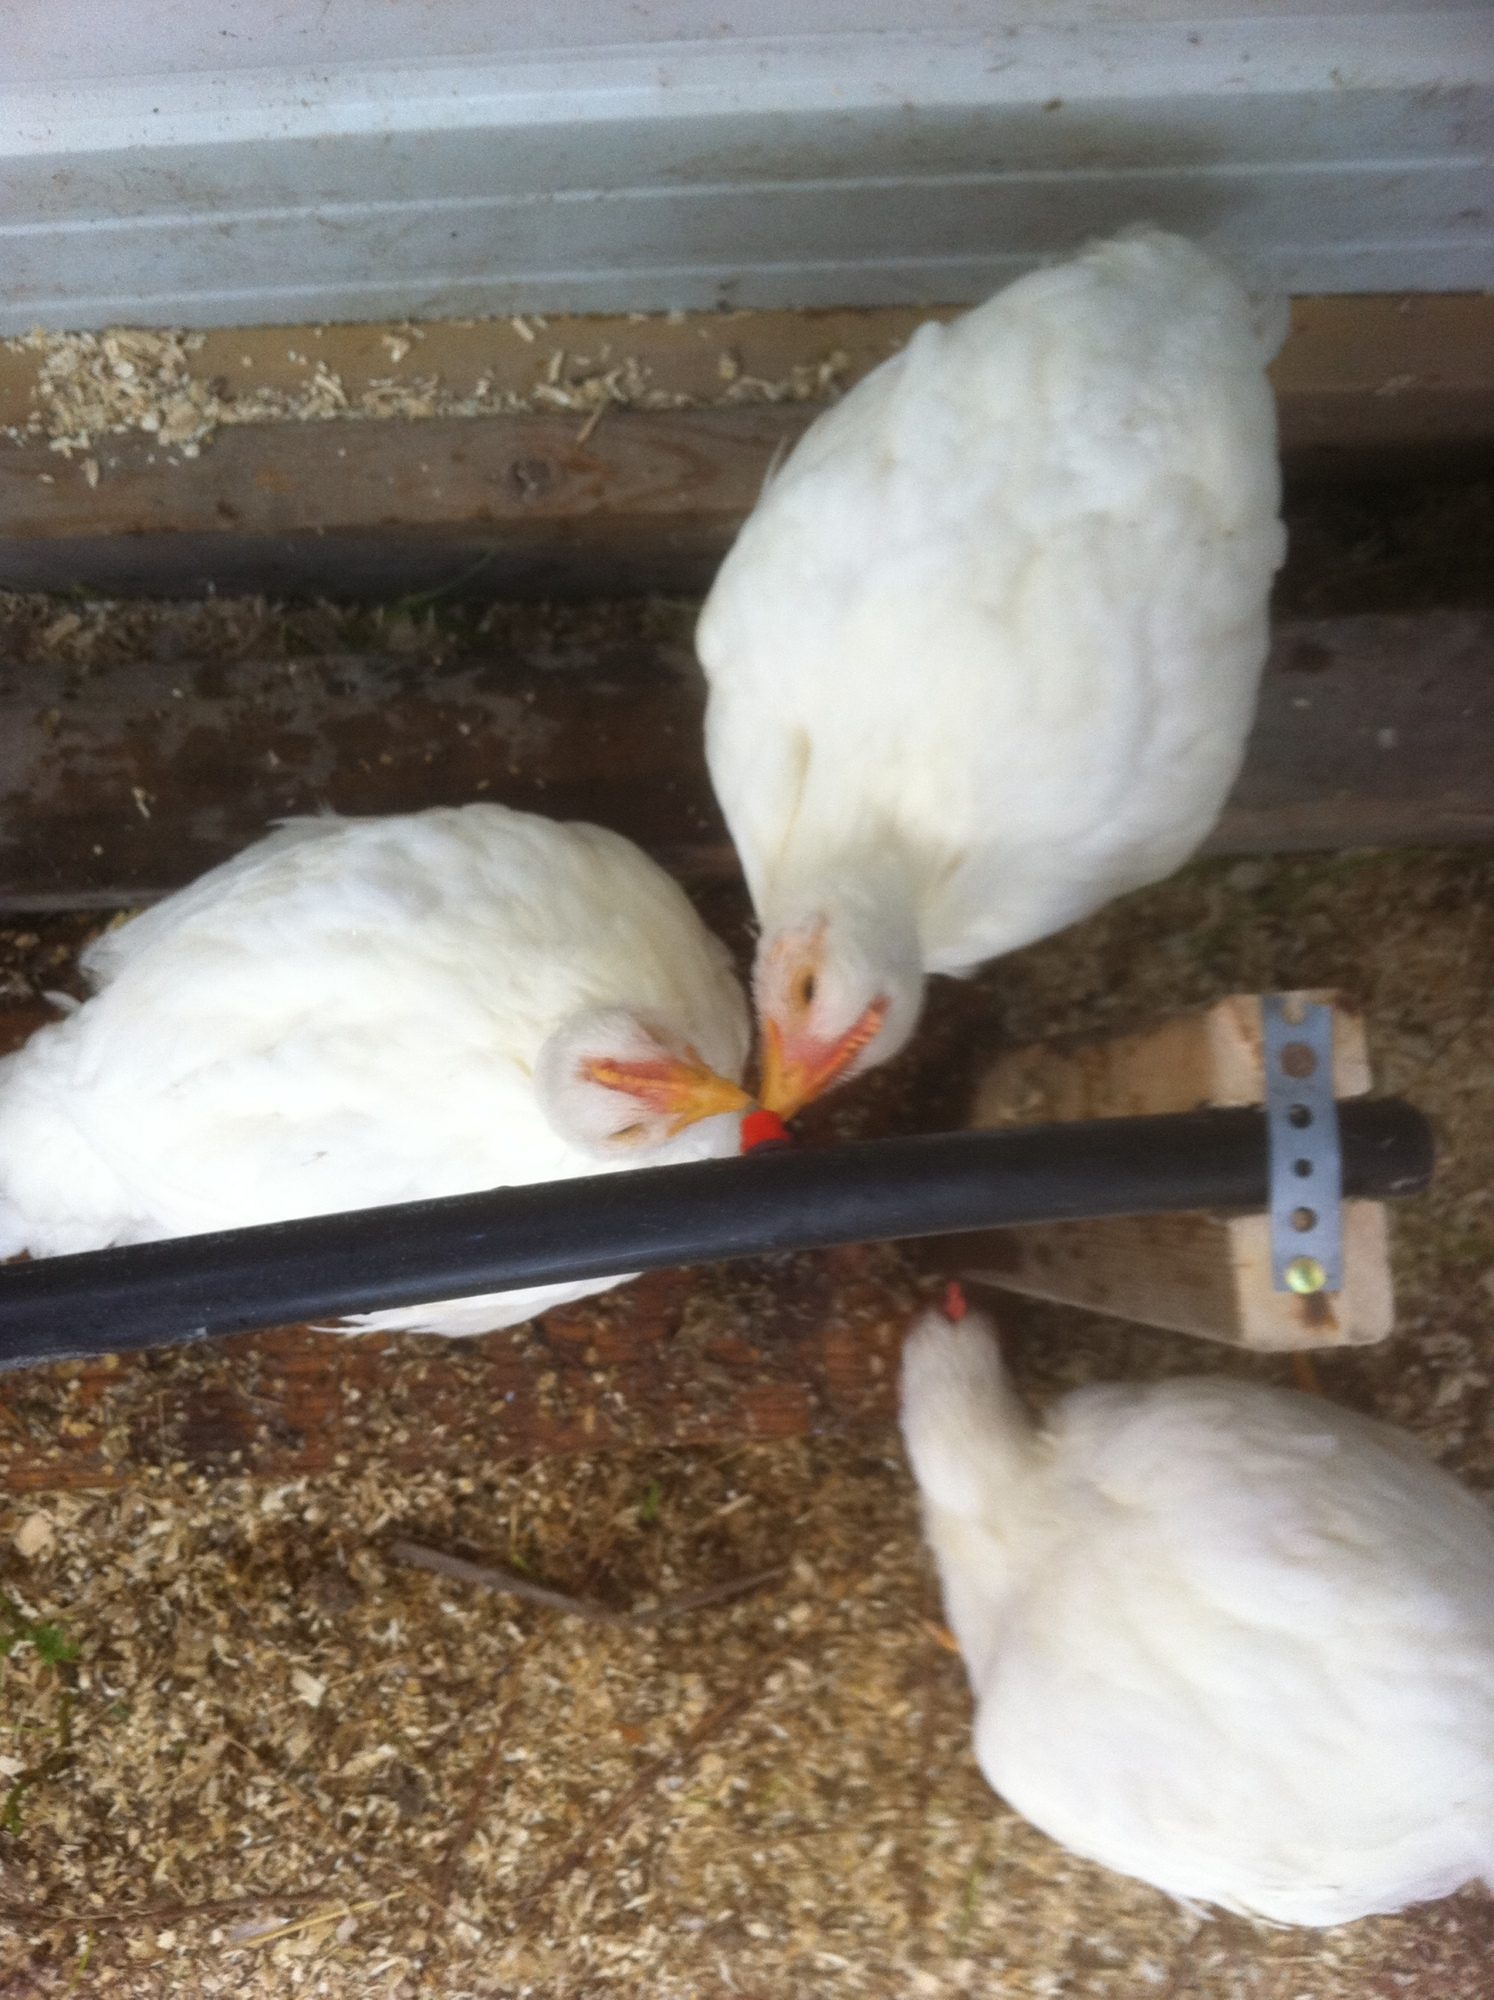
They were pretty leary of it at first, but then...
As long as people are still entering... This summer, I had two coops... A layer coop and a meaty coop. My problem was trying to get water to both of them. I made a dual watering system that supplied both coops with one reservoir...
First, I had to find chicken nipples. I love saying that... "Chicken nipples"... I also had great fun going to the feed store and asking the owner if he had any chicken nipples... "Nooooo...." giving me a weird look... Me: "Why not??" innocently... "Chickens... don't... have... nipples..." looking at me as if I had just stepped off of the short bus... Me, barely containing my hysterical laughter... "No!! Chicken nipples... For building a watering system for my chickens..." Hee, hee, hee, heeeeee.....
I found them in a Farm Tek catalog, but they wanted $13 in shipping for $12 worth of nipples!! I found a nice company right here in MN that shipped them to me for free, so nipples in hand, I headed to my local fleet store where I bought my chicks from for the rest of the supplies. A nice young man helped me make sense of all the different tubings and fittings and I purchased what I hoped would be the stuff to make my waterer. Several more trips later, I finally had all of the fittings and piping I needed... I did eventually trade out the brass T peice with a plastic one...
I assembled the watering tubes and nipples in the back room at work one afternoon...
Close up of the connection between the flexible tubing and the tubing with the nipples installed...
A closer look at the nipples installed in the tube.... I have 2 coops, a layer coop and a meaty coop, so I built 2 of them, each about 3 feet long with 4 nipples in each one...
Then I had to build a stand to put in between my coops to put an old cooler on for the reservoir... I found all of the materials in a pile left over from the construction of my barn last year...
Here is the cooler on the stand. I was able to feed the tube through the creases in the sheet metal sides of the meaty coop, but I had to drill a hole in the wall of the layer coop. I built 2 stands to hold the water pipe.
They were pretty leary of it at first, but then...