Converted our shed into a coop! Need some opinions from others. Pictures included!

Keggen

Songster
7 Years
May 24, 2012
264
1
108
Minnesota
We are almost done with the coop and I was hoping for some opinions from those with experience. Here are the photos:


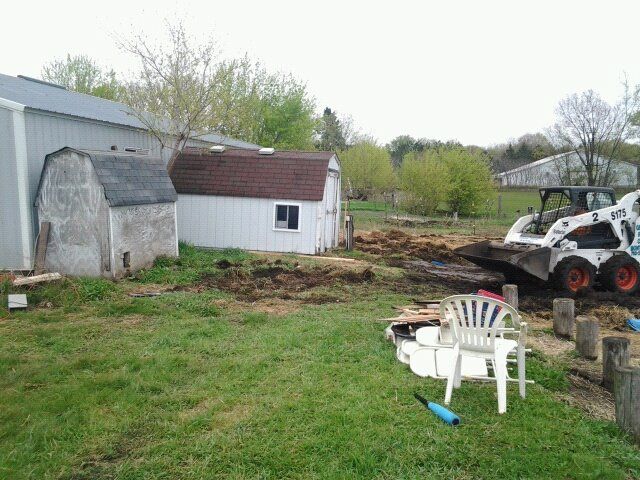
There are 2 coops but right now we are only working on the one with the brown roof and window. There is another window on the other side of the coop, too. We're planning a large run to enclose both coops. Hope to have that fenced in soon, maybe by next weekend.


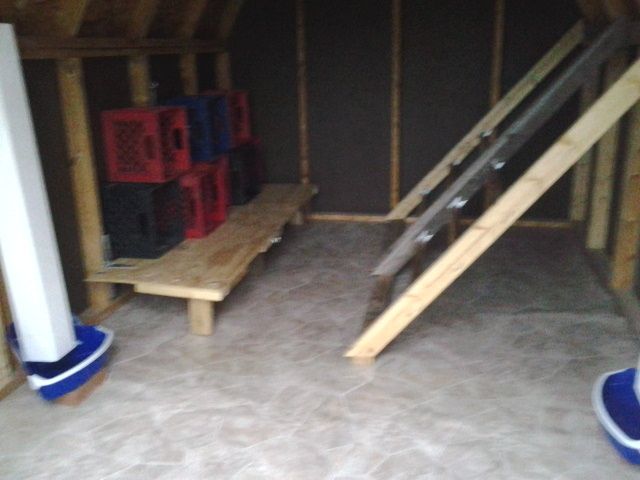
Sorry this one is blurry, it was getting dark outside. I have vinyl on the floor for easy clean up and plan to use a mix of straw and pine shavings on top. One question is, would it be better if I use one or the other or is a mix of the 2 ok?

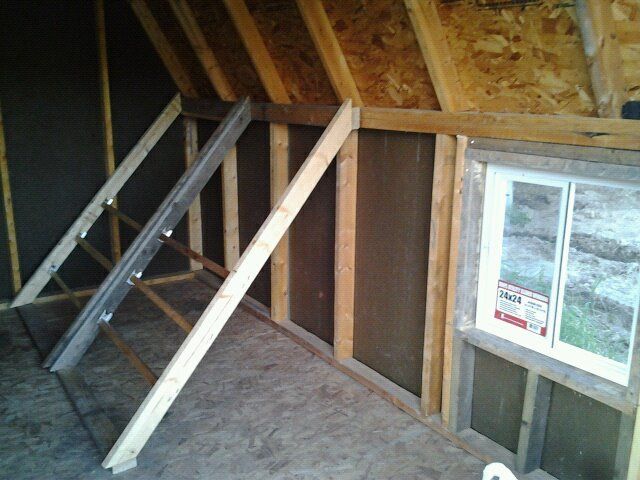
On the right is the roosting ladder. I plan to put some poop trays with PDZ underneath. The roosts are about 10" apart on the ladder and about 3 ft wide. I have 6 roosts but may add one more row. Do you think with 25 chickens this should be enough space or should I add the other row right away? Here is one more better picture of the roosts.


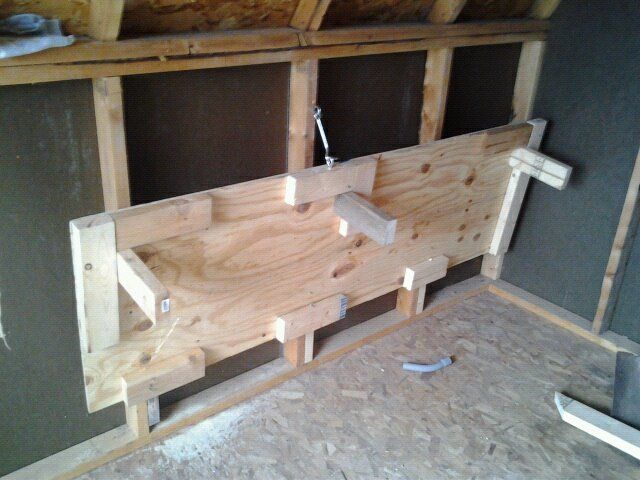
As for the nesting boxes, I am worried this setup wont work very well. Should I put a 1x4 board at the bottom of the boxes to prevent bedding from coming out? Also, any ideas on what I could do to keep them in place? All I thought of were some zip ties to hold them together to prevent any from falling.


Another view showing one of the homemade feeders.


We designed the table to lift up for easy cleaning underneath.

Also we have 1 vent in the front door and 2 vents in the back wall.

Any feedback or suggestions of anything I may have missed? I plan to either hang a water can or set it up on a couple bricks. Im going to put the water somewhere down by the food/door. We'll have electricity soon. What else do these babies need that I am missing?
yippiechickie.gif
 
As per size... OMYGOSH!!! It is so big! but that is if you plan on letting them out some times. Also if ou plan to clip their feathers or if they're flyers they may no be able to reach the top nesting boxes. I would rhink you have enough roosts and if not add mor later
 
Looking good. My only suggestion is

A. The roost. It's best to use a 2x4 with the 4" flat down to help with their feet on a flat surface to avoid future problems of bumblefoot. It also looks from the images that the highest rung on the roost is not much higher then the highest nesting box. That makes me wonder if you'd most likely see them roosting on the highest box instead of the roost.
 
Your roosts are way to small, they need to be the width of a 2x4, round is ok, but think of a large tree branch near the base of the tree, that's where they like to sit if they pick there own spot, and all the roosts should be at the same height, because they will spend forever fighting for the top one, which can come to blood. If they are all at the same height then the pecking order will come much easier. And you need a lot more ventilation, one square foot per bird. I would cut a long strip in the roof about a foot tall where that top joint meets and replace it with hardwire cloth, then make an awning over it, like basicly put that section of roof on a hinge and swing it out, so rain cant get in, then I would run 2x4s all the way across the coop where you have the tops of the perch supports attached now, but make them removable for cleaning.

You should be fine with the eggs crates for a while, I found that substitute egg boxes were more frustrating, so put in permanent nest boxes. I like using hay and chipped wood together, hay by itself gets to dirty and compacted, and shavings just get freakin' everywhere, but if you use them together then the hay kinda keeps the shavings in check, but most of the posts will tell you not to use hay because mites can live in the shafts, but despite stopping using the hay and spraying down the coop every time I clean it, I'm still getting mite infestations and have to treat them monthly with ivamec.


I would paint or seal all of the wood surfaces, especially if they are flat, because that poop gets sprayed everywhere, it will make for easier cleaning later, love the floor though, wish I could do that.
 
Great info, thank you! I should have asked about the roosts earlier but only looked at a few pictures around the web and liked one like this. Well it is good to know so I can fix it ASAP. I think I'm going to change the whole style to a raised 2x4 with the poop trays underneath.

As for ventilation, I just want to make sure before I add more. I have 2 roof vents, 1 vent in the front door, 2 vents in the back wall and 2 windows on the sides. Not to sound stupid but is that really not enough ventilation? Im surprised! lol

I worry that the paint might not stick to the wood inside because it is old wood and then the chickens might start eating chipped paint. My husband is a painter so I will ask him if he thinks the paint might work. The chickens wouldnt ingest chipped paint, would they?
 
How many chickens do you plan to have? That is a very nice size coop, you have so many options! I guess the roosting bars do need to be wider from what I understand and higher than the nesting boxes. Sounds like you have enough ventilation it's just we can't really see it in the pics. I hope mine can stay cool enough this summer...we are in FL and it bakes. I have 3 windows and the front door...might need more....
 
We have 25 chickens. I think it might eventually be too many for the one coop but I was hoping with the large run (which will be approx 30'x100'x45') and the 2nd coop they will do ok. The 2nd coop is questionable though. It is much smaller and Im not sure what can be done with it. It's used and GROSS, too, so it might take me a while to get it up and going. I can also add 1 more vent to the other front door just to make sure there is good cross ventilation.

Im trying to visualize how I should change the roosting ladder. Do you think it would be ok to leave it as the ladder that gets them up to the new roost? Or are those small bars too small for even use as a ladder? Maybe it would be easiest to scrap the whole deal and start again. Can anyone point me to some good roosts pictures I can use for inspiration?
 
Personally, I'd use 2x4's for the whole roost. Set two on the 45 deg. angle then just screw 2x4 to them 4" flat wide side up. Also in spacing I'd want at least 12"-14" between them. The top roost board I'd keep at least 12" away from the wall so you want have unwanted 'gifts' glued to the wall. That can get rather messy in cleaning walls down! Seems like it's all headed in the right direction and ya'll be so happy once it's completed and enjoy watching your new flock roam around.
wee.gif


I actually have a storage unit built under my roost which has double sliding doors that i keep supplies in. I sit fiberglass panels on top of it that catches their waste throughout the night. I take panels out once a week to the hose to clean them off.
 
Try to clean the wood, at least sweeping it off well, and just use a good primer before painting.
 

New posts New threads Active threads

Back
Top Bottom