Finally (almost) all done on my first coop

fpscabs

In the Brooder
10 Years
Jan 29, 2009
47
4
32
Glendora, CA
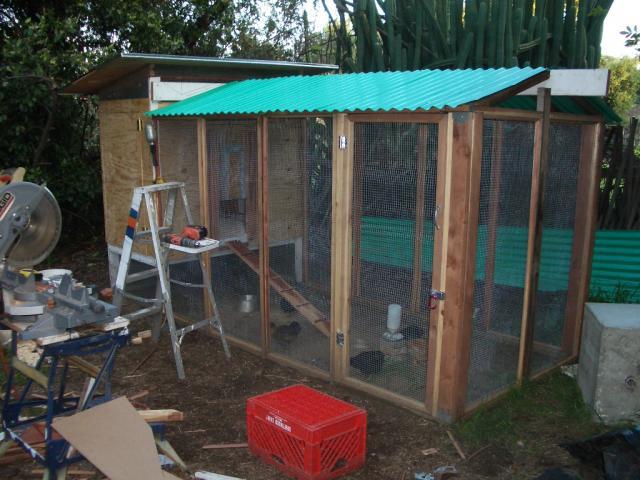
The girls are now 5 weeks for four and 6 weeks for one, but needed to get them into their coop. Still need some detail work, but good enough for now.
21997_coop157.jpg


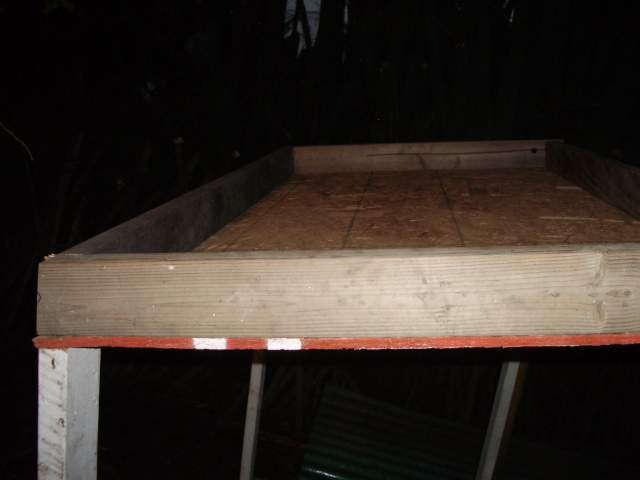
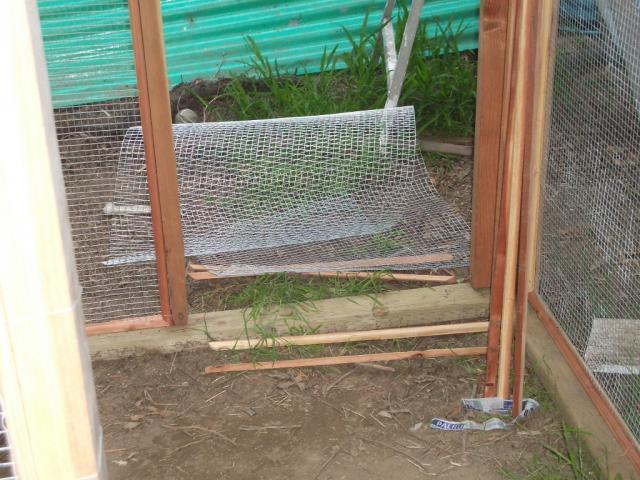
This is what I started with...
21997_coop1.jpg


and the ending (almost)
21997_picture_151.jpg


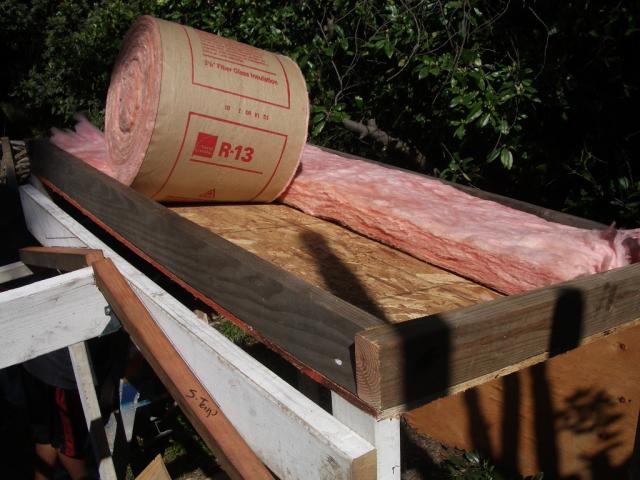
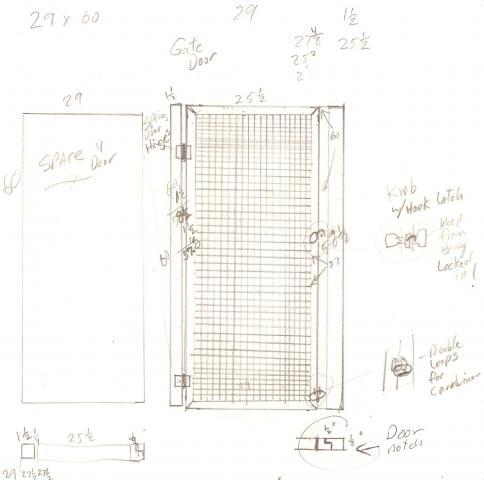
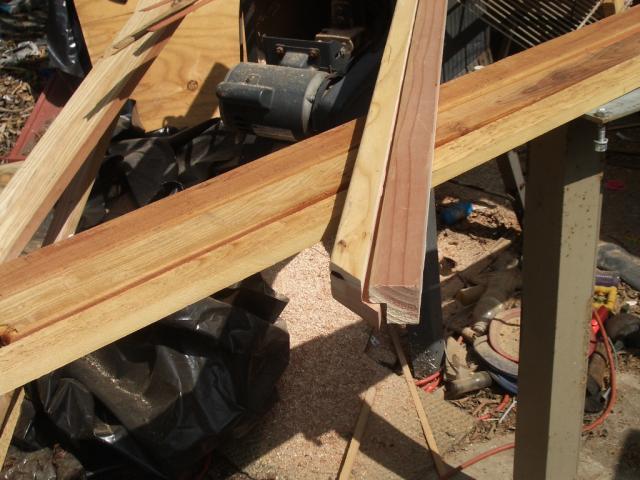
I will go into detail later this week...on my 'ice chest lid' style roof, the piles of sawdust from the routered and ripped strips framing each screen, from the notched door frame stop and more time consuming details
 
Last edited:
My 'Ice chest' style' roof:

In order to keep the heat of the summer sun, mostly, as well as keeping it a bit warmer in the winter, I put a sized osb board on top of the hen house uprights.

21997_coop_114.jpg


Then I boxed in this with 2x4s and filled with R-13 insulation

21997_picture_114.jpg


I placed an oversized piece of 5/8s plywood on top with 30lb felt and comp.
 
On my run door I took and on the swing edge I did a rabbet type notch and on the frame I cut the same notch to stop the door from swinging inside the run.

My rough plans

21997_coopdoor.jpg


the pieces fresh off the tablesaw

21997_picture_157.jpg
 
on each screen panel I nailed 1/2" staples to hold the hardware cloth down before framing the material on each side with a piece of molding that I routered and then ripped off from a 'dog-earred' fence piece. I had to make 54 - 3/4" x 6' boards or 324' worth of redwood. I had quite the pile of sawdust and chips. Each frame has 14' outside and 14' inside.

On the picture with the door notch you can see the remaining 'dogearred' pieces plus part of the sawdust pile.

21997_picture_140.jpg
 
Last edited:

New posts New threads Active threads

Back
Top Bottom