Waves (water) wash up against the sand castle and eventually leveled the castle.
Since the floor of the run is at least 3 1/2" higher (sand castle) then the waves (rain water) will wash the sand under the run walls and there by support the walls.
If I don't do anything the rain will continue to wash the sand under the walls until the original 3 1/2" depth is level with the outside grade and no support for the walls.
So after sufficient sand has washed under and supporting the walls I will cover the outside (bottom of the wall to the existing ground grade) with 73 limestone, top soil or anything that will keep the sand from washing thru.
I've got a bunch of old bags of concrete - fossils actually, I'm pretty sure they're from the Palaeolithic period - I think that they might work very well along the bottom of my wall in the larger spaces.
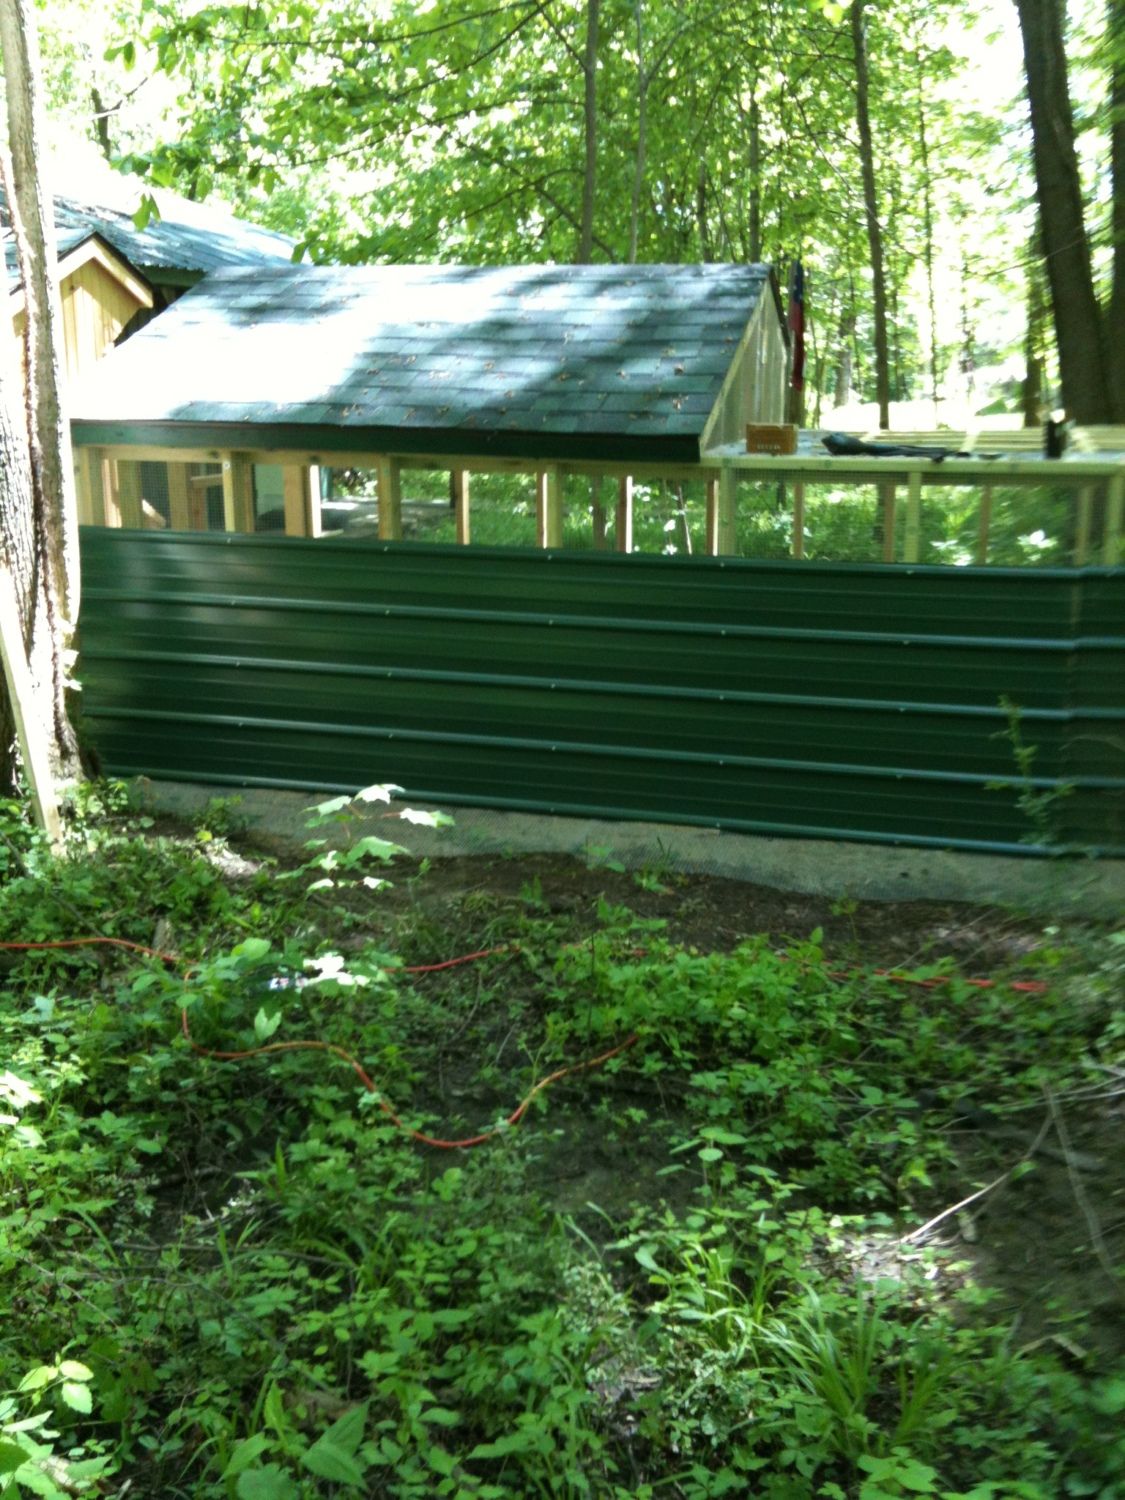
I ordered two pieces of gray steel siding cut to length from the local Lumber Yard. Web tracking indicates my order arrived yesterday (Sunday). So today during lunch hour hi ho hi ho off to the lumber yard I go.
Yep they got my order. Fork Lift brings it down off the rack...green siding!....wait....they took two new pieces of green siding and sandwiched my 2 pieces of gray in the middle!
Now I've got 4 pieces of perfectly good siding for the price of 2! AND the green also matches the shop color scheme too!
What plan should I go with? Note. Both ends walls, front wall and 2/3rds of the roof are 100% open (covered in wire fabric.).
Plan A. Steel siding is going on the back wall which is 53" in height, siding is 30" which left 23"for ventilation across the top. Save the 2 green pieces for some future project.
Plan B. Use all 4 pieces. Overlap them (no cutting) to allow for 8" of ventilation across the top.
Plan C. Use all 4 pieces. Overlap them (no cutting) to allow for no ventilation across the top.
I'd go with Plan A - especially since the rest is open anyway. If you add chickens and find there is a need to fully enclose the back wall, use the remaining two pieces. Otherwise, save those two pieces for a future coop - or repairs - or maybe some stray cat shelters.
Got tried of hauling sand so I worked on the putting on the steel siding on the back wall. I should have waited until I had some help, but I made do.
Steel siding overlaps the wire fabric about 4" at the top and 2" at the bottom.
Doesn't look to bad does it?
Had a few screws left, why save them so I added more screws on both ends. Lets see a predator get thru this!
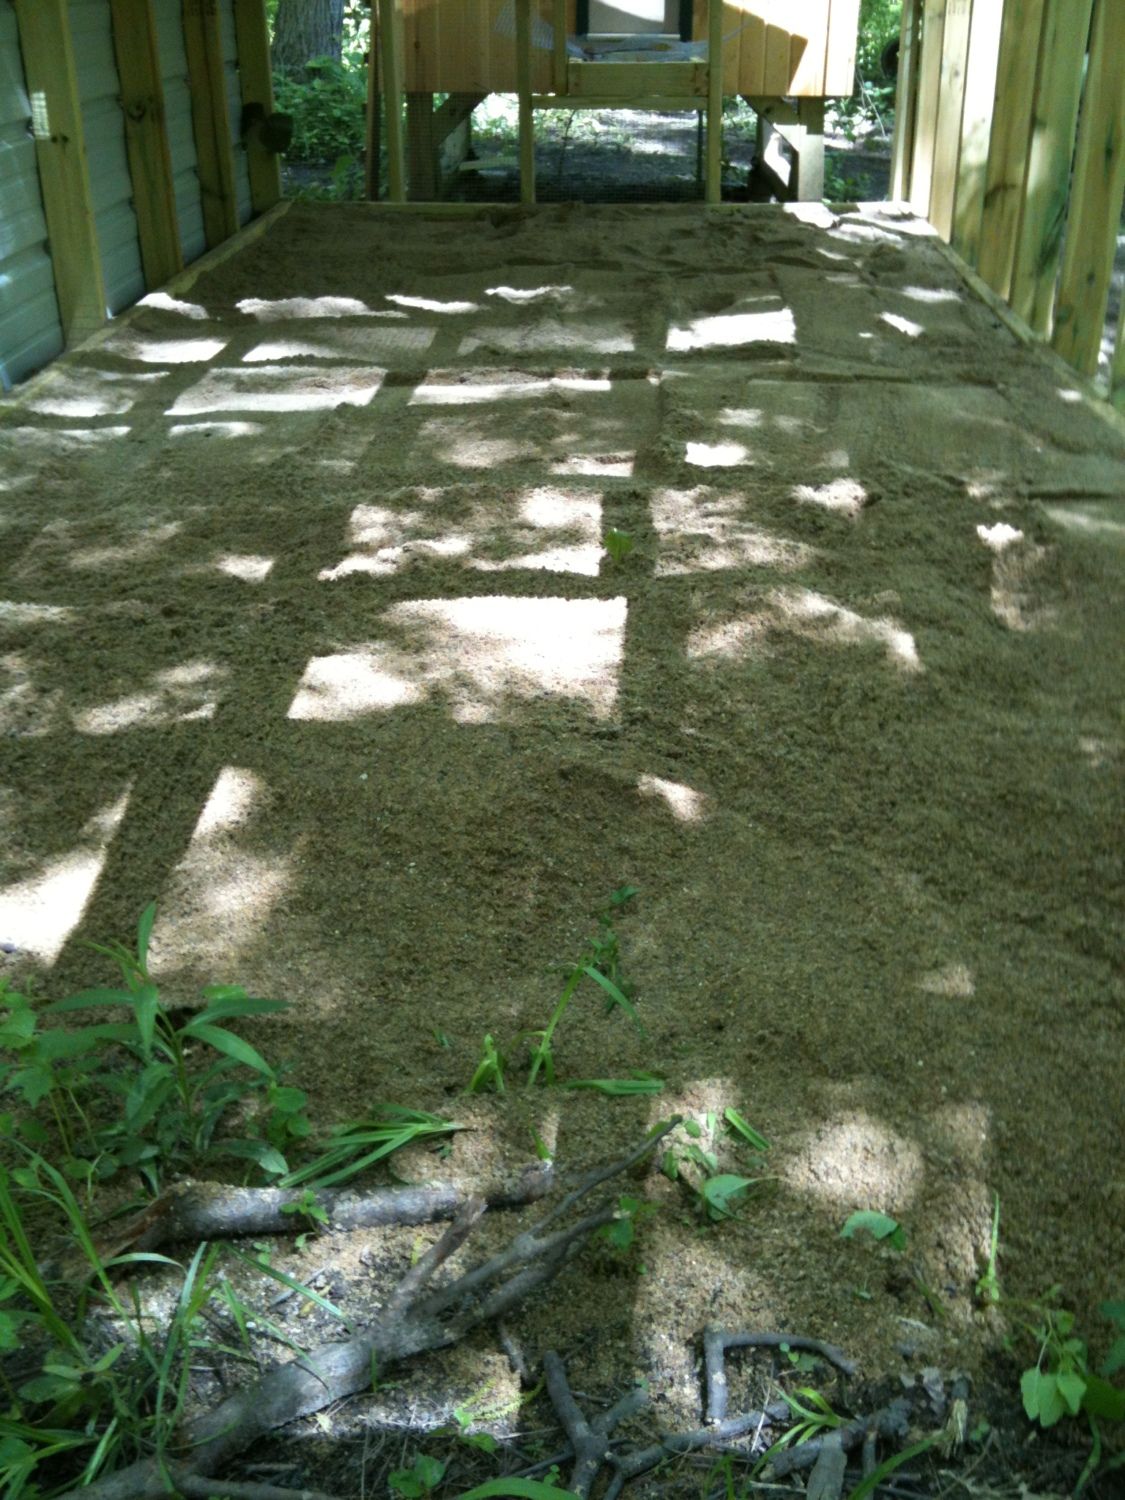
A few more loads of sand...
Finally got all the sand hauled and shoveled in the run!!!!
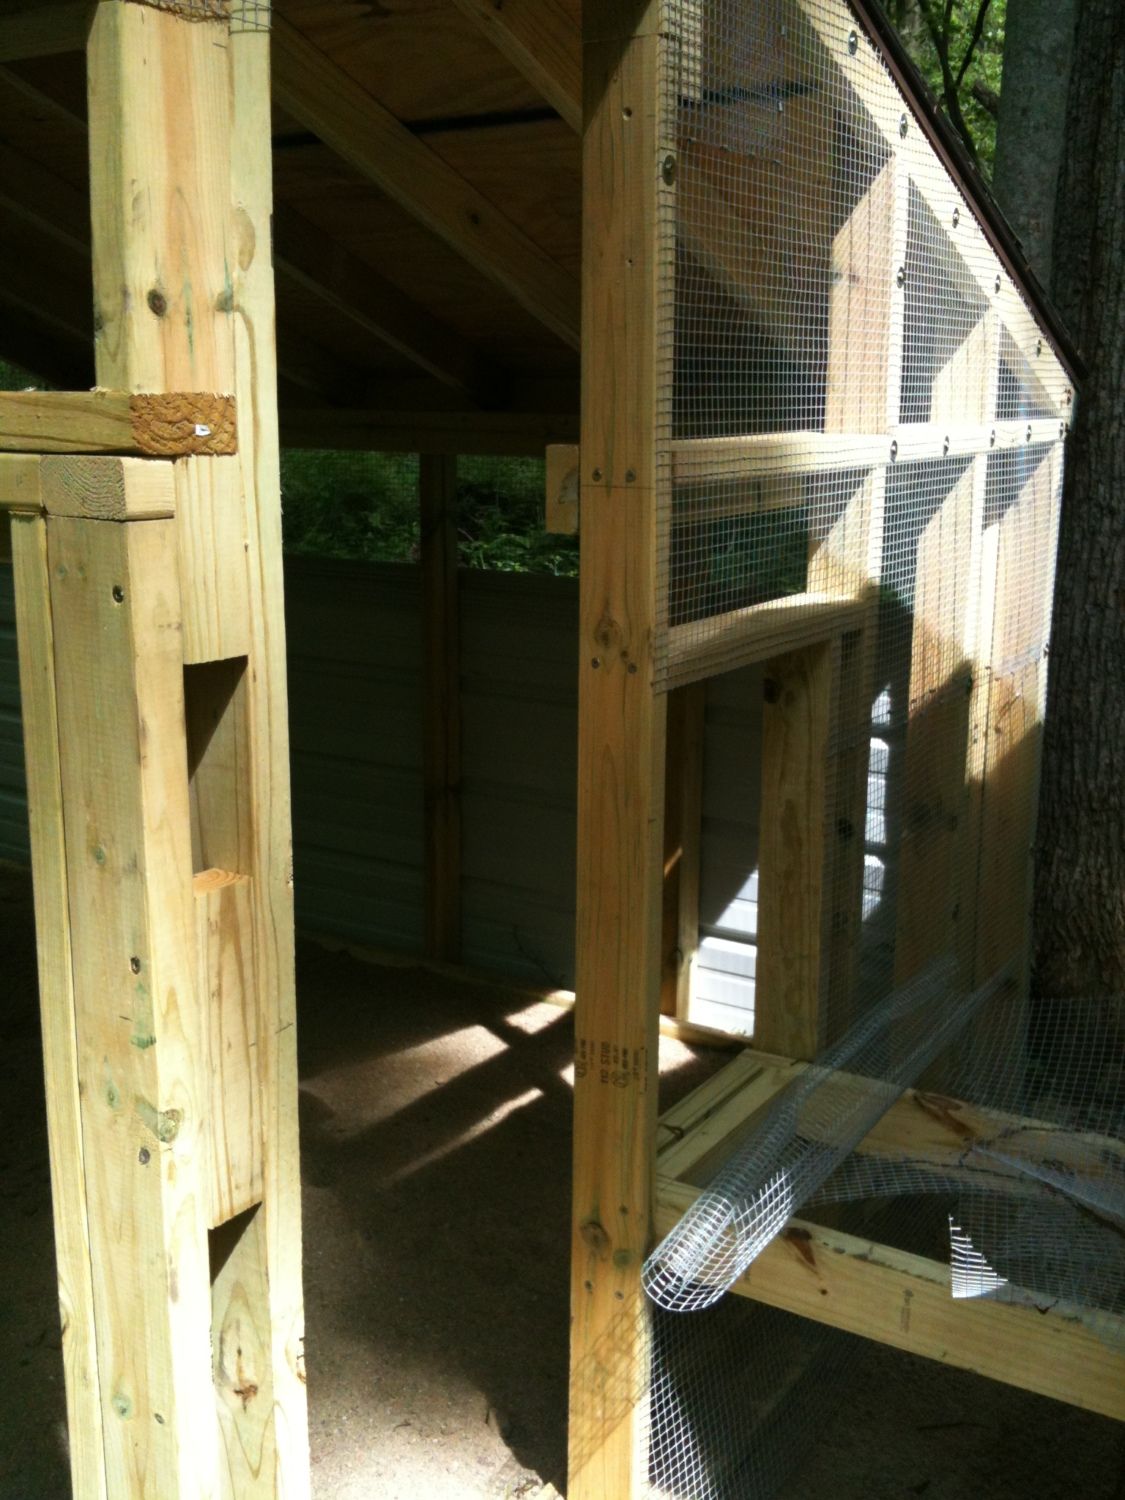
Got most of the front covered before I ran out of wire fabric.
Fasten the seams together. I was hoping to have enough wire fabric to make it all the way but I ended up about 12" short. If I had known I would have been short I would have put the seam over a stud, pan washers and screws would have secured the seam.
All that is left is wire fabric the flat roof and a few small areas, finish the Chunnel and make the door.
9 + 1 BO will be here next week. I'd better stop dinking with the run and prepare a space for the BOs in the coop.
All the wire fabric is installed. Got a few places that need a few more fender washers and screws.
Removed all the hardware and doors from the exterior of the coop and started painting. Primer first.
Give the entire coop one coat of primer.
Play a few games of Xbox Black Ops live while the primer dries, then paint the light gray color.
Play a few games of Xbox Black Ops live while the gray dries, then paint the green trim.
Play a few games of Xbox Black Ops live while the trim paint dries, then rehang the doors and install the hardware.
Still got the roof edge trim to paint and windows, need to get a smaller brush.
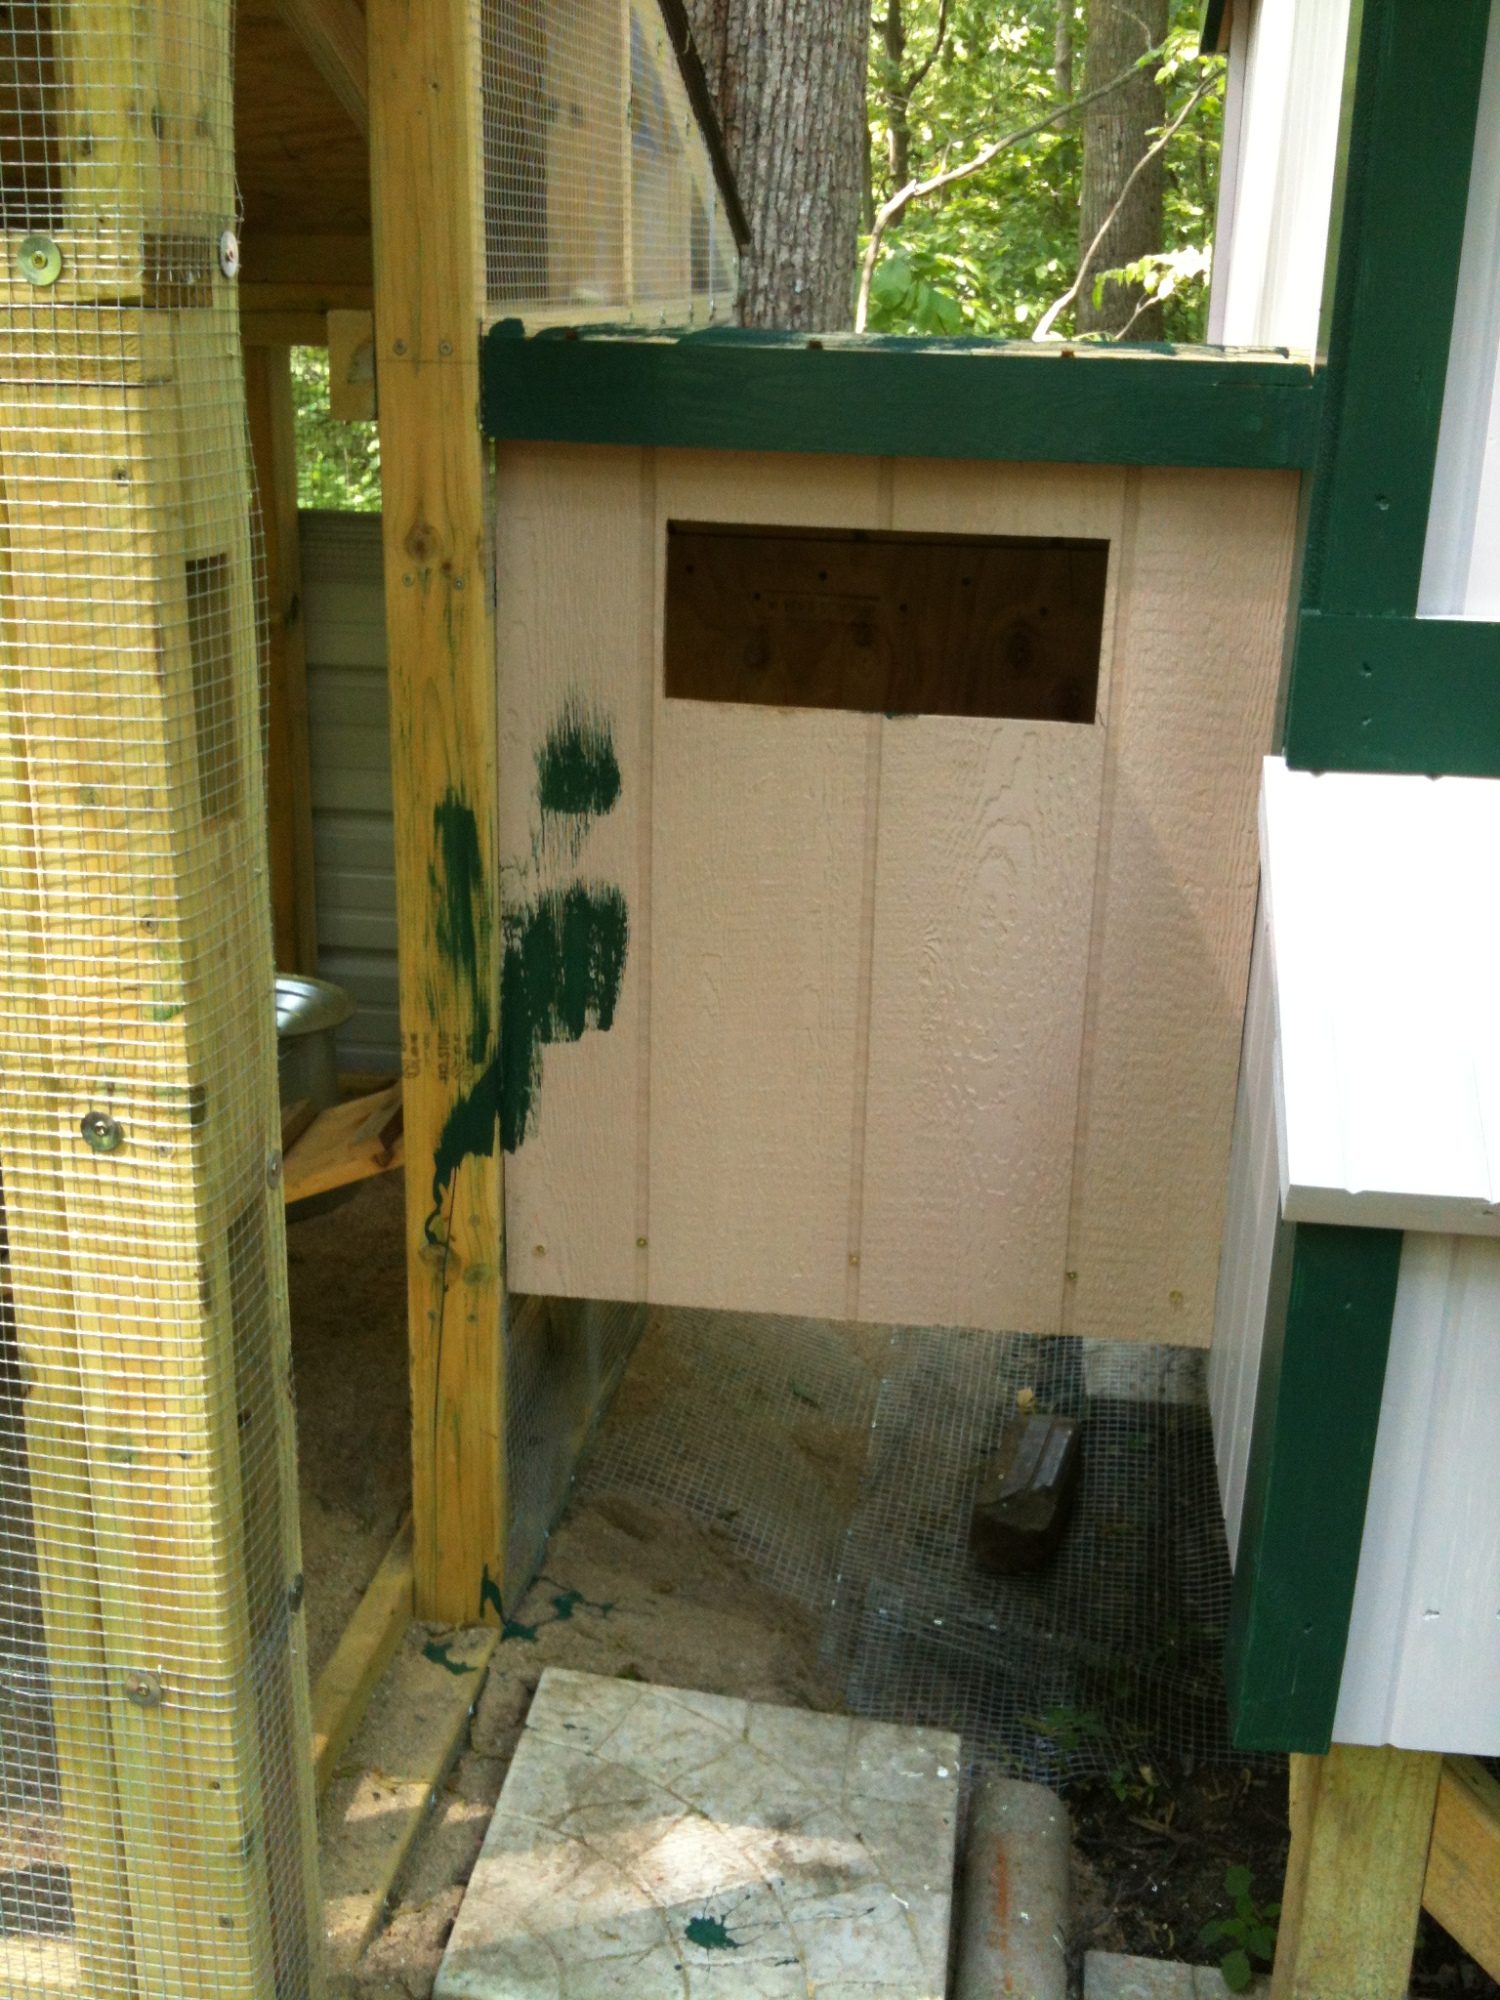
Installed the ramp that came with the coop at the end of the Chunnel.
Floor of the Chunnel is treated 2 x 4 and a scrap piece of 5/8" plywood.
Then the walls and roof for the Chunnel. Easier to paint the trim before the roof drip edge molding is installed.
Why the green smudge on the front? Well you see if you shake a quart of green paint when the lid isn't on all the way, the lid comes off when you vigorously shake the can.
I quickly became the green incredible hulk.
Fortunately I wasn't wearing a shirt.
Unfortunately the wife has white carpet and white linoleum in the house. Do you see the problem?
Fortunately I didn't drip any green paint into the house as I leaned in from the garage to yelled for the wife.
Unfortunately the wife was upstairs getting ready for a wedding shower and couldn't hear me yell.
Fortunately we live in a woods with no real close neighbors.
Unfortunately the well water was very very cold.
Fortunately no one (at least no cops showed up) was traumatized by seeing a 58 year man washing his birthday suit in the backyard.
The backside of the Chunnel. Was going to make two slope roof to match the coop and run. But then I decided it was a lot of extra work for "just chickens", especially when you could not see it from the front.
The four shingles left from the run's roof should be just enough to cover. Silicon caulking so rain water doesn't leak in between the Chunnel roof and the coop.
Finished painting the Chunnel. Opening in the front will be for a Plexiglas window with green trim.
May 21
Just confirmed the 9 + 1 BO were shipped this morning! Will be here tomorrow! Warned the Post Office and gave them my telephone number.
I've got a corner of the coop partitioned off for the peeps. Tonight add the pine shaving bedding covered with paper towels, water, feeder and the Brinsea EcoGlow 20 chick brooder heater.
Cut and paint the trim for the Chunnel window and install with the Plexiglas.
Finish painting the roof edge trim making sure the lid is on tight before shaking the can.
Then all that is left to do is building the run's people door and sit back, wait for all the money to roll in from selling the 1 dozen surplus eggs I'll have every week.
Figure the money I have in the coop and run, if my children's children's children keep up the business, we'll break even in about...


")