Wife was on the phone when I got home from work. That meant supper will be late! Which means I can work on the run longer!
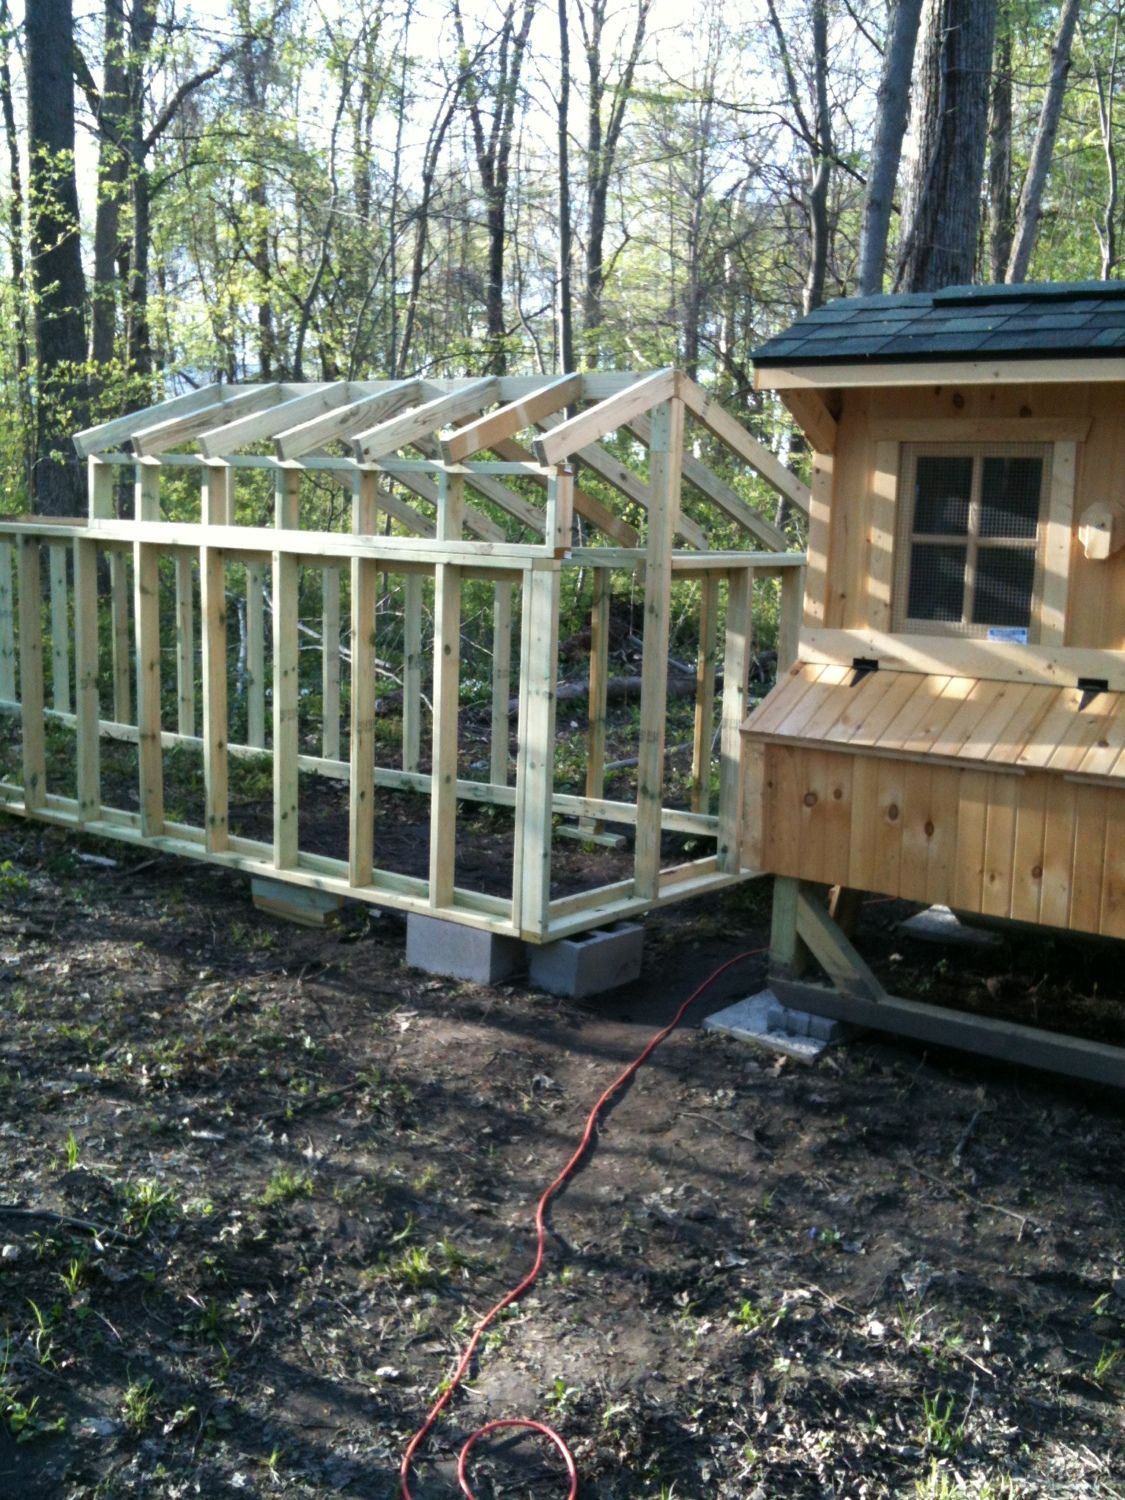
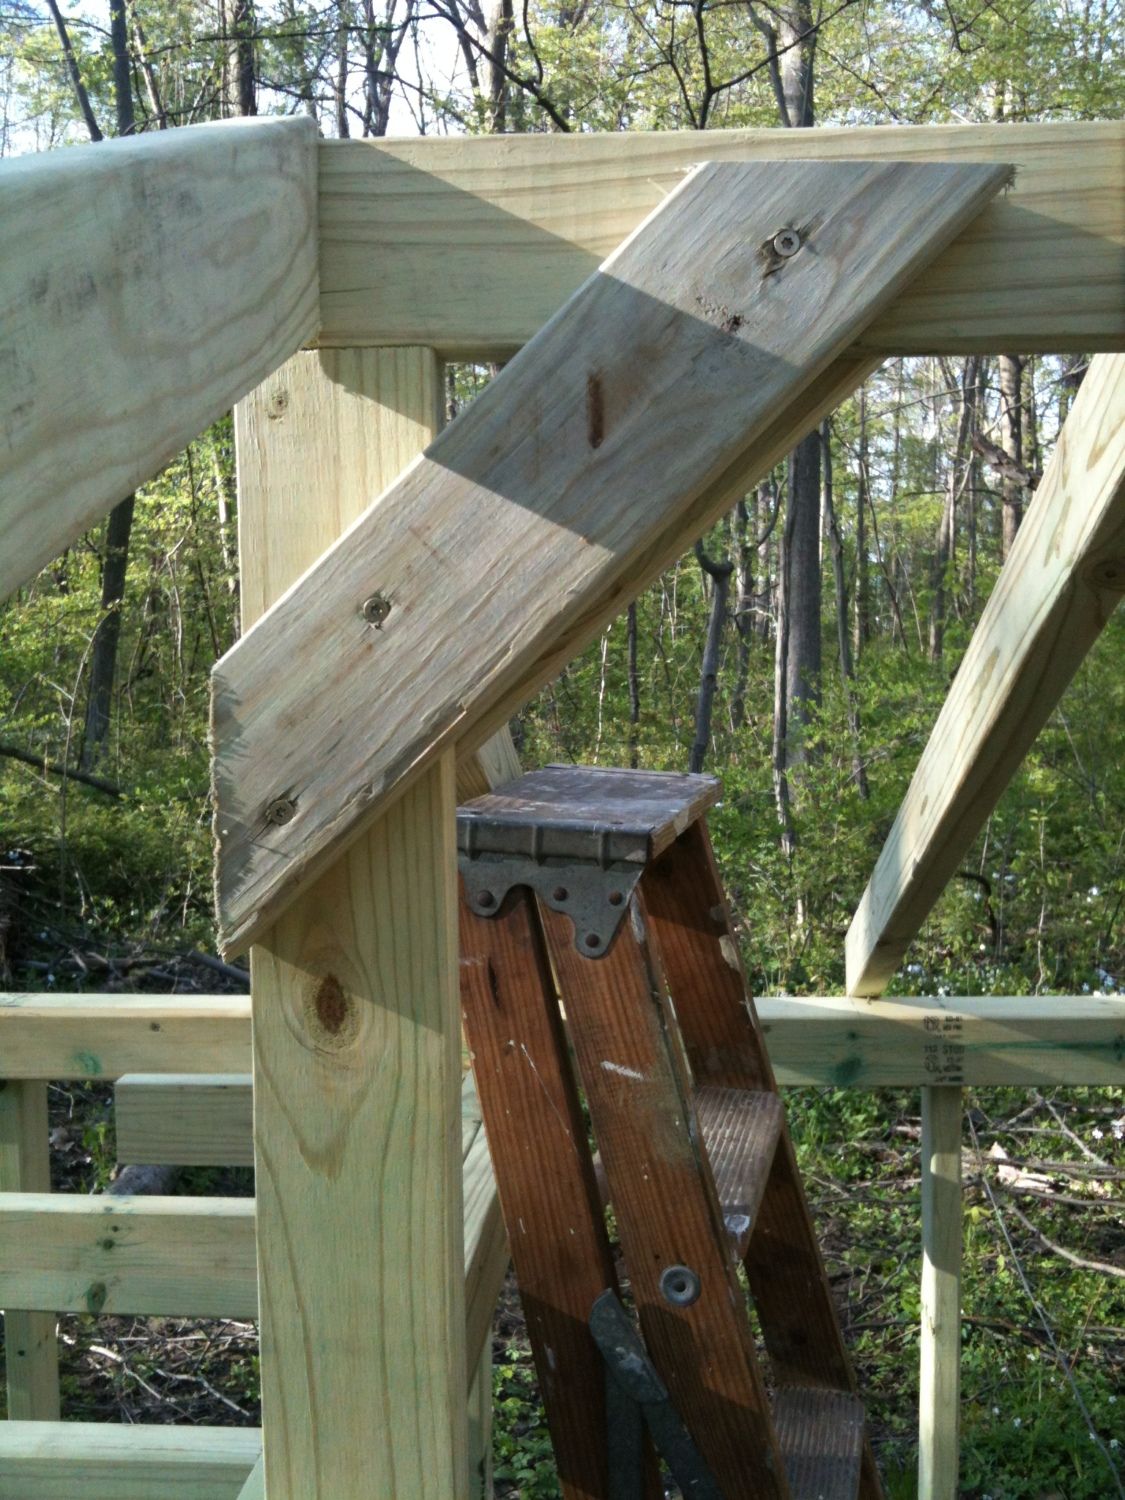
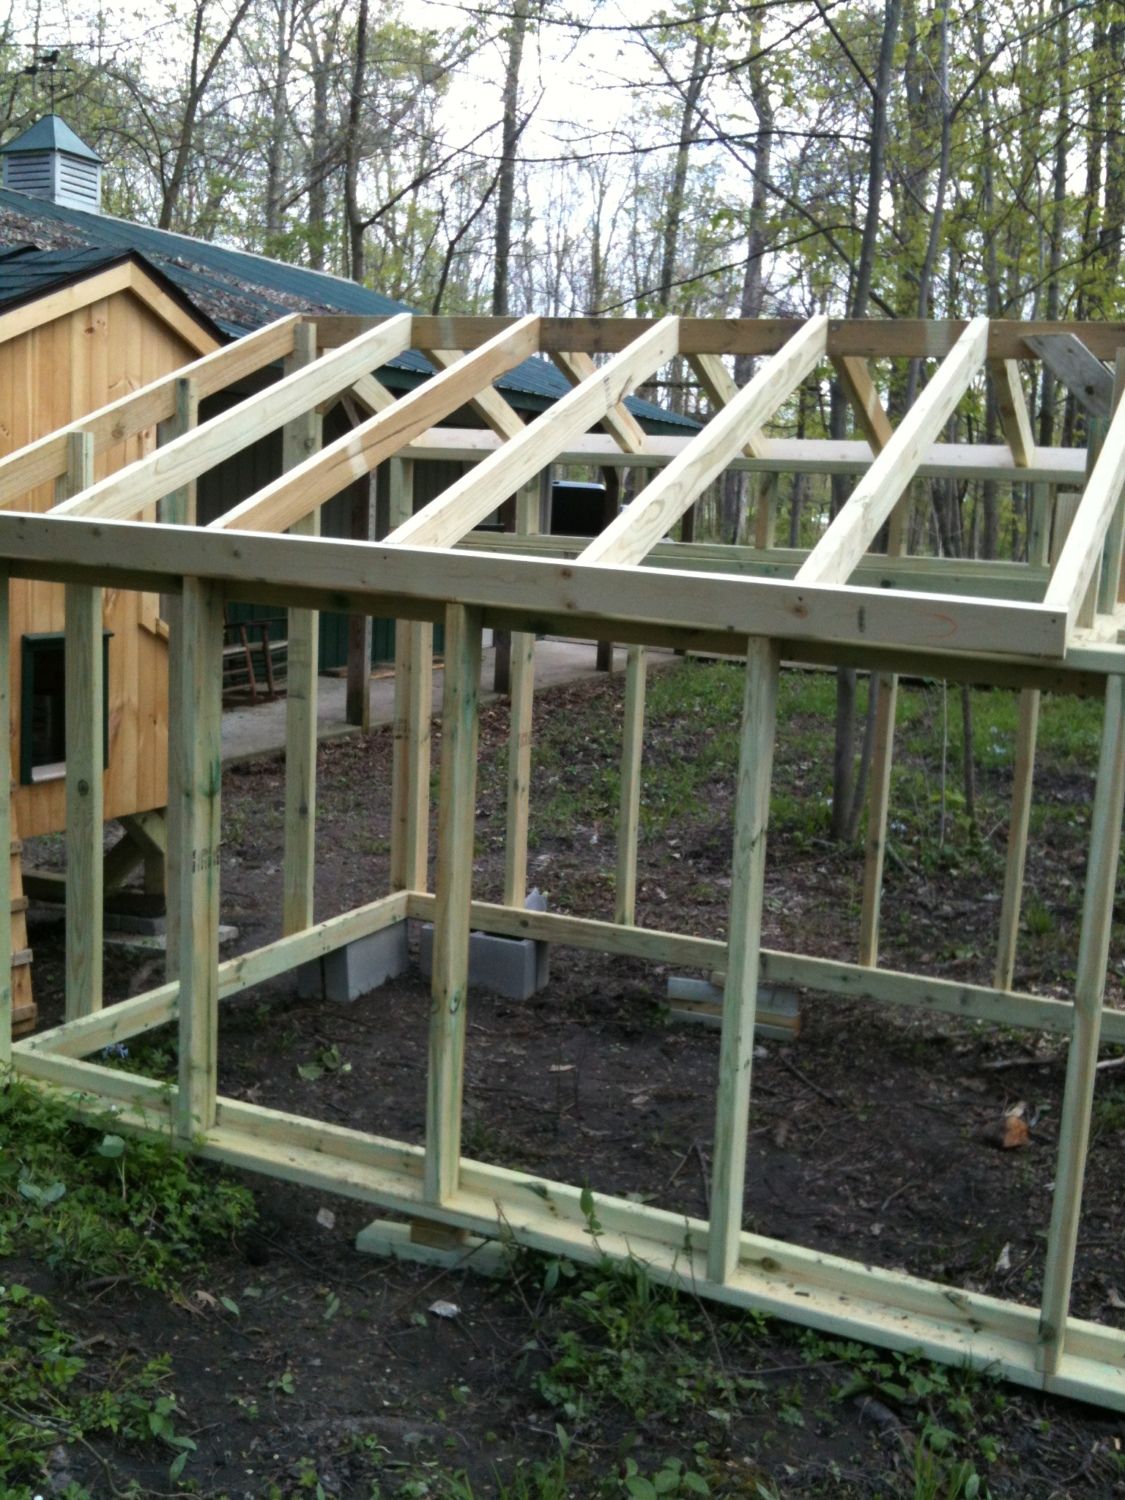
Used the first rafter that I had cut previously as a pattern, cut 6 more rafters. Put the long side of the rafters up first, then the short side. The bottom end of the rafters I used 1 screw up from the bottom to hold it in place for now. I need to get some of those metal plate duffers to fasten them better.
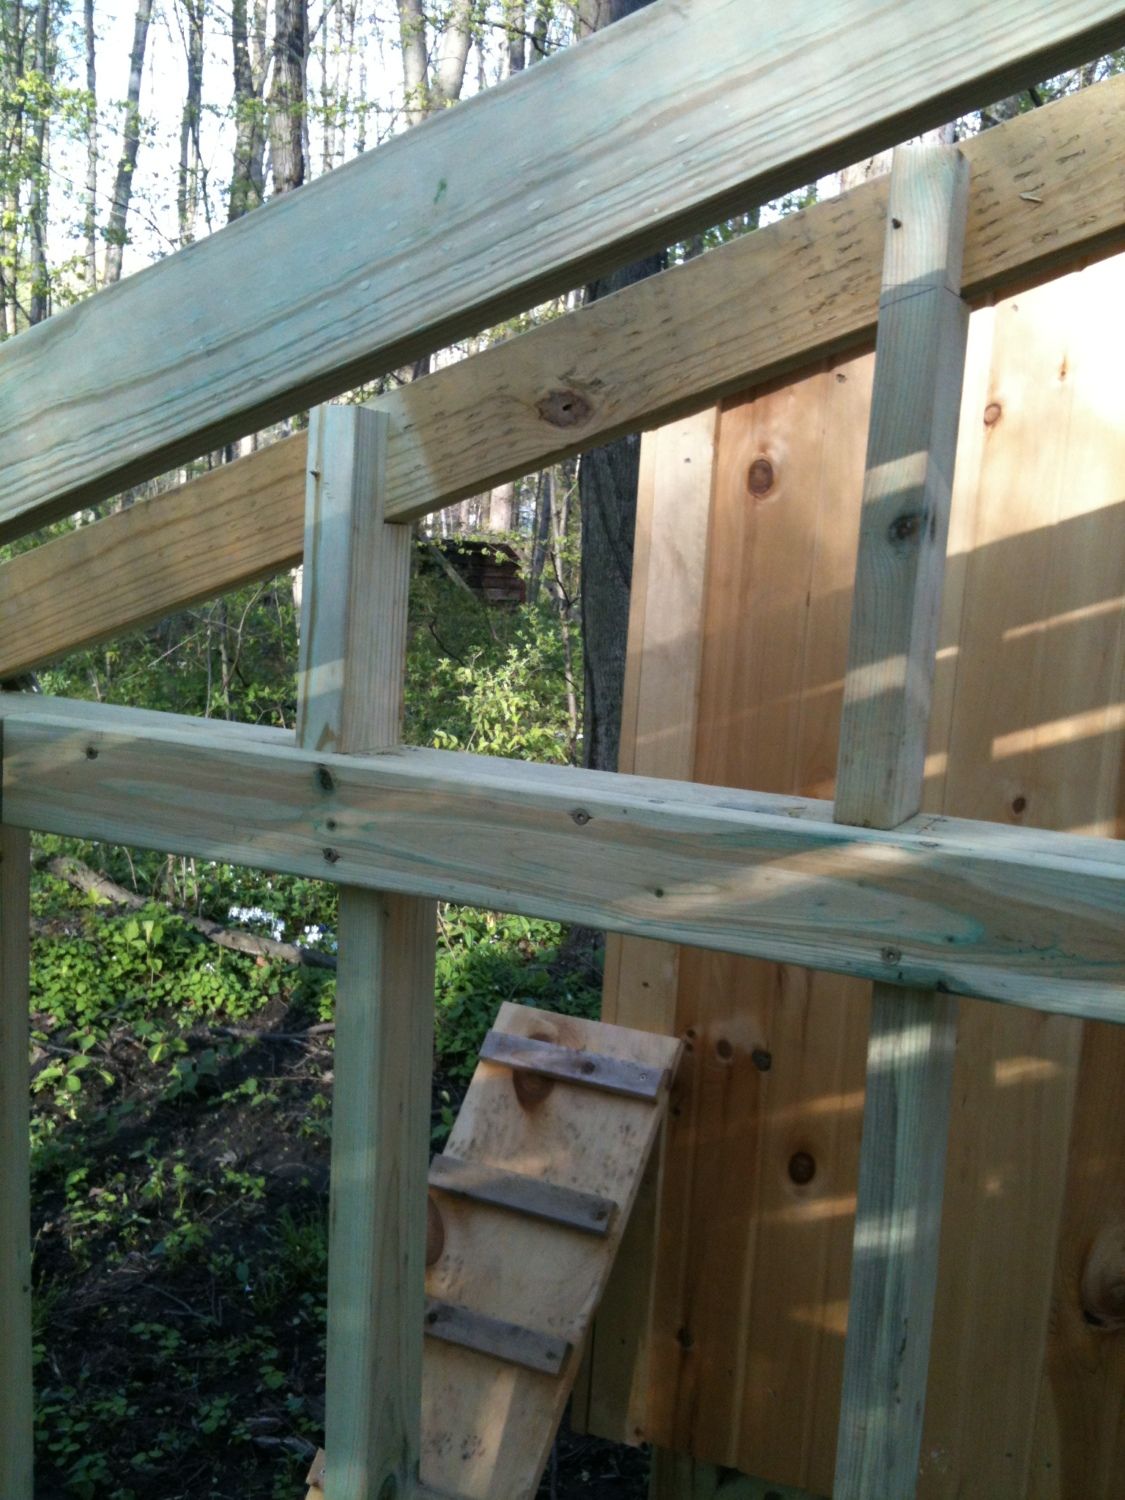
Walls are a bit wavy so I made sure I measured from wall to wall before fastening the rafters to the final wall.
Roofed section of the run I can almost stand upright in as long as I'm under the high part. Hang the feeder and doing routine maintenance should be easy. The unroofed section I'll have to stoop a bit but I will not be spending a lot of time in there, no problem.
People door I'm still thinking about. Not quite sure how I'm going to build it. Doors are usually the weak points in security but I don't want to build it so "heavy duty" that it weights down that corner of the run. Maybe a 2" x 2" frame with 3/4" barn siding to match the coop?
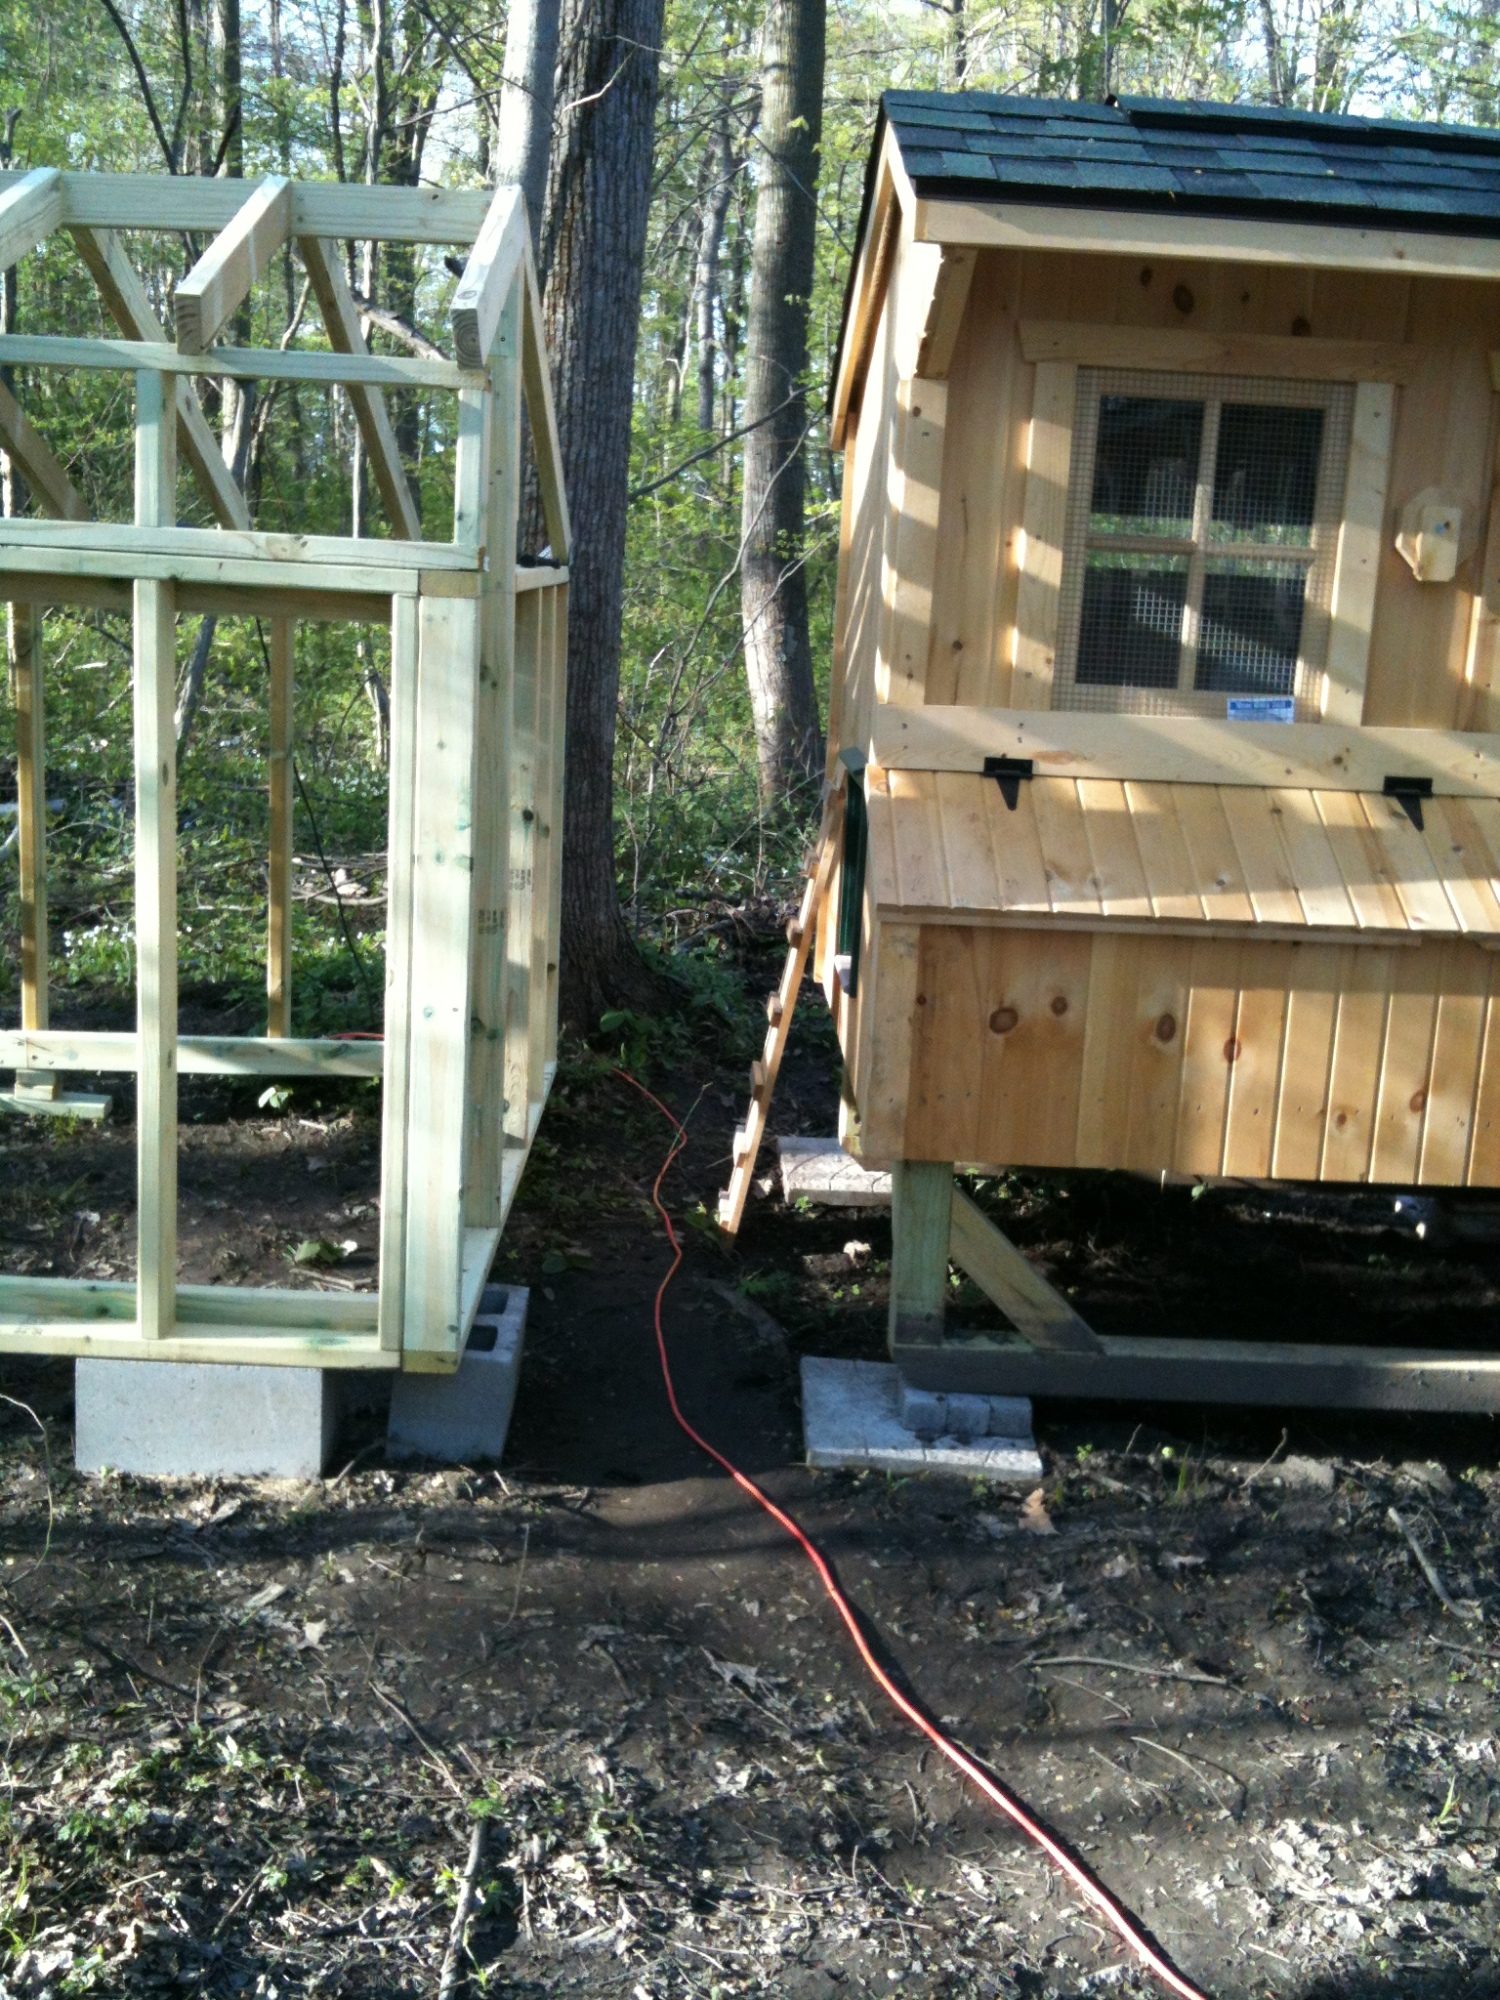
Some type of tunnel between the coop and the run....as ailurophile23 recommend a solid floor. Something with screened sides and perhaps a small roof that is removable for cleaning and allows easy access for painting the coop.
During lunch hour I stopped at the purveyor of Man tools (lumber yard). Got home from work no wife, which means supper will be late. Change clothes and hustle out to the coop.
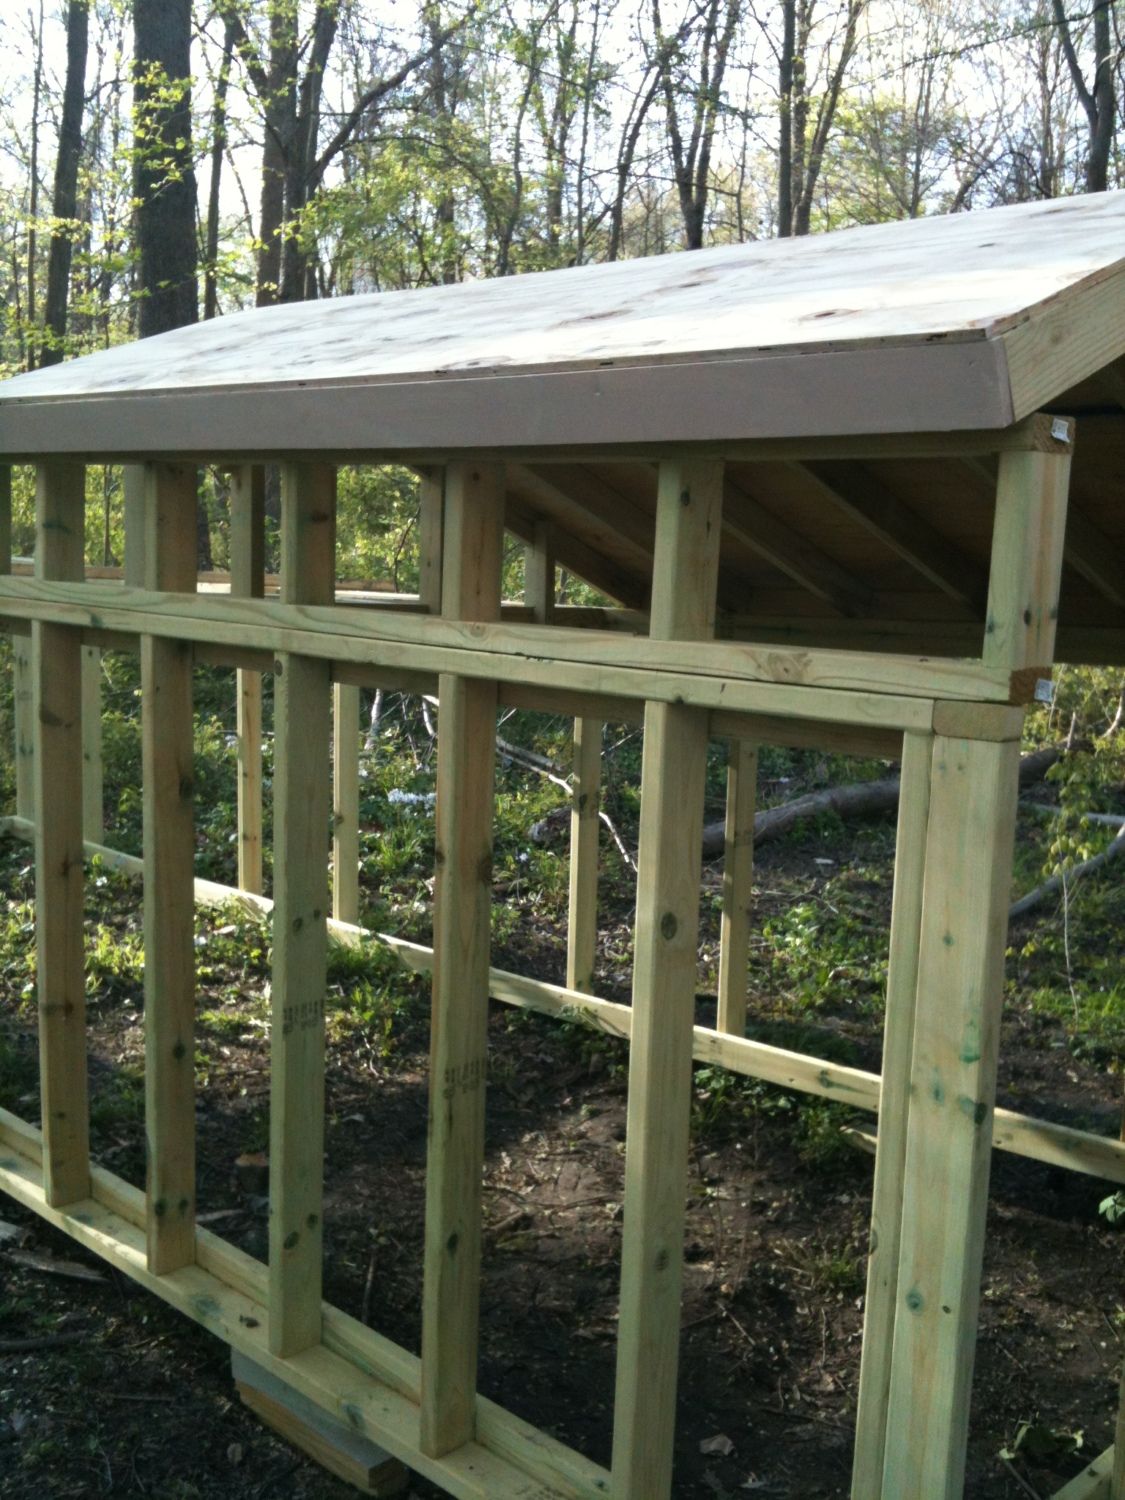
1" x 4" x 8' for the roof edge trim boards.
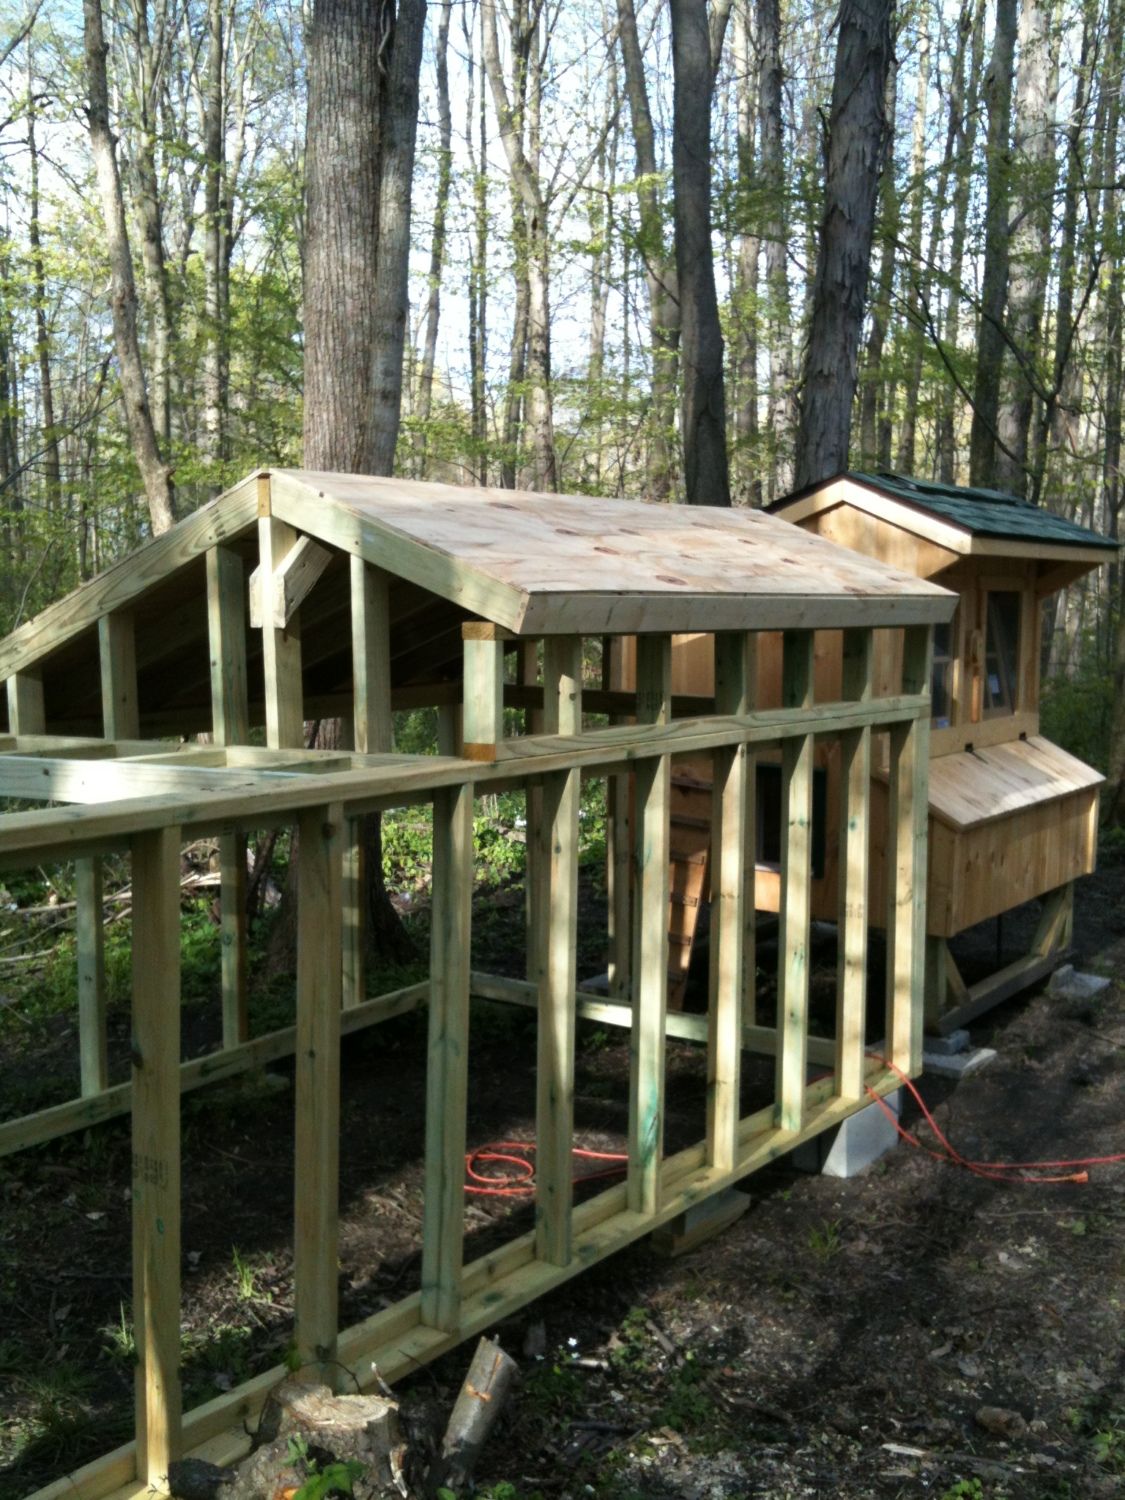
A full 1/2" x 4' x 8' and a 1/2" x 15" x 8' CDX exterior grade plywood for the back side of the roof. Nice side of the plywood down. Running low on 7p nails so I just tacked it on for now.
That left a piece of a 1/2" x 33" x 8' plywood that was EXACTLY the correct size for the front roof. NO SCRAPS! I couldn't have done that intentionally if I had several lifetimes to plan it.
Roof edge trim will be painted Forest Green to match the coop. Found some "old" paint the would work as a primer, so I gave the board a coat before the drip edge molding is installed. Maybe I should have paint both ends of the roof (2 x 4) too?
(Disclaimer. I'm not a Carpenter. I have NOT slept in any hotel lately and I think the year is 1868).
Please keep the reports coming! I luv to check in on your progress. Yours will be very luck chooks as you are constructing a work of beauty for their home. All your details look well thought out and I'm sure both the run and the coop will be a something you can look on with satisfaction for many years to come. Just beware, freinds will visit and their wives will want them to build one, after all, just looking at your fine work, "how hard can it be?? "
Very nice work - it is really taking shape. I'd definitely lean towards painting both roof ends too - just helps it withstand the elements better especially if there isn't any/much roof overhang on the edges. Will you be putting on a shingle roof to match the coop roof?
...lean towards painting both roof ends too - just helps it withstand the elements better especially if there isn't any/much roof overhang on the edges. Will you be putting on a shingle roof to match the coop roof?
(Disclaimer. I'm not a Roofer. I have NOT slept in any hotel lately and I think the year is 1868).
Forecast is calling for rain tonight and tomorrow. So I better get the roof shingled!
I wasn't going to use roofing felt because I'd have over half of a roll left. But then it runs against my grain not to. At $16.72 a roll it's cheap insurance.
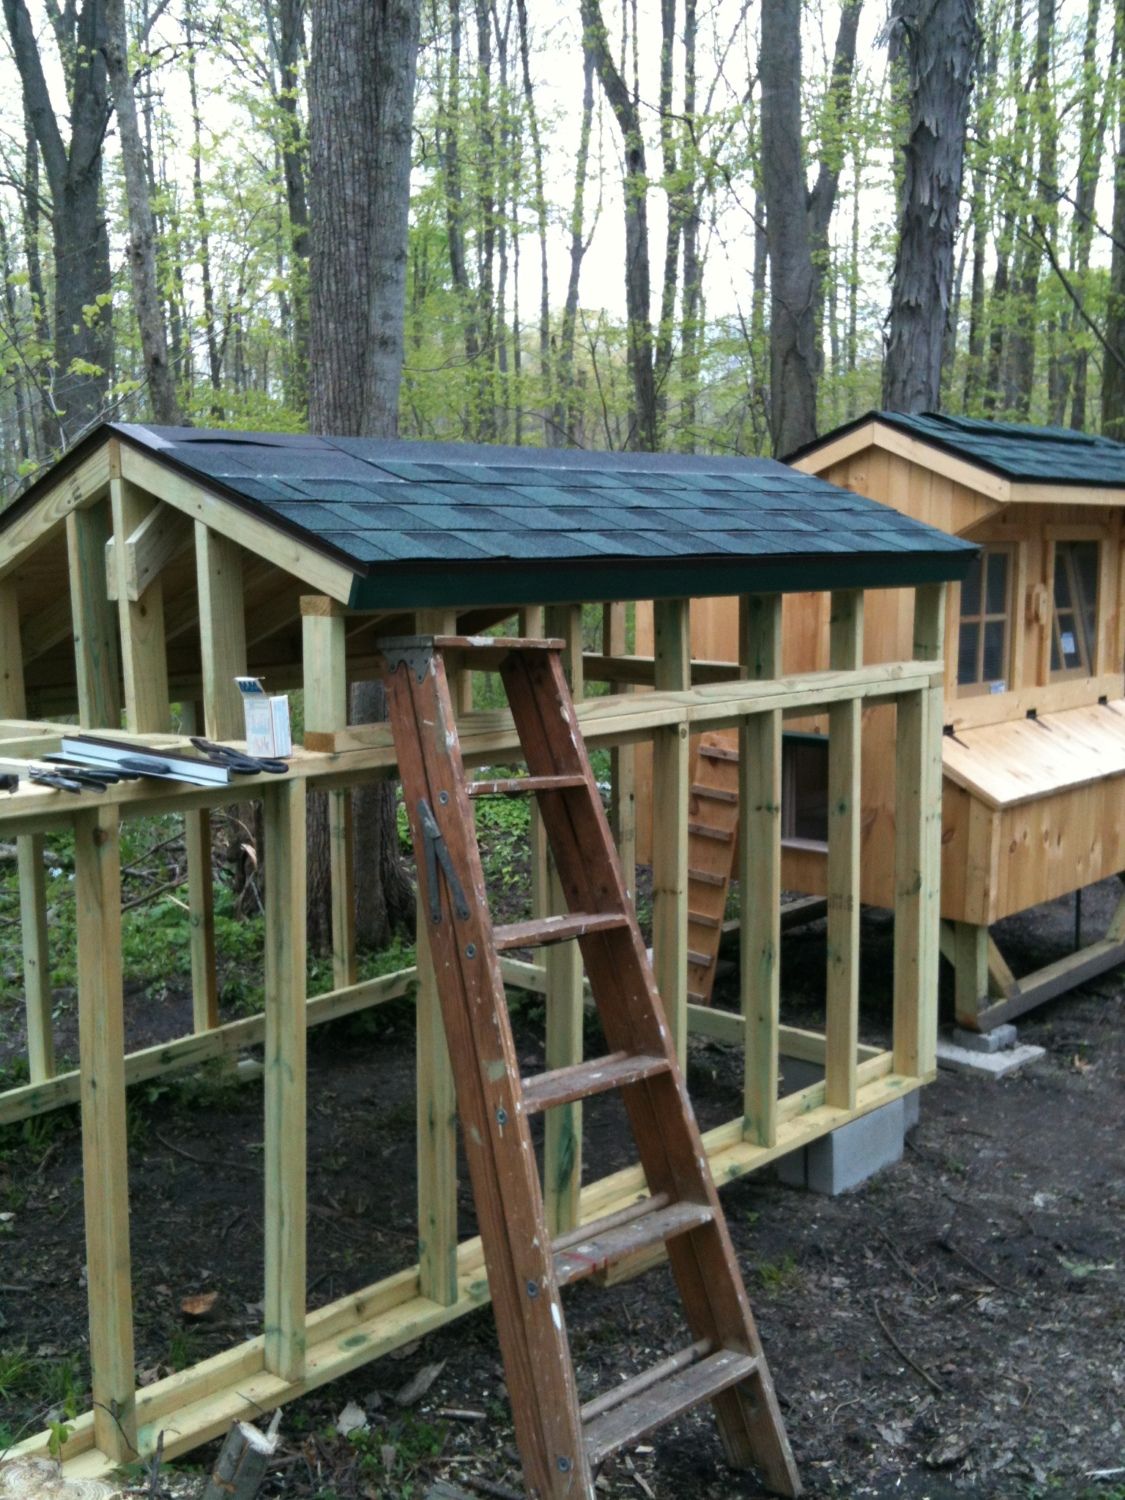
I used the same architectural type shingles that the coop Builder used. 3 in 1 shingles you just cut them into 3rds for ridge caps but architectural type shingles require "special" ridge caps. They sell the "special" ridge caps in 30 foot lengths, I only need 8 feet! So I cheated and didn't use ridge caps.
The shingles on the back roof (left) came up and over the peak by about 4". The front roof (right) shingles went up and over the peak and over lapped the back roof another 4" and fastened with aluminum roofing nails. Unless you're a Hawk circling over head you'll never notice that I "cheated".
Architectural type shingles have an advantage over the 3 in 1. The scrap that gets cut off at the end of the first row can be used to start the second row and so forth. Less scraps! You don't need to line up the tabs (because there aren't any) like you do with 3 in 1 shingles.
April 14
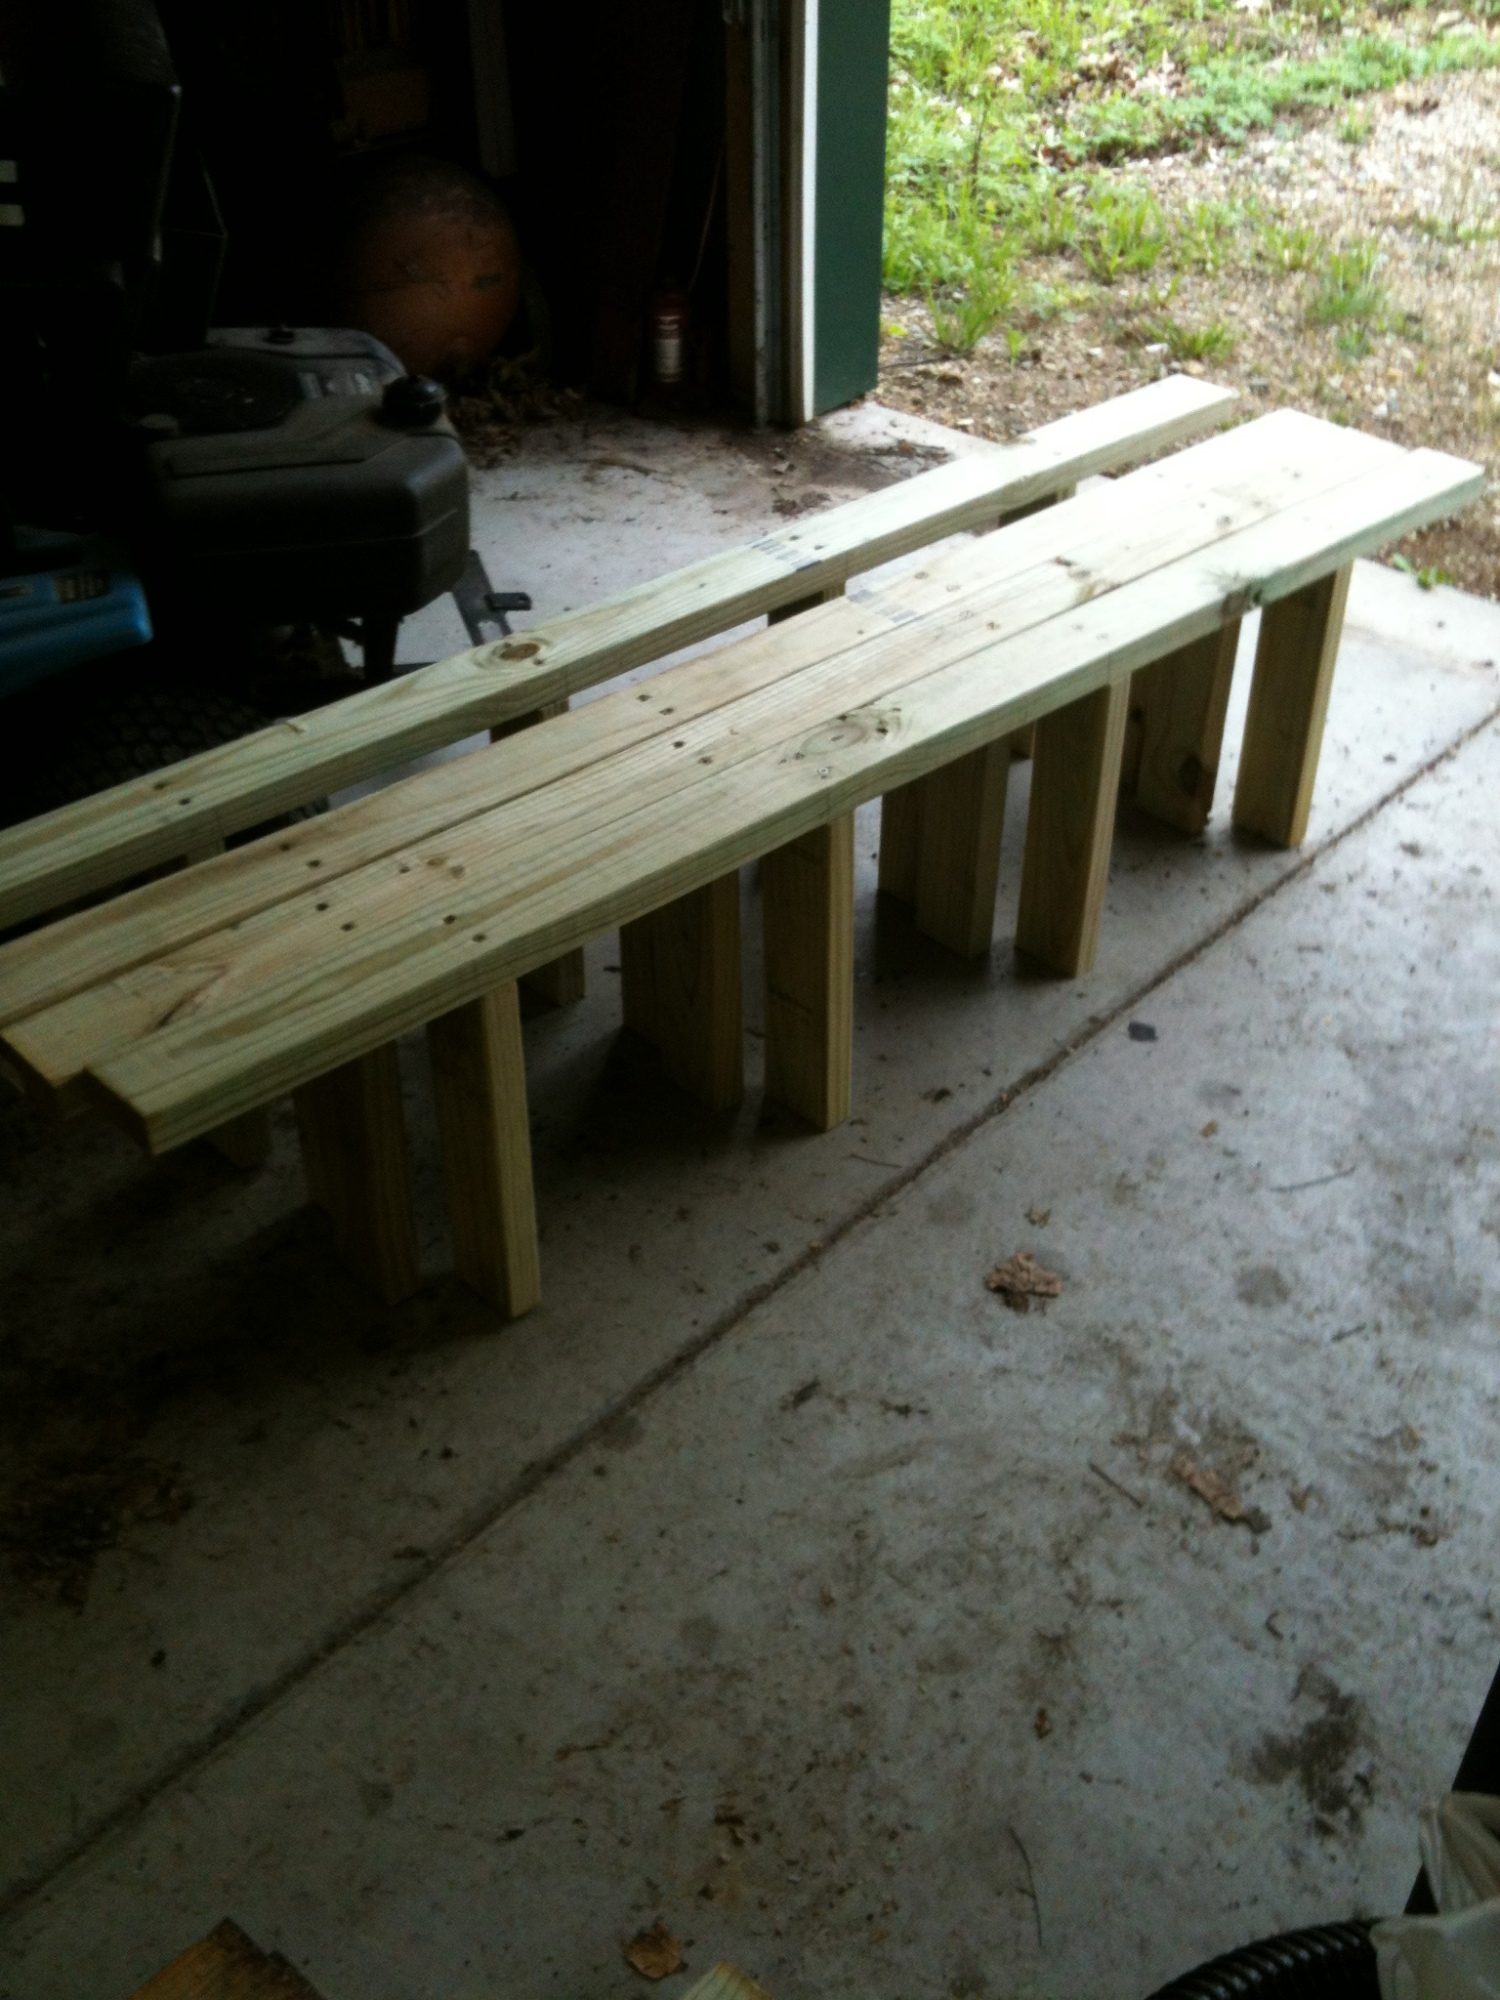
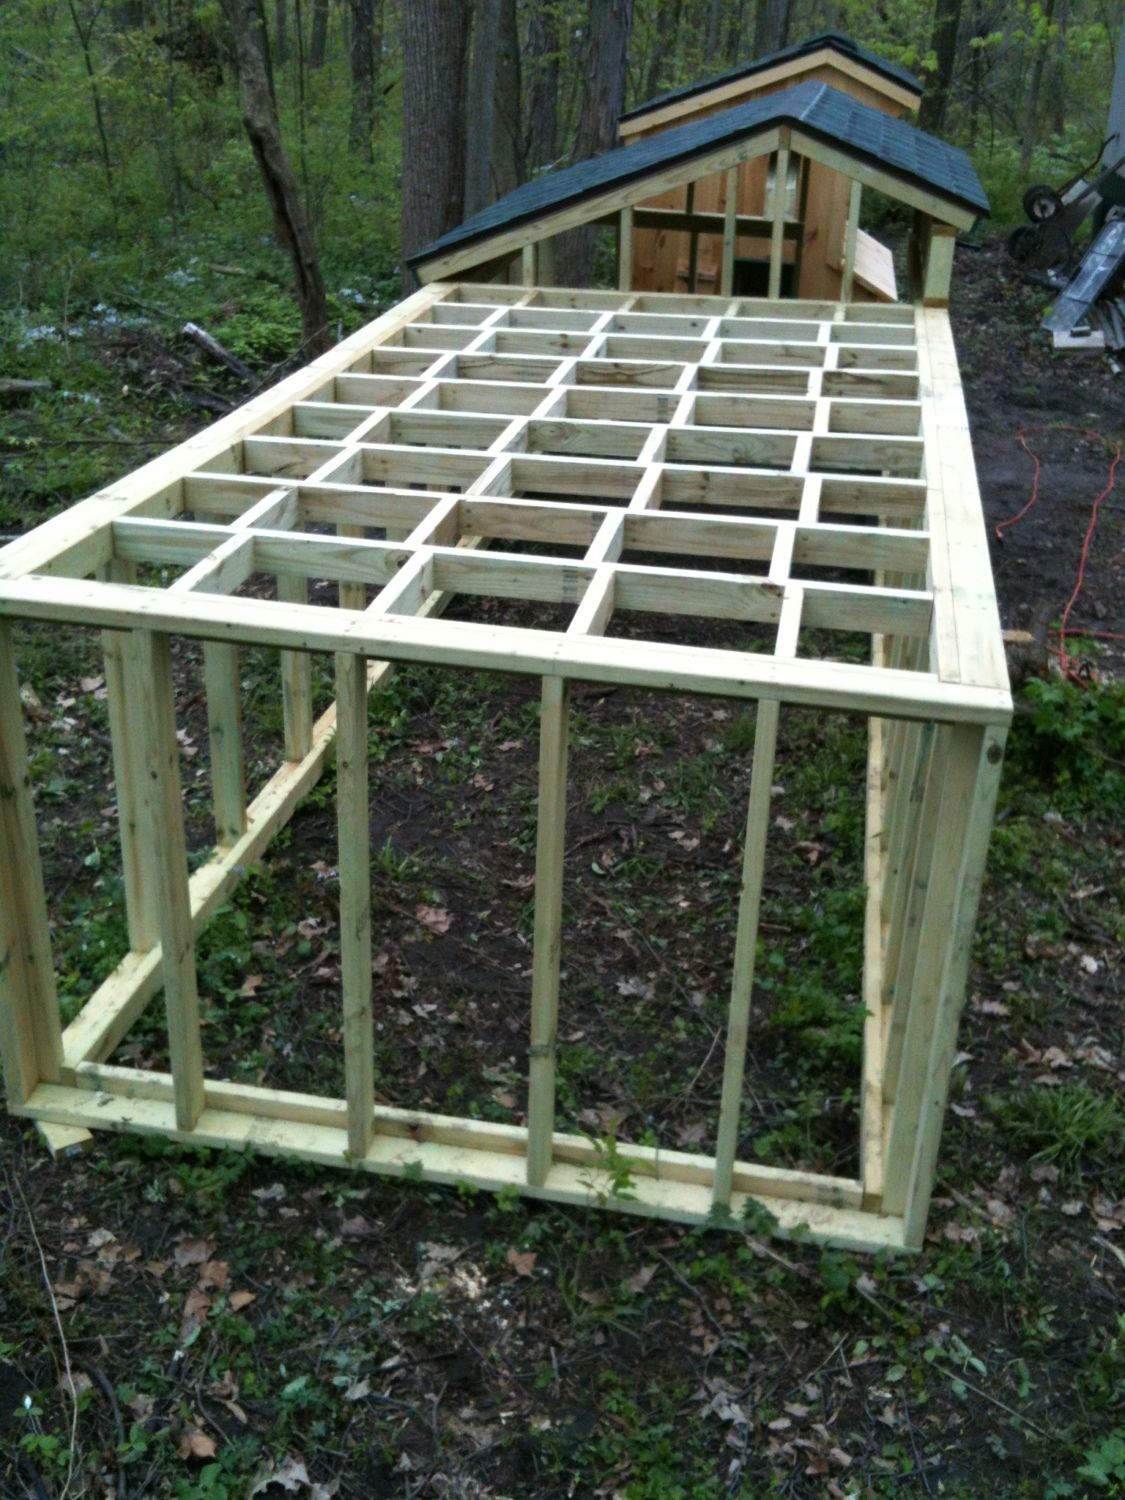
Looks like it's going to rain any second. So I'll stay in the shop to cut and assemble the horizontal wire fabric supports for the for the secured run's flat roof.
Not raining yet.
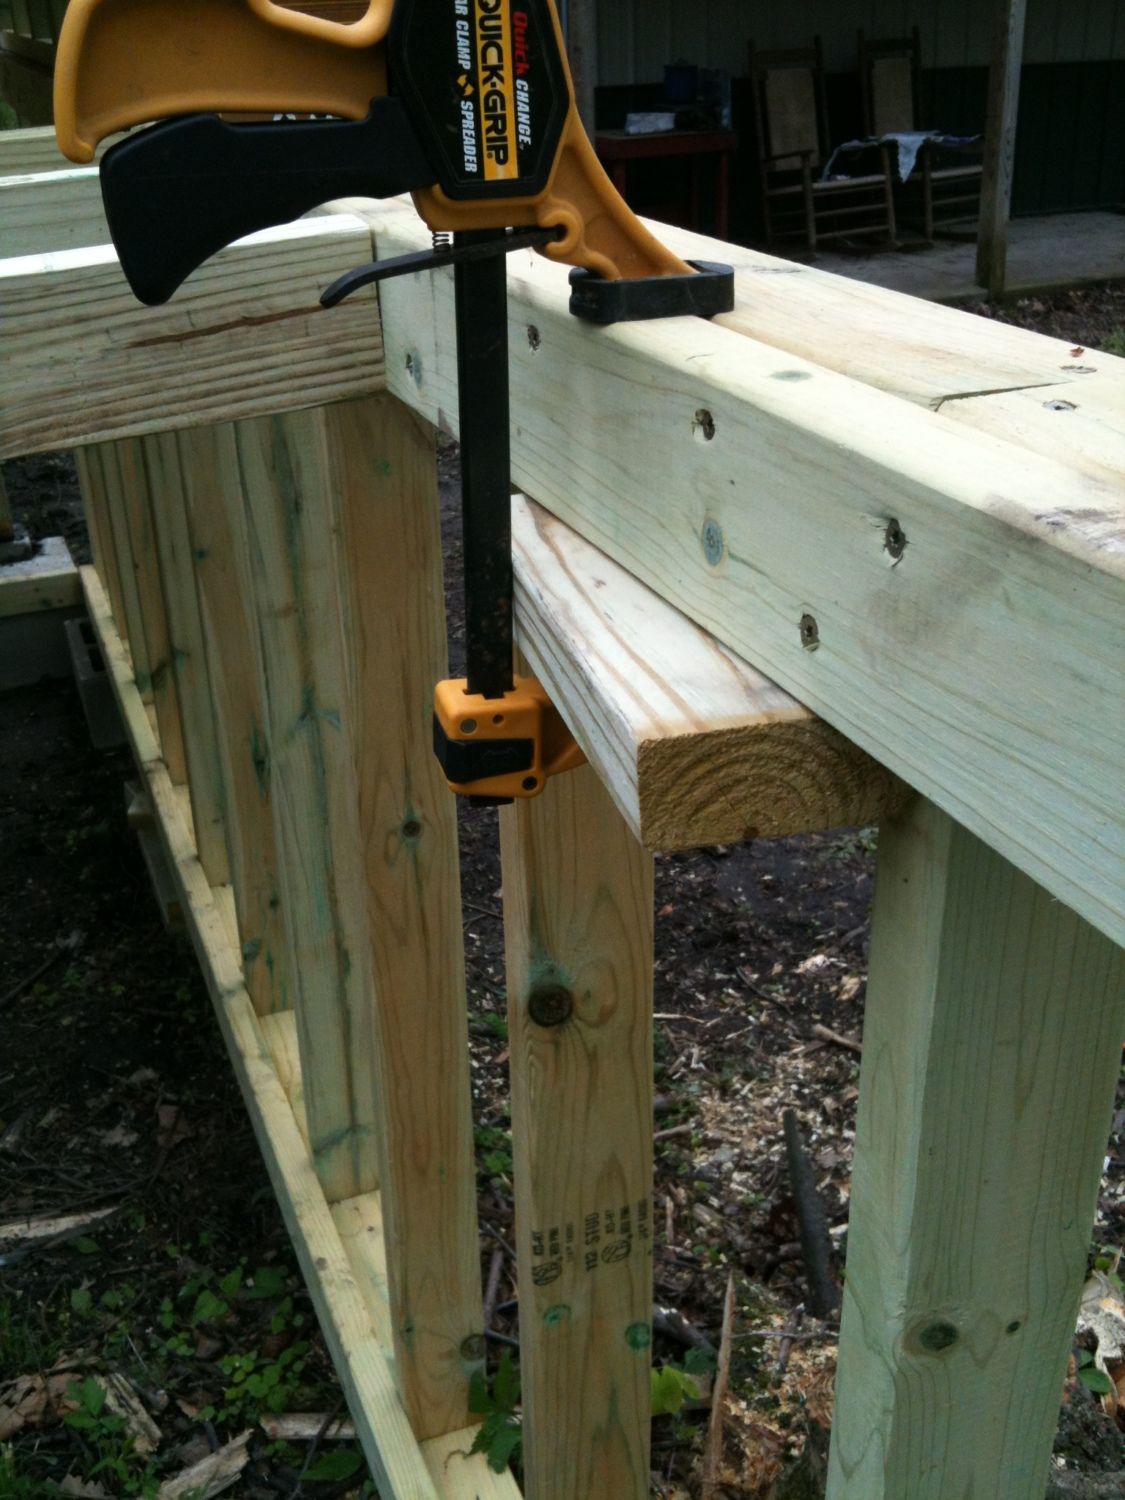
If you take a clamp and a scrap piece of wood you will have a "extra hand" to hold the horizontal wire fabric support in place.
Add the horizontal support and fasten with deck screws.
And when you are done you have a support system that coons, foxes, coyotes and dogs can jump up and down all day without collapsing the welded wire fabric (at least that's the plan).
Still ain't raining (There are only two jobs where you can be wrong most of the time and still keep your job. Weather Forecaster and Politician) so I move on to the other end of the run.
Finished the framing for the people door. I ran out of lumber and energy so I'm done for the day