I'd say we are about 98% done with our coop. You can see videos on my page linked below this post.
In the mean time here are some pics I though you might like to see. Real happy with our design.
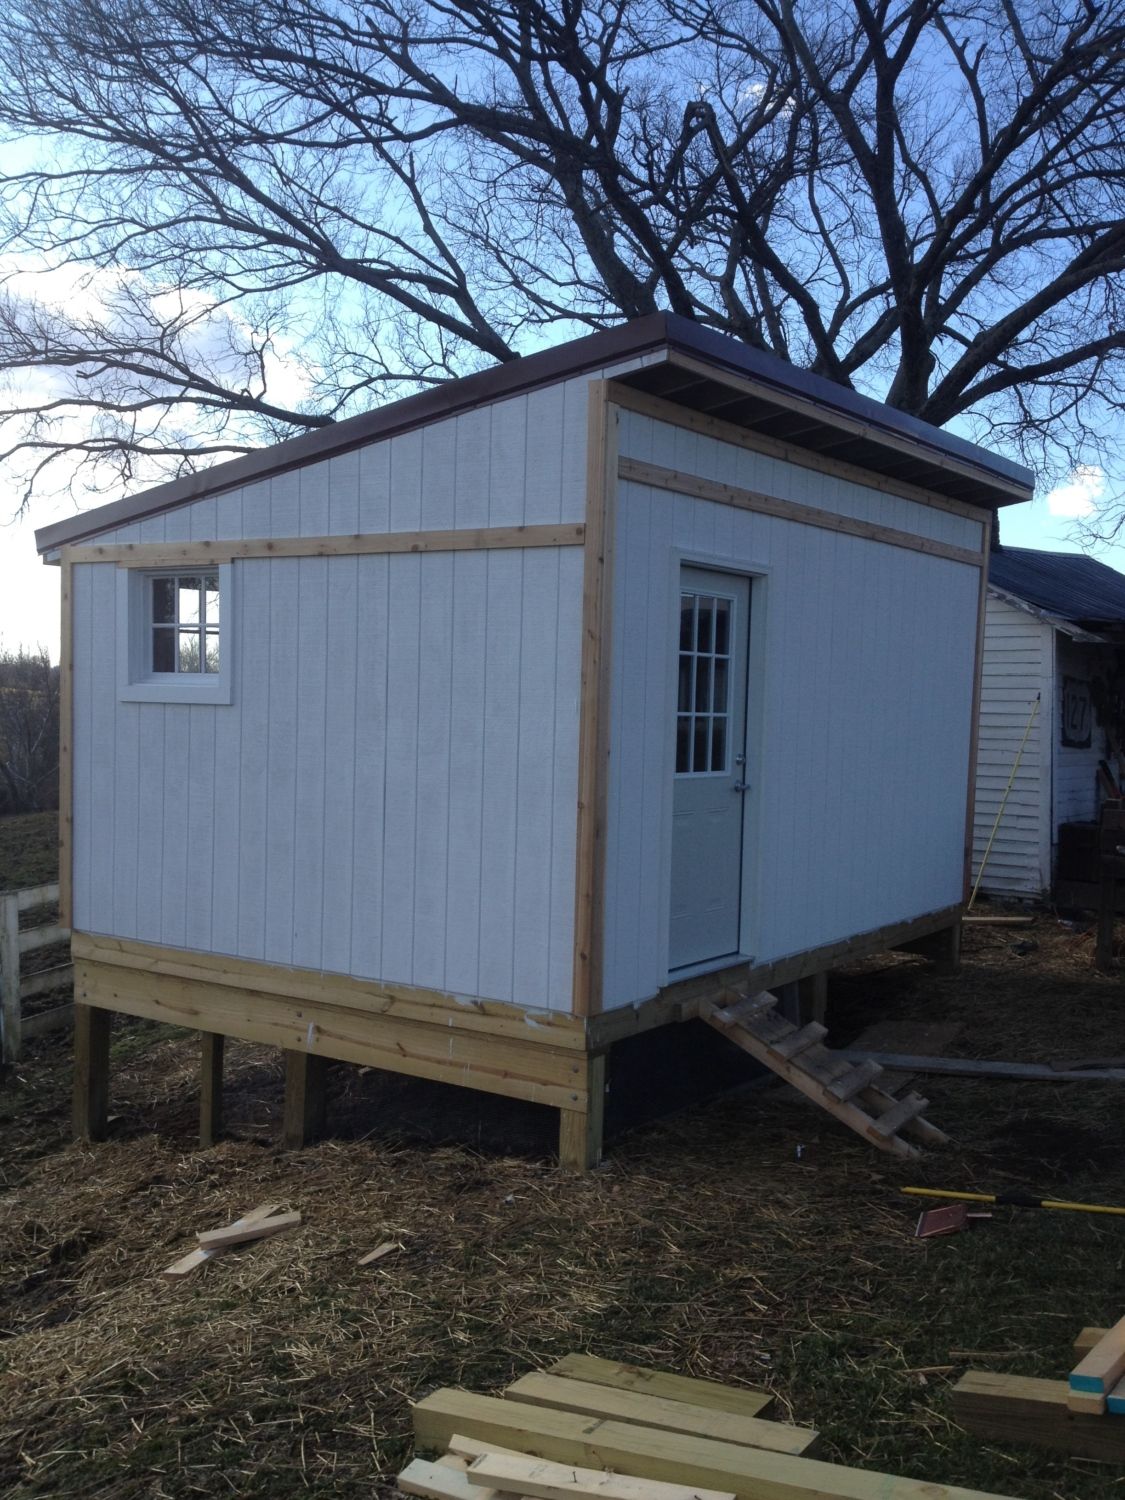
Here is the outside. Yes, I still have three windows to cut out and frame in, but I'm letting this go for a while so that I can keep the brooder box in an area without so much ventilation and keep the chicks warmer. And, as you can see, we have some of the trim to paint yet and I still have to put on permanent steps and a small front porch.
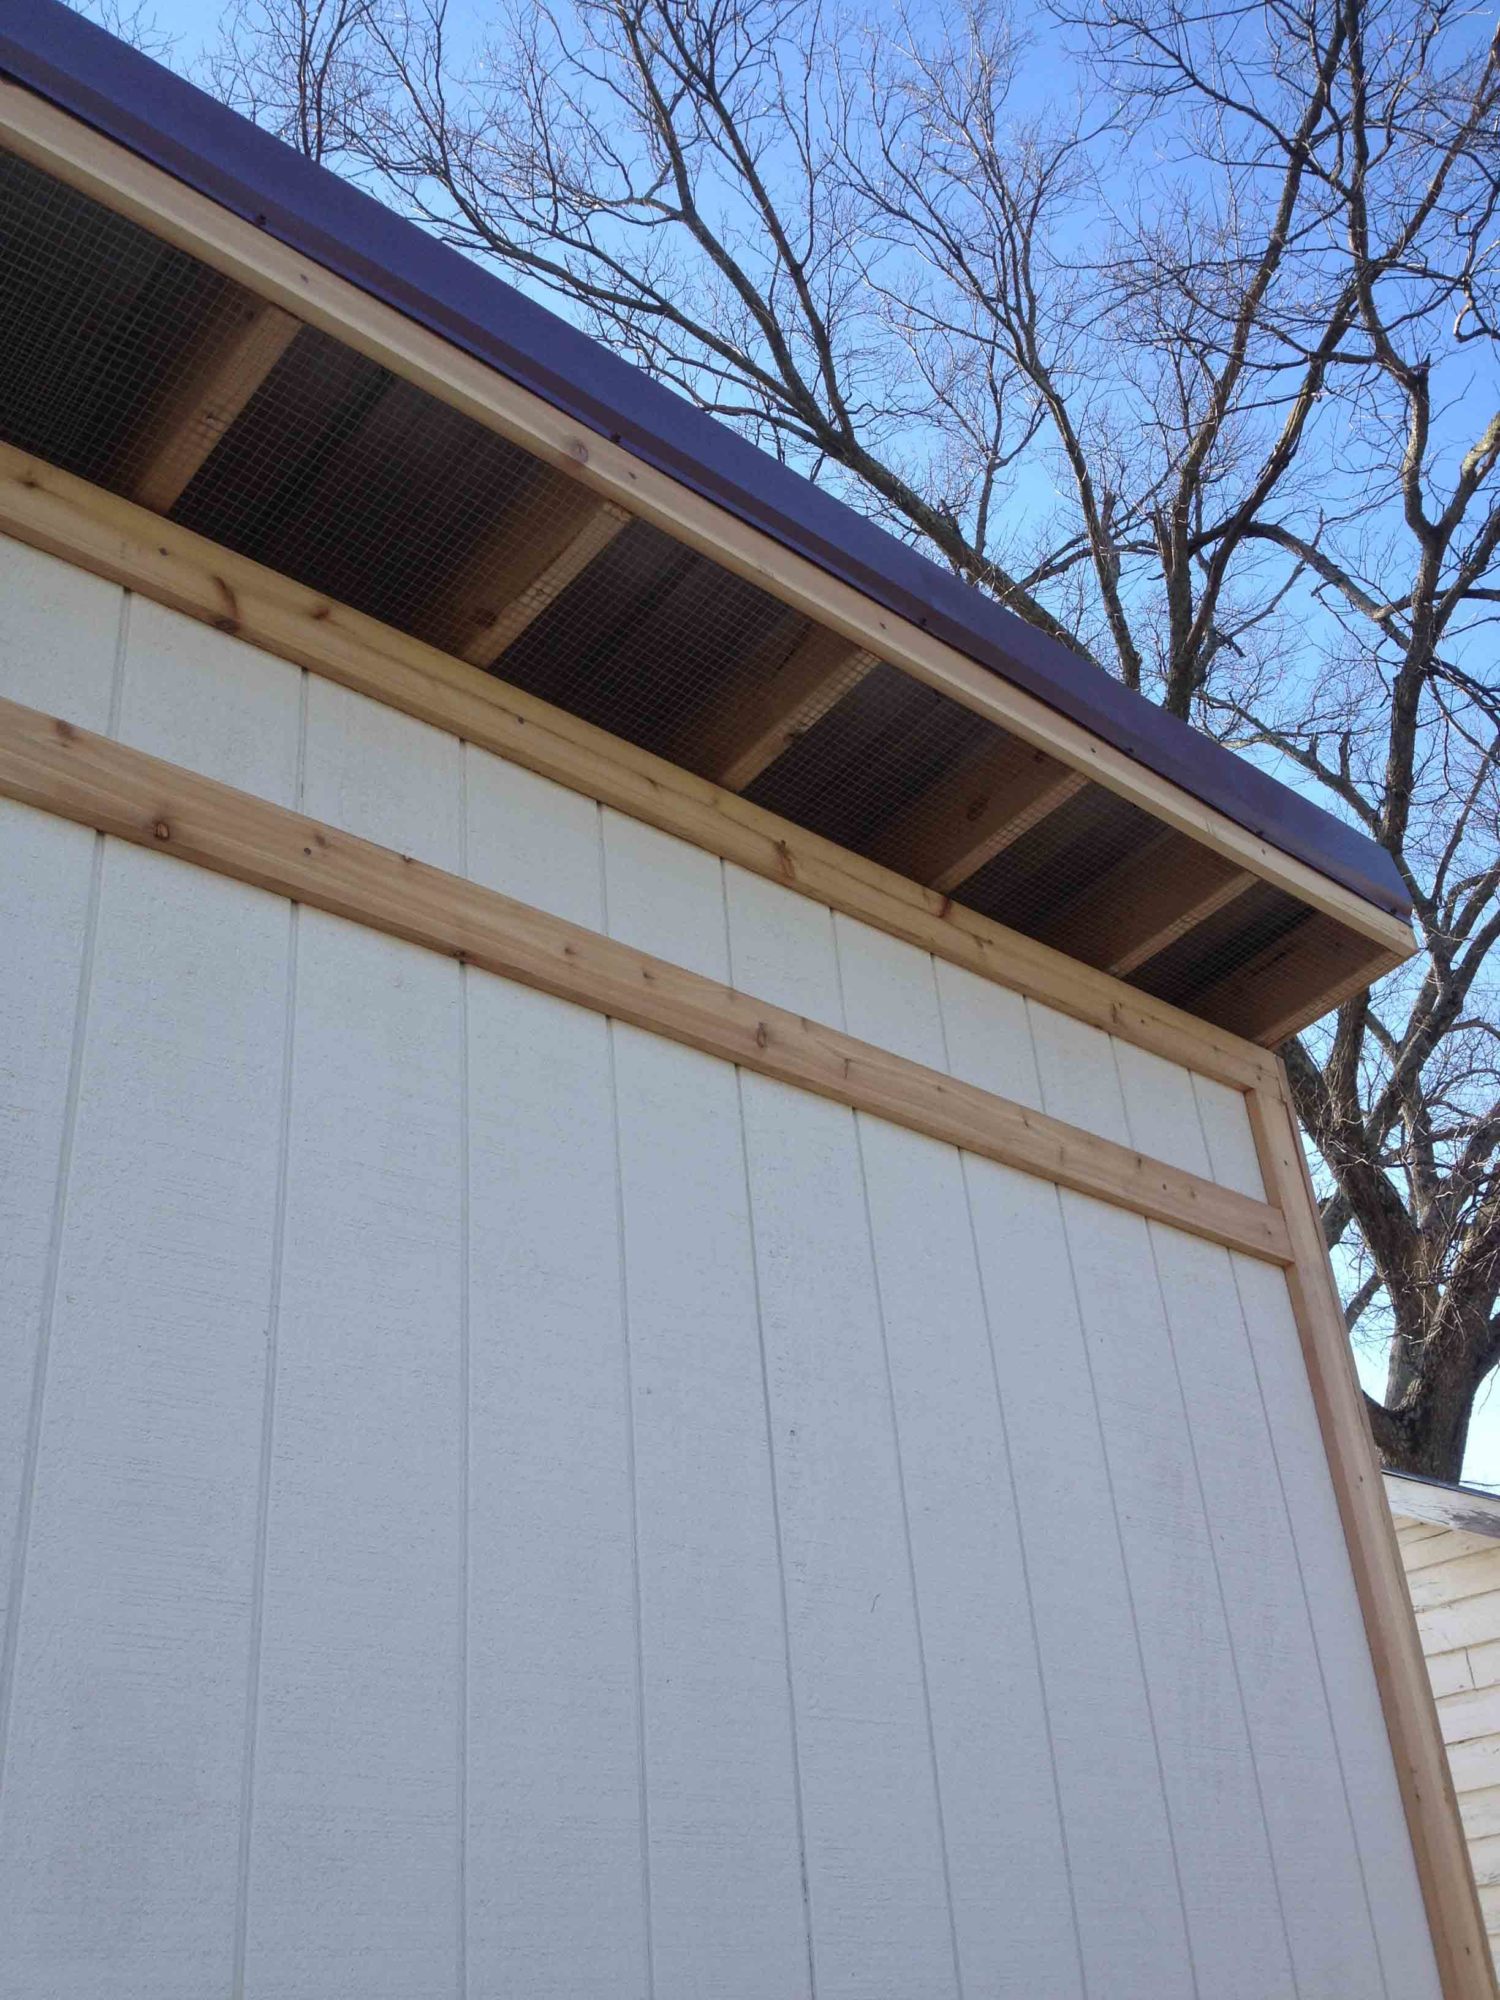
I kept the area under the roof overhang open so we could have plenty of ventilation. Of course we used 1/2 inch hardware cloth to screen out the varmints.
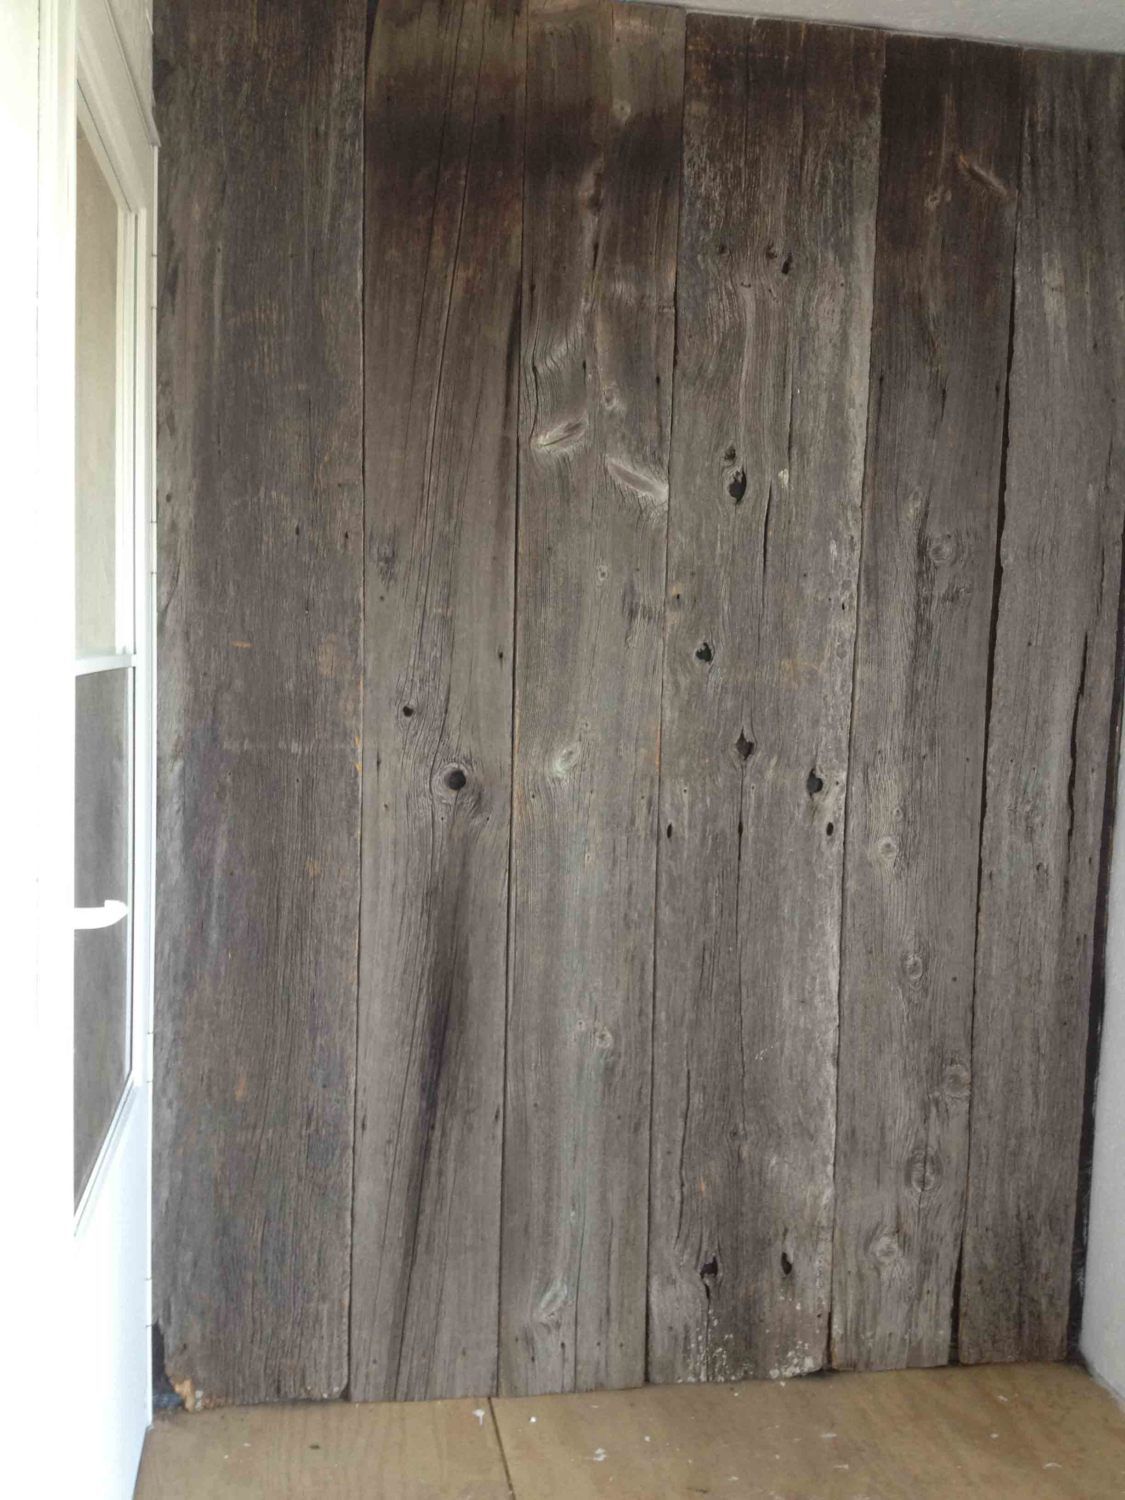
We re-cycled some of the barn siding off of our old coop and put it up inside as a reminder and to add to the decor. That might have been the easiest part of this whole construction project.
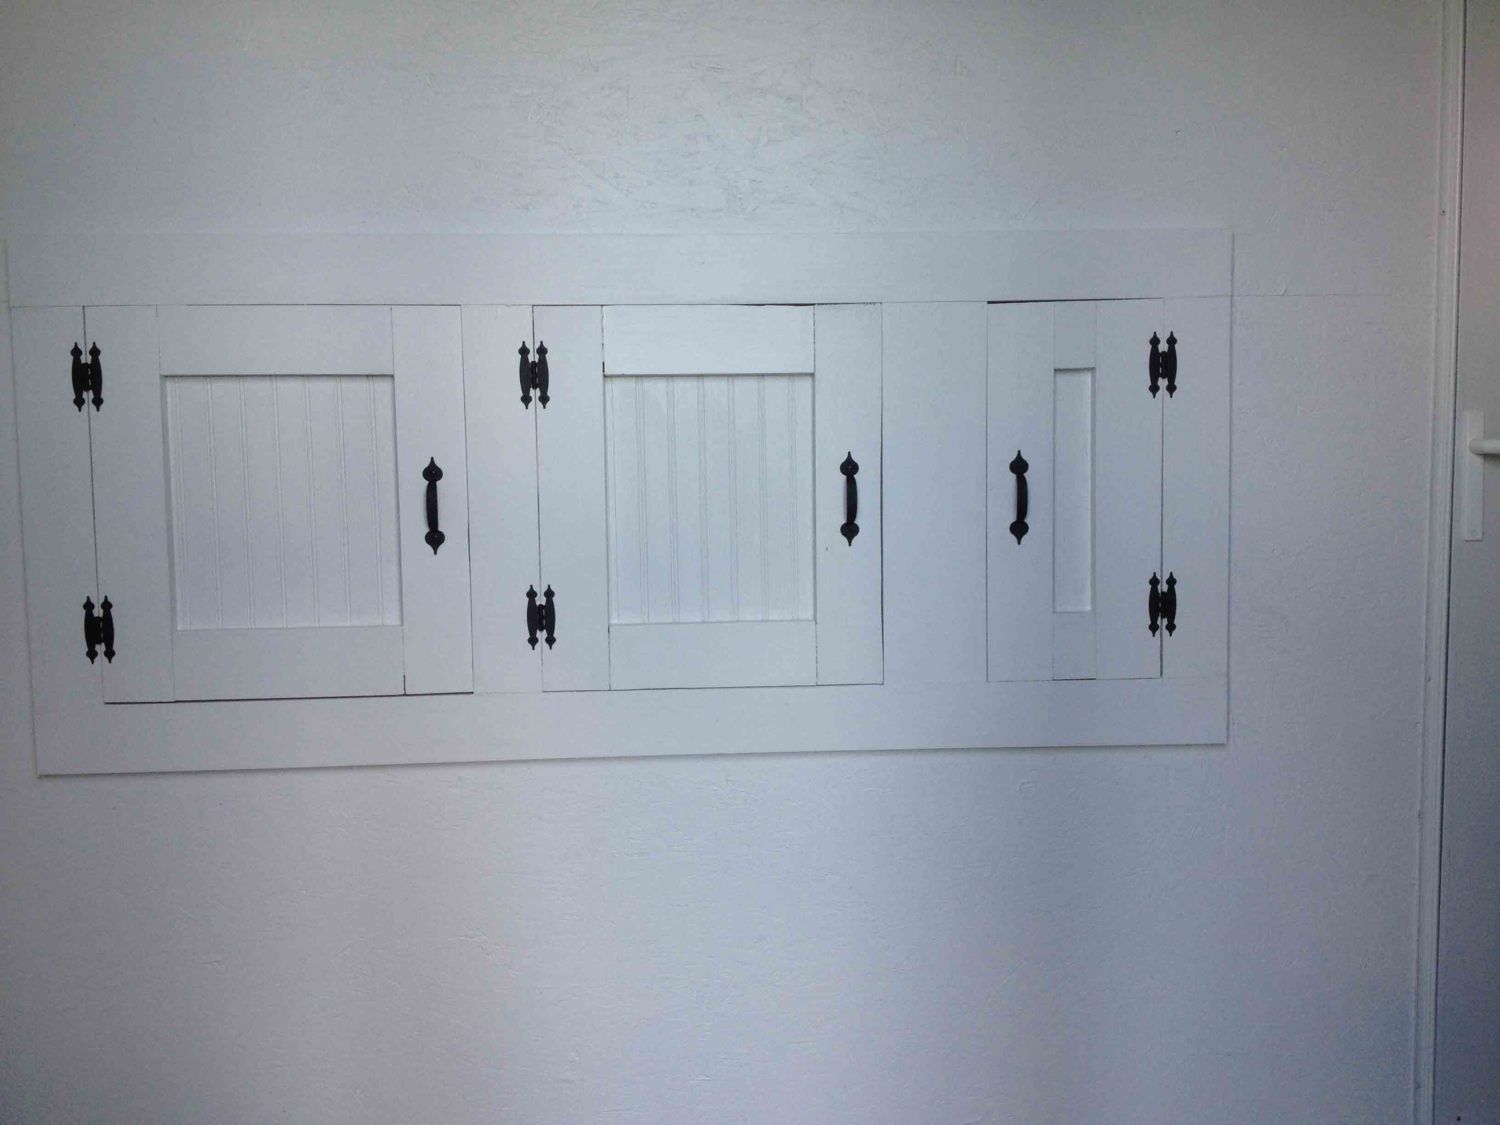
I'm particularly proud of the way the egg collection doors worked out. The old nesting box we salvaged is on the other side of the wall.
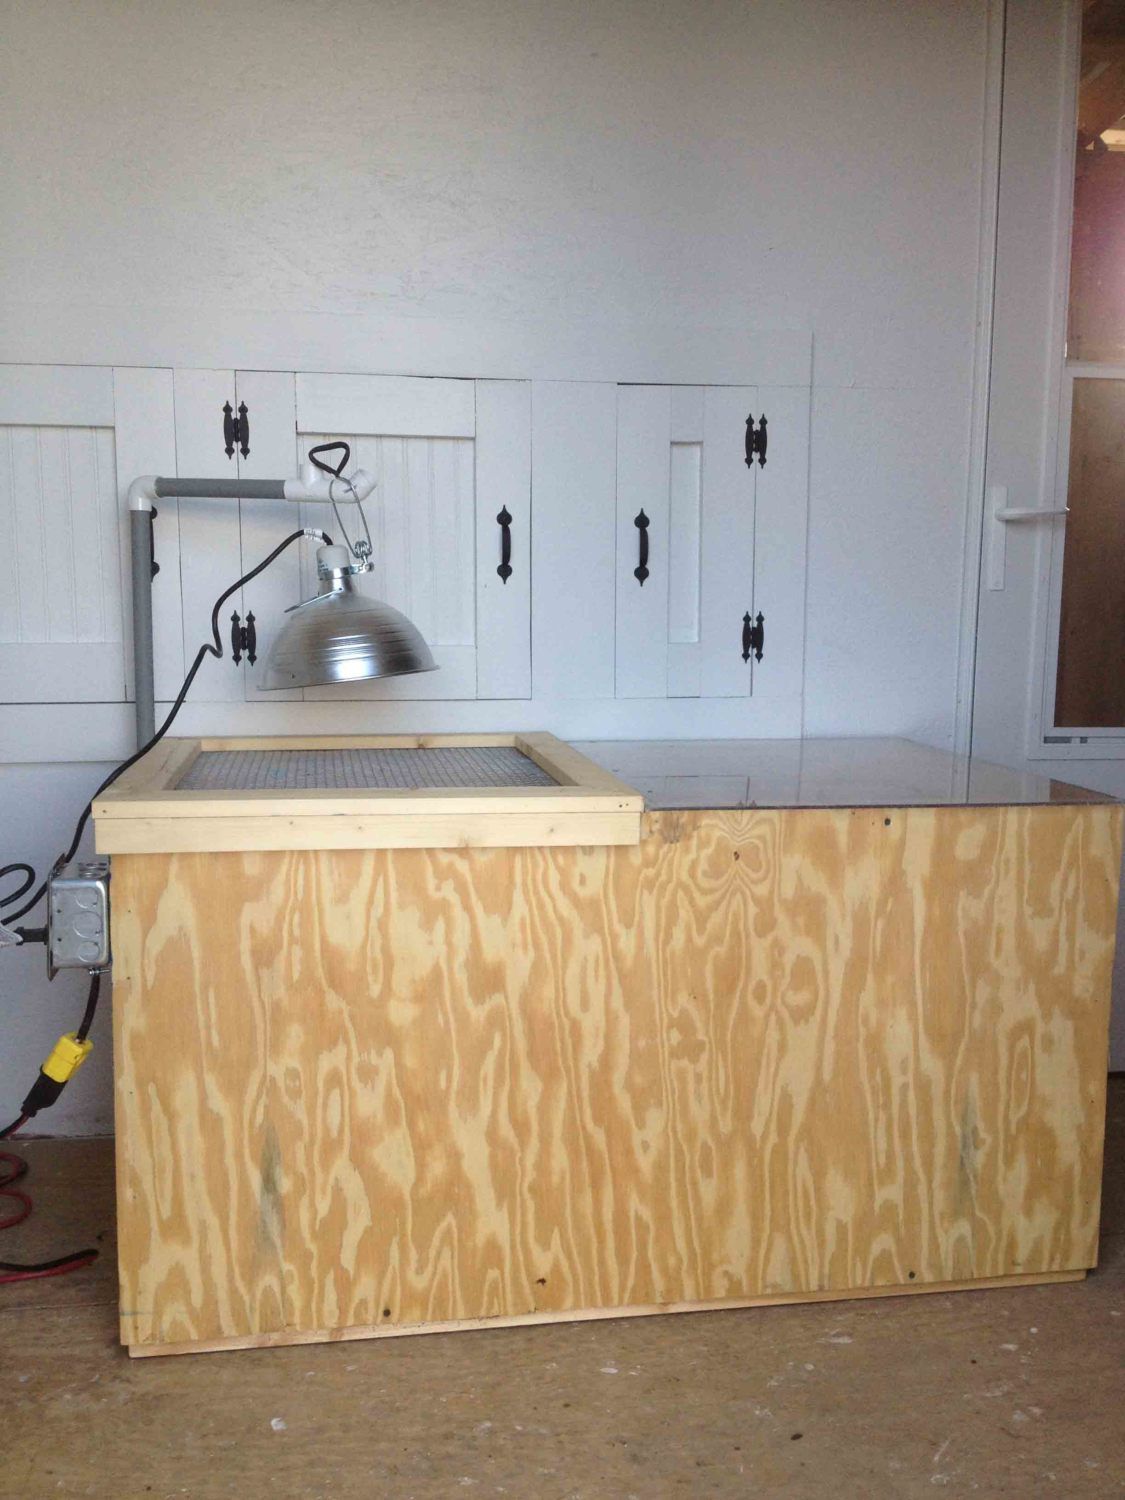
Once the electric was installed and hooked up I moved the brooder box inside. You can't really tell, but I've mounted an outlet box on the side which I will plug into the wall. I used a double gang box with a duplex wired through a dimmer switch so I can control the heat from the heat lamp. I mounted the heat lamp on a PVC conduit and clamped it to the side of the box. I can easily turn it out of my way. I put screening on top of the box (displayed in one video) and put a piece of plexiglass on the other half to help keep the heat in. The room where it will be located is insulated so they ought to be warm.
Won't be long now!
In the mean time here are some pics I though you might like to see. Real happy with our design.
Here is the outside. Yes, I still have three windows to cut out and frame in, but I'm letting this go for a while so that I can keep the brooder box in an area without so much ventilation and keep the chicks warmer. And, as you can see, we have some of the trim to paint yet and I still have to put on permanent steps and a small front porch.
I kept the area under the roof overhang open so we could have plenty of ventilation. Of course we used 1/2 inch hardware cloth to screen out the varmints.
We re-cycled some of the barn siding off of our old coop and put it up inside as a reminder and to add to the decor. That might have been the easiest part of this whole construction project.
I'm particularly proud of the way the egg collection doors worked out. The old nesting box we salvaged is on the other side of the wall.
Once the electric was installed and hooked up I moved the brooder box inside. You can't really tell, but I've mounted an outlet box on the side which I will plug into the wall. I used a double gang box with a duplex wired through a dimmer switch so I can control the heat from the heat lamp. I mounted the heat lamp on a PVC conduit and clamped it to the side of the box. I can easily turn it out of my way. I put screening on top of the box (displayed in one video) and put a piece of plexiglass on the other half to help keep the heat in. The room where it will be located is insulated so they ought to be warm.
Won't be long now!


