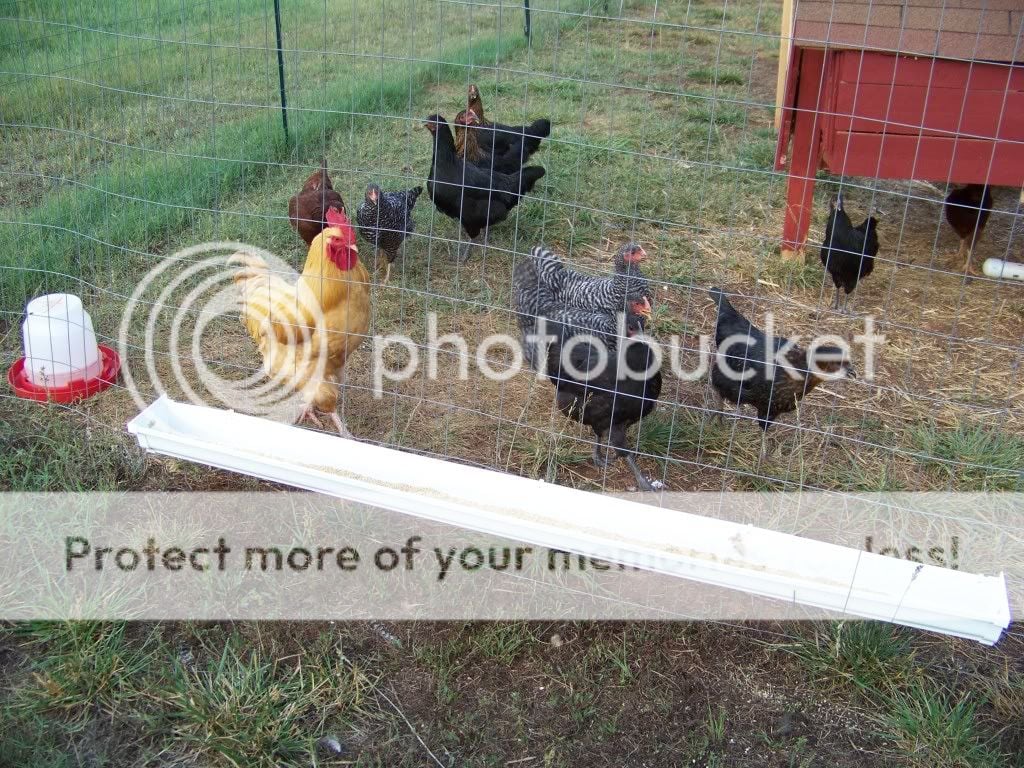
Today I managed to rummage around my house and find some good materials for chick feeders and waterer!!/img/smilies/celebrate.gif
~Materials I used for feeder:
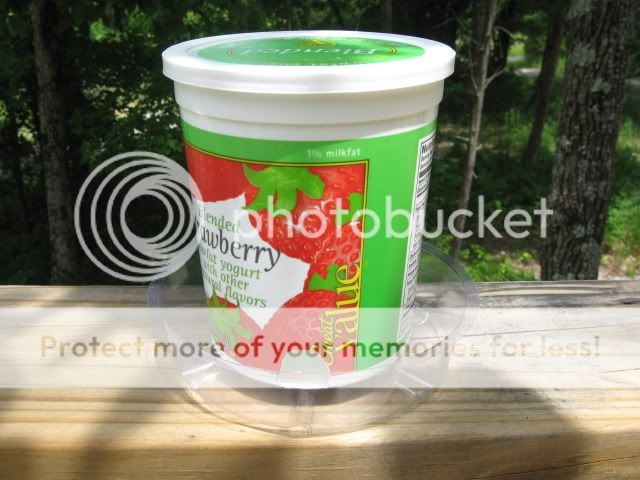
-1 quart (16 ounces, or 2lbs) plastic yogurt jar
- 1 small plant tray
-1 nut and bolt
~Tools used to make feeder:
- Anything sharp (used a nail)
- Kitchen scissors
-Cordless drill
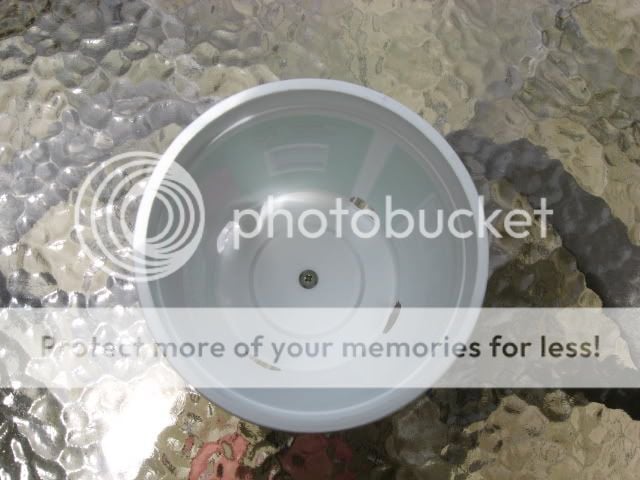
Inside view
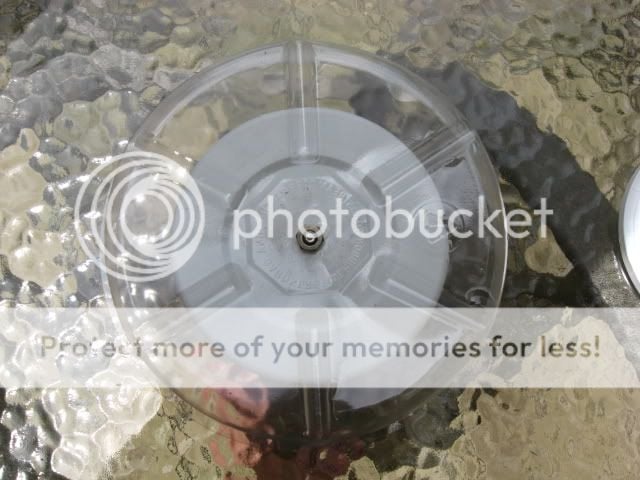
Bottom view
~Materials for waterer:
- 1 quart plastic yogurt jar
- 1 plastic TV dinner bowl
- Hot glue
~Tools used to make waterer:
- Kitchen scissors
- Hot glue gun
I made the feeder by cutting out four holes on separate sides of the jar.
I drilled a hole through the jars bottom and the plant tray, then screwed the nut and bolt in. Already tested this, it works great!
As for the waterer, I only cut out one tiny hole on one side and super glued the yogurt jar to the TV dinner bowl. (which I trimmed back a bit because it was too deep of a bowl.) This works well, too. On the inside of the waterer, I marked were the water level should be so it wont over flow.
Im so happy with how these turned out! /img/smilies/love.gif