Daniel Braun
In the Brooder
- Jun 18, 2017
- 7
- 15
- 42

I had been interested in raising layers for a while and found the info on this site very useful. I'm sharing what I did to build a run and coop in case it might be useful to anyone else trying this for the first time like myself.
And of course, being a newbie, I welcome any suggestions and advise!
Parts of the coop design should look familiar if you've looked around this site. I lifted ideas from many of the members on this forum and am very appreciative for the help! I'll link to a PDF I created that contains notes about what I did. I also created a SketchUp model that I'll link to that's built to scale. I designed the coop entirely in SketchUp before cutting any wood.
Now for the show...
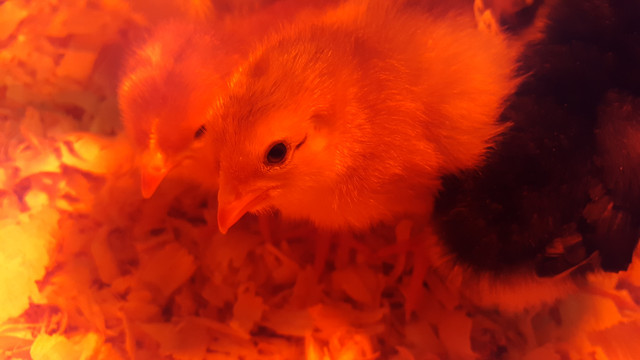
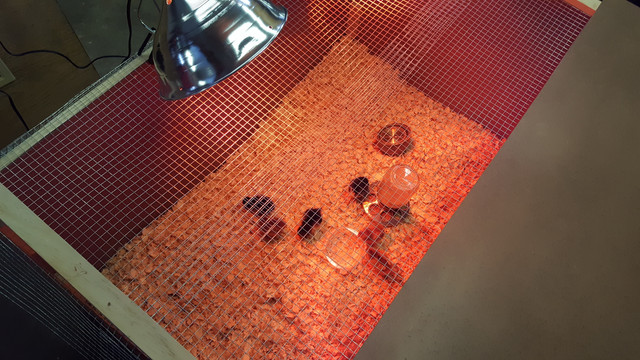
Brought the chicks home April 1st 2017 and promptly made a brooder box with "euca" board, wood strips, hardware cloth and a pair of heat lamps. Chicks were 4 days old. 3 australorps and 3 rhode island reds.
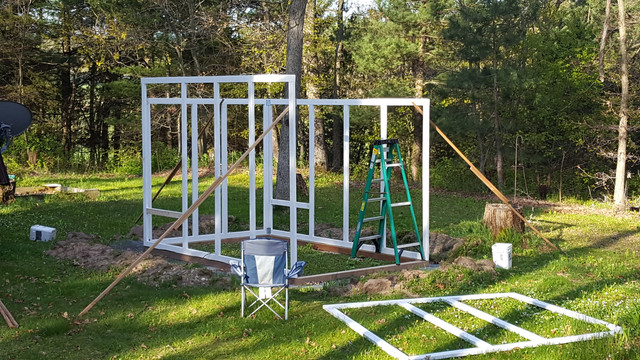
Work begins on a approx 12x8' base.


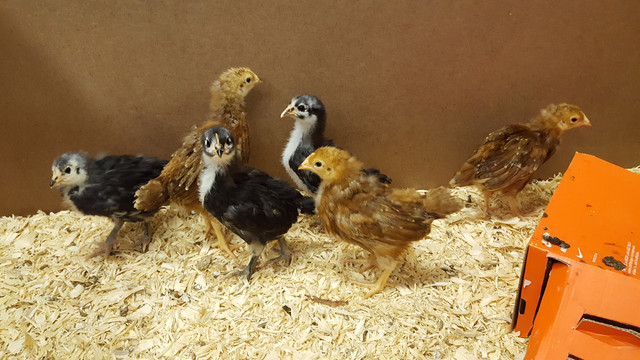
The little monsters are growing and pooping
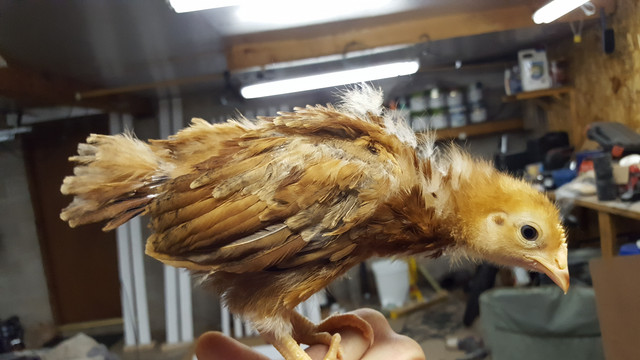
This chicken reminds me of Thom Yorke
Frames assembled and primed
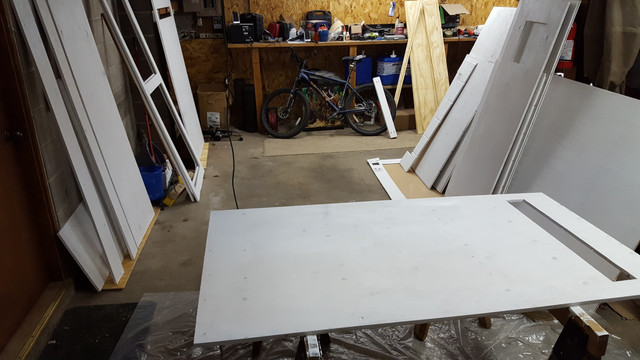
Walls and doors take shape in the garage
At about 6 weeks the chickens need to get out of my garage!
Thom Yorke wanted to see my kitchen.

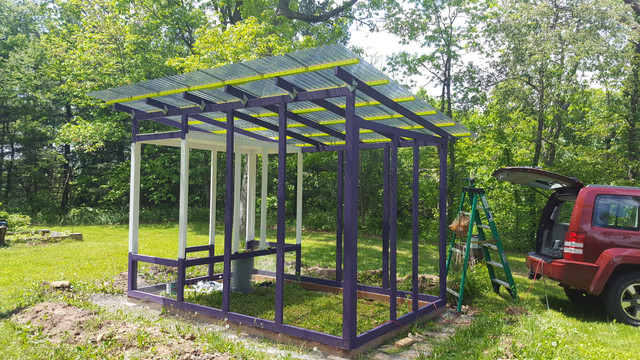
Assembling the roof of the run was no joke.
I'd move the girls to my fenced garden near the coop to supervise my work. Didn't worry about them eating my veggies as the coop dominated my free time and there was no time to plant any.
This one needed to be on the ladder with me as I added some final hardware cloth under the rafters.

Some final images. Again, info about coop materials and building dimensions can be found linked below. Thanks again to everyone!

I offered 3 levels to this roost, but they always choose the top
")

It took only 2 nights before something, I suspect a raccoon, tried to breach the hardware cloth skirt around the base of the run.

I really think the color scheme looks nice in the sunlight....

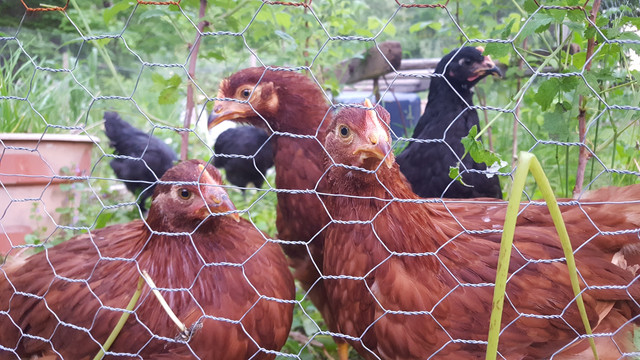
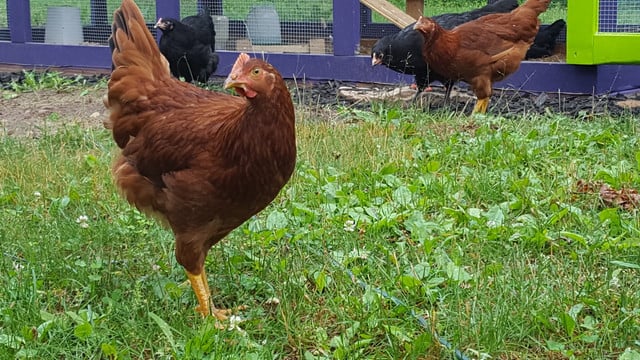
I believe my girls are happy.

Links to coop assembly information documents:
(FYI, a dialog will pop up making it look like you have to start a Dropbox account. But you don't have to, just click the small link at the bottom that says "No thanks, continue to view" and you can download the files there.)
3D SketchUp model:
https://www.dropbox.com/s/tro21k89dgfj3c9/Braun Coop cleaned.skp.zip?dl=0
PDF with plans, dimensions and screenshots from model:
https://www.dropbox.com/s/47ttw6krvutw75p/Braun_ChickenCoopNotes.pdf?dl=0


