Jen's Hen Pen

I'll try to cut the hole for the window in the front door, then vacuum the floor and coop real well so they don’t get covered with sawdust in the “play house”.
 
Fri Jun 17: To install the window, I used the circular saw to make a plunge cut into the panel, following the4 inside edge of the frame. That’s the frame to the left.

93790_plung_cut_at_window_frame.jpg


This can be dangerous if you don’t control the saw. I had a couple of kick backs, which, luckily got the frame instead of my leg.

93790_kick_back.jpg


Got the panel cut out and trimmed up the hole with a cross cut saw.

93790_window_panel_cut_out.jpg


Sat Jun 18: Installed the hinges on the frame and door, then on the door and window. Attached the trim around the door.

Tue June 21: The fit of the door and window was a little off so I had to make some adjustments with 50 grit on a belt sander. I pointed out the flaws to my wife and she reminded me that, after all, this was for chickens. I attached the latches, slam strips, then nailed up the Hardware cloth over the window opening and framed the wire edges for safety.

Front door installed.

93790_front_door_installed.jpg


Window propped open for ventilation.

93790_window_propped_open.jpg


Door from the inside.

93790_door_from_inside.jpg


93790_open_door_showing_hardware_cloth.jpg
 
Lucky Koi, you give your Daddy a big ol hug and kiss!! What a sweet man to do this for his daughter. The father daughter relationship is like no other, Dads are just awesome!!
love.gif
 
Very Nice job!!! I love the way you did your nesting box I might go back and tweak mine~ also love the weather seal!!!! I'm going to pick that up next time I go to Lowes
big_smile.png
It looks great
celebrate.gif
 
Trust me! I always give my dad a big hug and kiss!

On Sunday, we all went over for Father's day and had breakfast. My husband saw the coop for the first time... he was utterly impressed. And my husband is very handy, so for him to be impressed, it's a good thing!

Dad, let me know when you would like us to come down and paint
smile.png
I am looking forward to the much needed space as the heat and sun is pretty brutal right now. With a bigger space, there will be more shade for them to hang in, later in the afternoon as the sun comes down.
 
Sun Jun 26: For the last several days (except yesterday, my oldest grandson’s 3rd birthday party),

93790_candles_blown_out.jpg


. . . I have been working on the sliding pop door design and construction. There was a lot if trial and error and measure 3 or 4 times and cut 5 or 6 times. This is how I ended up doing it.
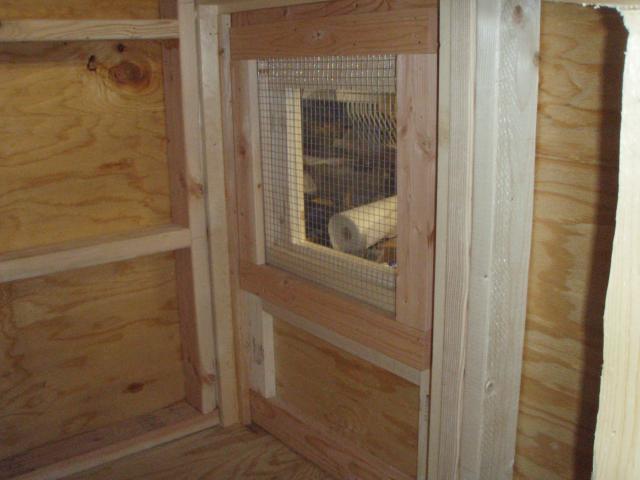
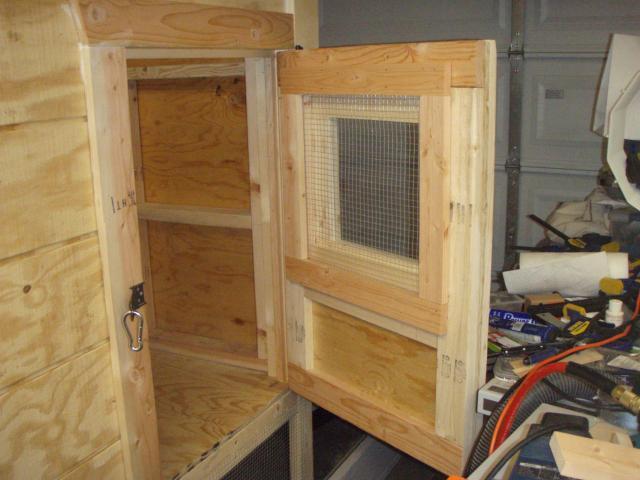
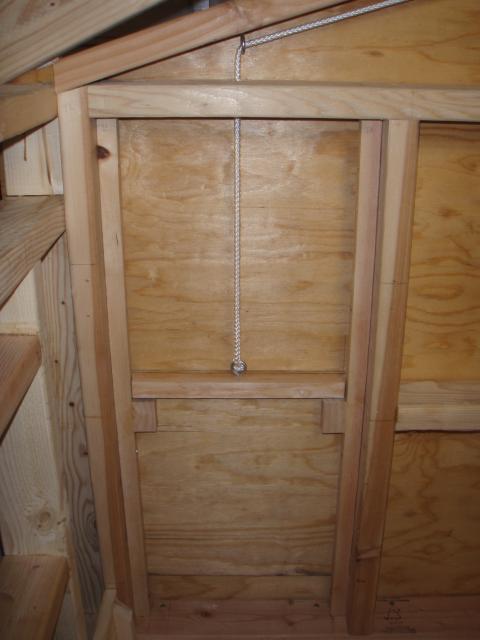
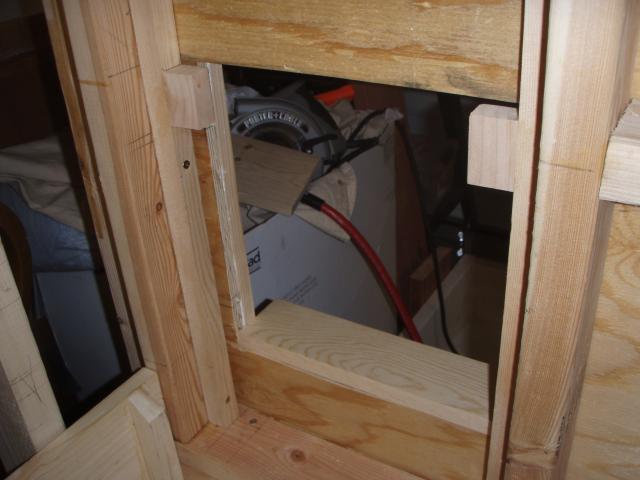
I cut the door hole 12” wide X 12 ¾” high. The extra ¾” lets me install a door sill.

93790_pop_door_outside_open.jpg


I then took the cut out panel and lined it up on a larger sheet of siding and cut out a 14” X 15” panel, after lining up the outside so the panel grooves would line up when the door was closed (esthetics).

93790_pop_door_outside_closed.jpg


I glued and nailed a 1” X 1” block to the inside top of the new door panel to stiffen it to help prevent warping, and to have a solid surface to attach the screw eye for the 3/8” rope.

93790_pop_door_tracks.jpg


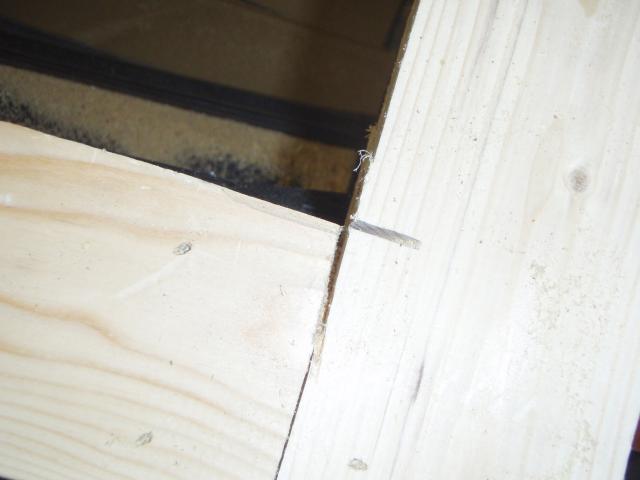
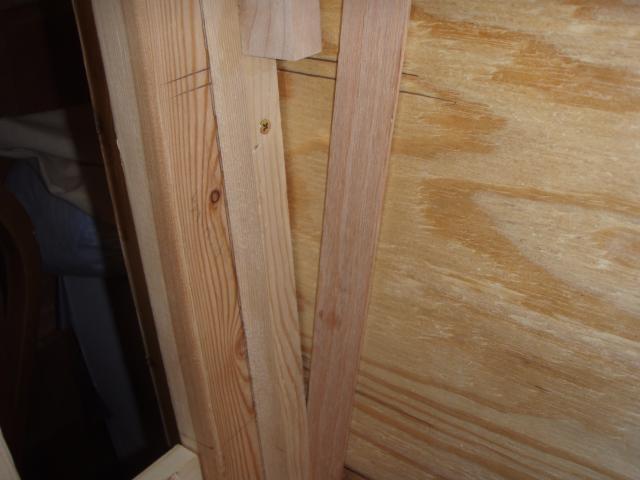
I then installed the track the full length of travel, to help prevent binding. I used a 1/8” shim to give me a little room for paint and expansion. I installed the tracks with screws in case I need to remove the tracks to get to the door. I attached stop blocks to the tracks to stop the door from traveling too far down.

93790_eighth_inch_shim.jpg


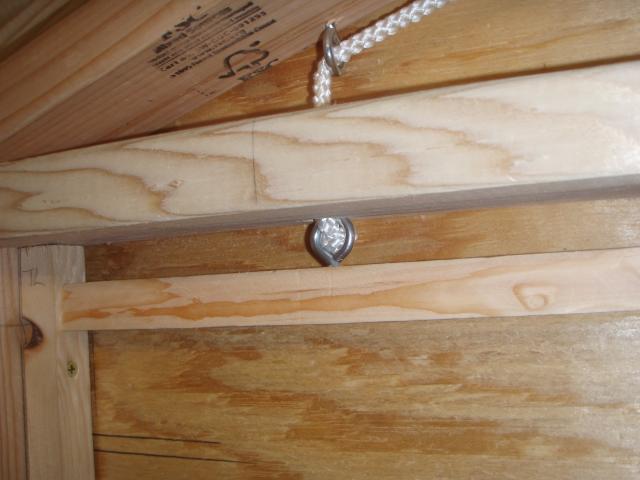
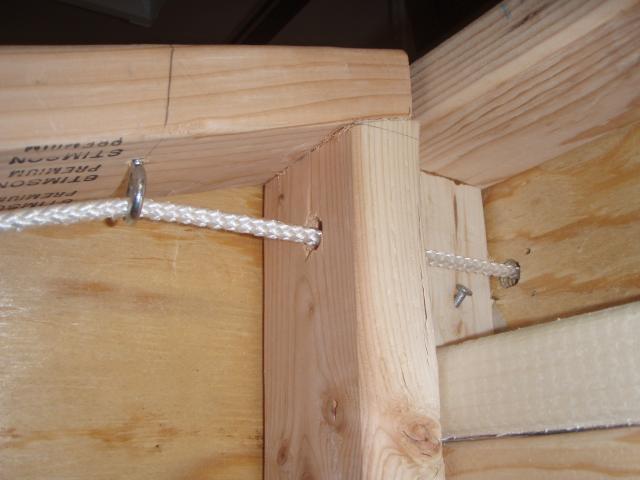
After the tracks were installed, I drilled a 5/8” hole in the 2” X 4” directly above the pop door screw eye, and installed another screw eye to guide the 3/8” rope.

93790_pop_door_eye_bole.jpg


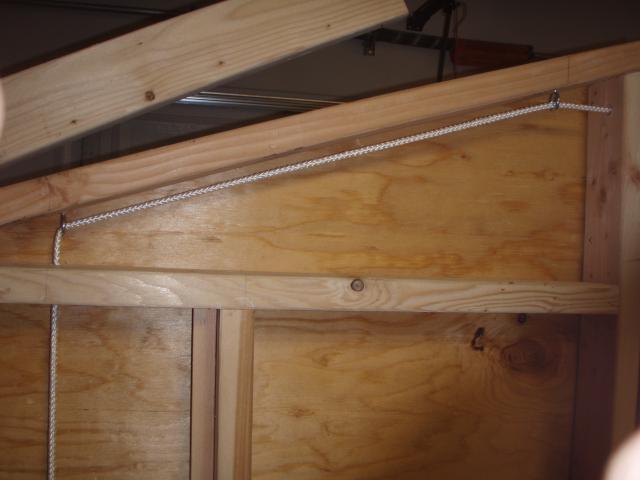
I screwed in another eye to guide the rope to the wall holes.

93790_pop_door_eyes_and_rope_1.jpg


93790_pop_door_eye_and_rope_3.jpg


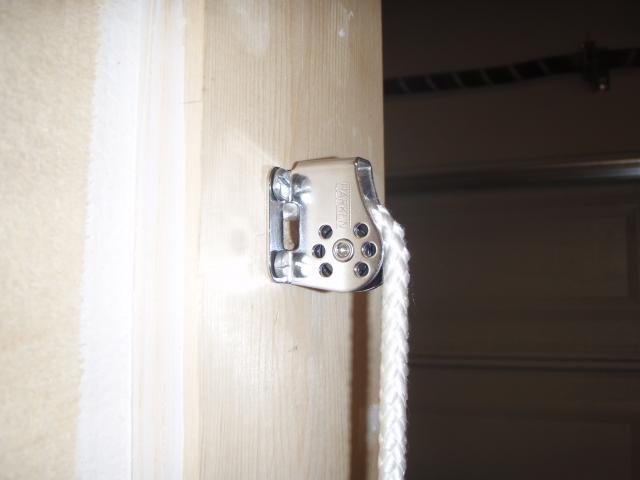
Where the rope exits the wall to the outside, I attached a micro block (sailing hardware) so the rope doesn’t chafe on any wood surface.

93790_micro_block.jpg


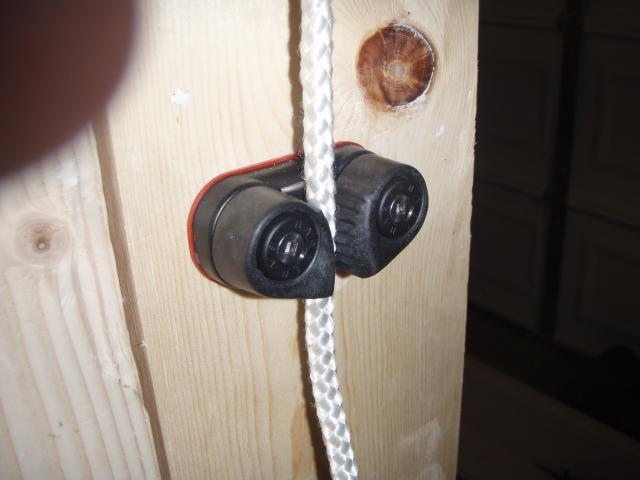
The rope then runs down to a cam cleat (also sailing hardware), that holds the rope in place when the door is open or closed.
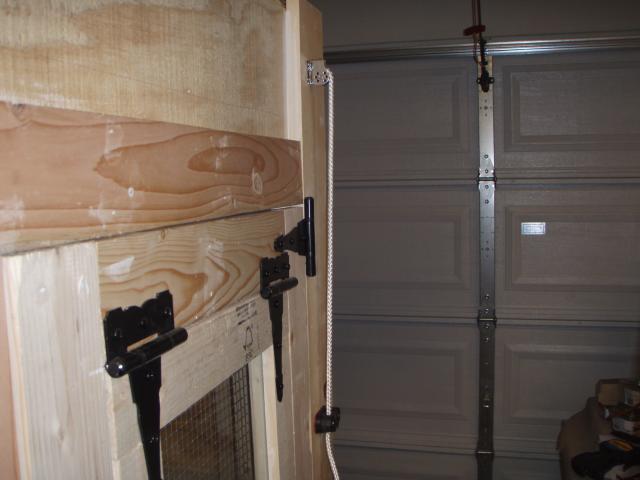
93790_pop_door_rope_outside.jpg


93790_cam_cleat.jpg


So there you have it, door open. I don’t think the chickens will bump their pointy little heads on the stop blocks, but if this does pose a problem, I can reconfigure it.

93790_pop_door_inswide_open.jpg


Tomorrow I will start work on the ramp.
 
Last edited:

New posts New threads Active threads

Back
Top Bottom