Micro Farm Coop Worklog [UPDATE: SHINGLES ON - PAGE 27]

More work on the coop this weekend, after recuperating from SEVERAL days of stomach flu. Spread through the house like wildfire, evil thing.

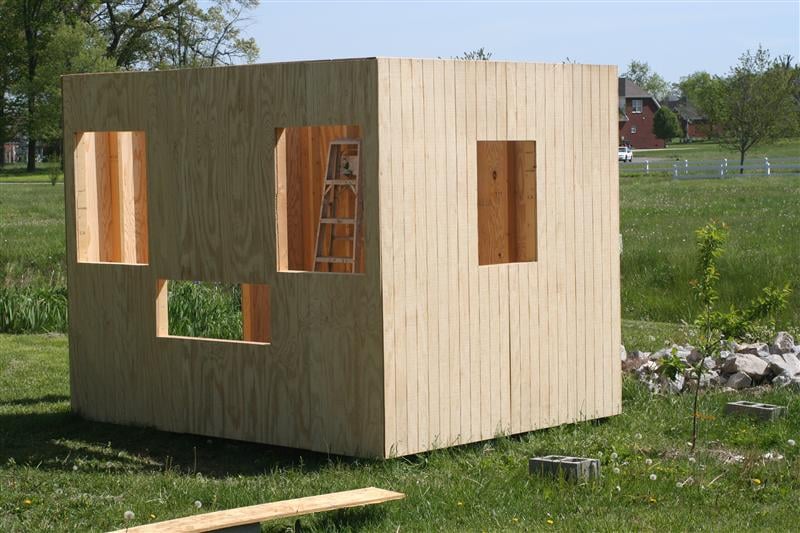
I swear, this picture makes me want to name it Coop Domo Kun.

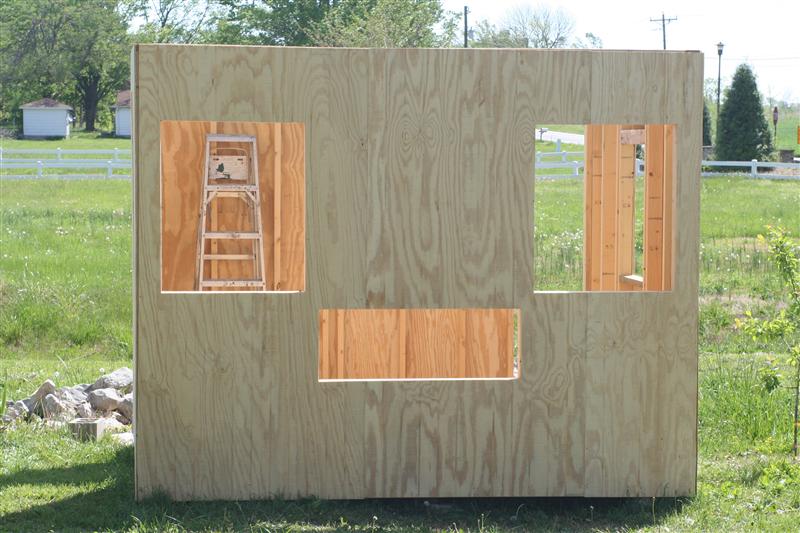
The T1-11 was nailed up in place (not easy for one person) and a Roto Zip was used to cut out all the openings. Was actually fairly easy, besides smacking my thumb a few times in a row.

IMG_2809.JPG


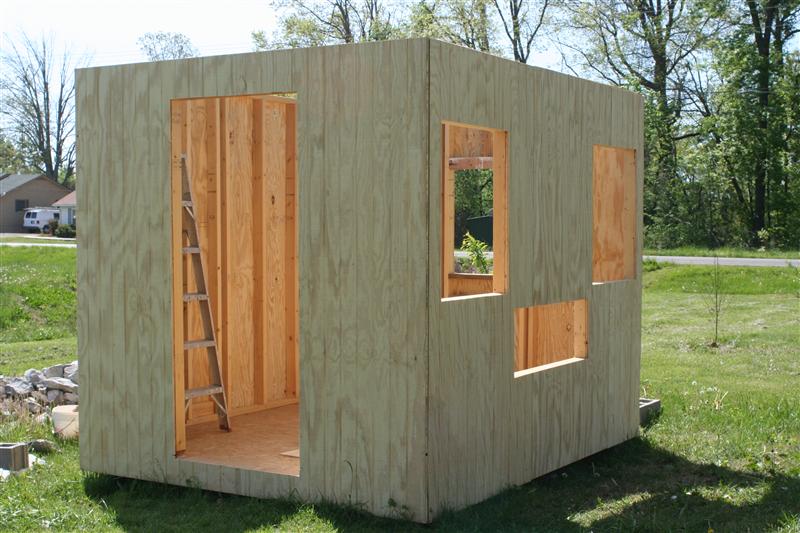
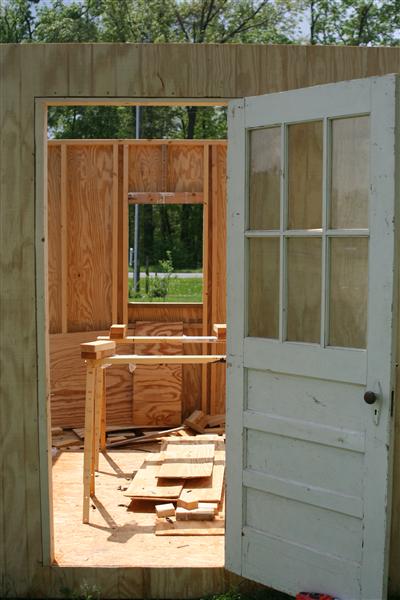
I've still got to cut out the opening for the cleanout door under the window at the side. For now it will stay sheeted since I want to get the chickens moved out ASAP. One day when they're out I'll finish up that cleanout door.

IMG_2810.JPG


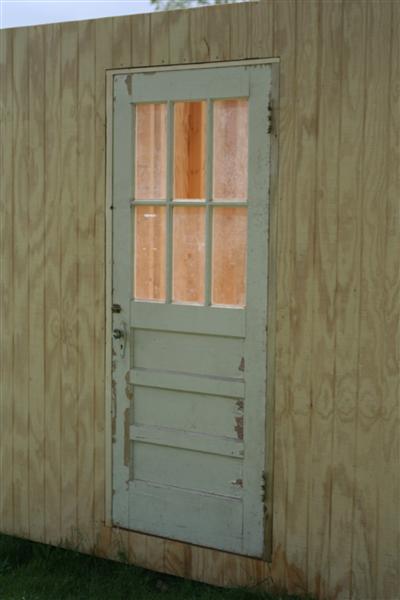
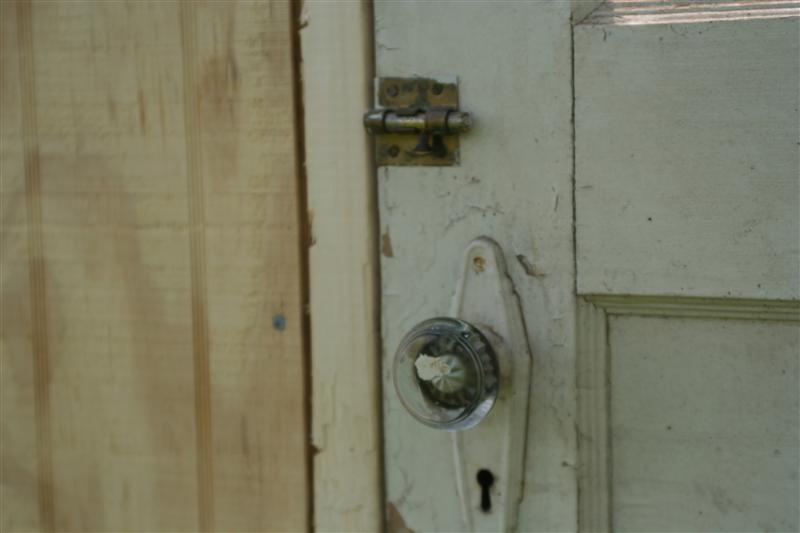
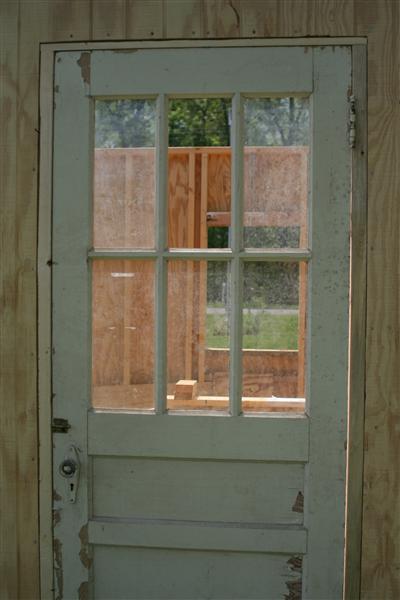
Another thing I'd learned... Measure your door..
wink.png
I knew I needed to make my own door jamb, that wasn't the issue. My problem is I didn't measure my donor door. It's a tad thinner than I'd thought, so I'll need to play around to get it mounted.

IMG_2811.JPG


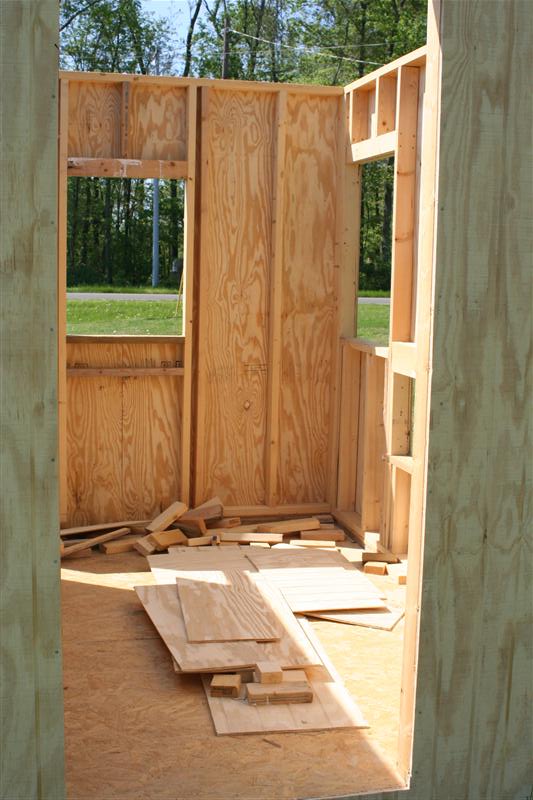
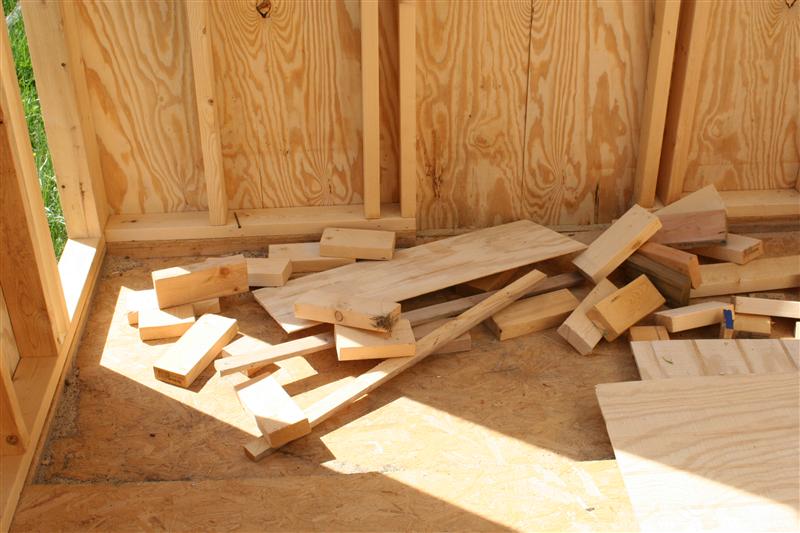
Piles of scrap wood litter the floor inside. I'll be making use of as much of this as possible for various things, such as sheeting the nest boxes or whatnot.

IMG_2812.JPG


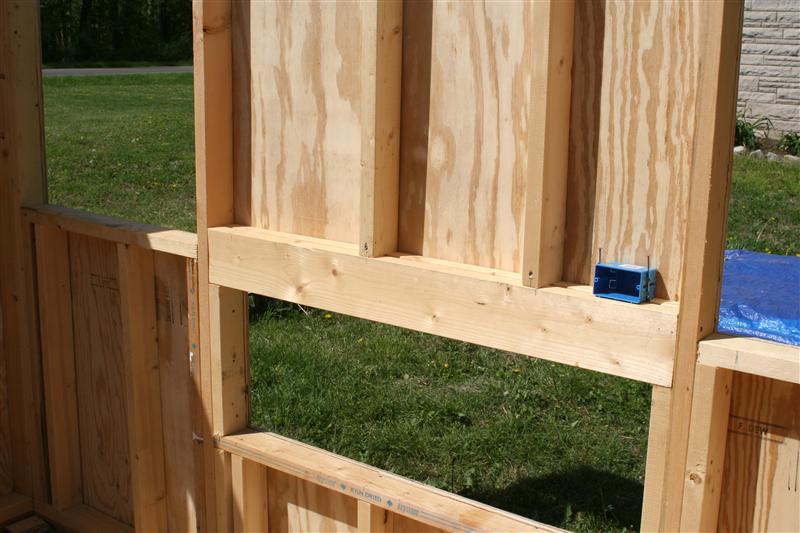
Over the nest boxes I chose to use a 2x6 header instead of 2x4's since there will be more weight on top of this area. I chose to frame it out like this because I wanted the option of building the nest boxes externally or internally. I'm still weighing the options for both.

IMG_2813.JPG


The sunken section in the back where the roosts will be is filled with scrap and sawdust.

IMG_2814.JPG


So far some of the things I'd learned working on this..

1.) It really is best if possible to apply the sheeting to the walls BEFORE you hoist them into place after framing them up on the deck.
2.) Mind your 16" OC... Else you'll need to add more studs just to hold your sheeting.
tongue.png

3.) OSB is extremely difficult to nail through. You'll be screwing it down, for sure.
4.) How ever many nails you think you'll need, buy an extra box. You'll need it.

I'll no doubt add more later once I complete this project and set up my page on it.
 
Hey DarkWolf, just gotta tell you how helpful your construction pix and comments are. We're in the same boat here, chicks in brooders in the dining room, table pushed up against the wall to make room, and our coop is in (slow) process. Ours is 8'x14', just the decking on. I have it all designed on paper to scale, roughly, but never built anything before and need to get the walls built and raised. So your pictures are the best! California corners, huh? (We have wind here!) And I was trying to figure out how to cut out the door openings so now I need a Roto...something or other. I'll bet my neighbor has one of those! Thanks so much for doing this! I bought some books about
framing, but what you're putting out here makes a lot more sense.
 
briana1975: You're right, it is alot of work. What I did not factor in was possible delays due to weather or health. Never know WHAT will happen, else this update SHOULD have been about the roof being sheeted.
tongue.png


Nostalchic: Glad you like...
wink.png
Not sure if I'm really that much more useful than those books, but I guess a picture does say a thousand words. Just remember, it's just a coop. So long as it's not going to collapse, it's fine.. So an extra 2x4 here and there to fix a flub is no biggy..
smile.png


Makes me wonder though about that age old question. Think it should be rephrased to "What came first, the chicken or the coop?"
big_smile.png
 
Last edited:
Took some time this evening after the wife got home to get the door set up. Ended up framing the door jamb out of 2x4's on the sides and a 3/4" stock at the top. I planned to use some rough sawn poplar, but the door was narrower than I'd thought it was so I just figured this would be easier.. And it was.

I need to run the belt sander down the side a bit and tack up the inner stops, but it's basically all done and works really well.

I'll post up some pictures later tomorrow.
 
Here's some pictures of the old door in place. I've got a broken window to replace in it, was my stupid fault several months back when I was moving stuff in the basement.. Oops..

IMG_2854.JPG


The door knob is an old one that uses a mortised latch. The latch mechanism is no longer in the door however, though I do have one around somewhere. I may make use of it, but I'd need to grind my own striker plate for it.

IMG_2855.JPG


You can see the door jamb clearly, made up of 2x4's on either side and the 3/4" stock at the top. I've got to loosen the right side up and shim it some, see that it's warped out in the center. No biggy.

IMG_2856.JPG


Swung wide open. I've got to put the bottom plate down and trim the door a tad to get the weather seal at the bottom. Also adding some metal flashing.

IMG_2857.JPG


I've got to clean up the hinges some and give them a lube job. Nothing major, just need to protect them from the elements.

IMG_2858.JPG


IMG_2859.JPG
 

New posts New threads Active threads

Back
Top Bottom