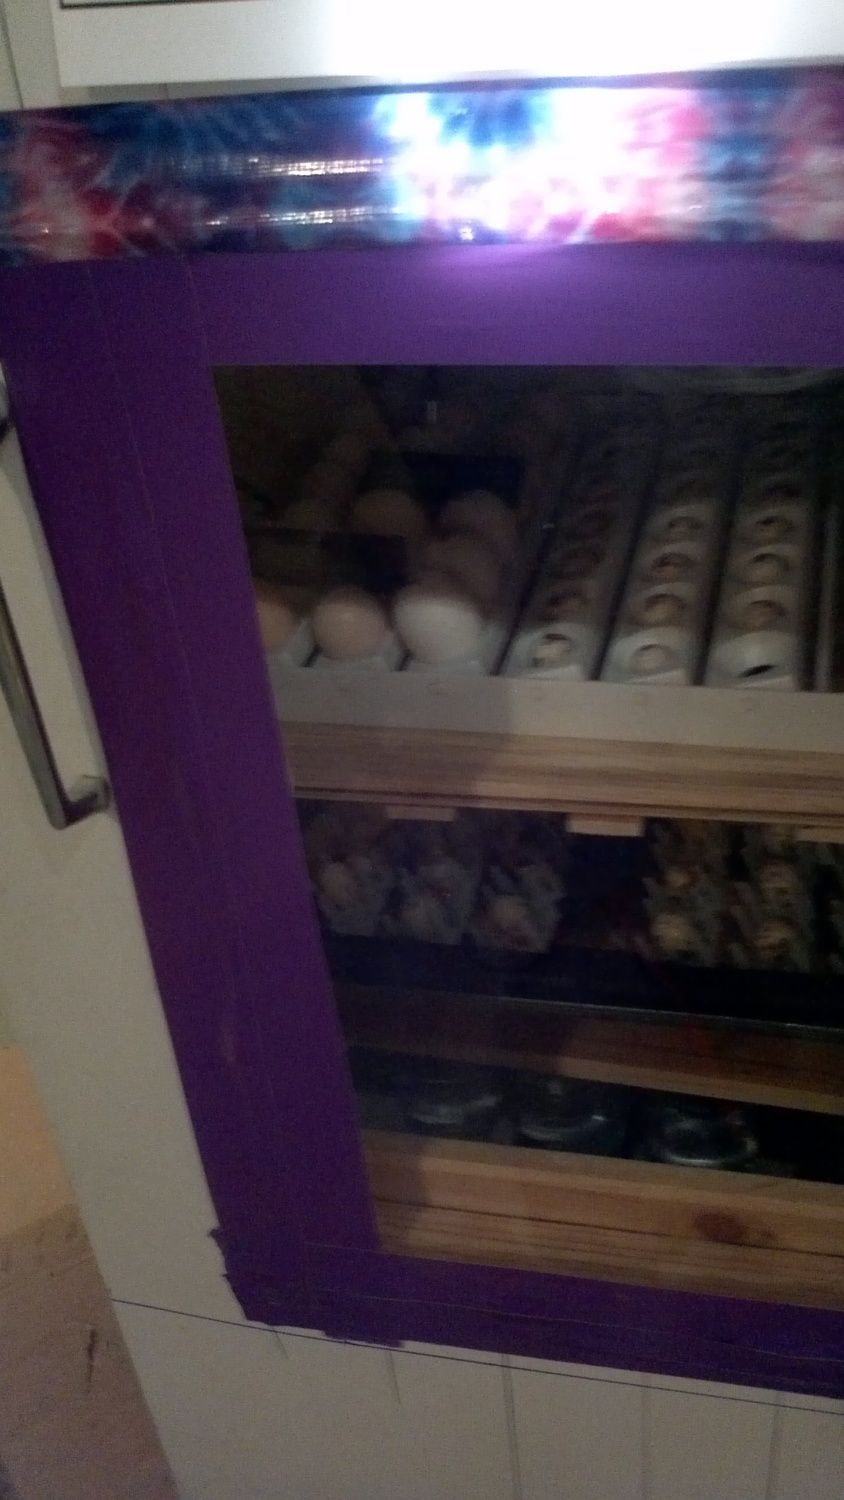
If you find you have too many holes & temp won't stay up you can always cover some with tape until you get temp stabilized where you want it. Always leave at least 1 hole in the top & 1 in the bottom open tho to maintain air circulation.


New posts New threads Active threads
-
Latest threads
-
-
 Bantams Cochins - Blue X Calico ?
- Started by fluffybuttnugs
- Replies: 1
-
 First Time Candling, I'm Not Sure If I did It Correctly
- Started by Ezana4CE
- Replies: 2
-
-
-
Threads with more replies in the last 15 days
-
 Some pages not loading and blaming it on ad blocker (don’t use)
- Started by ShrekDawg
- Replies: 77
-

-
 Fermented feed for chickens
- Started by BYC Project Manager
- Replies: 68
-
 Ended BYC Poultry Caption Contest 03-13-26 Pic by Paradisewife
- Started by TwoCrows
- Replies: 58
-

-