Well, I'm building this alone for the most part, so it's very slow going. Also I can generally only build during the baby's nap once a day...VERY slow going!

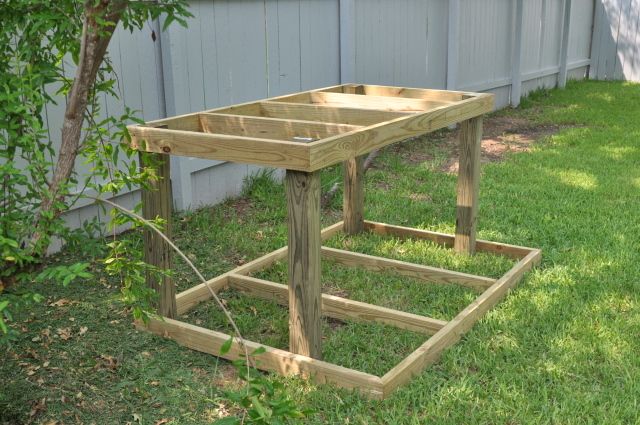
The coop will be above and the run below. Coop is 6ft x 3ft, front is at least 4 ft tall and back is at least 3 ft tall - I don't have a roof yet so final measurements will come eventually! The run below is 6 ft x 4ft. and 3ft tall minus height lost to 2x4 framing etc.
*By the way none of these are consecutive days as some days I can't do anything - some days I only had time to run out for screws / 2x4s etc*
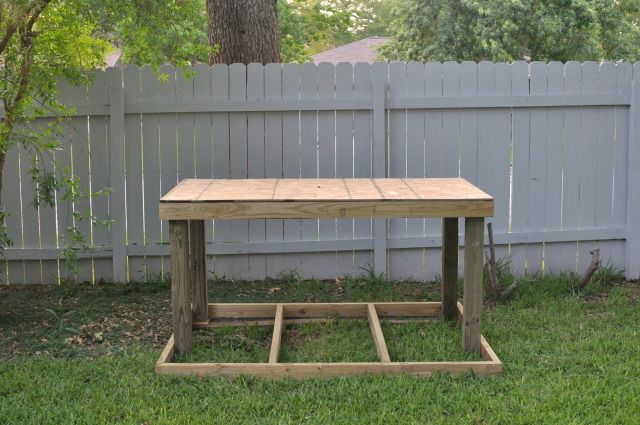
Frame for coop floor - NOT secured to the OSB.
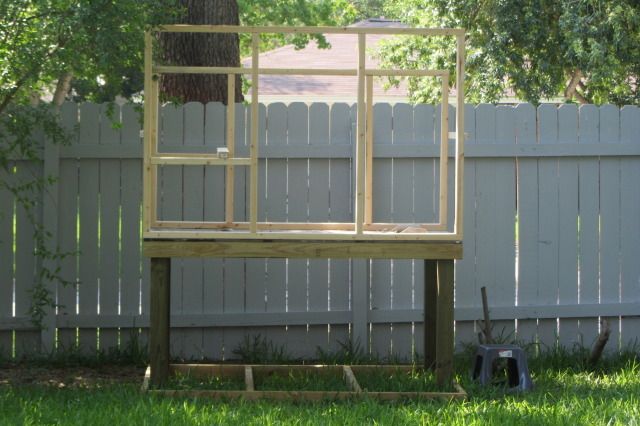
This day I had hubby's help to hold while I did the cutting and building (it really is more my thing than his
)
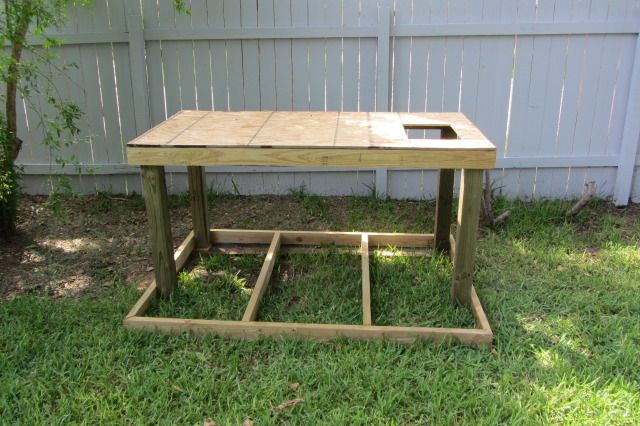
Got a jigsaw! Hello pop door opening!
The ladder will go half way down toward the back and then go down to the left to the coop floor. So basically a 2 stage ladder.
And I need to update pics from adding the sheet vinyl for the floor and starting on the wall frames.
This has taken me almost a month
I am definitely at the point where I am feeling like I will never get done and get my ladies. I am overwhelmed, worried about the costs, and feeling like I've made this way too complicated for my own good...
Will I ever get done and get my ladies?
I know that my coop will be more spacious, stronger, more likely to survive a move (be it being sold or moved with us), and more predator proof than the little expensive ones in the feed store...and so I am just repeating that to myself over and over again to keep myself going.

The coop will be above and the run below. Coop is 6ft x 3ft, front is at least 4 ft tall and back is at least 3 ft tall - I don't have a roof yet so final measurements will come eventually! The run below is 6 ft x 4ft. and 3ft tall minus height lost to 2x4 framing etc.
*By the way none of these are consecutive days as some days I can't do anything - some days I only had time to run out for screws / 2x4s etc*

Frame for coop floor - NOT secured to the OSB.
This day I had hubby's help to hold while I did the cutting and building (it really is more my thing than his

Got a jigsaw! Hello pop door opening!

The ladder will go half way down toward the back and then go down to the left to the coop floor. So basically a 2 stage ladder.
And I need to update pics from adding the sheet vinyl for the floor and starting on the wall frames.
This has taken me almost a month

I am definitely at the point where I am feeling like I will never get done and get my ladies. I am overwhelmed, worried about the costs, and feeling like I've made this way too complicated for my own good...
Will I ever get done and get my ladies?

I know that my coop will be more spacious, stronger, more likely to survive a move (be it being sold or moved with us), and more predator proof than the little expensive ones in the feed store...and so I am just repeating that to myself over and over again to keep myself going.


") You will get it done. Mine took me about a month but I already had chicks so there was an incentive for me to finish and get them out of my house!
You will get it done. Mine took me about a month but I already had chicks so there was an incentive for me to finish and get them out of my house!