Not the best or intricate design, but I plodded my way through building a nest box (four boxes actually). I searched for a "how to" and couldn't find a easy to follow writeup, so I figured I would post how I did mine.
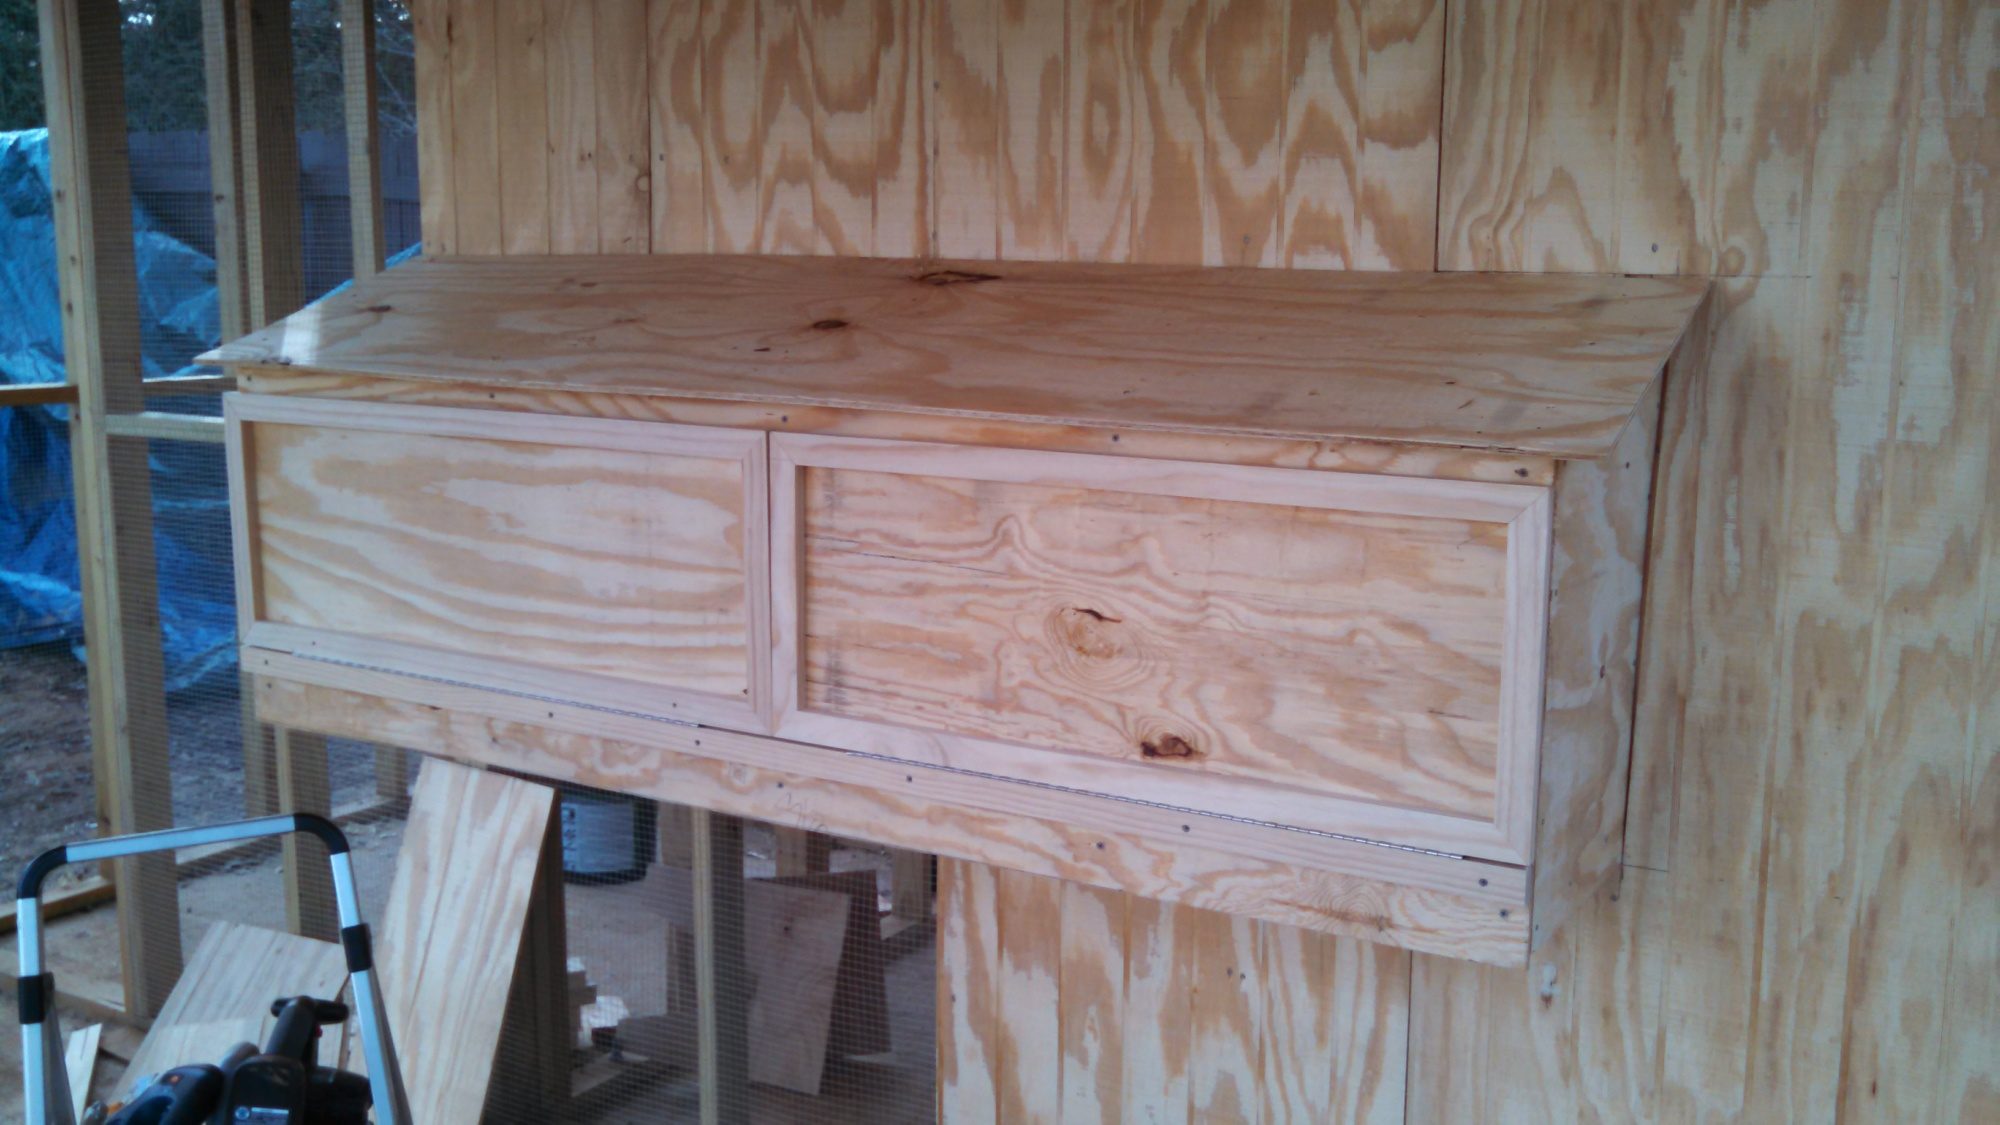
Here's the semi-finished product, minus shingles:
I used the good premium 1x2's and just the prime 2x4's, and the cheap sheating plywood.
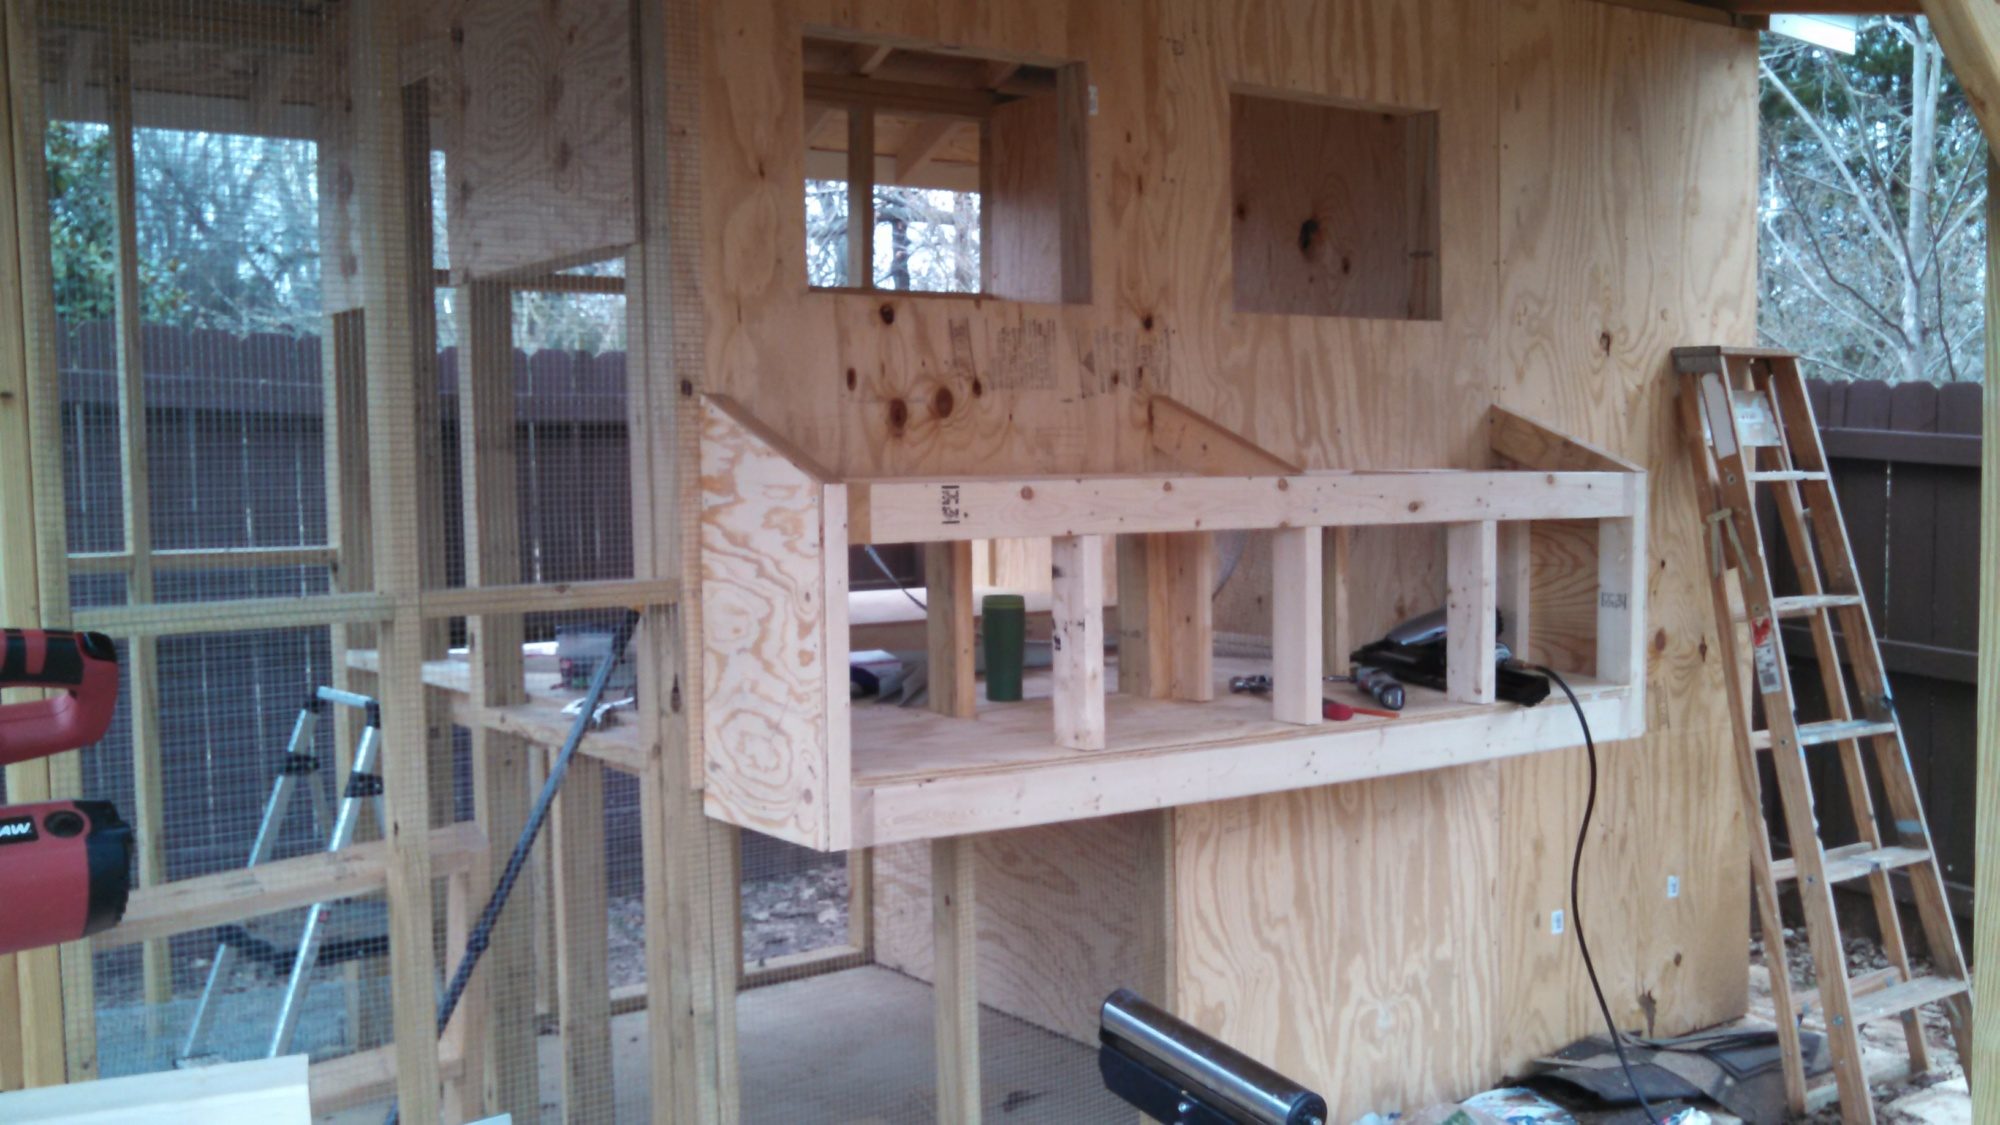
I started by building the coop wall to have openings for four nest boxes and only floored to the edge of the stud wall (nest boxes are on the right):

I then built two 2x4 "boxes" for the top and bottom. Line the long 2x4s against the coop and mark the dividing uprights. 2x2 or 1x2 would also work. The strength in the structure comes from the plywood sides and partitions (search cabinet DIY on google for some other examples). I then took the boxes and laid them on top of plywood and marked the plywood for cutting, to include the hangover that will sit on the stud opening.

Mount the top and bottom "boxes" to the coop with nails or screws. Set in the cut plywood floor. Nail or screw four end pieces. Note the space between these end pieces on the top and bottom. I cut pieces of 2x4 to fill these spaces on the bottom.

Next, cut some 2x4s with angles on the end. I used a roofing square to cut 5/12 pitch angles on the end. I then did a birds mouth cut to sit flush on the top of the top "box". It sounds complicated, but a little google research and $5 for a roofing square will get you there. I then cut rectangles for the end, a little oversized. I placed them against the end of the box and traced the angle and cut it out.
Next, I added plywood strips above and below the openings and on the ends. Leave room for your trim to overhang, for a draft free door. Then mount a 1x2" piece across the bottom, matching the bottom plywood. A 1x4" would have worked better on the bottom to match the width of the 2x4. More on the door in a second.
Plywood on top, bottom and on the right.
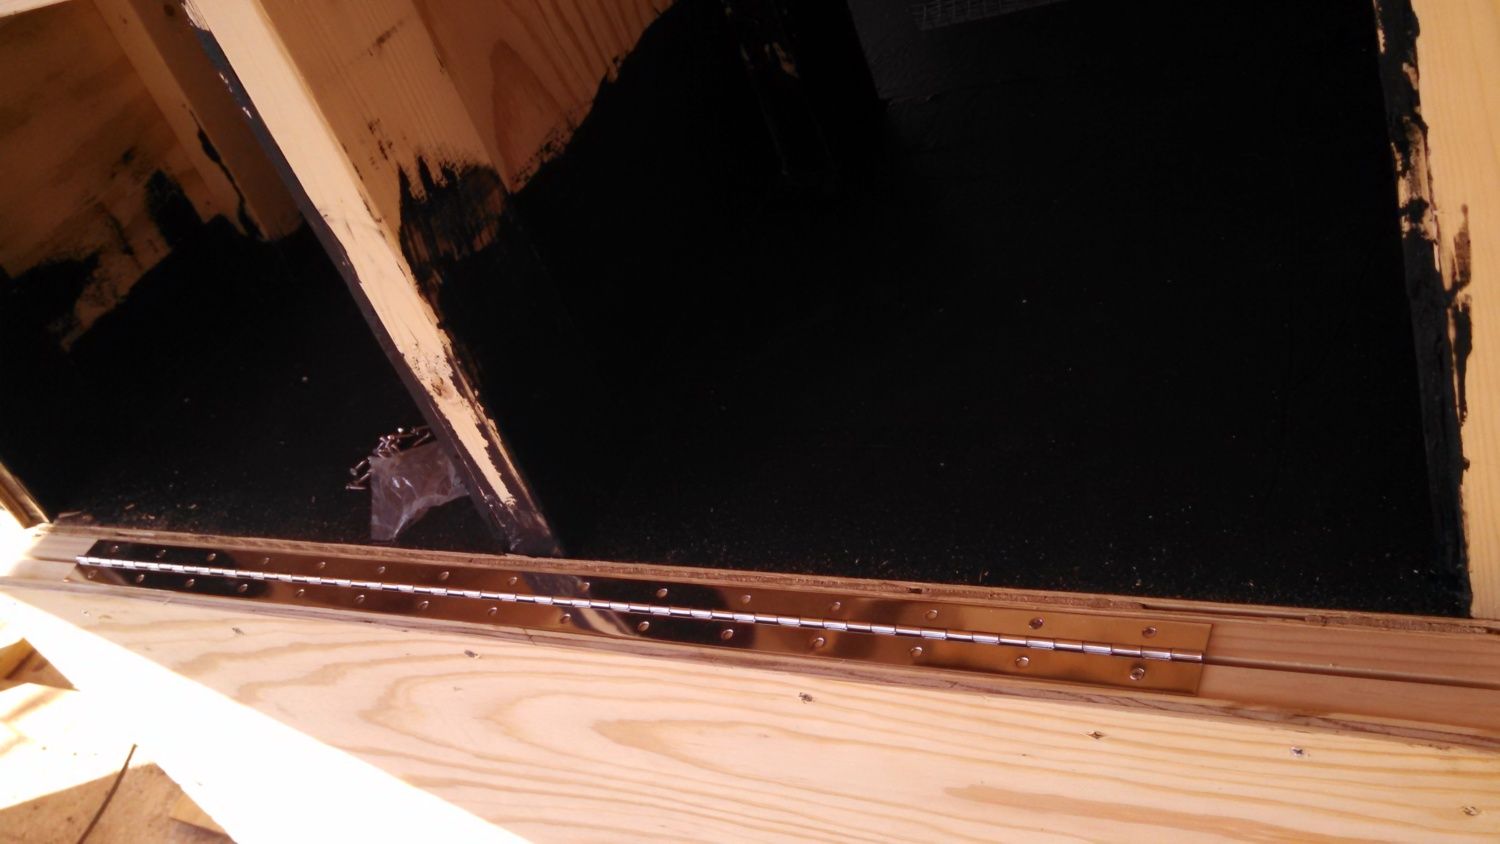
Here are the two hinges I used:

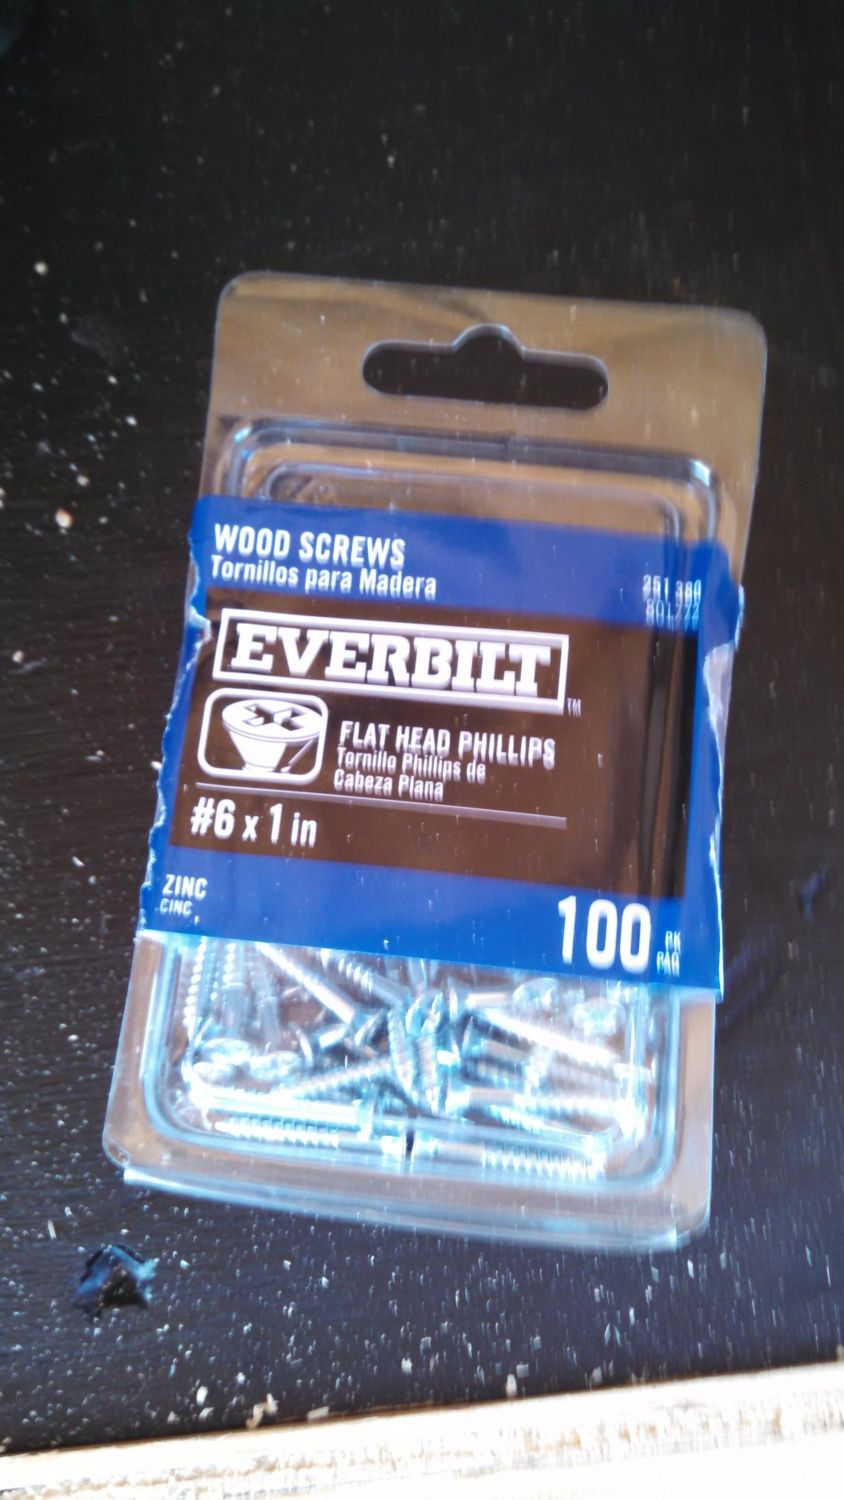
You'll need these screws to attach the plywood to the trim from the backside. I used the cheap plywood sheating (about $15 per piece).
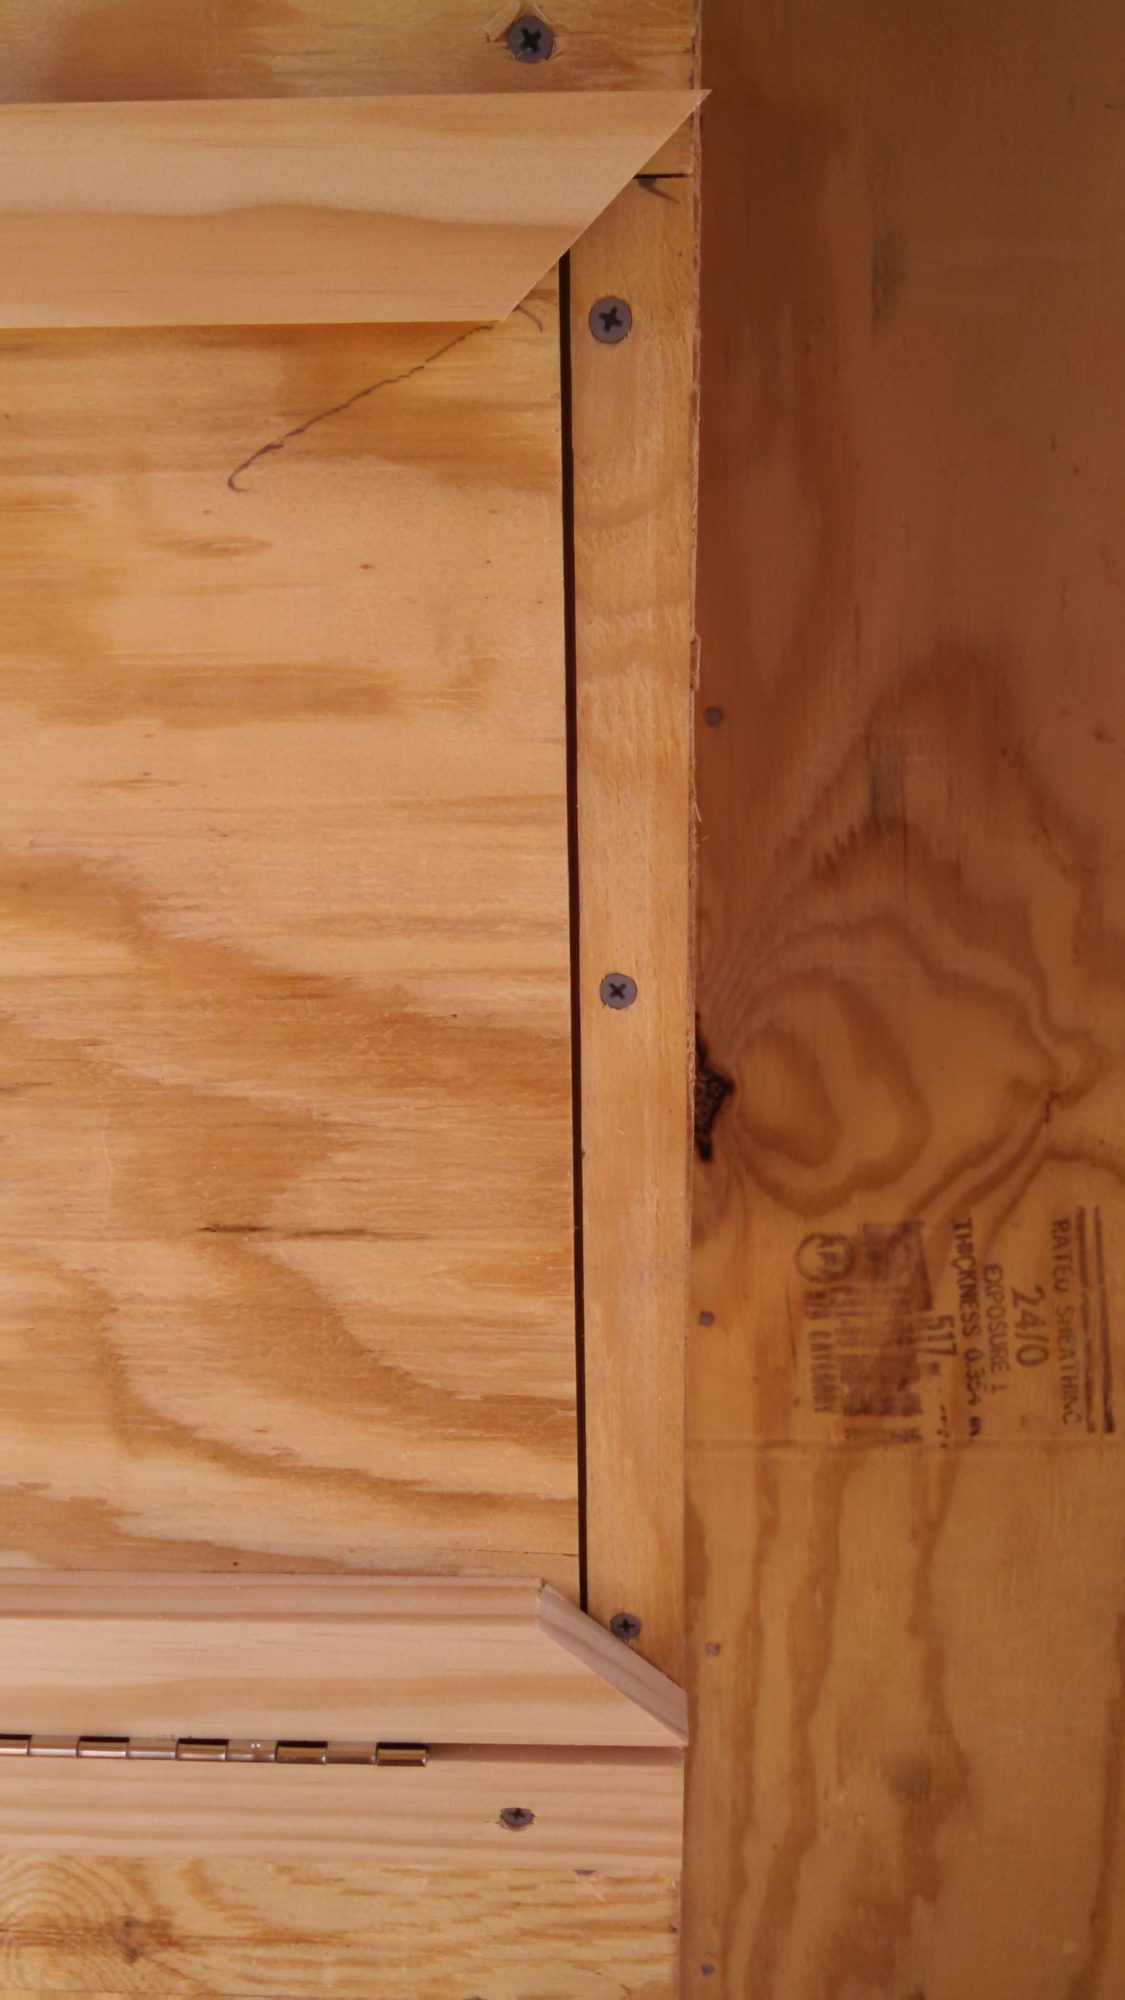
When you mount the hinge, mount it to the coop piece of 1x2 first, but don't mount it flush against the inside. Open the hinge all the way to see the space you need to leave. I did two - three screws first for testing, in case I had to redo. You'll need to leave space on the door side piece as well (see picture).
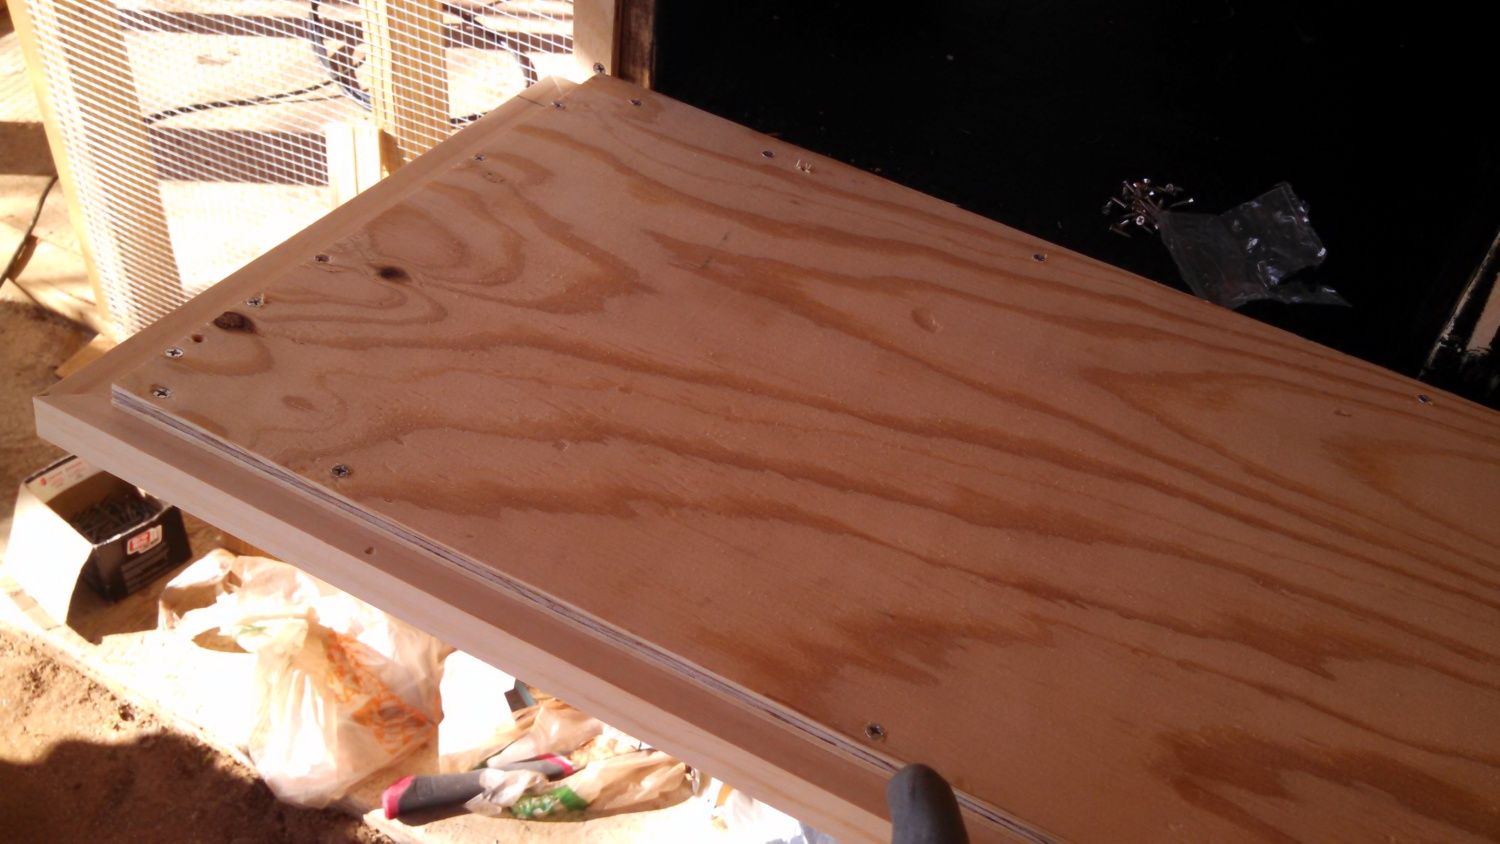
Once you have the bottom done, cut the top trim piece and mount with the hangover desired, using the 1" screws. Then go back and measure and cut the sides. Try to get the top piece level.
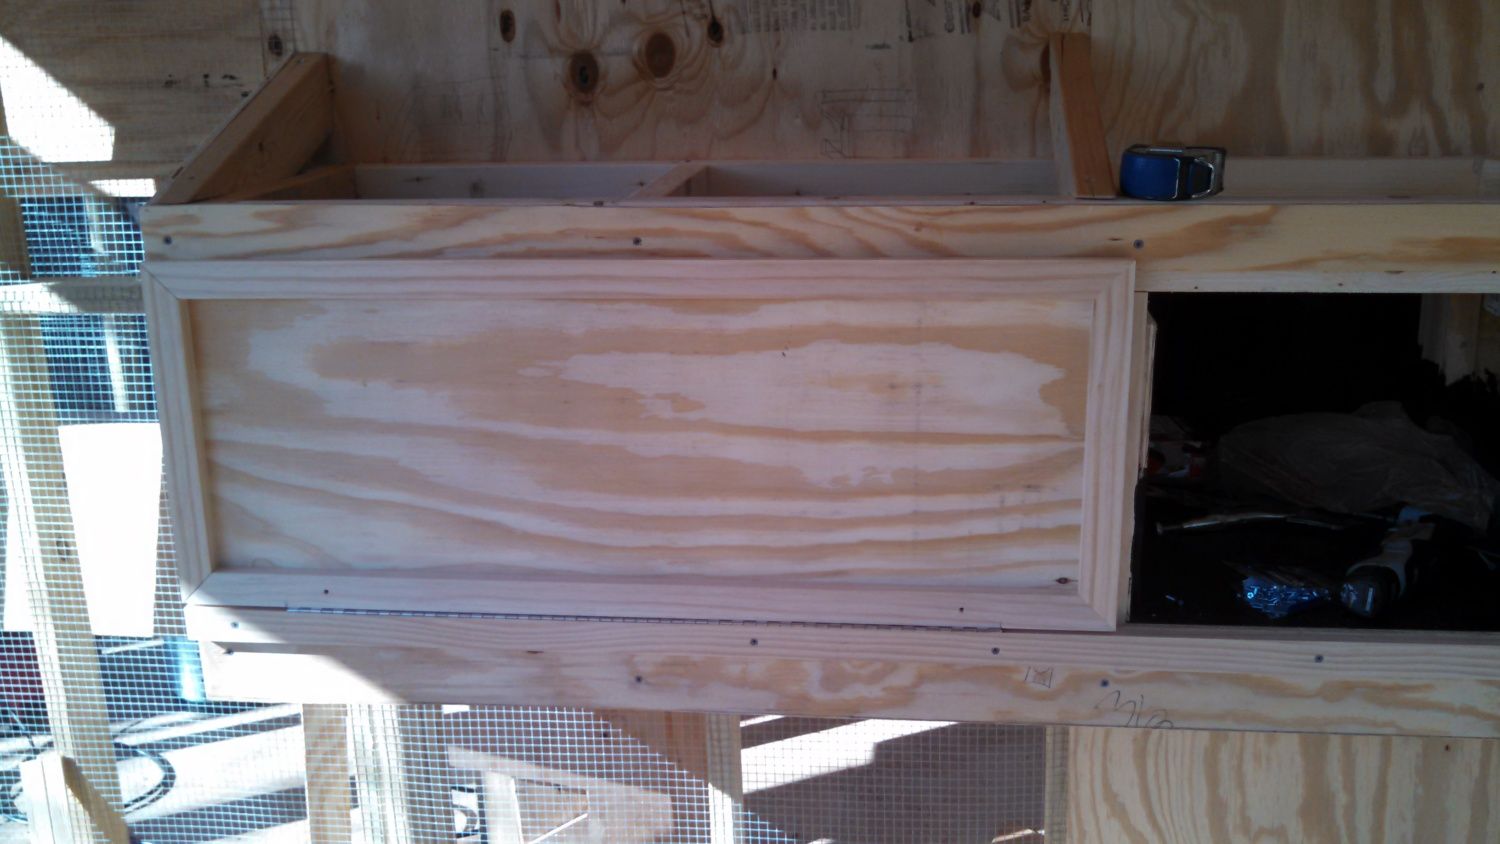
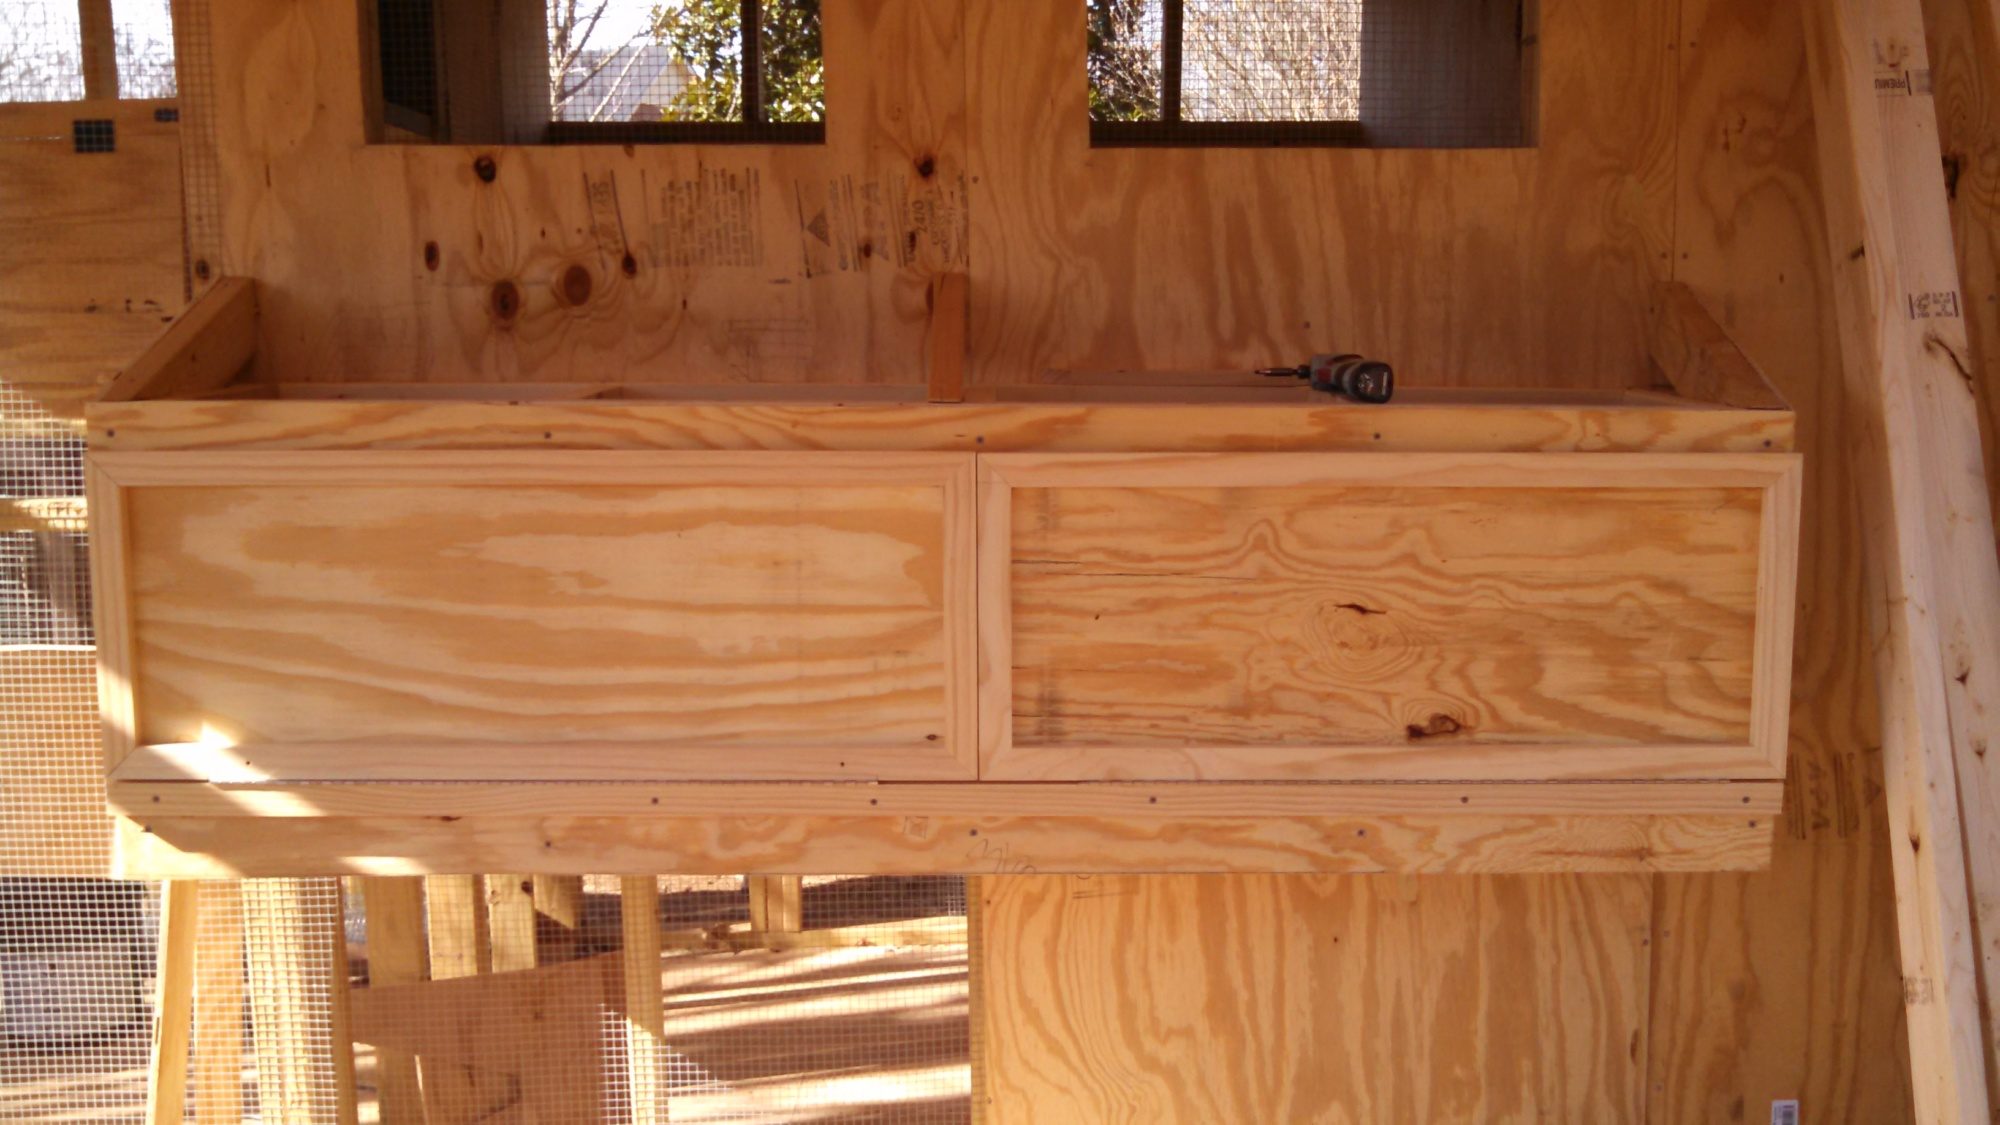
Both boxes done, minus the top.
Cut the top with a 1" to 1.5" hangover and nail to the boxes. I wish I would have put 2x4's between the roof rafters, so I would have had a good surface to nail the roof into. I will add a top stringer where the roof and coop meet later, to make this a little more secure.
Close in the bottom and figure out some latches (that's what I have left
 ).
).
Hope this helps someone in the future, and I will add updates, if I run into any issues. Open to critiques and feedback as well.
Here's the semi-finished product, minus shingles:
I used the good premium 1x2's and just the prime 2x4's, and the cheap sheating plywood.
I started by building the coop wall to have openings for four nest boxes and only floored to the edge of the stud wall (nest boxes are on the right):
I then built two 2x4 "boxes" for the top and bottom. Line the long 2x4s against the coop and mark the dividing uprights. 2x2 or 1x2 would also work. The strength in the structure comes from the plywood sides and partitions (search cabinet DIY on google for some other examples). I then took the boxes and laid them on top of plywood and marked the plywood for cutting, to include the hangover that will sit on the stud opening.
Mount the top and bottom "boxes" to the coop with nails or screws. Set in the cut plywood floor. Nail or screw four end pieces. Note the space between these end pieces on the top and bottom. I cut pieces of 2x4 to fill these spaces on the bottom.
Next, cut some 2x4s with angles on the end. I used a roofing square to cut 5/12 pitch angles on the end. I then did a birds mouth cut to sit flush on the top of the top "box". It sounds complicated, but a little google research and $5 for a roofing square will get you there. I then cut rectangles for the end, a little oversized. I placed them against the end of the box and traced the angle and cut it out.
Next, I added plywood strips above and below the openings and on the ends. Leave room for your trim to overhang, for a draft free door. Then mount a 1x2" piece across the bottom, matching the bottom plywood. A 1x4" would have worked better on the bottom to match the width of the 2x4. More on the door in a second.
Plywood on top, bottom and on the right.
Here are the two hinges I used:
You'll need these screws to attach the plywood to the trim from the backside. I used the cheap plywood sheating (about $15 per piece).
When you mount the hinge, mount it to the coop piece of 1x2 first, but don't mount it flush against the inside. Open the hinge all the way to see the space you need to leave. I did two - three screws first for testing, in case I had to redo. You'll need to leave space on the door side piece as well (see picture).
Once you have the bottom done, cut the top trim piece and mount with the hangover desired, using the 1" screws. Then go back and measure and cut the sides. Try to get the top piece level.
Both boxes done, minus the top.
Cut the top with a 1" to 1.5" hangover and nail to the boxes. I wish I would have put 2x4's between the roof rafters, so I would have had a good surface to nail the roof into. I will add a top stringer where the roof and coop meet later, to make this a little more secure.
Close in the bottom and figure out some latches (that's what I have left
Hope this helps someone in the future, and I will add updates, if I run into any issues. Open to critiques and feedback as well.

