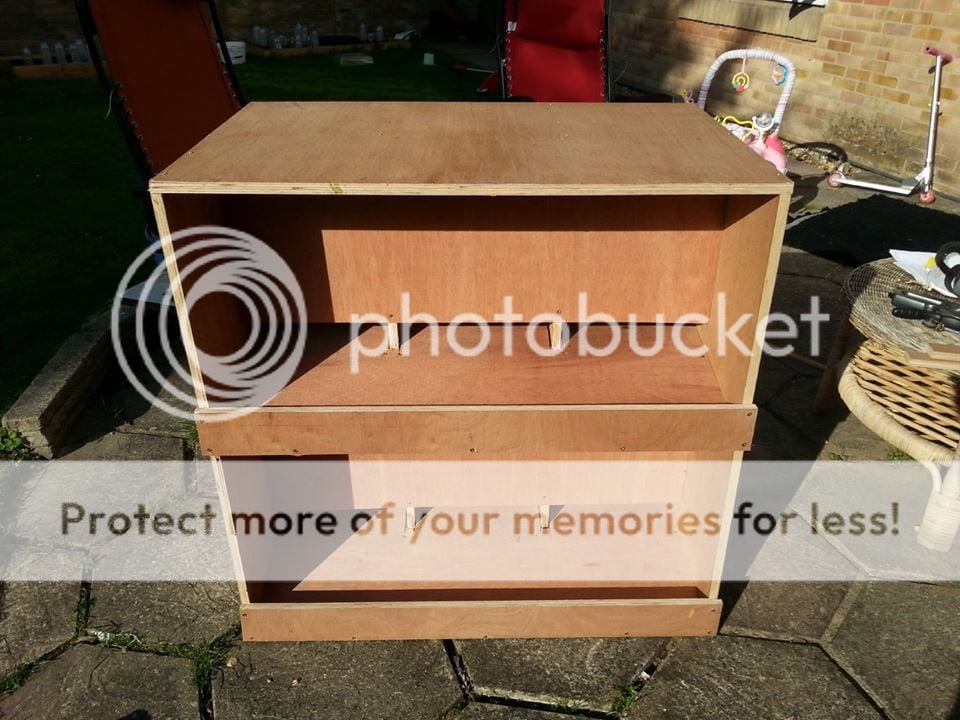
Cheers! This plan was simple and easy to build! I butted this box against the side of my converted shed and cut in an access door so I can just lift the door and pull eggs out without even entering the run. Used 18mm (3/4" plywood) as stated in the instructions and this thing is VERY heavy when completed. I had to carry it a decent bit to get it to the coop and I was wishing I had put it together inside the shed instead!
I may need to shave some more material off the rear dividers, after adding the nest pads I don't think I have enough clearance for larger eggs to roll through.
Thanks again Opa!


 Central Alabama winter advice

 Scabs on beaks growing over nostril


 Recomendations on how to keep chicks from kicking feed all over the brooder?