- Feb 26, 2012
- 123
- 3
- 91
The title of the thread likely says it all

I have never incubated eggs of any kind, nor have I ever owned chickens, but I can't wait! What a fun learning experience this will be!
Here are the details:
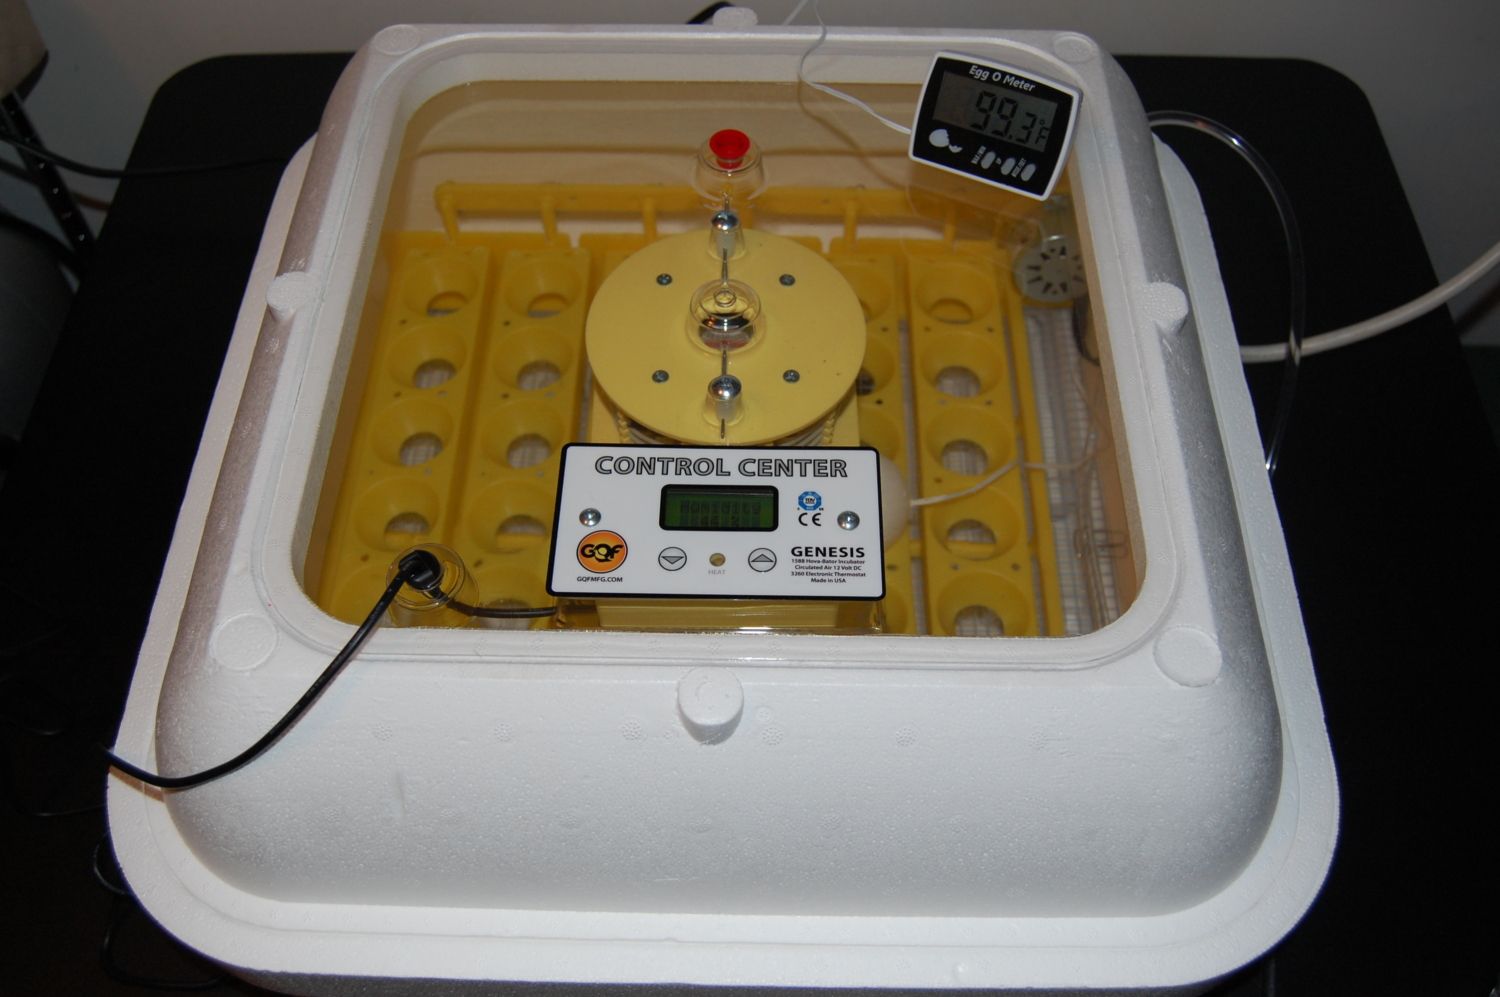
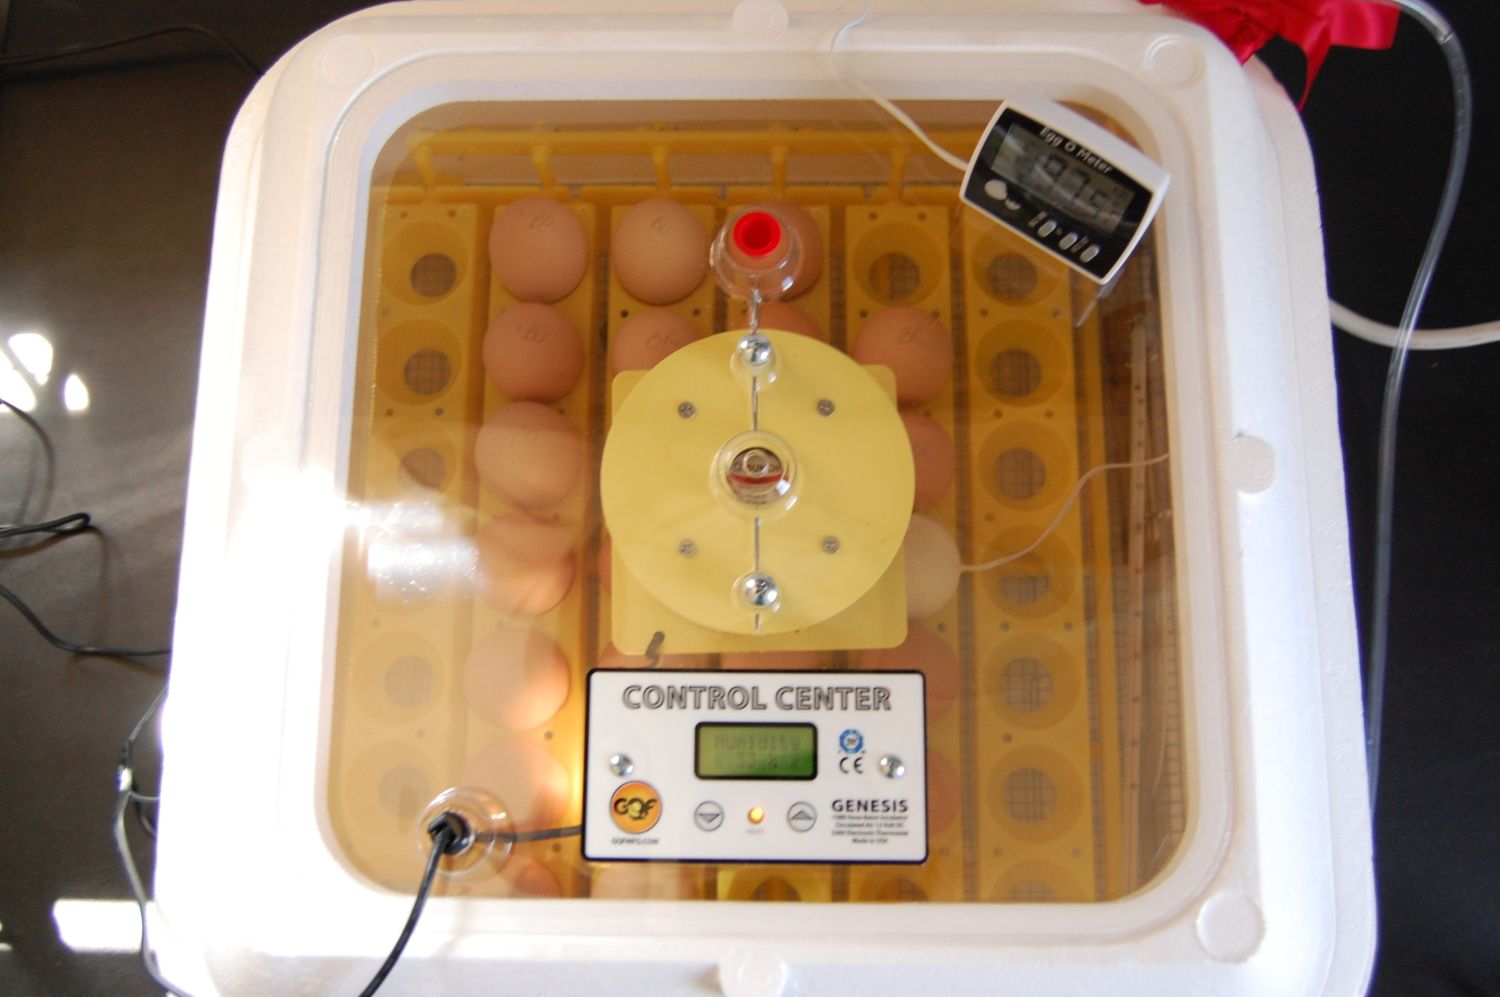
I am using a Hova-Bator Genesis 1588 with built in digital thermostat, thermometer and hygrometer and I have added an automatic turner.
I also added an Egg O Meter (supposedly estimates internal egg temperature) with min/max memory and a glass candy thermometer to the incubator for comparison and peace of mind. I am also using a pretty accurate meat thermometer (although I don't want to babies to get the wrong idea about this
) for spot checks through the vent hole in the top.
In addition to this, I ran a length of vinyl tubing in through the notch in the side and down into the #1 water trough so I can tweak the humidity without opening the lid.
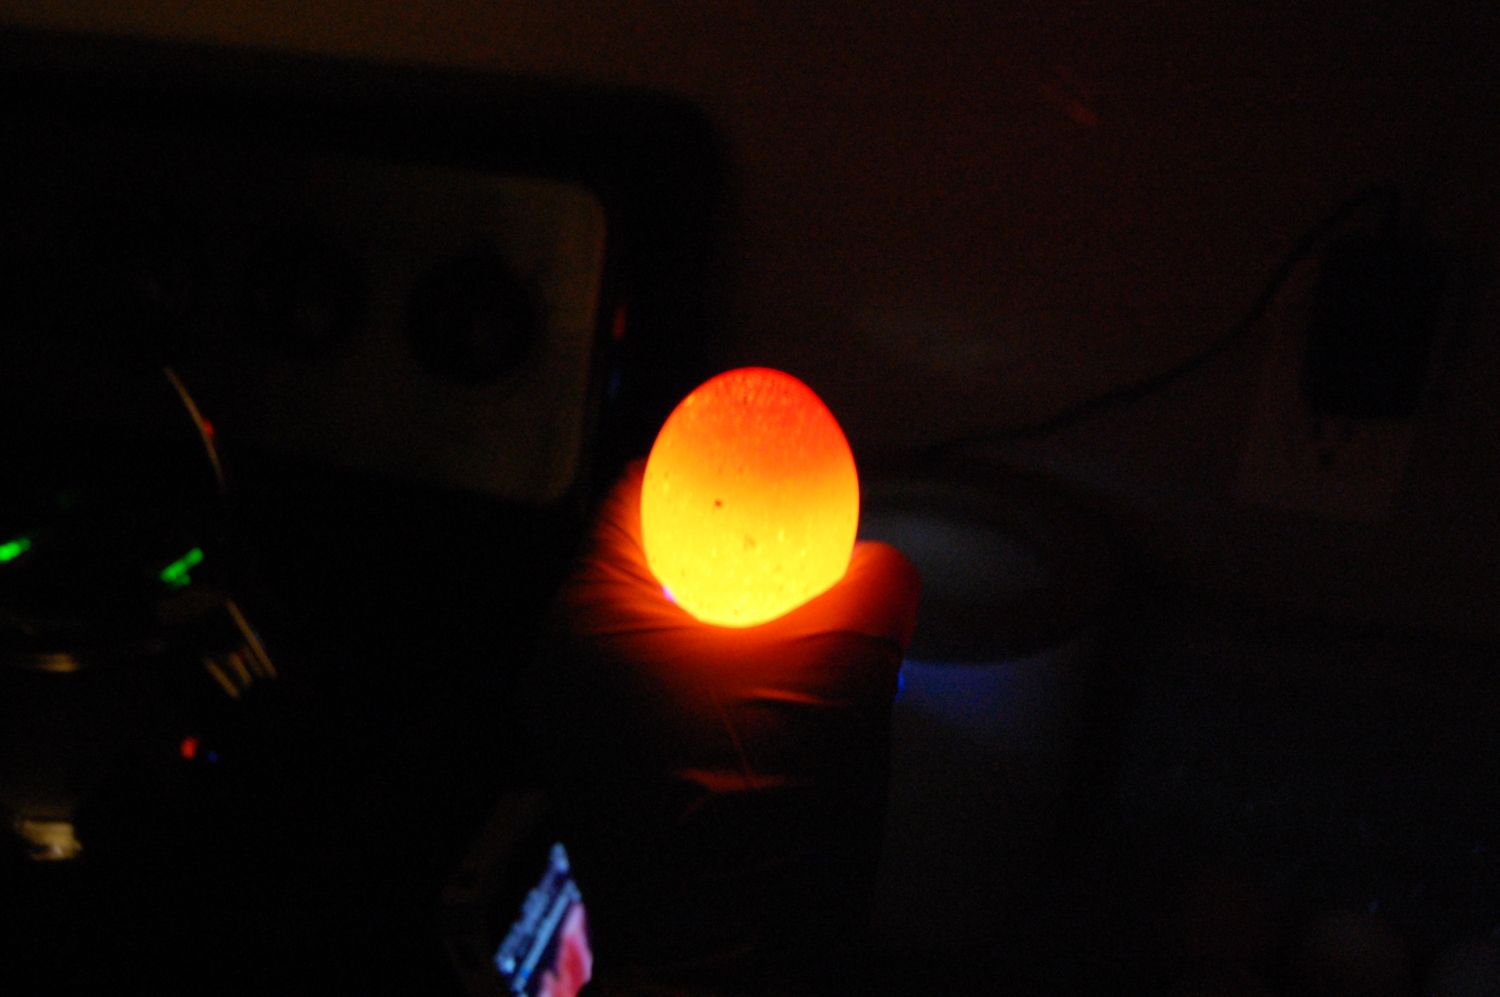
I am wearing nitrile (powder less, latex free) medical exam gloves any time I handle the eggs to be super careful not to introduce bacteria or clog any of the pores in the shell!
\
I picked up my precious cargo from the Post Office yesterday morning! My DF was laughing at me the whole way there and especially as I was fidgeting while we were waiting at the desk. I felt like a small child going to see Santa at the North Pole! The postal worker was so nice, he handed me the box and said..."What are they?"... in a really curious, hushed voice. I proudly replied "They're chicken eggs for hatching!" and everyone seemed to get a real kick out of that.
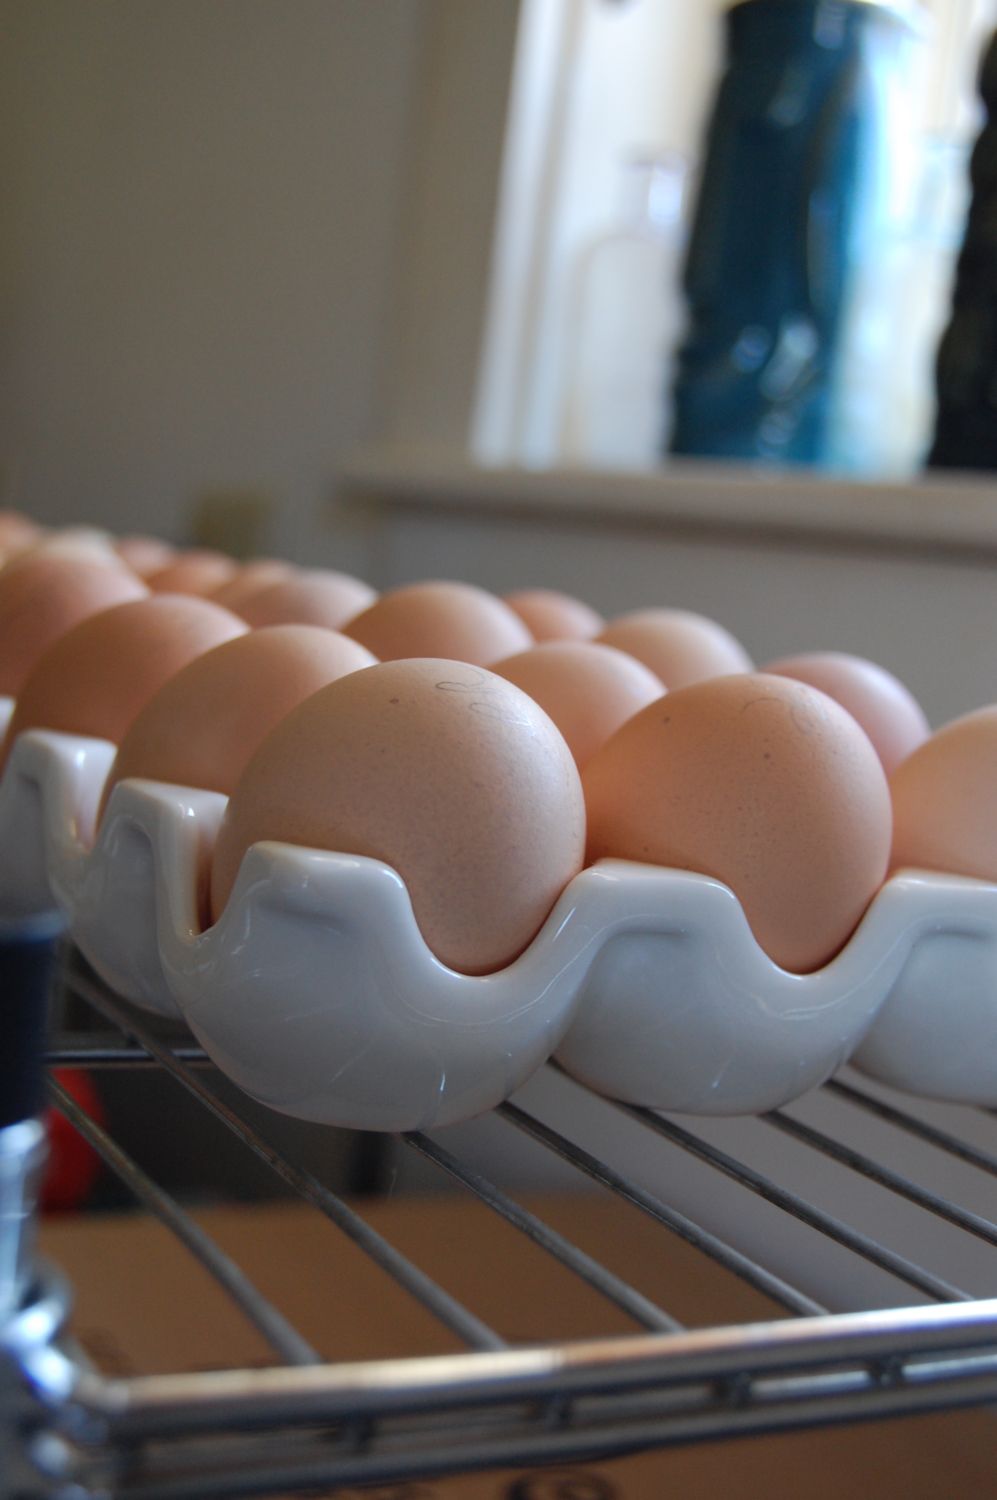
I immediately set them large end up in clean egg cartons to settle at room temperature. Unfortunately, we live in a very old house and have recently had our weather take a turn for the colder, so room temperature for us has been anywhere from 60-68 degrees Fahrenheit. I had them settling there for about 24 hours.
Oh and the most important part of all! I ordered 12 Buff Orpingtons (this was a last minute deviation from my original plan), 6 New Hampshires (I live here I need this breed!) and 6 Plymouth Barred Rocks. I have heard the term "chicken math" around the forums quite a bit and thought it may have referred to what I did while deciding what to order.... "Ok, 50% at best hatch rate for shipped eggs, which means if all goes well 12 may hatch and half of those will likely be roosters and the other half pullets if I am lucky and don't get all roos, so I think I might get 6 laying hens!" lol I felt like I was back in high school math class mashing the buttons on my TI-85 graphing calculator!
Math was never my strong suit.
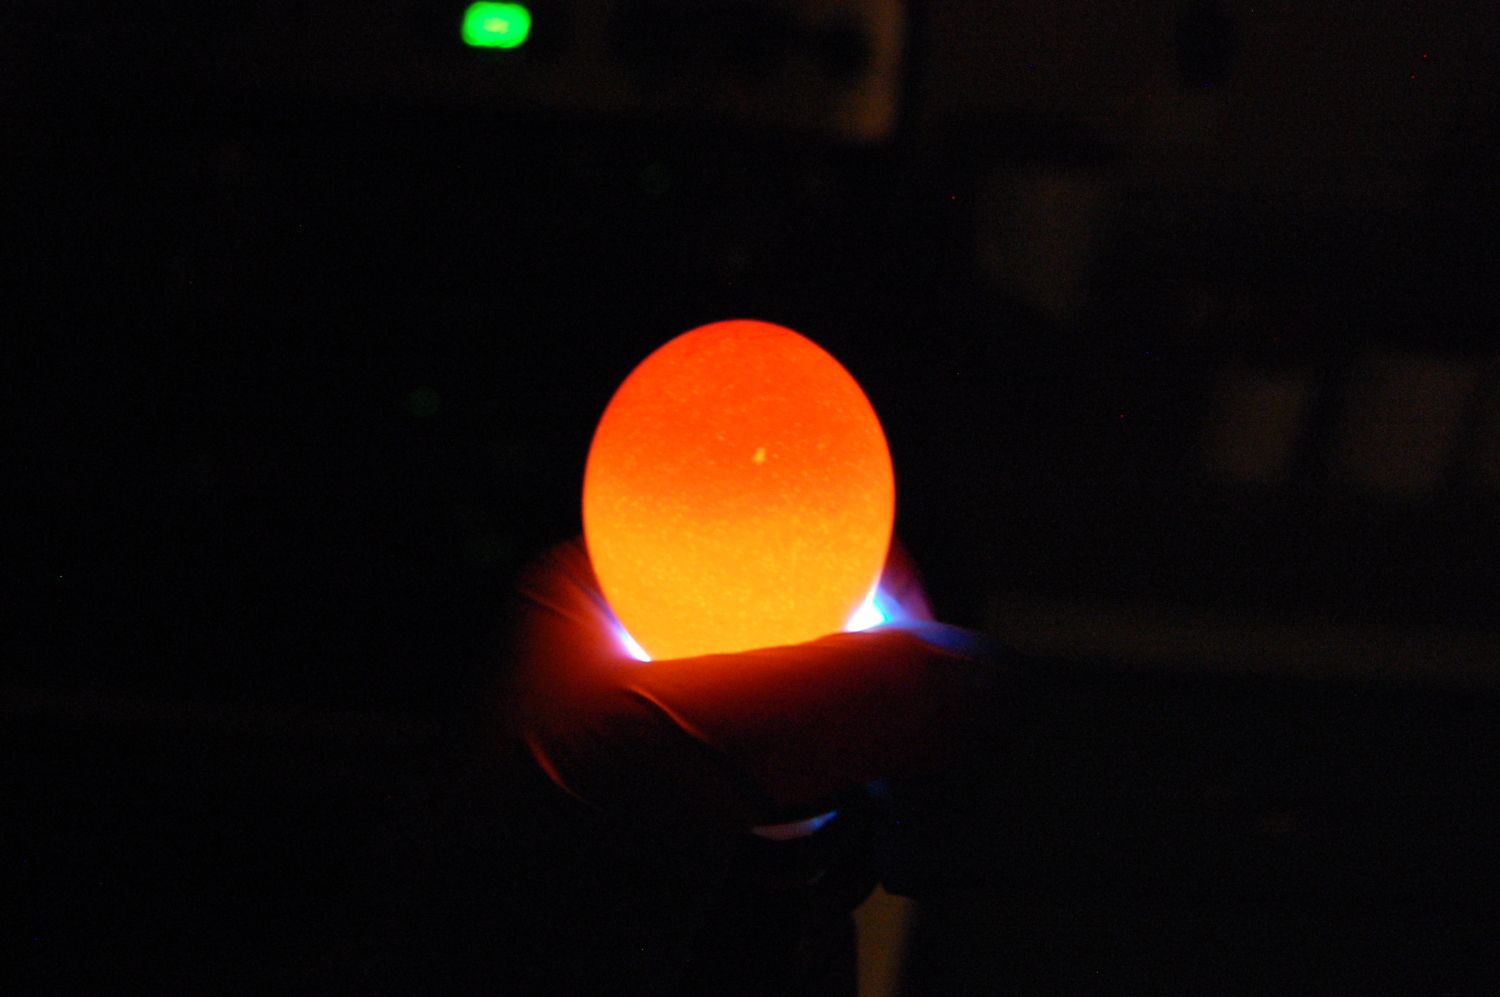
I attempted candling the eggs, although I admit my set up for this is somewhat less than ideal. I tried with a strong LED flashlight as well as with a cardboard box and a spot light combo. I thought I was able to to identify intact air bubbles in most of them and some free floating smaller bubbles in a few. My hope is that by going with the longer end of the settling time range (the majority of what I have read states 12-24 hours) that I gave those bitty bubbles a chance to regroup at the top. I have also decided to delay starting the automatic turner until ~18-20 hours after starting incubation with the same thought in mind. My only real concern is that a good portion of the Orpington eggs looked like they were quite porous! Any input anyone has about this would be immensely helpful! These are not the best candling pictures as I was too excited to go set up my tripod first.
So after all this, I set the eggs in the incubator around 12:45 pm today!! The humidity dipped to ~26%, the incubator dipped to around 96 degrees and the Egg O Meter went as low as 94.2 degrees! The humidity stabilized at around 48% almost immediately with only a 4 ml addition of water in order to make up for the losses incurred while adding the eggs. The incubator's digital thermometer has stabilized at around 100 degrees (reading at the top), my glass thermometer at the level of the eggs is reading 99.5 degrees and a spot check with the (meat) thermometer in between the eggs read out at just under 100 degrees! The Egg O Meter is reading 99.9 degrees for the estimated internal egg temperature. I am holding my breath hoping these numbers hold when the sun goes down and the room cools off!
I am using a space heater as needed to keep the mud room at stable-ish temperatures.
Well, I think that is everything I have for details so far, but like I said this is all new to me. Anyone with advice or helpful tips, please send them my way. I need all the help I can get to make it to hatch day with the peeps safe and sound! If anyone has questions about my set-up or if I forgot any major details, please let me know.
Thank you to everyone who has posted helpful information for us newbies on the forums! I wouldn't have had the courage to start this project without you! Join me if you would like to be hatch buddies!

I have never incubated eggs of any kind, nor have I ever owned chickens, but I can't wait! What a fun learning experience this will be!
Here are the details:
I am using a Hova-Bator Genesis 1588 with built in digital thermostat, thermometer and hygrometer and I have added an automatic turner.
I also added an Egg O Meter (supposedly estimates internal egg temperature) with min/max memory and a glass candy thermometer to the incubator for comparison and peace of mind. I am also using a pretty accurate meat thermometer (although I don't want to babies to get the wrong idea about this

In addition to this, I ran a length of vinyl tubing in through the notch in the side and down into the #1 water trough so I can tweak the humidity without opening the lid.
I am wearing nitrile (powder less, latex free) medical exam gloves any time I handle the eggs to be super careful not to introduce bacteria or clog any of the pores in the shell!
 \
\I picked up my precious cargo from the Post Office yesterday morning! My DF was laughing at me the whole way there and especially as I was fidgeting while we were waiting at the desk. I felt like a small child going to see Santa at the North Pole! The postal worker was so nice, he handed me the box and said..."What are they?"... in a really curious, hushed voice. I proudly replied "They're chicken eggs for hatching!" and everyone seemed to get a real kick out of that.
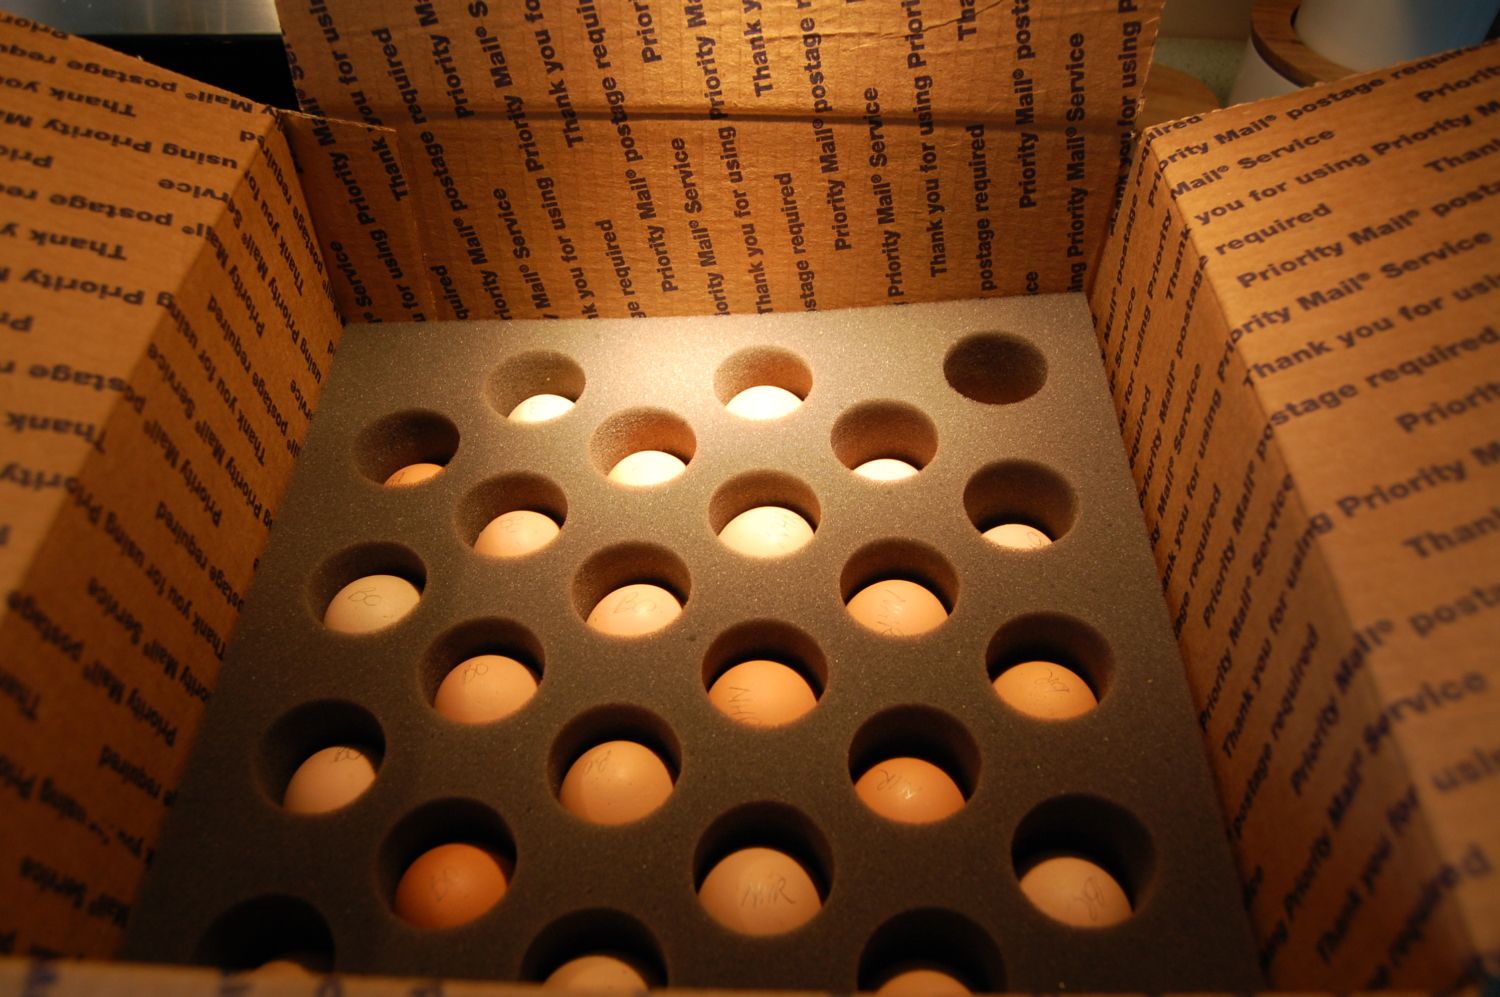
I immediately set them large end up in clean egg cartons to settle at room temperature. Unfortunately, we live in a very old house and have recently had our weather take a turn for the colder, so room temperature for us has been anywhere from 60-68 degrees Fahrenheit. I had them settling there for about 24 hours.
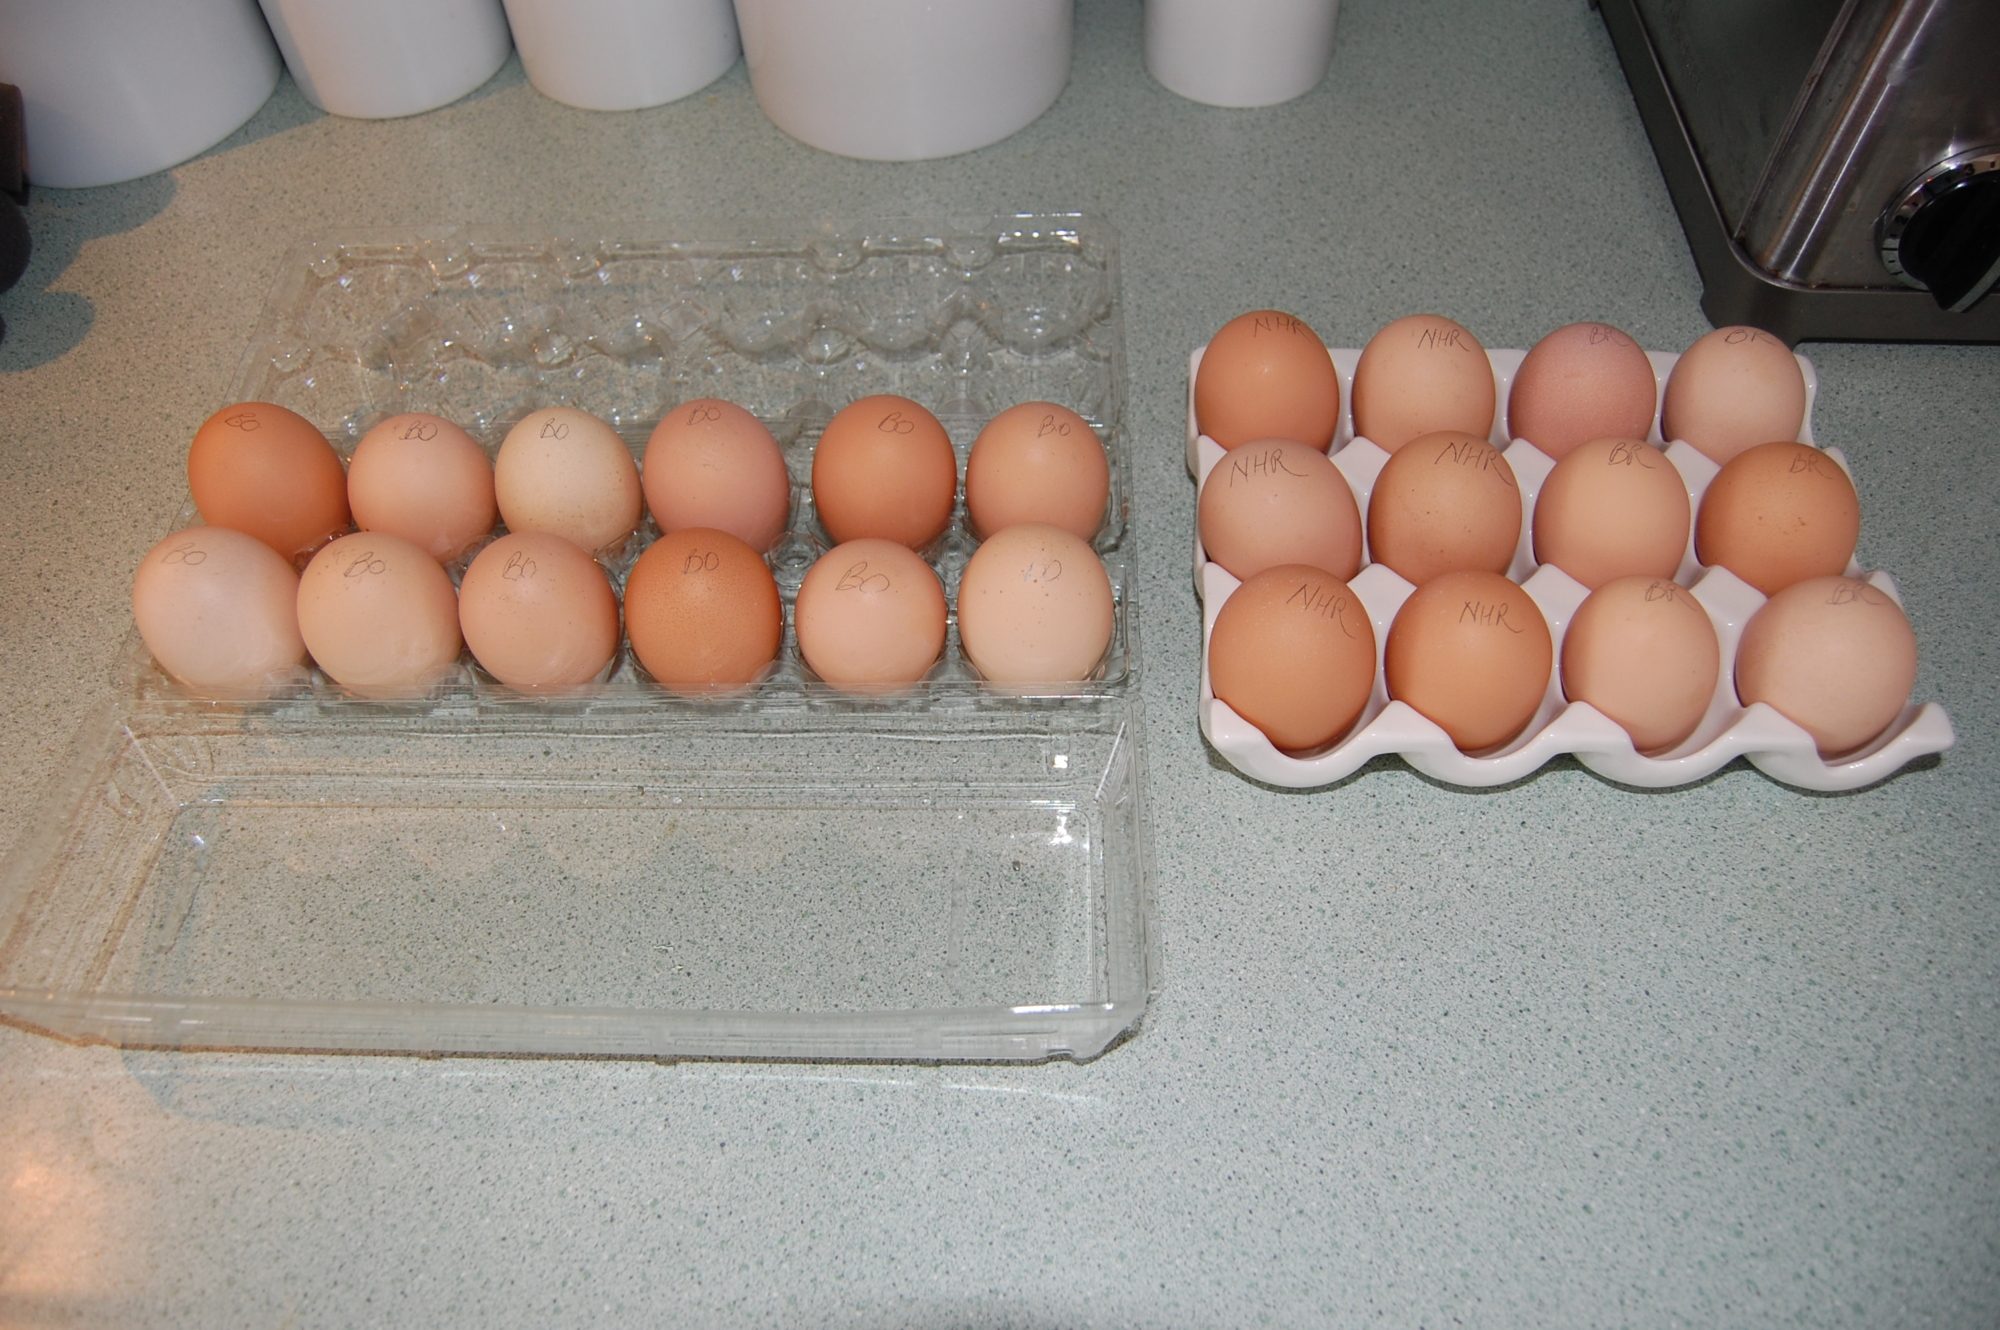
Oh and the most important part of all! I ordered 12 Buff Orpingtons (this was a last minute deviation from my original plan), 6 New Hampshires (I live here I need this breed!) and 6 Plymouth Barred Rocks. I have heard the term "chicken math" around the forums quite a bit and thought it may have referred to what I did while deciding what to order.... "Ok, 50% at best hatch rate for shipped eggs, which means if all goes well 12 may hatch and half of those will likely be roosters and the other half pullets if I am lucky and don't get all roos, so I think I might get 6 laying hens!" lol I felt like I was back in high school math class mashing the buttons on my TI-85 graphing calculator!

I attempted candling the eggs, although I admit my set up for this is somewhat less than ideal. I tried with a strong LED flashlight as well as with a cardboard box and a spot light combo. I thought I was able to to identify intact air bubbles in most of them and some free floating smaller bubbles in a few. My hope is that by going with the longer end of the settling time range (the majority of what I have read states 12-24 hours) that I gave those bitty bubbles a chance to regroup at the top. I have also decided to delay starting the automatic turner until ~18-20 hours after starting incubation with the same thought in mind. My only real concern is that a good portion of the Orpington eggs looked like they were quite porous! Any input anyone has about this would be immensely helpful! These are not the best candling pictures as I was too excited to go set up my tripod first.

So after all this, I set the eggs in the incubator around 12:45 pm today!! The humidity dipped to ~26%, the incubator dipped to around 96 degrees and the Egg O Meter went as low as 94.2 degrees! The humidity stabilized at around 48% almost immediately with only a 4 ml addition of water in order to make up for the losses incurred while adding the eggs. The incubator's digital thermometer has stabilized at around 100 degrees (reading at the top), my glass thermometer at the level of the eggs is reading 99.5 degrees and a spot check with the (meat) thermometer in between the eggs read out at just under 100 degrees! The Egg O Meter is reading 99.9 degrees for the estimated internal egg temperature. I am holding my breath hoping these numbers hold when the sun goes down and the room cools off!

Well, I think that is everything I have for details so far, but like I said this is all new to me. Anyone with advice or helpful tips, please send them my way. I need all the help I can get to make it to hatch day with the peeps safe and sound! If anyone has questions about my set-up or if I forgot any major details, please let me know.
Thank you to everyone who has posted helpful information for us newbies on the forums! I wouldn't have had the courage to start this project without you! Join me if you would like to be hatch buddies!
Last edited:


") .
.