Since we got our newest babies on April 11th, we've been working on the weekends to build them a coop. When we are finished we plan to introduce our 1 yr. old hens to the new coop and new chicks as well. I'll post elswhere about the best way to go about that, but for now, here are pics of the new coop in progress.
We chose to make it 7'x12', mostly due to the salvaged materials that we had to use. I would have liked to make it even larger, but DH thought this was huge! Of course he thought last's years coop was too big for 5 chickens and it is just 4'x8'x4', raised off the ground 2', with a very low pen that I can't even get in. He just didn't get that I would need to get in to the pen and coop to clean it and possibly access a sick or injured animal, which luckily I haven't had to do. The accessing a sick bird I mean, I have been able to get in the coop itself to clean it with little trouble, just not the pen! He has since learned the error of his ways and the 5 have done ok, but have been a little crowded. You see, their nesting boxes are mounted inside the coop instead of outside, which crowded them as well. That was a whole other discussion.
Anyway, this time I wanted to make sure that there is plenty of room for everyone and have a storage area for food, straw and other needed items in the new coop.
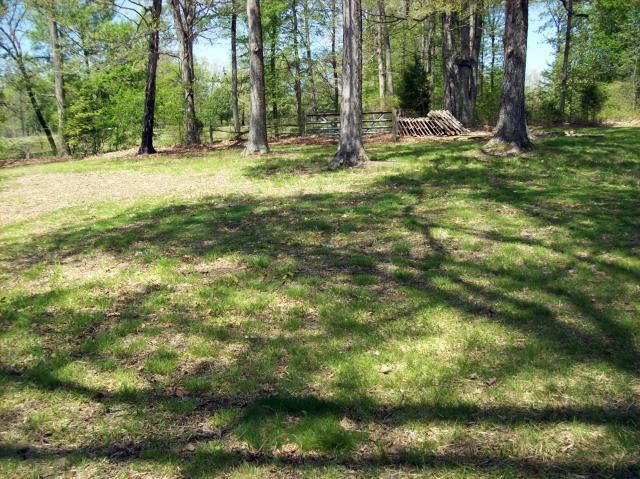
First we chose a spot in the back of the house, next to the coop we built last year.

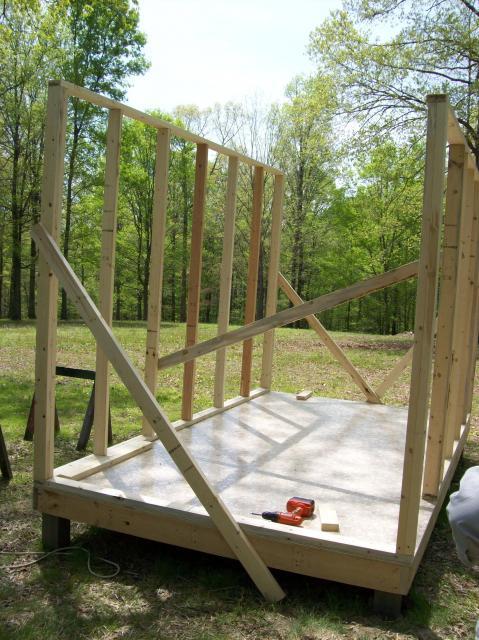
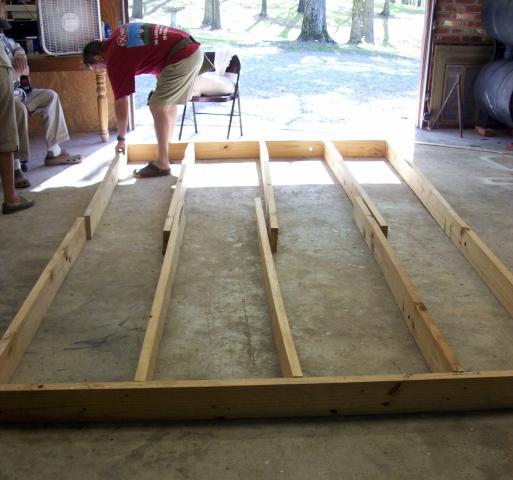
Then we went into the garage and started construction. The floor framing was done using salvaged 2 x 6s from my step-son's remodel of his downstairs. We had to get a little creative with the layout so that we could get the best use out of the materials we had.
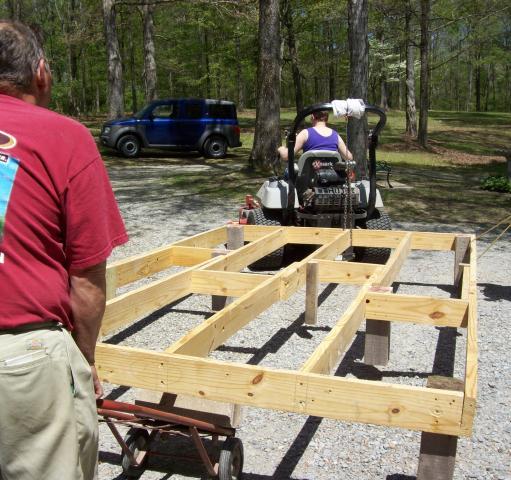
After we put the floor together we hooked it up to DH's mower and hauled it out to the chosen spot. We had the help of my in-law's during some of the construction/moving which was both a help and a hindrance. You know, "too many cooks!".
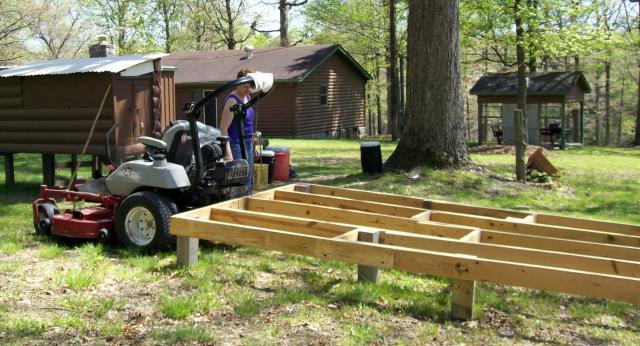
Once we got it to the spot, DH leveled it up. Here you can get an idea of how far it is from the back of the house and it's location in relation to the old coop.
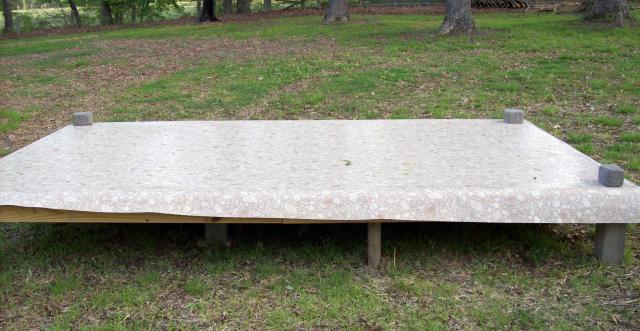
We added the plywood sub-floor and then layed the vinyl flooring over it and stapled the perimeter.
The plywood for the floor cost about $34 and so did the vinyl, which was the least expensive vinyl that our local Lowe's carried.
That was end of day 1. More to come later.
We chose to make it 7'x12', mostly due to the salvaged materials that we had to use. I would have liked to make it even larger, but DH thought this was huge! Of course he thought last's years coop was too big for 5 chickens and it is just 4'x8'x4', raised off the ground 2', with a very low pen that I can't even get in. He just didn't get that I would need to get in to the pen and coop to clean it and possibly access a sick or injured animal, which luckily I haven't had to do. The accessing a sick bird I mean, I have been able to get in the coop itself to clean it with little trouble, just not the pen! He has since learned the error of his ways and the 5 have done ok, but have been a little crowded. You see, their nesting boxes are mounted inside the coop instead of outside, which crowded them as well. That was a whole other discussion.
Anyway, this time I wanted to make sure that there is plenty of room for everyone and have a storage area for food, straw and other needed items in the new coop.
First we chose a spot in the back of the house, next to the coop we built last year.
Then we went into the garage and started construction. The floor framing was done using salvaged 2 x 6s from my step-son's remodel of his downstairs. We had to get a little creative with the layout so that we could get the best use out of the materials we had.
After we put the floor together we hooked it up to DH's mower and hauled it out to the chosen spot. We had the help of my in-law's during some of the construction/moving which was both a help and a hindrance. You know, "too many cooks!".
Once we got it to the spot, DH leveled it up. Here you can get an idea of how far it is from the back of the house and it's location in relation to the old coop.
We added the plywood sub-floor and then layed the vinyl flooring over it and stapled the perimeter.
The plywood for the floor cost about $34 and so did the vinyl, which was the least expensive vinyl that our local Lowe's carried.
That was end of day 1. More to come later.