question about exterior nest boxes

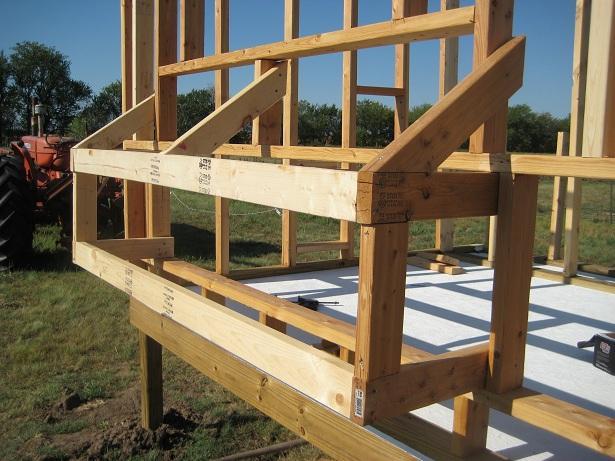
We built an exterior box similar to the link posted up above. DH made the opening a little bit too big so we have two spaces on both ends that will serve well as insulation. We walled them off (about 3" wide) and will stuff some of the pink styrofoam in them. As for weatherproofing, we caulked well all over and I'll cover the caulking with a couple of coats of paint. If we notice any weather getting in I'll add more caulking.

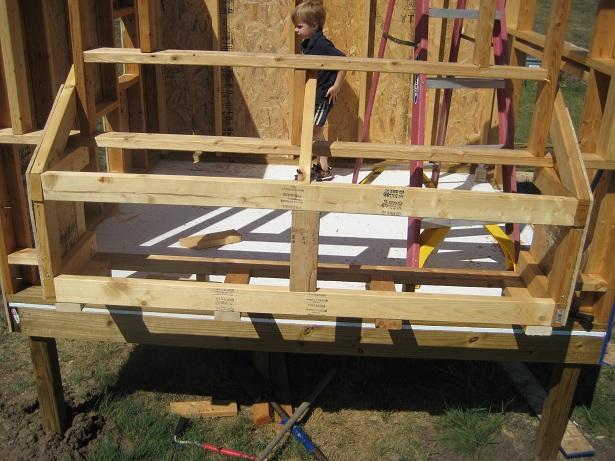
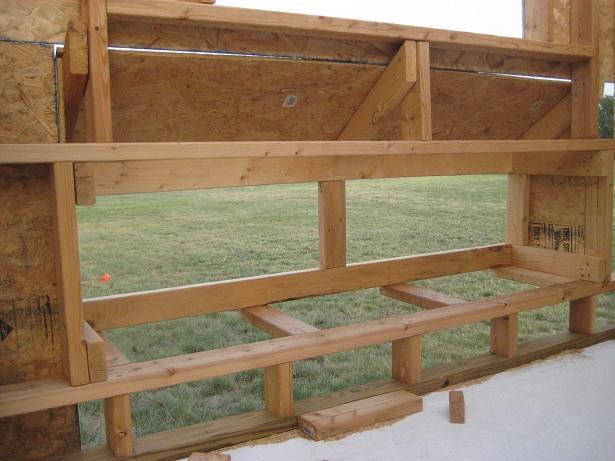
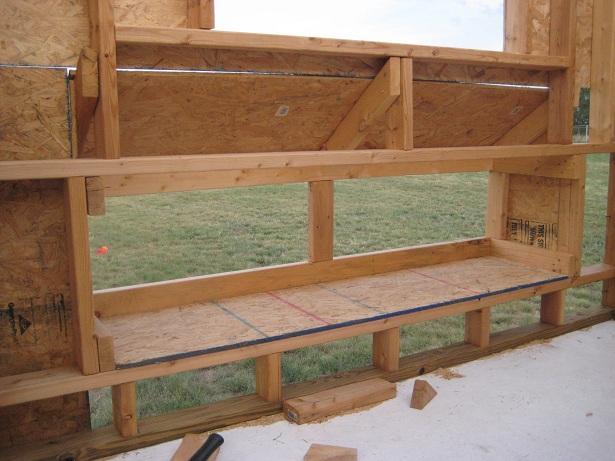
The main reasons we made ours exterior is to free up space. It would have had outside access even if they weren't sticking out of the coop. The reason for that is my kids want to collect the eggs but don't want to go in the coop. I suspect they'll lose interest in it quickly but it will be nice for me not to have to put on my boots every time there's an egg in a nest. I will still go in the run to give them treats every day and the coop to check their food and water. Plus our coop will have windows all around so I can easily peek in any time of the day to see how things are in there.
 
96635_img_3129.jpg

96635_img_3137.jpg

96635_img_3228.jpg

96635_img_3229.jpg

96635_img_3226.jpg


I'm a bit further on the nest box now, but don't have pictures. But this is all you really need to get the main idea of the external box coming off of your wall. Hope this helps!
smile.png
I am really excited about using the external boxes, and like you said, should provide a lot of extra room on the inside since I won't be using it up with boxes. It will not open from the roof of the nest boxes- I'm too worried that the roof opening will cause a leak or more problems. SO there will be two doors hinged on the front side visible to you, that will just open and hang down for easy access/cleaning. This whole coop is going to be covered in siding and insulated on the inside- so ignore some of the gaps you see in the plywood.
wink.png
 
Last edited:
To maximize floor space, another option is to go vertical, if you have the height.

My nests are 16 inches AFF, the top of the nest entry is 4 inches above that. This headroom is plenty for the birds. I also keep my feeder and waterer under it so the birds do not sit on top. A door is cut into the wall for access to eggs and cleaning.
 
Honestly, this is the most helpful, friendliest. most encouraging web forum in cyberspace! If I've had a tough day, reading BYC restores my faith in humanity!
smile.png


Many thanks to everyone who has replied to my question! It's great to have a variety of photos and info. Prior to posting, I had looked through pages & pages of the coop forum. It's one of my favorite forums to lurk & look at! So I'm not completely lazy; I was hoping for specific info - which you so thoughtfully provided! Thank you kindly!!!

You've given me direction...now, if I can just get a little help with constructing the newest coop, the birds will be much happier for the upcoming Maine winter!

I have photos of my two little coops in my "chickens & other feathered" set on flickr - here: http://www.flickr.com/photos/mo_in_maine/sets/72157623754066484/

I'll
post photos when the latest project begins happening...thank you, again!
smile.png
 
Quote:
Awesome set up! Ya'll did an excellent job. Looks great!!!
thumbsup.gif
droolin.gif


I love the old tractor in the background. Does it still run?

Yes, the tractor runs and works great! It's an Allis Chalmers and it was my grandpa's tractor-- he bought it brand new back in the day.
smile.png
The hydraulics even work great on it and I use it to lift and move round bales around the pasture, etc. It's been sitting there for a few weeks while we're getting ready to get around to digging more holes. Usually (and I promise!) it sits sheltered in the barn while it's not in use. We actually have it regularly maintained and keep up on greasing it's points and all the other stuff that goes with having a tractor. I love it!

Glad that everyone here was able to help and point you in the right direction for getting your nest boxes made!
smile.png
 

New posts New threads Active threads

Back
Top Bottom