I updated my coop page with my new nest boxes, too.

Since I'm very pregnant with our 4th baby, I wanted to make my chicken chores easier. DH isn't a chicken person and he hates taking care of the chickens for me (on the very rare occasions I needed him to) because he hates that he has to go in the pen to feed, water and collect eggs. So we put our heads together and came up with a plan for a dividing wall in the barn that would give access to the feeder, waterer and nest boxes on the outside of the pen.
I just wanted simple nest boxes with a flip-top lid, but DH did some of his own research and ran across roll-out nest boxes and wanted to know what they were, so I explained what advantages they had. DH is an engineer, so the roll-out nest boxes really appealed to his nature even though they're more complicated. I showed him Opa's roll-out nest box thread, but they weren't exactly what I wanted. He put these together really fast, so I didn't get a chance to take a lot of step-by-step pictures.
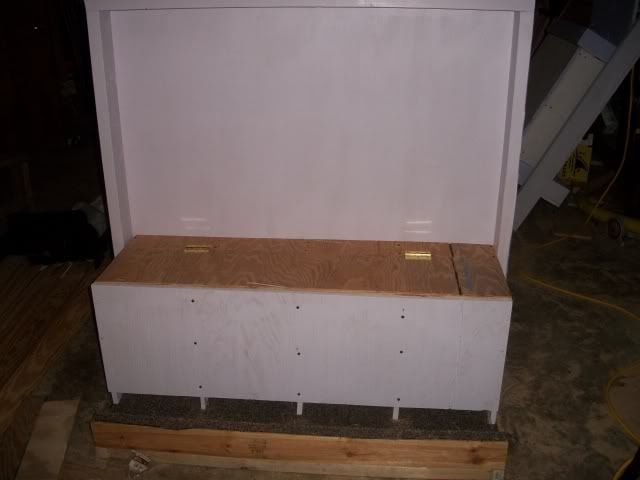
He built the dividing wall in 2 4'x4' sections. Here's the front view. I had leftover purple paint from a home project, so my whole project is painted purple! I needed them low to the ground because I have a lot of bantams in my main pen, but I wanted each box big enough to be comfortable for the standard hens, too.

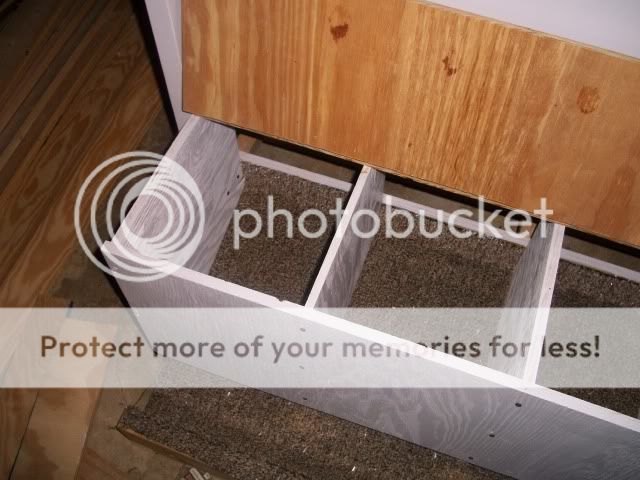
Close up of the interior of the nest box from the front:

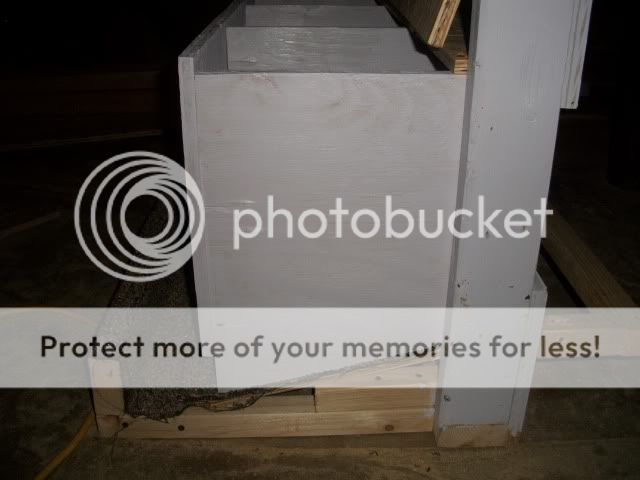
Side view: The rise is 3" - DH kept borrowing eggs and rolling them down different inclines and a 3" rise seemed to move the egg easily but didn't go so fast that it bumped too hard at the bottom. I wanted a 6" tray on the outside to collect the eggs. I bought that outdoor patio grass from Lowes to line the nest boxes. Each box is about 11x14."
Back view: The opening for the eggs to roll out is 2." Since I wanted the boxes so low to the ground the collection tray is right on ground level, but that works out great since my ever-present chicken chore helper is my 4 year old DD.

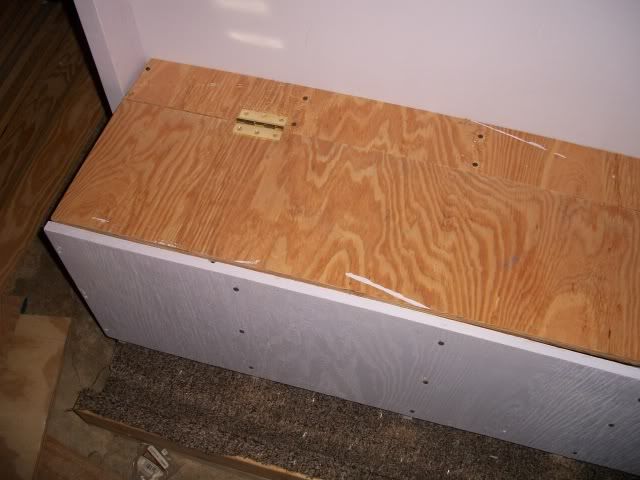
Top view:
I still wanted a flip-top lid for easy cleaning and so I can move any hens that go broody or eggs that get stuck.
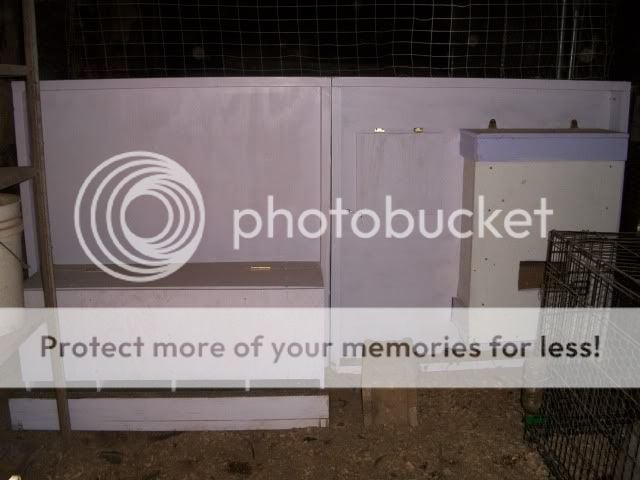
Here's the wall installed in the barn: The other half of the wall has a feeder that can hold 2 bags of feed and a trap door for dropping kitchen scraps in the pen. I still have to add the gravity nipple watering system, but that's tomorrow's project.
Here's the chickens' view: I filled the nests with hay to make their transition from traditional nests to the roll-outs easier. As they wear through the hay, I won't replace it and hopefully they'll be used to the new nests. DH installed them on Monday and the chickens have been using the new nests consistantly!


Since I'm very pregnant with our 4th baby, I wanted to make my chicken chores easier. DH isn't a chicken person and he hates taking care of the chickens for me (on the very rare occasions I needed him to) because he hates that he has to go in the pen to feed, water and collect eggs. So we put our heads together and came up with a plan for a dividing wall in the barn that would give access to the feeder, waterer and nest boxes on the outside of the pen.
I just wanted simple nest boxes with a flip-top lid, but DH did some of his own research and ran across roll-out nest boxes and wanted to know what they were, so I explained what advantages they had. DH is an engineer, so the roll-out nest boxes really appealed to his nature even though they're more complicated. I showed him Opa's roll-out nest box thread, but they weren't exactly what I wanted. He put these together really fast, so I didn't get a chance to take a lot of step-by-step pictures.
He built the dividing wall in 2 4'x4' sections. Here's the front view. I had leftover purple paint from a home project, so my whole project is painted purple! I needed them low to the ground because I have a lot of bantams in my main pen, but I wanted each box big enough to be comfortable for the standard hens, too.
Close up of the interior of the nest box from the front:
Side view: The rise is 3" - DH kept borrowing eggs and rolling them down different inclines and a 3" rise seemed to move the egg easily but didn't go so fast that it bumped too hard at the bottom. I wanted a 6" tray on the outside to collect the eggs. I bought that outdoor patio grass from Lowes to line the nest boxes. Each box is about 11x14."
Back view: The opening for the eggs to roll out is 2." Since I wanted the boxes so low to the ground the collection tray is right on ground level, but that works out great since my ever-present chicken chore helper is my 4 year old DD.
Top view:
I still wanted a flip-top lid for easy cleaning and so I can move any hens that go broody or eggs that get stuck.
Here's the wall installed in the barn: The other half of the wall has a feeder that can hold 2 bags of feed and a trap door for dropping kitchen scraps in the pen. I still have to add the gravity nipple watering system, but that's tomorrow's project.
Here's the chickens' view: I filled the nests with hay to make their transition from traditional nests to the roll-outs easier. As they wear through the hay, I won't replace it and hopefully they'll be used to the new nests. DH installed them on Monday and the chickens have been using the new nests consistantly!