- Thread starter
- #1,091
 Thinking about my composting this spring, I wanted to make some kind of more steady platform to put my cement mixer compost sifter on this year. As you can see in the following picture, I have been putting the cement mixer up on cinder blocks to get it to the height I need to get my 4-wheels wagons underneath.
Using the cinder blocks works, but it is not the steadiest way to elevate a rotating cement mixer that is sifting out compost. Now that I'm into pallet projects, I was thinking of just stacking a few pallets on top of each other and then securing the feet/wheels of the cement mixer to the top pallet platform.
However, it seems to me that the top pallet should be completely covered with wood because that would prevent any sifted compost from falling into the pallet, between the pallet slats, and losing all that sifted compost. Any sifted compost that blows back underneath the compost sifter can be brushed off into a bucket and not wasted.

 Guess what I just picked up? Yep, a pallet with the top pallet slats covering the entire top! Exactly what I was thinking I would need for the platform. Pallet looks like this...
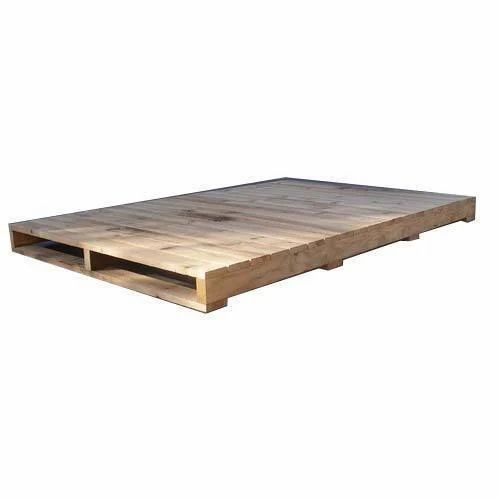
Sure was a nice find because I was going to disassemble a few pallets with the same thickness slats so that I could rebuild a platform that was even. Now I have a ready-made pallet for the top. Done and done!
") I guess this one will fall into the easiest ever pallet projects! It is just surprising how a person can pick up a one-off type pallet and immediately think of a use for that special build.
I guess this one will fall into the easiest ever pallet projects! It is just surprising how a person can pick up a one-off type pallet and immediately think of a use for that special build. Just an update on putting together my pipe clamps for use maybe to build some pallet wood glue-up panels this summer. For anyone not familiar with pipe clamps, they look like this....
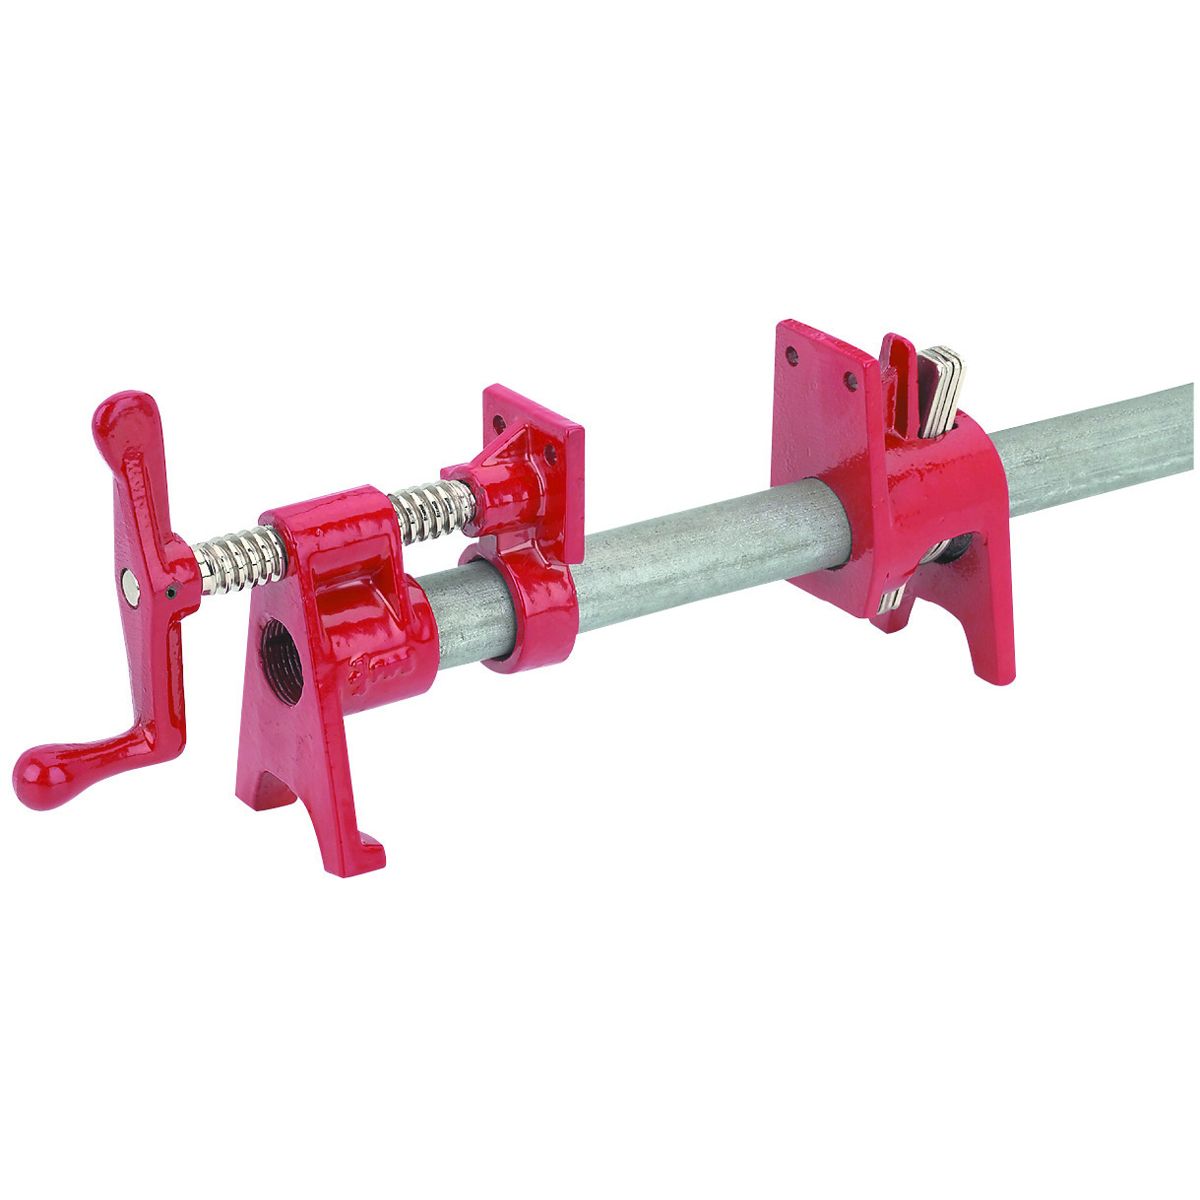


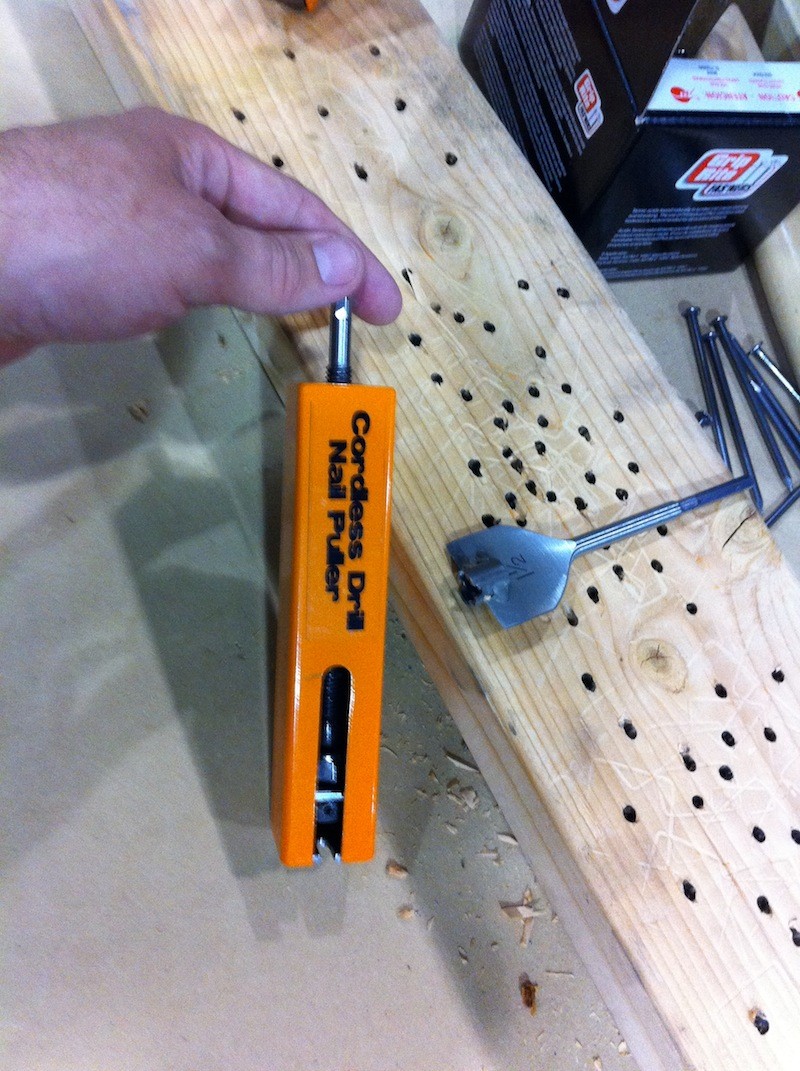
 Love that idea! Just took out one of my T25 star bits and used the impact driver to unscrew all the screws. The pallet came apart with no effort. I ended up with (3) 48-inch long 2X4's and (12) 40-inch long 2X4s. All in great condition. Practically new. No nails or anything to worry about in those boards. They are ready to use as is or to cut on the saw to size without concern of hidden broken off nails.
 An unexpected bonus was that the screws came out in perfect condition. They look almost brand new. All in all, I got one pound of 3-inch T25 exterior deck screws out of the pallet that I can use on some other project. Just a quick look at Menards, that one pound of those screws alone costs $7.98.
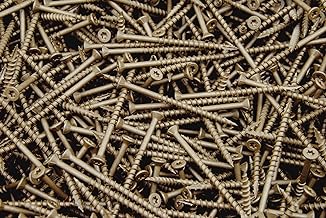
 I can celebrate the small things in life. Hope some of you can appreciate that, too. Later...

 I haven't decided what type of design I will use for the seed starting shelf. So, I just keep banging apart some pallets hoping that inspiration will hit somewhere along the line! Maybe a stack of pallet wood ready to be used will speak to me?