Well, as our little "farm" has grown, we needed to upgrade from our existing plastic box compost bin with the turning one next to it. So I was given the task of making one. ") With a budget of 250 dollars and three days time (I set my own deadline), this is what I came up with! Hope you like it!
With a budget of 250 dollars and three days time (I set my own deadline), this is what I came up with! Hope you like it!
DAY ONE:
It started with a plan in my head and this pile of lumber and hardware cloth!

I started building out the frame, back panel first. I decided to make it 7' L x 3' D x 3' H.
And it would have two sides a 4' x 3' side for fresh yard waste and a 3' x 3' side for stuff that has broken down more.


1/2 the front done with the middle connector in.

Not too shabby looking!

I used these brackets to connect the top pieces on the front for removal, you'll see why later.

I then added these cedar deck slats that were 1" x 6" and made it so they can be removed, one by one. You'll see later.

I added hardware cloth to the back.

Added it to the center divider.

Made the lid for the large side before calling it a day.

DAY TWO:
I made the lid for the smaller side and then had to add hardware cloth to it.

I attached the lids to the back side with door hinges. 3 for the large side and 2 for the small side.

Here's me next to it, so you can get the idea of the size of this! LOL

DAY THREE!:
The sun FINALLY came out (yay Seattle!) so I moved it outside next to my chicken coop.

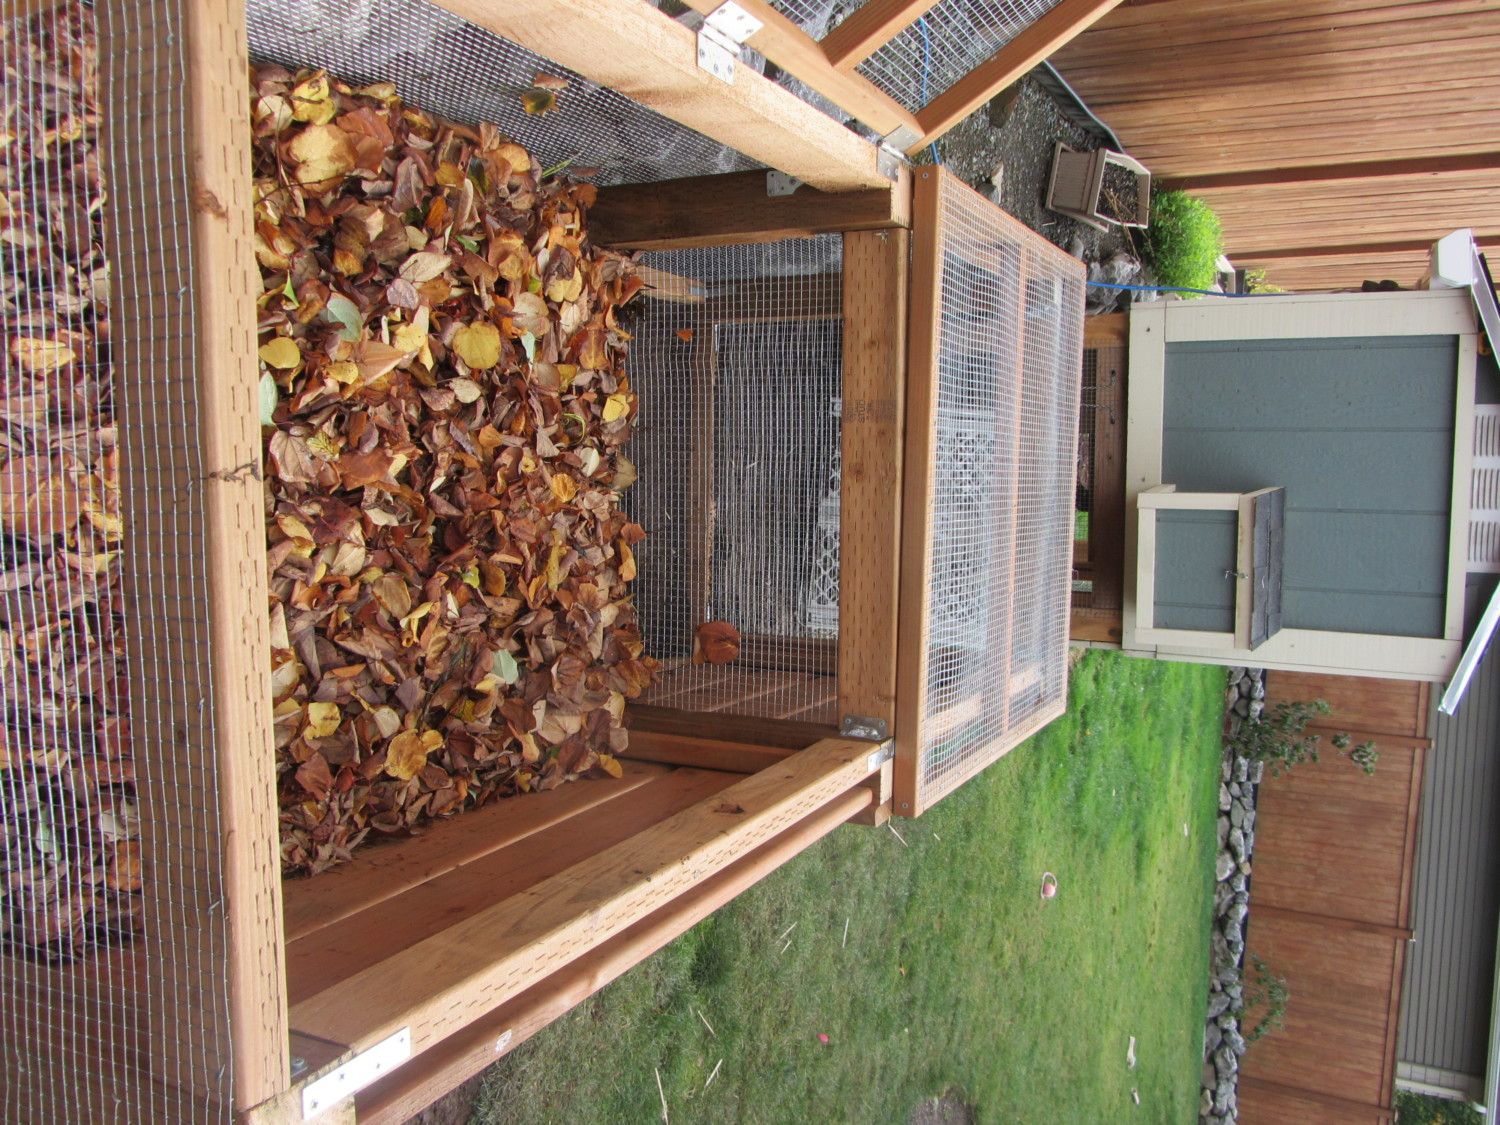
I removed the top piece and some of the slats that way I can transfer the compost from the old container to the new enclosure.

As I added more compost I added slats in. Pretty spiffy, eh?

Then I needed to rake leaves....1st day on the job and already 1/2 full!
Well here's out little setup! Love my chicken coop (I designed and built this too! My Coop Page)

Well there you have it. Three days and less than 250 bucks and we now have a nice compost enclosure! Hope ya like it!!! We sure do!
With a budget of 250 dollars and three days time (I set my own deadline), this is what I came up with! Hope you like it!DAY ONE:
It started with a plan in my head and this pile of lumber and hardware cloth!
I started building out the frame, back panel first. I decided to make it 7' L x 3' D x 3' H.
And it would have two sides a 4' x 3' side for fresh yard waste and a 3' x 3' side for stuff that has broken down more.
1/2 the front done with the middle connector in.
Not too shabby looking!
I used these brackets to connect the top pieces on the front for removal, you'll see why later.
I then added these cedar deck slats that were 1" x 6" and made it so they can be removed, one by one. You'll see later.
I added hardware cloth to the back.
Added it to the center divider.
Made the lid for the large side before calling it a day.
DAY TWO:
I made the lid for the smaller side and then had to add hardware cloth to it.
I attached the lids to the back side with door hinges. 3 for the large side and 2 for the small side.
Here's me next to it, so you can get the idea of the size of this! LOL
DAY THREE!:
The sun FINALLY came out (yay Seattle!) so I moved it outside next to my chicken coop.
I removed the top piece and some of the slats that way I can transfer the compost from the old container to the new enclosure.
As I added more compost I added slats in.
Pretty spiffy, eh? Then I needed to rake leaves....1st day on the job and already 1/2 full!
Well here's out little setup!
Love my chicken coop (I designed and built this too! My Coop Page)Well there you have it. Three days and less than 250 bucks and we now have a nice compost enclosure!
Hope ya like it!!! We sure do!

