The Never Ending (Memorial Weekend) Coop Project! UPDATED!

Wow! What great views of natures' beautiful wonders!
ep.gif


Hey - and the property looks great too.
gig.gif


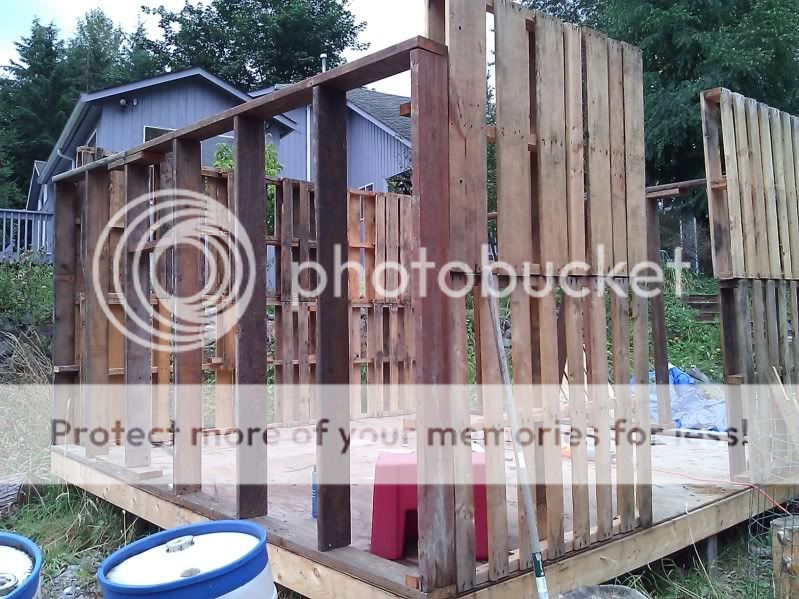
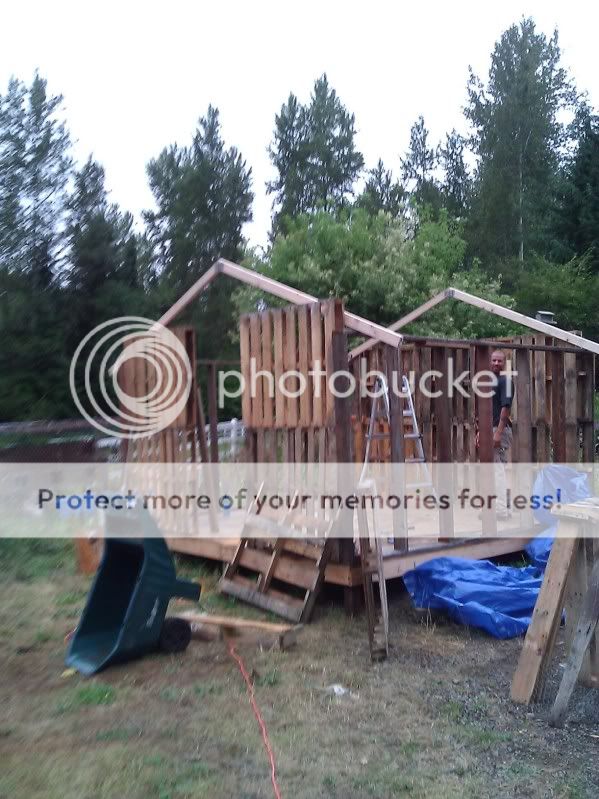
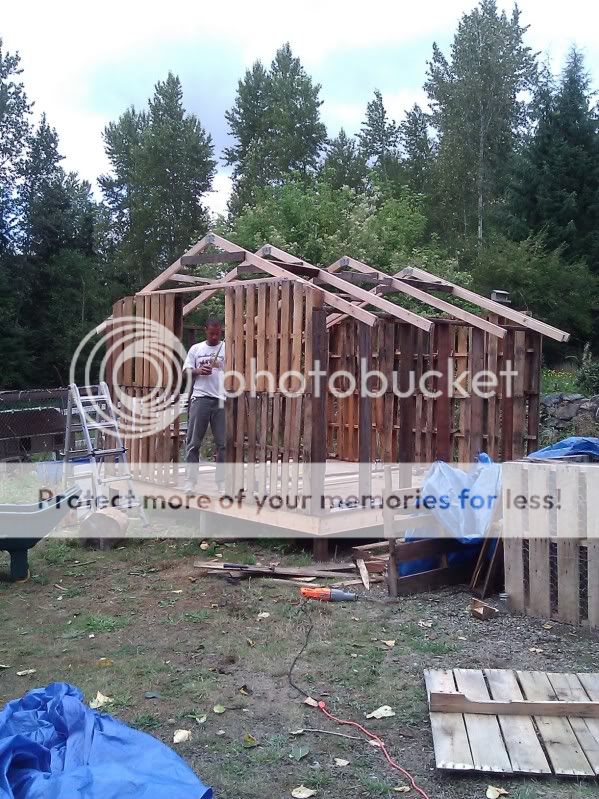
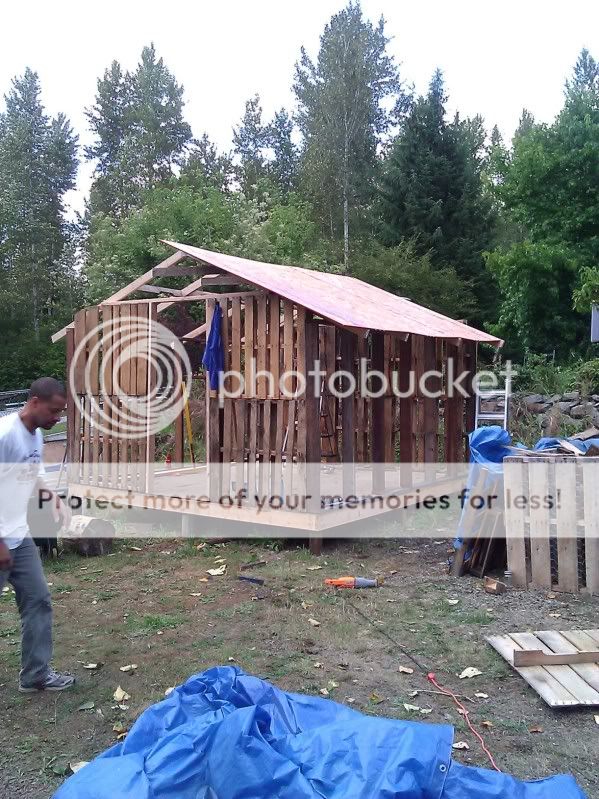
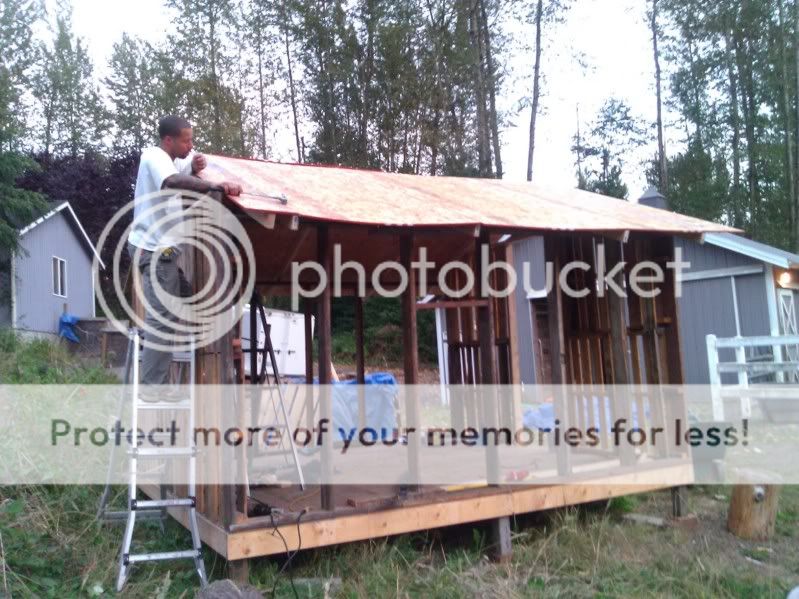
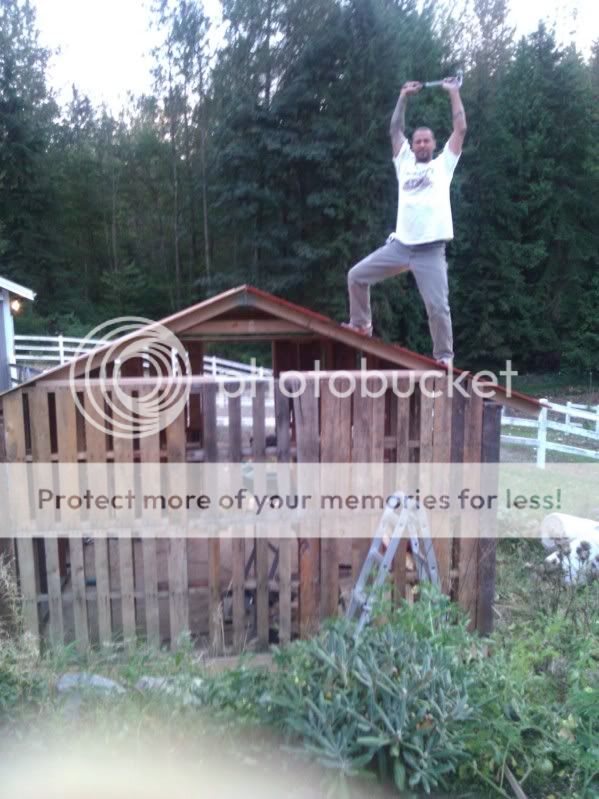
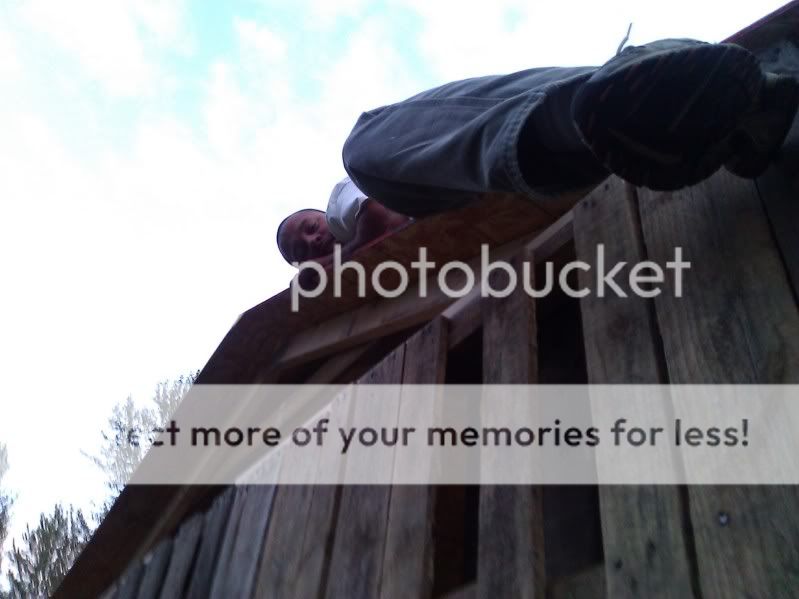
Nice work on the coop. Keep the boyfriend happy.
bun.gif
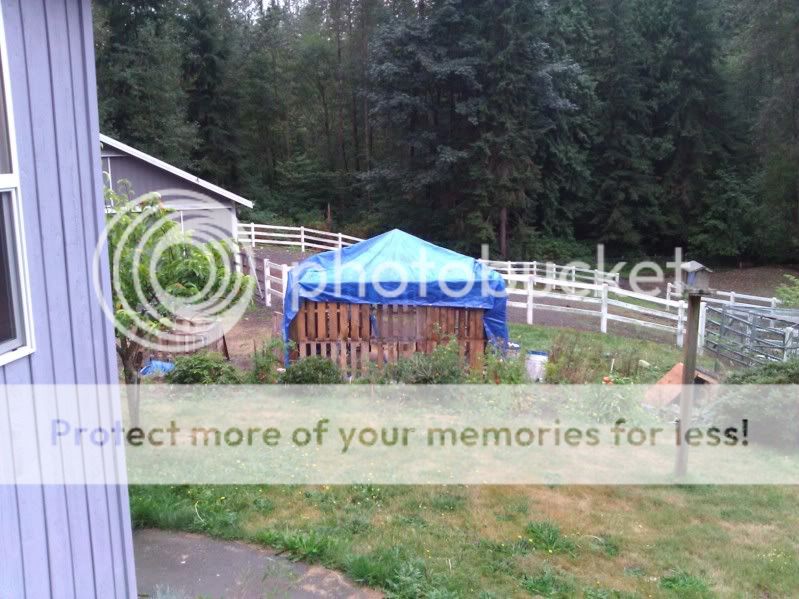
Glad to see someone using pallets like I did for my ad-lib duckhouse.
 
Alright... Heading to the hardware store to get lumber for the trusses this afternoon! I'm also working on plans for roll away nest boxes based on the ones Opa originally made (can't find the thread now
hmm.png
). These will have the collection bin on the front so that they can be mounted on the wall without cutting out a hole for them. Unfortunately my stupid Marans have decided that everyone's eggs but their own are a tasty treat so the roll away boxes are now a must
he.gif
For now I'm going to go with communal nest boxes but I think they should be easy to divide if I decide I want to do a row of three individual boxes.

Here's a drawing of the nest boxes, I hope to whip one set of these out this weekend and I hope to get pics up when I do:

Front View:

RollAwayBrooderBox.jpg


Side View w/ end wall removed so you can see the inside. There will be some kind of divider strip hanging between the box and the egg collection area like the fringed rubber on Opa's to dissuade my stupid Marans from going for the eggs. The top piece of wood on the egg collection area will also be hinged for easy gathering:

RollAwayBrooderBox2.jpg
 
Last edited:
Quote:
Please share with me how you post these kind of pictures showing building cutouts and CAD kind of pictures. Do you use a special software? If not what program does this?

Thx in advance,

Steve
 
For sure! I used Google SketchUp. It's AWESOME... and FREE!!! You can do architectural drawings on a larger scale for coops, barns, etc. You can also do smaller scale woodworking type drawings. Its pretty user friendly as well and there are lots of online tutorials.
 
Alrighty! Got some work done today before getting rained out
sad.png
Happy we finished what we did though! We finished the fourth wall, got all of the trusses built and started tacking them up before the rain started pouring. Not too bad for a few hours work. One problem that we have into is that we think the front left corner has settled so the base is twisting a bit. Before we do any more work we're going to untack the front truss and use the truck jack to raise the floor so we can fill in with gravel underneath and get the floor perfectly level. The trusses were really quite easy to build. I would definitely recommend using mending plates rather than trying to nail them together. DEFINITELY worth the extra $10 as it saved us a lot of time and effort. We will still probably brace the trusses with another 2x4 across the middle. Unfortunately as we tacked up the back truss it started pouring so we covered everything up with a tarp and we'll have to get back to it on another day. It's really starting to feel like a building though! I can stand inside and picture how the layout will look... I'm super excited!

Four walls up and you can see my rain barrels in the bottom left. Those will be hooked up to the gutters and a line will run into the coop for easy watering:
coop1-2.jpg


Front and back trusses up:
coop4-1.jpg


Covered up for the rain storm:
coop3-1.jpg
 
Last edited:
So we still have quite a bit of exterior work to do - the rest of the trusses and roofing goes up this weekend - but now that the structure is coming together I've begun planning the interior of the coop. I used Google SketchUp to come up with some designs. At one point I was thinking of dividing the coop into three pens but have revised that to divide the coop into two. My laying flock and my SQ BR flock will reside in the large coop. My Silkie flock will be housed in a separate small coop that I'm currently using to house my layers.

Here are the interior features of the big coop:

- Two pens, each 6' x 12' can house about 14 birds @ 5sf per bird. 28 birds total.
- Ample roost space with poop boards for easy cleaning and to reduce shavings use.
- Bulk feeder that will hold at least one 50 lb bag of food, likely 2 bags.
- Two 55 gallon rain barrels hooked up to gutter system that will provide chickens with H2O. Extra will be routed to the Silkie coop and garden.
- Spouts from rain barrels will be routed through the wall to waterers for quick and easy watering.
- Pop doors lead to large run area.
- Wall mounted roll away brooder boxes in each pen (only one is shown in the model) with front collection areas. These will be open nest boxes to start but could be divided into 3 with partitions pretty easily if the girls aren't fond of the group design. Eggs roll forward into the box on the front which has a hinged top for collection. There will also be a barrier (like the one in Opa's design which this was adapted from) between the collection box and the nest to further discourage egg eating which I'm having an issue with right now.

And my favorite feature...

- Four 2' x 3' brooder cages for raising chicks. These are raised off of the floor to maximize floor space for the adult birds.


Here are the Models:

Overview of the coop interior. Roost, 2 level brooders, and waterers on the back wall. Feeder on the opposite wall with the pop doors, and roll away nest boxes on the right hand wall.

CoopInterior-1.jpg


Exterior view of the rain barrels. These will be raised off the ground so that the flow heads downhill from the bottom of the barrel.

CoopRainBarrels.jpg


Close up of waterers. I'll be running PVC pipe through the wall to a PVC spigot w/ shut off valve. The waterers are 12" ground feeders similar the ones I use for feeding the horses grain out in the field. They are set under the poop board which is 3' wide and should provide ample protection from the roosting birds above.

CoopWaterers.jpg
 
Last edited:
We got a lot done this weekend despite starting today out in a downpour and unexpected wind storm! Luckily it cleared up and we got the rest fo the trusses up and the plywood laid down. We didn't quite get to the tar paper before the sun started to set so we'll get that up this week and be ready to start laying down the shingles. Closer to next weekend I'll be picking up the siding and hopefully we'll get that hung and painted next weekend, weather permitting. We learned that building with recycled materials presents several challenges, the main one being that things aren't necessarily square. We've had to do a fair amount of adjusting to make everything work but so far so good. Thank goodness for the boyfriend's construction background... It'd probably take me a year or two to finish this thing if I had to do it on my own because I'm sure it would take a few tries to figure out what I need to do.

Trusses up:
CoopRoof.jpg


First half of plywood laid:
CoopRoofHalfway.jpg


Tacking the second half down:
CoopRoof2.jpg


DONE!!!
CoopRoofDONE.jpg


Hmmm.... Now how to get down???
CoopRoofBrenton-1.jpg
 
Last edited:

New posts New threads Active threads

Back
Top Bottom