- May 10, 2011
- 150
- 3
- 99
Just need to finish one side, secure the wire over the vents, create the run and run cover then we are finished! Oh and all the decorations I want to add too!

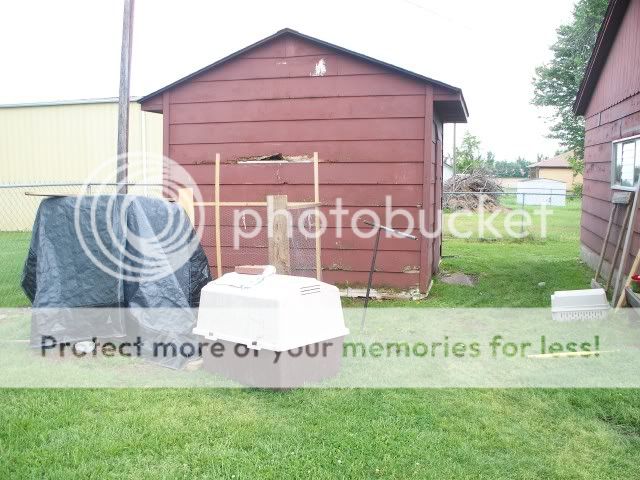
The is the area we picked to put the coop, we are waiting for the men to come out and reside the shed and garage for us
We broke down a 6'x7' and several 6'x5' pallets
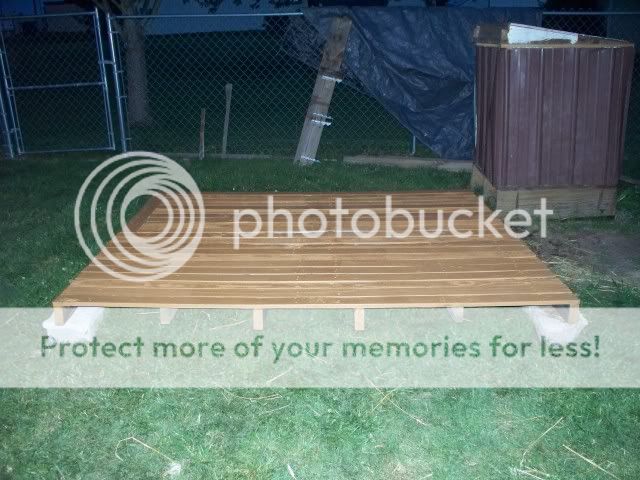
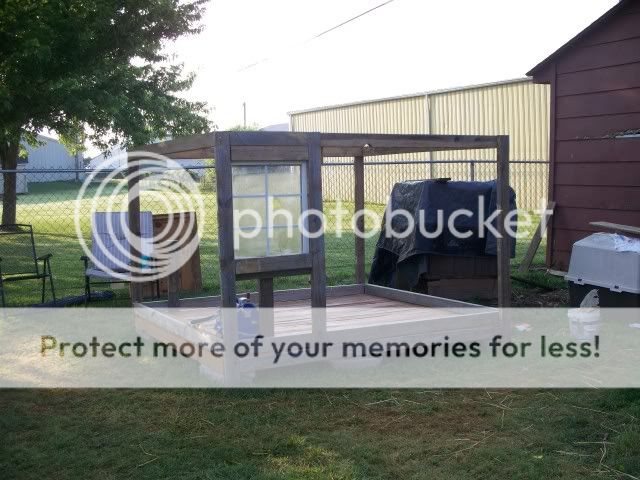
And ended up with this; we raised the floor using stone blocks
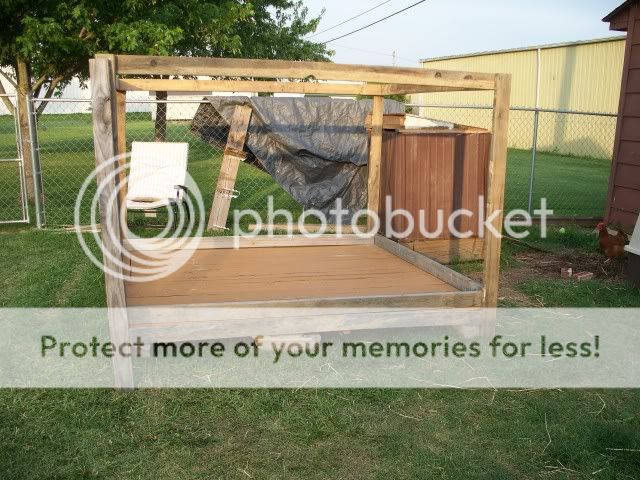
The four corner posts go up
The roof built separately and waiting for the finishing touches
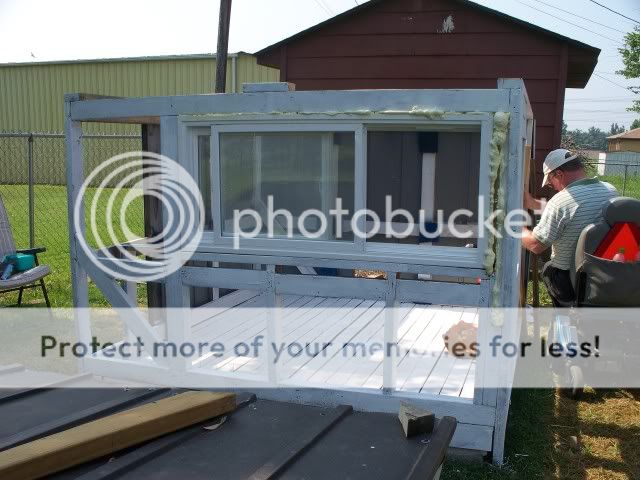
1st window installed; it is not removable it is just to bring in sunlight
2nd window installed, DH flipped it long ways, he picked up this odd length window for only $30, it opens for air flow and 1st coat of paint on some of the beams
Inside view of the roosting bars
Neighbors helped us hoist the roof into place! and we finished all the metal except the front where the door is going to be, pop door ready with steps
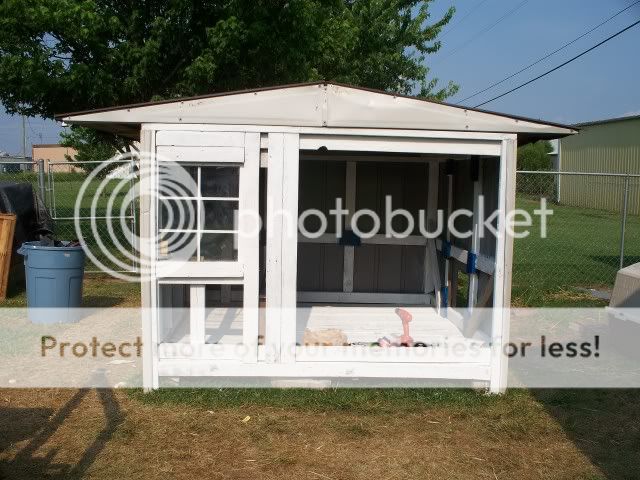
This is the front view where the door is going to be and where we need to finish the metal framing
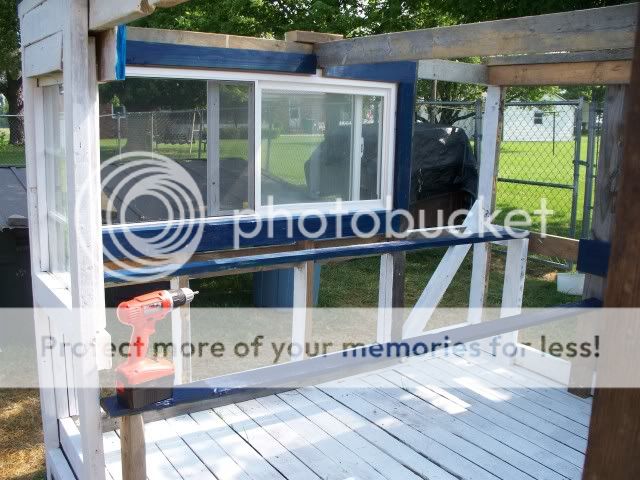
Window with a view!
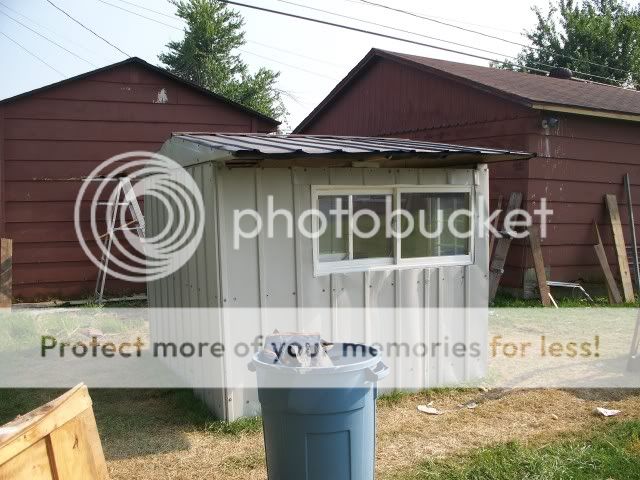
Back and side view; you can't really see it but we have a good cross ventilation and we left it this way because we are going to add a lean-to cover for shade
The only thing left is to finish the paint, put up the wire for the run/secure the vent areas, add nesting boxes and let the hens discover their new home!
Over all it is 6'x7' and 5'+ tall
We got the metal free from a 10x12 shed that got flipped upside down, we had to break it apart and haul it home
Lumber and pallets all free, we went to a furniture store who had just recently built a new building and had a pile of lumber sitting behind the building and the manager told us to have at it and take all we want
and they were just a jog from our house so we didn't use the vehicles to bring the lumber home
we looked funny walking home with these 14-16' beams of prime wood and 6x7, 6x5 and 5x5 pallets!
I will post more pics when I get all the little details done and finish the inside too!
Paint free, left at the house by previous owners, very good exterior paint, stones free left by previous owner as well as a whole roll of tar paper
1st window, the small one, free someone threw it away
2nd bigger window we got at our Habitat store for $30, it was going to go into the shed but I liked it so much for air flow for the coop DH stuck on the side there, we are going to go back and get more windows for the shed
The only thing we had to buy is hardware, we are going to go see if we can get hinges/handles at our Habitat store, they listed a bunch in their free for all pile so we are going to take a peek
I wanted my hens to stay in the coop and run then in the evening let them free range, we have 1/4 acre +/- yard completely fenced in
I want to thank you all on BYC, I learned a lot from all the reading and still reading and learning a lot! You guys are the best!
Oh and this is the project that I was going to do solo but DH said no he was going to help and together; this is the coop the Strong's built

The is the area we picked to put the coop, we are waiting for the men to come out and reside the shed and garage for us
We broke down a 6'x7' and several 6'x5' pallets
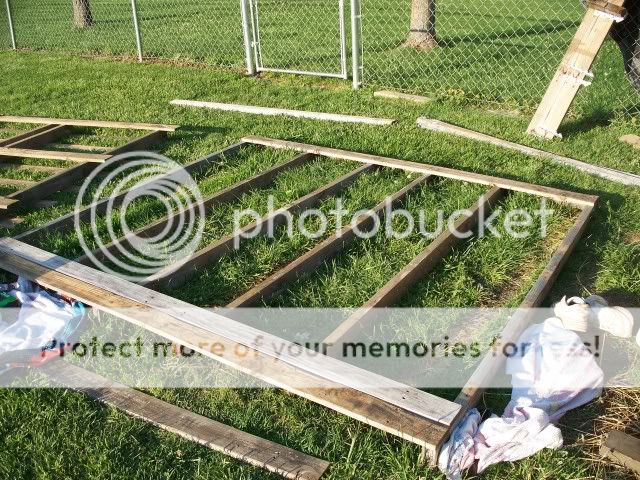
And ended up with this; we raised the floor using stone blocks
The four corner posts go up
The roof built separately and waiting for the finishing touches

1st window installed; it is not removable it is just to bring in sunlight
2nd window installed, DH flipped it long ways, he picked up this odd length window for only $30, it opens for air flow and 1st coat of paint on some of the beams
Inside view of the roosting bars
Neighbors helped us hoist the roof into place! and we finished all the metal except the front where the door is going to be, pop door ready with steps
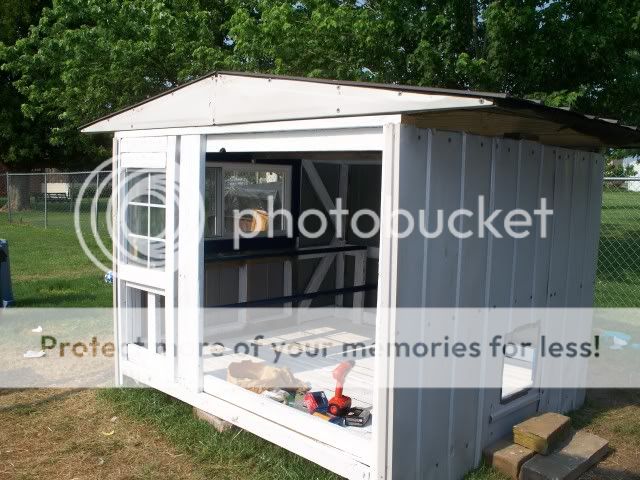
This is the front view where the door is going to be and where we need to finish the metal framing
Window with a view!

Back and side view; you can't really see it but we have a good cross ventilation and we left it this way because we are going to add a lean-to cover for shade
The only thing left is to finish the paint, put up the wire for the run/secure the vent areas, add nesting boxes and let the hens discover their new home!
Over all it is 6'x7' and 5'+ tall
We got the metal free from a 10x12 shed that got flipped upside down, we had to break it apart and haul it home
Lumber and pallets all free, we went to a furniture store who had just recently built a new building and had a pile of lumber sitting behind the building and the manager told us to have at it and take all we want


I will post more pics when I get all the little details done and finish the inside too!
Paint free, left at the house by previous owners, very good exterior paint, stones free left by previous owner as well as a whole roll of tar paper
1st window, the small one, free someone threw it away
2nd bigger window we got at our Habitat store for $30, it was going to go into the shed but I liked it so much for air flow for the coop DH stuck on the side there, we are going to go back and get more windows for the shed
The only thing we had to buy is hardware, we are going to go see if we can get hinges/handles at our Habitat store, they listed a bunch in their free for all pile so we are going to take a peek
I wanted my hens to stay in the coop and run then in the evening let them free range, we have 1/4 acre +/- yard completely fenced in

I want to thank you all on BYC, I learned a lot from all the reading and still reading and learning a lot! You guys are the best!
Oh and this is the project that I was going to do solo but DH said no he was going to help and together; this is the coop the Strong's built

Last edited:


