I'm going to do this in probably three parts it's very in-depth and I don't have time to show it all at once I hope everyone understands. It will seem complicated but that is just because I'm going step-by-step.
Parts List:
1. 8 bottle wine cooler.(any size will work).
2. Bi-Metal thermostat (Incubator Warehouse $22.00 incl.shipping)
3. Peltier cooler (amazon.com $10.38 incl.shipping) If you cooler works you won't need this part.
4. Heatsink paste (amazon.com about $10.00) You will need this no matter what.
5. Old lamp cord or equivalent.
6. Assorted tools screwdrivers,drill,wire strippers etc,etc,
7. something to connect wires together heatshrink or wirenuts or even electrical tape.

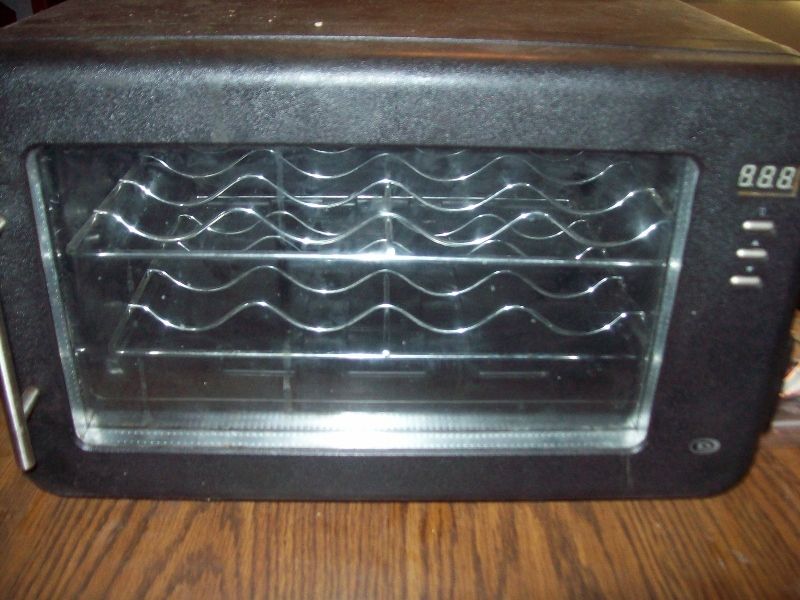
This is what I'm starting with:$25.00 from Wal-Mart several years ago.
First: Remove interior and back cover.
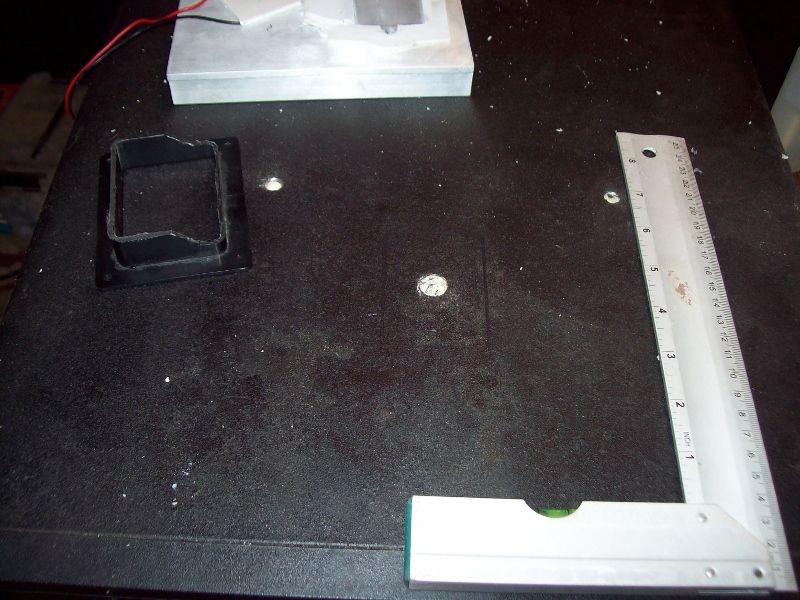
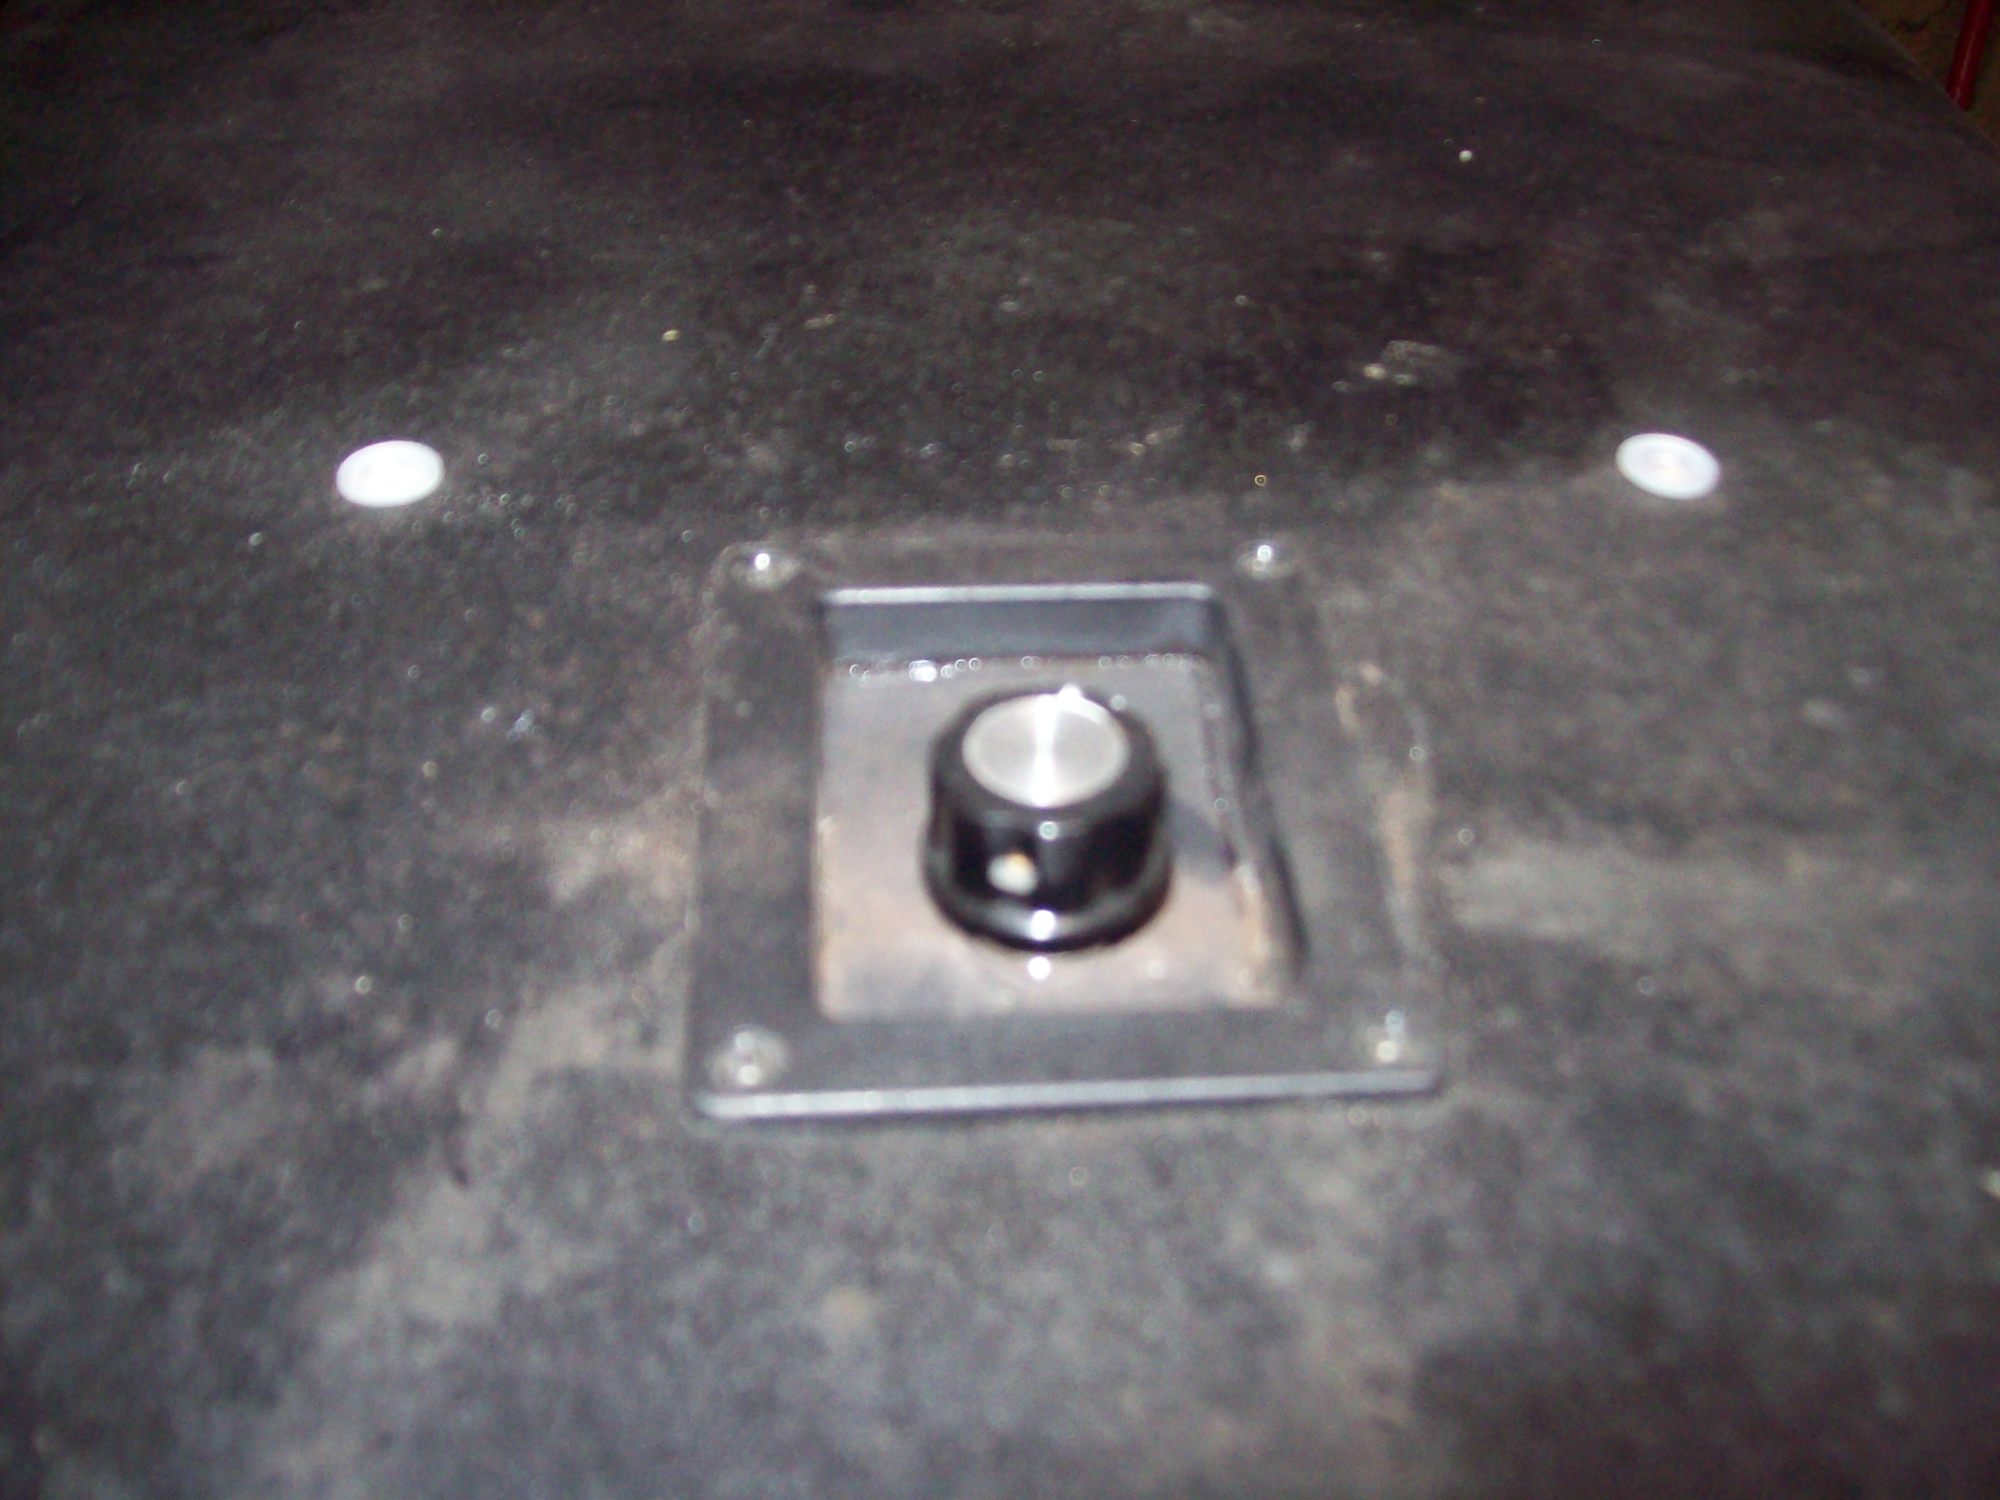
Drill hole where you want the control knob. I am using an old speaker wire box but, this is not necessary.
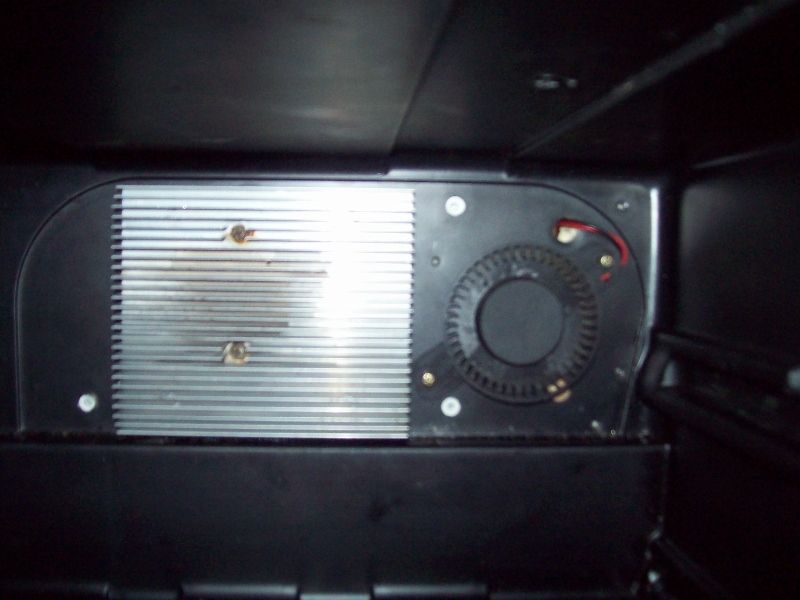
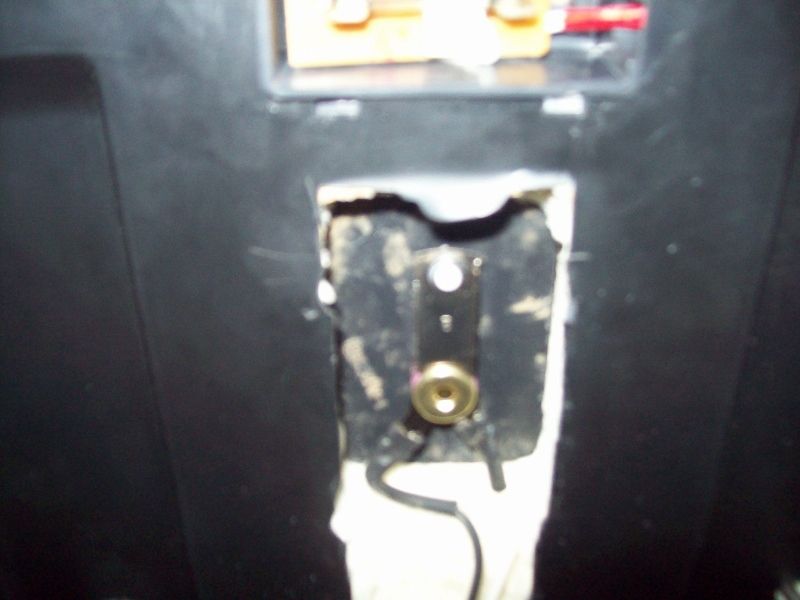
Second: cut hole on inside of cooler large enough to accommodate thermostat:... sorry so blurry it's a hard place to get a good picture.
Third: drill hole in back corner to pass thermostat wires through to the back... I am using an old lamp cord.
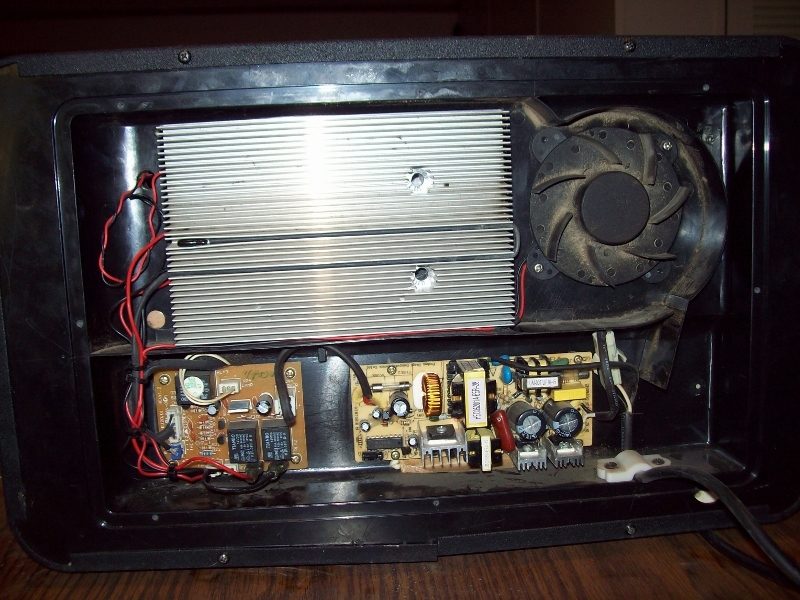
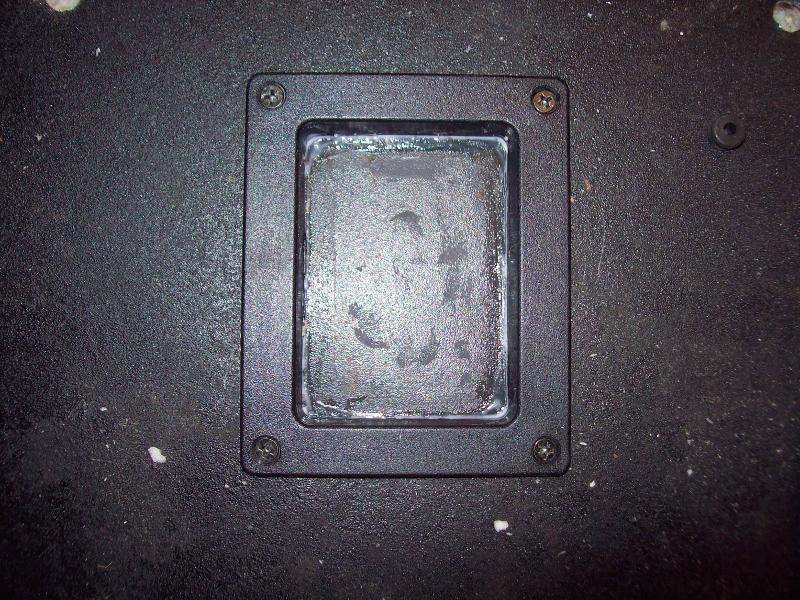
Fourth: Remove cooling unit from the back two screws(interior piece will also be removed at this point). Large Aluminum piece that looks like a Heatsink.
At this point we veer a bit depending on weather you are using a new cooler or the one that comes with it, if your cooler works you don't need to replace the Peltier cooler.
USING EXISTING PELTIER COOLER: Follow heat paste manufacturer instructions on cleaning and applying paste all you need to do is apply the new paste and flip the cooler so it's heating the inside instead of cooling it.
USING A NEW PELTIER COOLER: Remove the old heater, I used female plugs from the old one so snip and strip the old wires and splice with wire nuts,heat shrink tube,whatever you want. Plug back in,plug in cooler and find out which side of cooler is the hot side this side faces in(obviously).Reassemble the cooling unit.
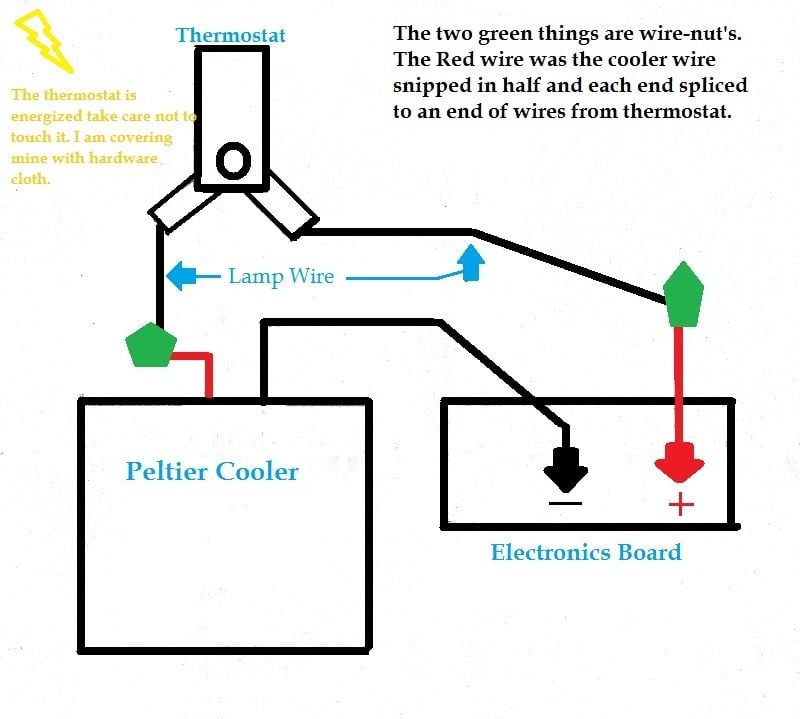
This is a wiring diagram I drew up to help make it easier to understand,
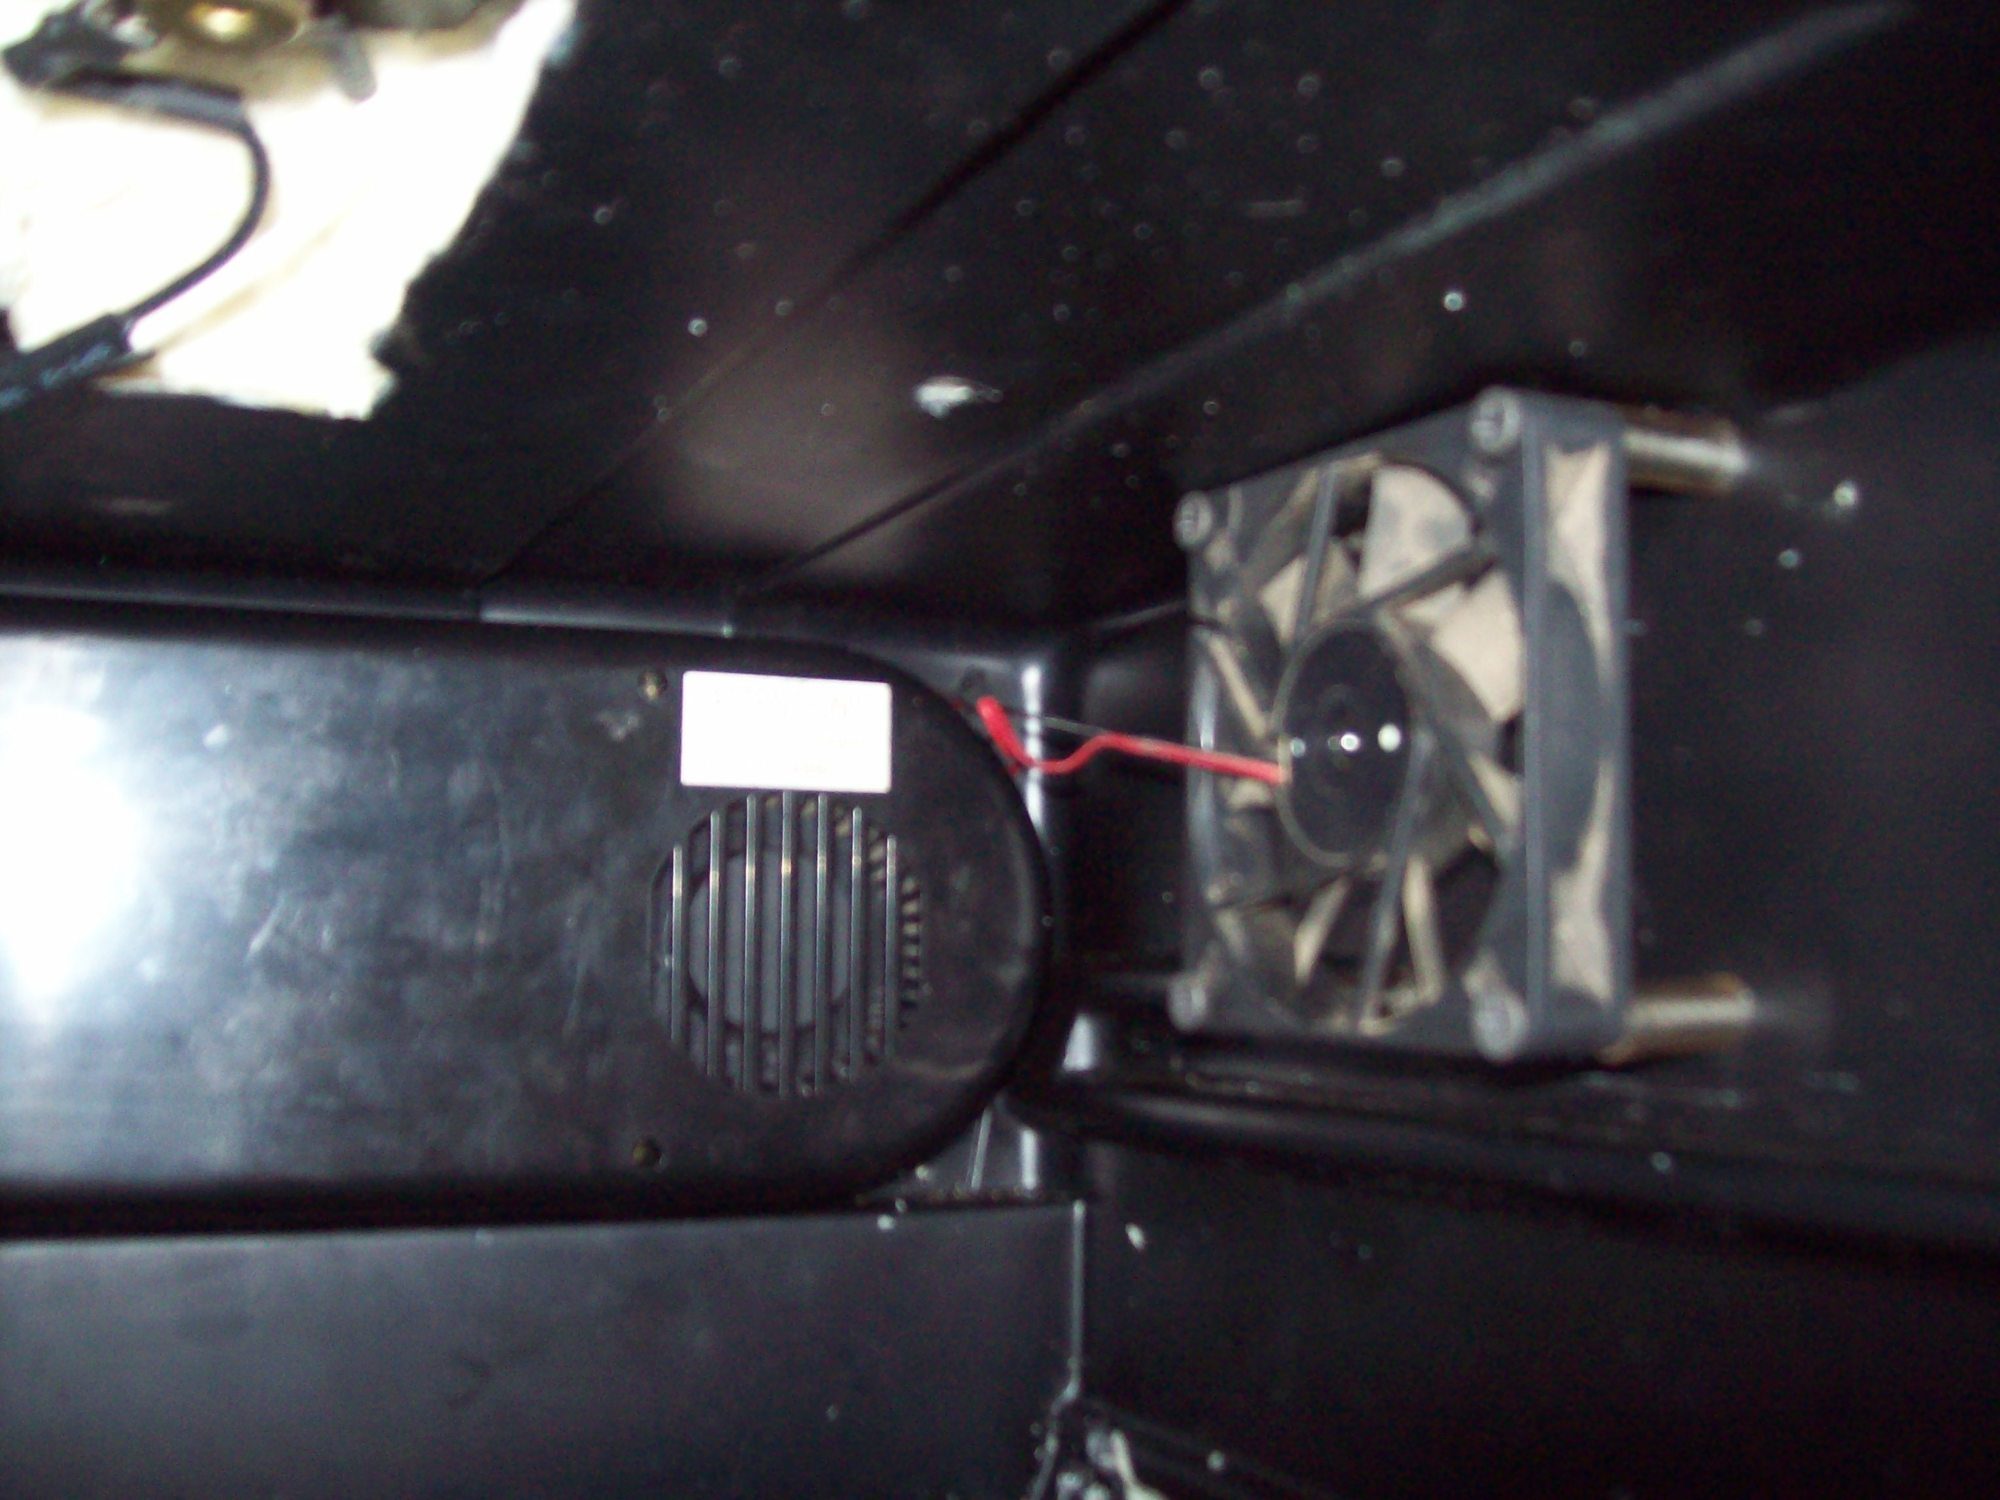
Next I installed a computer fan the temp differance between the left and right side of the incubator was about three degrees. This may vary depending on the cabinet you use you may not need to install an extra fan. If you do install an extra fan make sure you have a gap behind it or it won't work properly. I just spliced mine into the other fan.
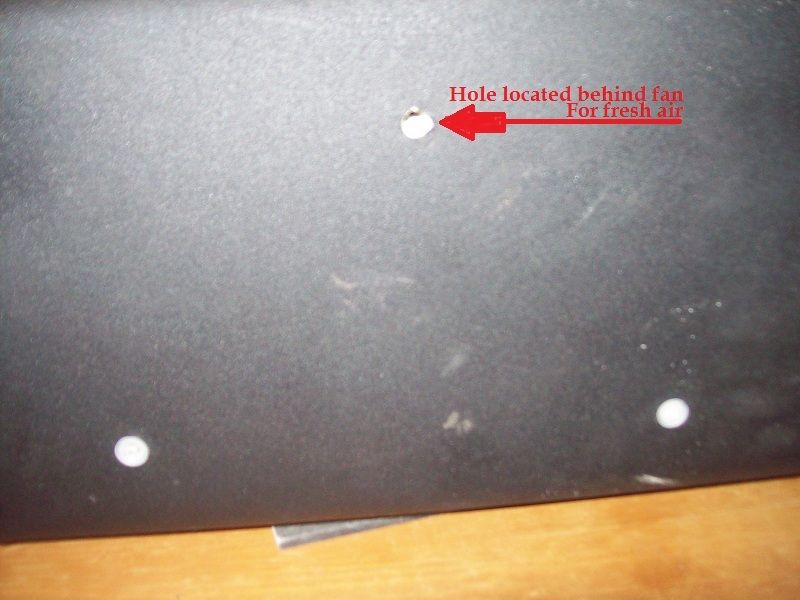
I drilled two holes in the top and three holes in the side to help regulate humidity and fresh air. You will need to decide how you want to do this since everyone's will vary depending on where you live I live in Southern Arizona so my holes are small and will stay closed much of the time.
Since I have never seen a hen that could balance an egg on end I will be hand turning my eggs so I won't be buying or making an egg turner. A regular egg turner is 15"x15" my cooler is only 14"x14" so an auto turner wouldn't work anyway. If you have any questions don't hesitate to PM me I'll help as much as I can.I have been holding temp and humidity for a few days now so it seems to be working great now I just need to find some SQ barred rock eggs and I'll be set.
GOOD LUCK AND HAVE FUN!!!
Aaron
Parts List:
1. 8 bottle wine cooler.(any size will work).
2. Bi-Metal thermostat (Incubator Warehouse $22.00 incl.shipping)
3. Peltier cooler (amazon.com $10.38 incl.shipping) If you cooler works you won't need this part.
4. Heatsink paste (amazon.com about $10.00) You will need this no matter what.
5. Old lamp cord or equivalent.
6. Assorted tools screwdrivers,drill,wire strippers etc,etc,
7. something to connect wires together heatshrink or wirenuts or even electrical tape.

This is what I'm starting with:$25.00 from Wal-Mart several years ago.
First: Remove interior and back cover.
Drill hole where you want the control knob. I am using an old speaker wire box but, this is not necessary.
Second: cut hole on inside of cooler large enough to accommodate thermostat:... sorry so blurry it's a hard place to get a good picture.
Third: drill hole in back corner to pass thermostat wires through to the back... I am using an old lamp cord.

Fourth: Remove cooling unit from the back two screws(interior piece will also be removed at this point). Large Aluminum piece that looks like a Heatsink.
At this point we veer a bit depending on weather you are using a new cooler or the one that comes with it, if your cooler works you don't need to replace the Peltier cooler.
USING EXISTING PELTIER COOLER: Follow heat paste manufacturer instructions on cleaning and applying paste all you need to do is apply the new paste and flip the cooler so it's heating the inside instead of cooling it.
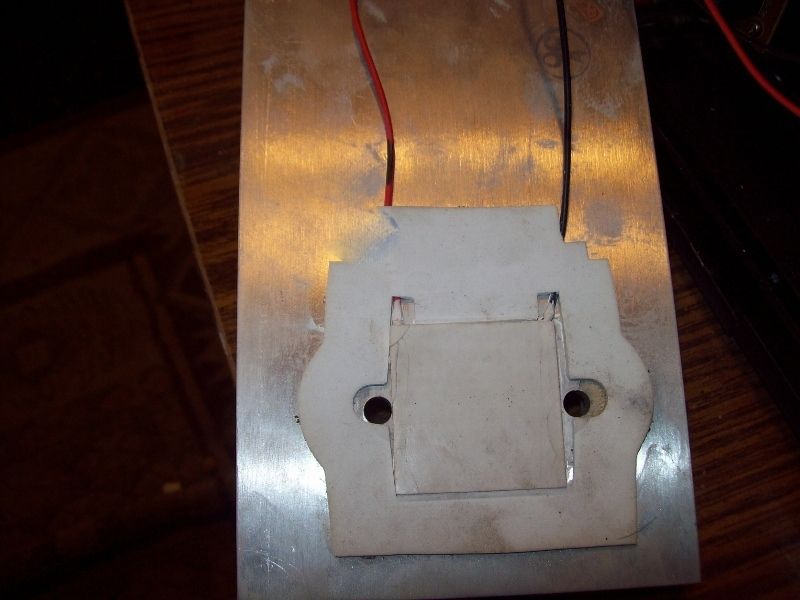
USING A NEW PELTIER COOLER: Remove the old heater, I used female plugs from the old one so snip and strip the old wires and splice with wire nuts,heat shrink tube,whatever you want. Plug back in,plug in cooler and find out which side of cooler is the hot side this side faces in(obviously).Reassemble the cooling unit.
This is a wiring diagram I drew up to help make it easier to understand,
Next I installed a computer fan the temp differance between the left and right side of the incubator was about three degrees. This may vary depending on the cabinet you use you may not need to install an extra fan. If you do install an extra fan make sure you have a gap behind it or it won't work properly. I just spliced mine into the other fan.
I drilled two holes in the top and three holes in the side to help regulate humidity and fresh air. You will need to decide how you want to do this since everyone's will vary depending on where you live I live in Southern Arizona so my holes are small and will stay closed much of the time.
Since I have never seen a hen that could balance an egg on end I will be hand turning my eggs so I won't be buying or making an egg turner. A regular egg turner is 15"x15" my cooler is only 14"x14" so an auto turner wouldn't work anyway. If you have any questions don't hesitate to PM me I'll help as much as I can.I have been holding temp and humidity for a few days now so it seems to be working great now I just need to find some SQ barred rock eggs and I'll be set.
GOOD LUCK AND HAVE FUN!!!
Aaron
Last edited:


