- Thread starter
- #61


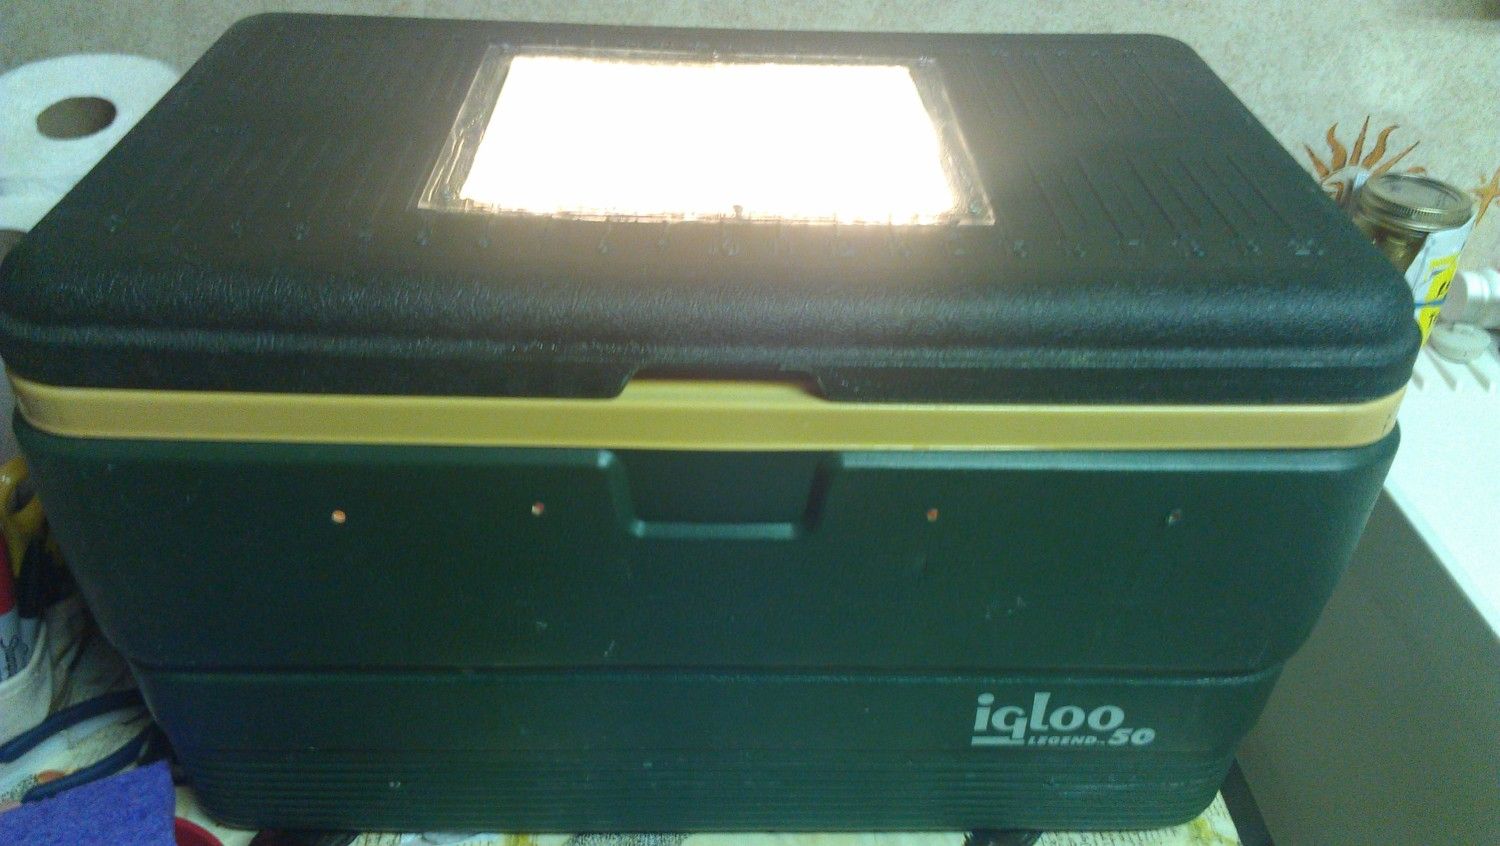
Lockdown in two coolers! serama are separate
one+ tray is empty in the cabinet cooler, ready for the next set of eggs!
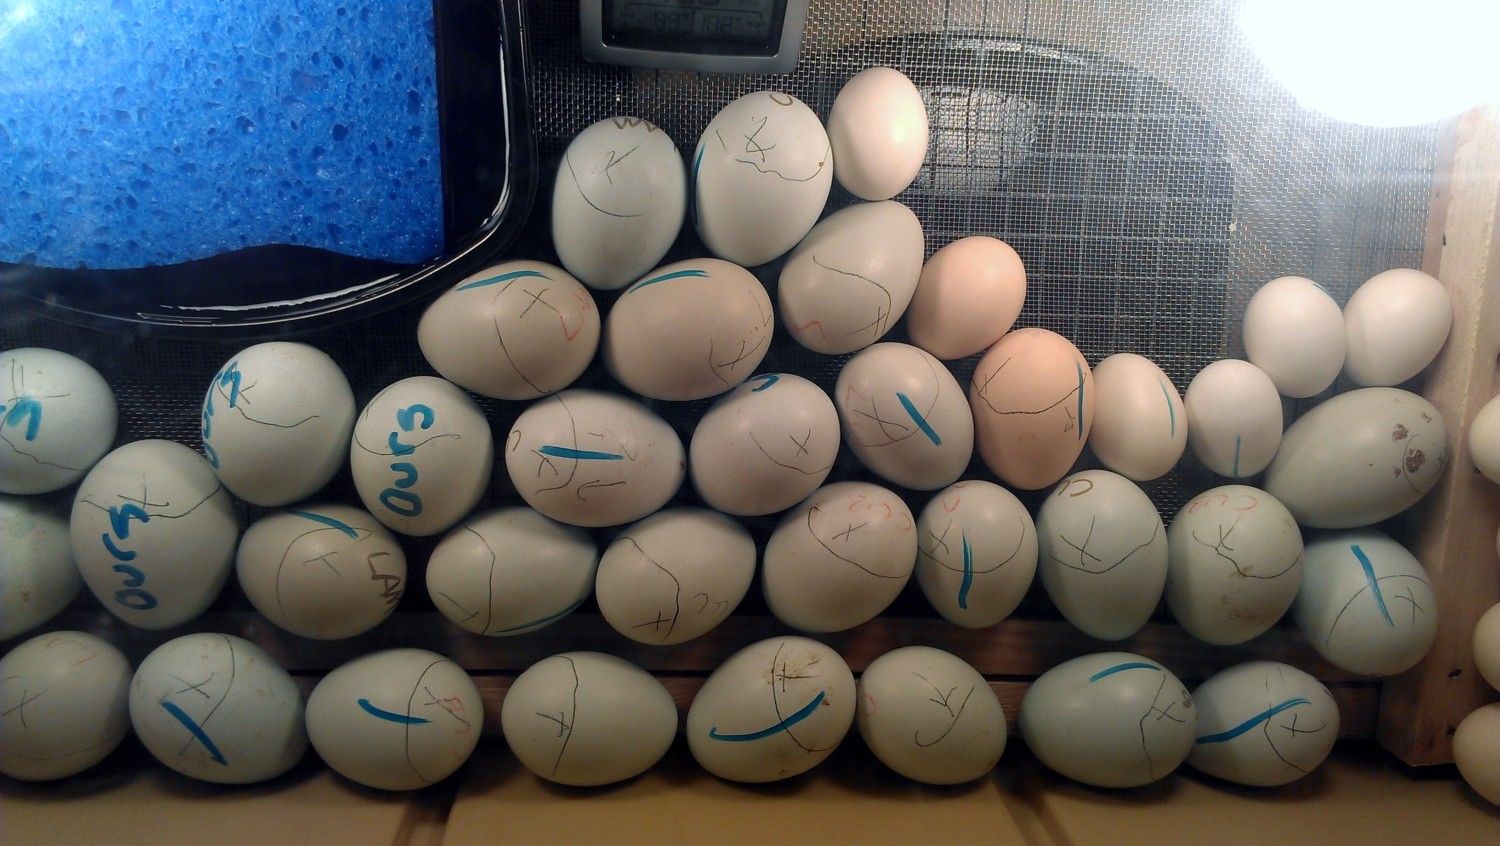
Air cells finally look good on day 18! pray for these babies and the other cooler!

one+ tray is empty in the cabinet cooler, ready for the next set of eggs!
Air cells finally look good on day 18! pray for these babies and the other cooler!


