[FONT=arial,helvetica,sans-serif]The Montana Egg Cabin - MTchick[/FONT]
Our coop is now completed. This post has all the photos, in order of most recent to least recent, that I think are worth sharing... that means it has a lot of photos!
Brief synopsis; 7 standard hens, 4'x4' floor plan henhouse (which is a bit small but probably good for the cold Montana winters), 20'x10' fenced in run, spent about $200, of which at least half the cost was just the darned fence, the Montana Egg Cabin was built with about 90% recycled or reclaimed materials by two home-improvement experienced 20somethings.
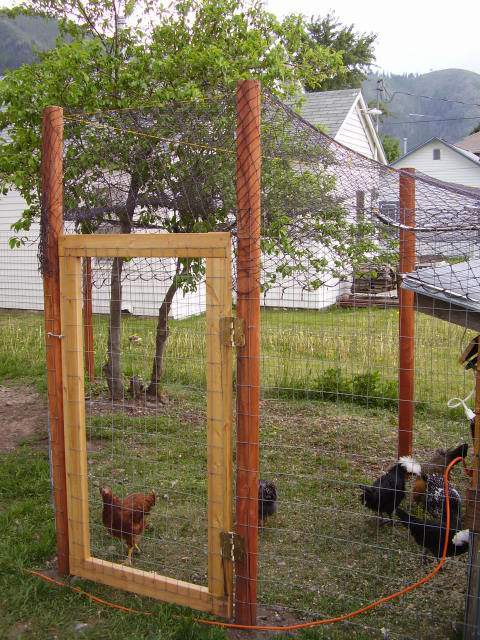
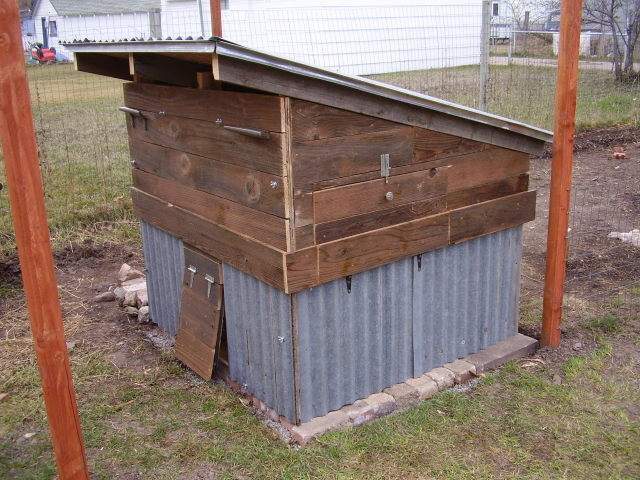
View from the side, with anti-hawk netting all set up

Excellent view of entrance and anti-hawk netting
Front view from inside the run (this one is before we put up the netting). Note that the whole, entire, front of the coop can be removed by unscrewing 8 wingnuts that hold the front wall in place. You can see each pair of wingnuts on the edges of each wall if you squint really hard.
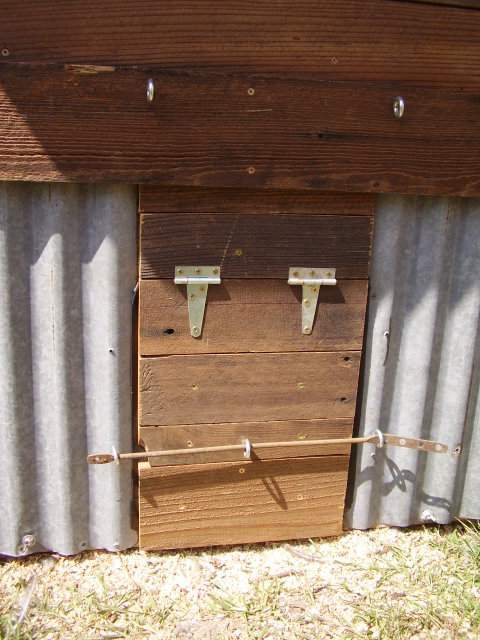
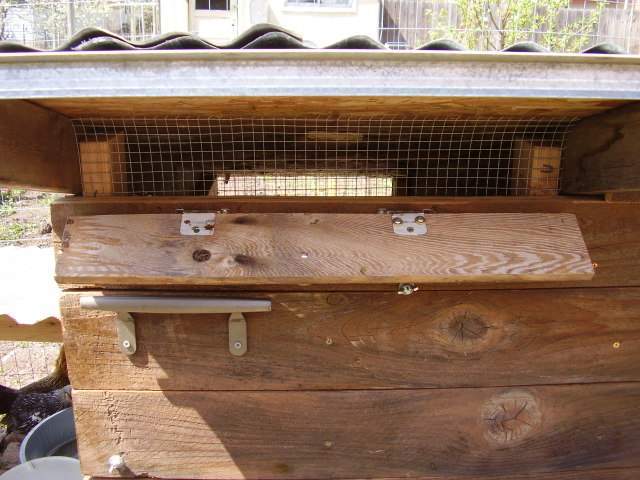
Detail of the chicken pophole when closed snug.
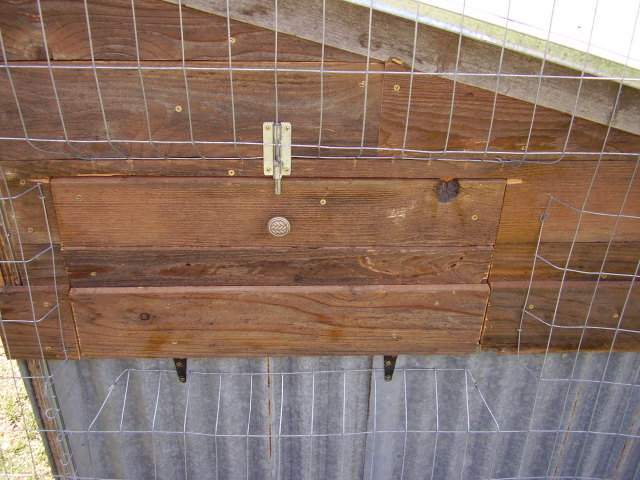
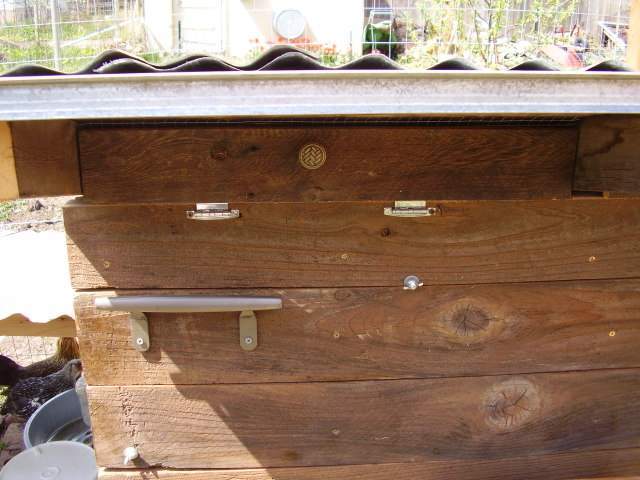
Detail of egg-door (on the right, outside the pen to keep shoes clean)
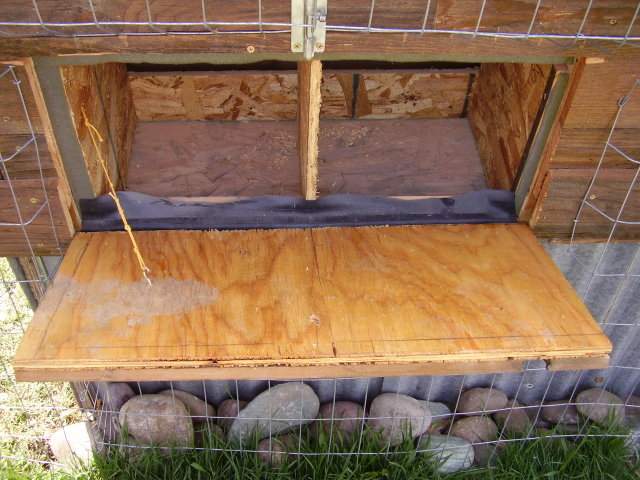
When door opens, easy access to nestboxes.
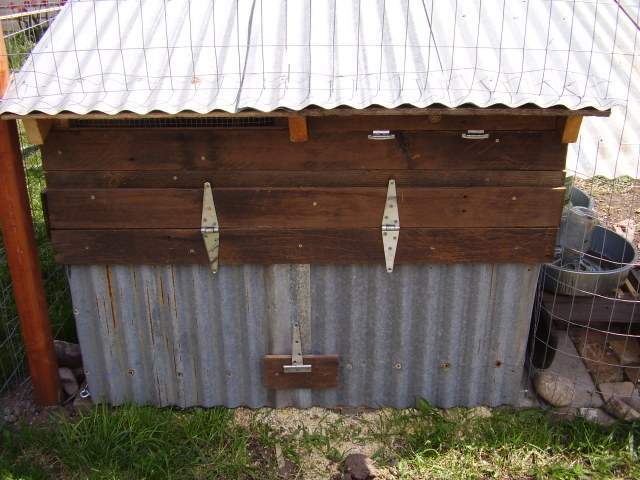
Back of the coop, before the maintenance door is opened.
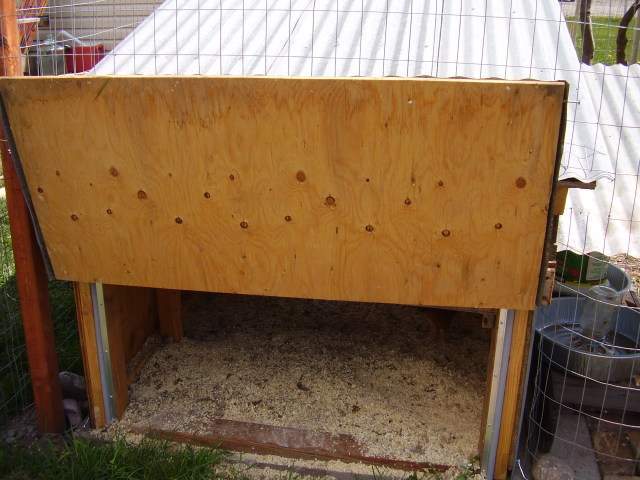
Back of the coop "maintenance door" swings open to allow poo and shavings to be raked out.
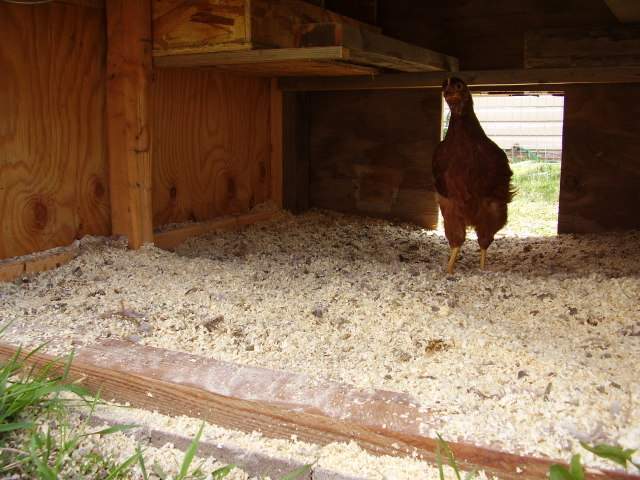
Chicken's eye view from in the coop- you can see the elevated nest boxes to the left -upper edge of the photo
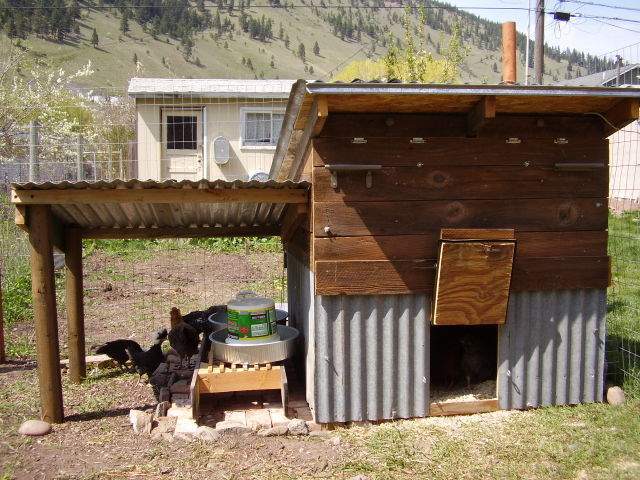
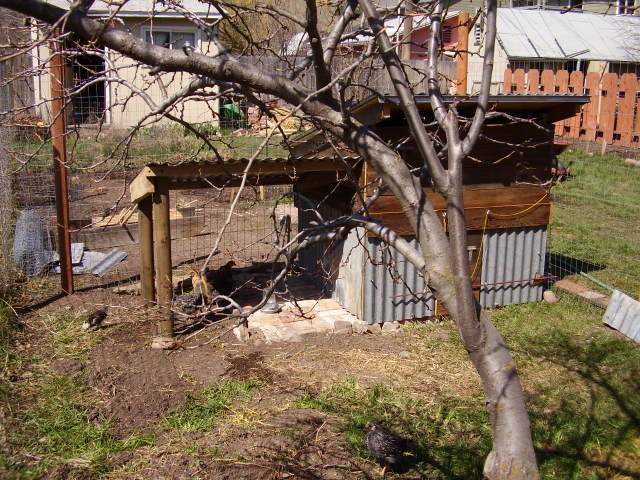
Good shot of the attached chicken-port with brick patio and how the chicken-port shades the West wall in the afternoon to keep the coop cool.
Roof-line vents open in summer to allow cross ventilation
And close at night or in winter to keep warmth inside the henhouse.
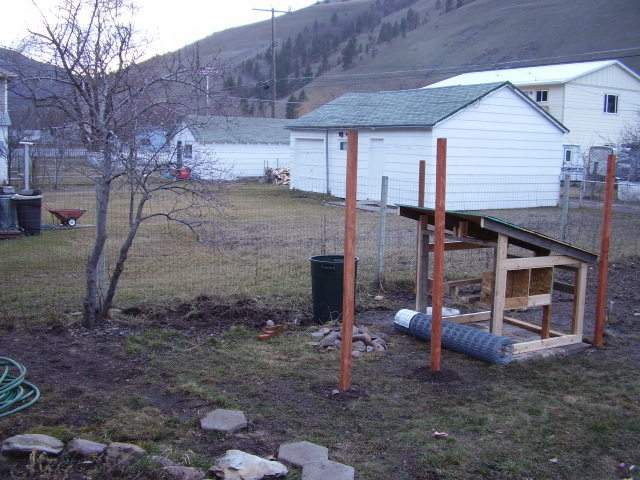
The coop, pre-fence and pre-chicken-port. Note the exposed brick footing to keep the shavings dry during our wet springs.
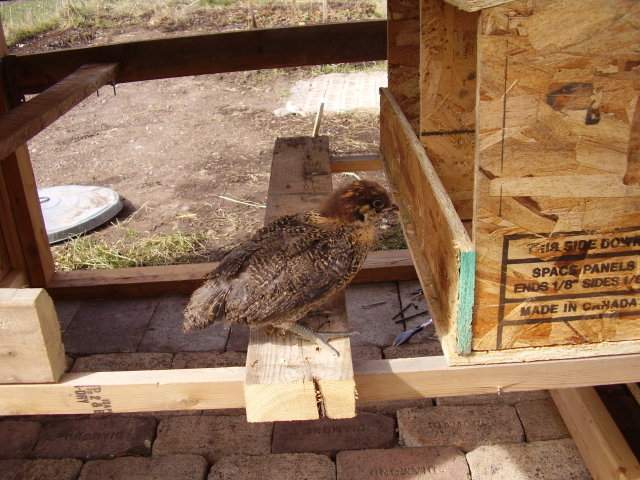
Our Americauna when she was a bitty little thing, sitting on the 2x4 that leads into the nestboxes. This photo is pre-walls on the coop.
First wall going up- this photo is taken from inside the veggie garden. You can see the 2x4 on the back wall that supports the rear maintenance door in this photo.
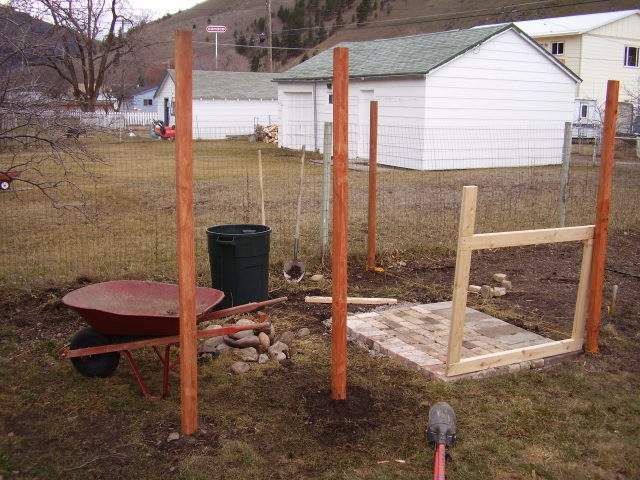
Image of coop under construction- shows the brick footing and structure in general pretty well.
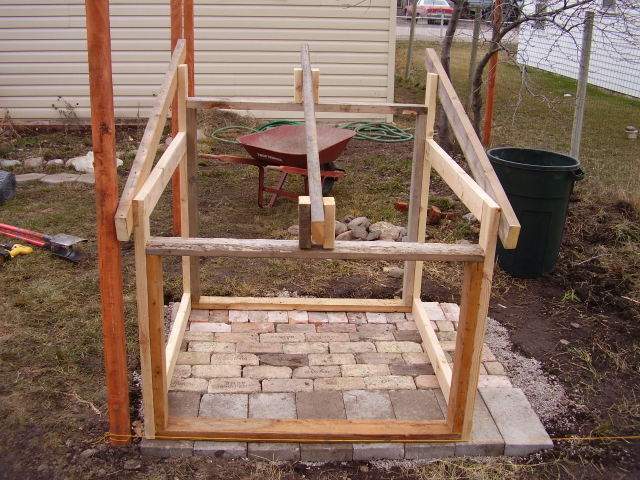
Side view of skeletal coop with roof.
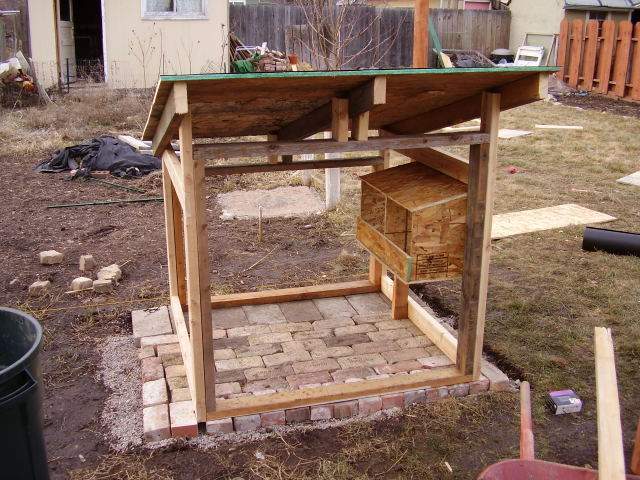
Front view of coop after the roof and nest boxes were first put into place.
The very basic frame, from in the veggie garden.
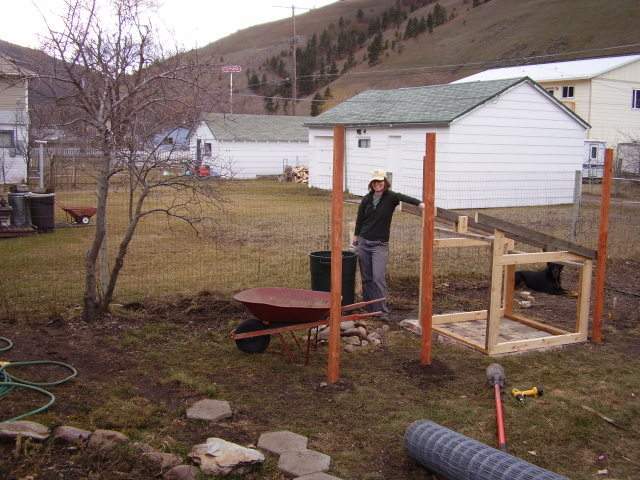
Me, for scale, on the first day of coop building (I am 5'7")
Who needs walls?
Before the bricks, there was mud.
Before the mud, there were weeds and an unkempt wildflower garden.
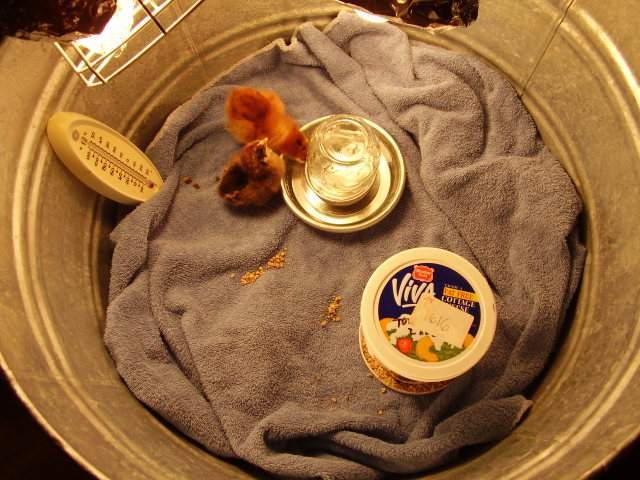
Before the coop, there were chicks in a bin in the bathroom.
That is all. I hope you enjoyed it!
-MTchick
Our coop is now completed. This post has all the photos, in order of most recent to least recent, that I think are worth sharing... that means it has a lot of photos!
Brief synopsis; 7 standard hens, 4'x4' floor plan henhouse (which is a bit small but probably good for the cold Montana winters), 20'x10' fenced in run, spent about $200, of which at least half the cost was just the darned fence, the Montana Egg Cabin was built with about 90% recycled or reclaimed materials by two home-improvement experienced 20somethings.
View from the side, with anti-hawk netting all set up
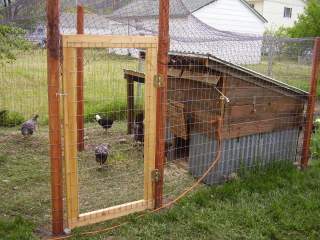
Excellent view of entrance and anti-hawk netting
Front view from inside the run (this one is before we put up the netting). Note that the whole, entire, front of the coop can be removed by unscrewing 8 wingnuts that hold the front wall in place. You can see each pair of wingnuts on the edges of each wall if you squint really hard.
Detail of the chicken pophole when closed snug.
Detail of egg-door (on the right, outside the pen to keep shoes clean)
When door opens, easy access to nestboxes.
Back of the coop, before the maintenance door is opened.
Back of the coop "maintenance door" swings open to allow poo and shavings to be raked out.
Chicken's eye view from in the coop- you can see the elevated nest boxes to the left -upper edge of the photo
Good shot of the attached chicken-port with brick patio and how the chicken-port shades the West wall in the afternoon to keep the coop cool.
Roof-line vents open in summer to allow cross ventilation
And close at night or in winter to keep warmth inside the henhouse.
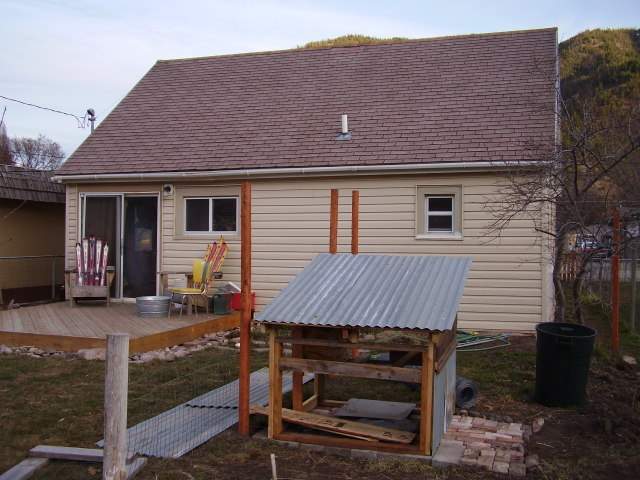
The coop, pre-fence and pre-chicken-port. Note the exposed brick footing to keep the shavings dry during our wet springs.
Our Americauna when she was a bitty little thing, sitting on the 2x4 that leads into the nestboxes. This photo is pre-walls on the coop.
First wall going up- this photo is taken from inside the veggie garden. You can see the 2x4 on the back wall that supports the rear maintenance door in this photo.
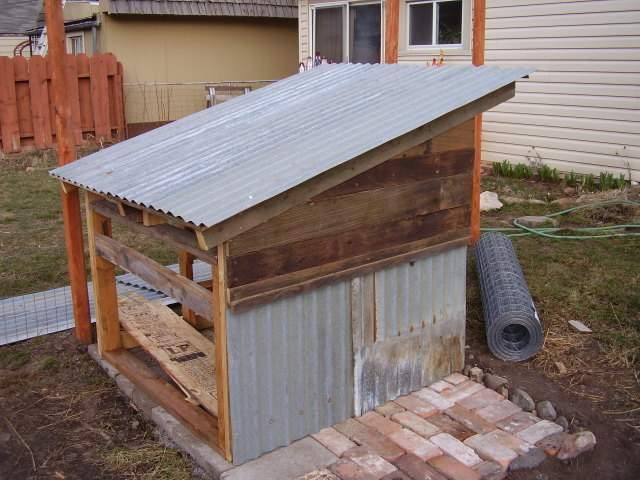
Image of coop under construction- shows the brick footing and structure in general pretty well.
Side view of skeletal coop with roof.
Front view of coop after the roof and nest boxes were first put into place.
The very basic frame, from in the veggie garden.
Me, for scale, on the first day of coop building (I am 5'7")
Who needs walls?
Before the bricks, there was mud.

Before the mud, there were weeds and an unkempt wildflower garden.

Before the coop, there were chicks in a bin in the bathroom.
That is all. I hope you enjoyed it!
-MTchick
