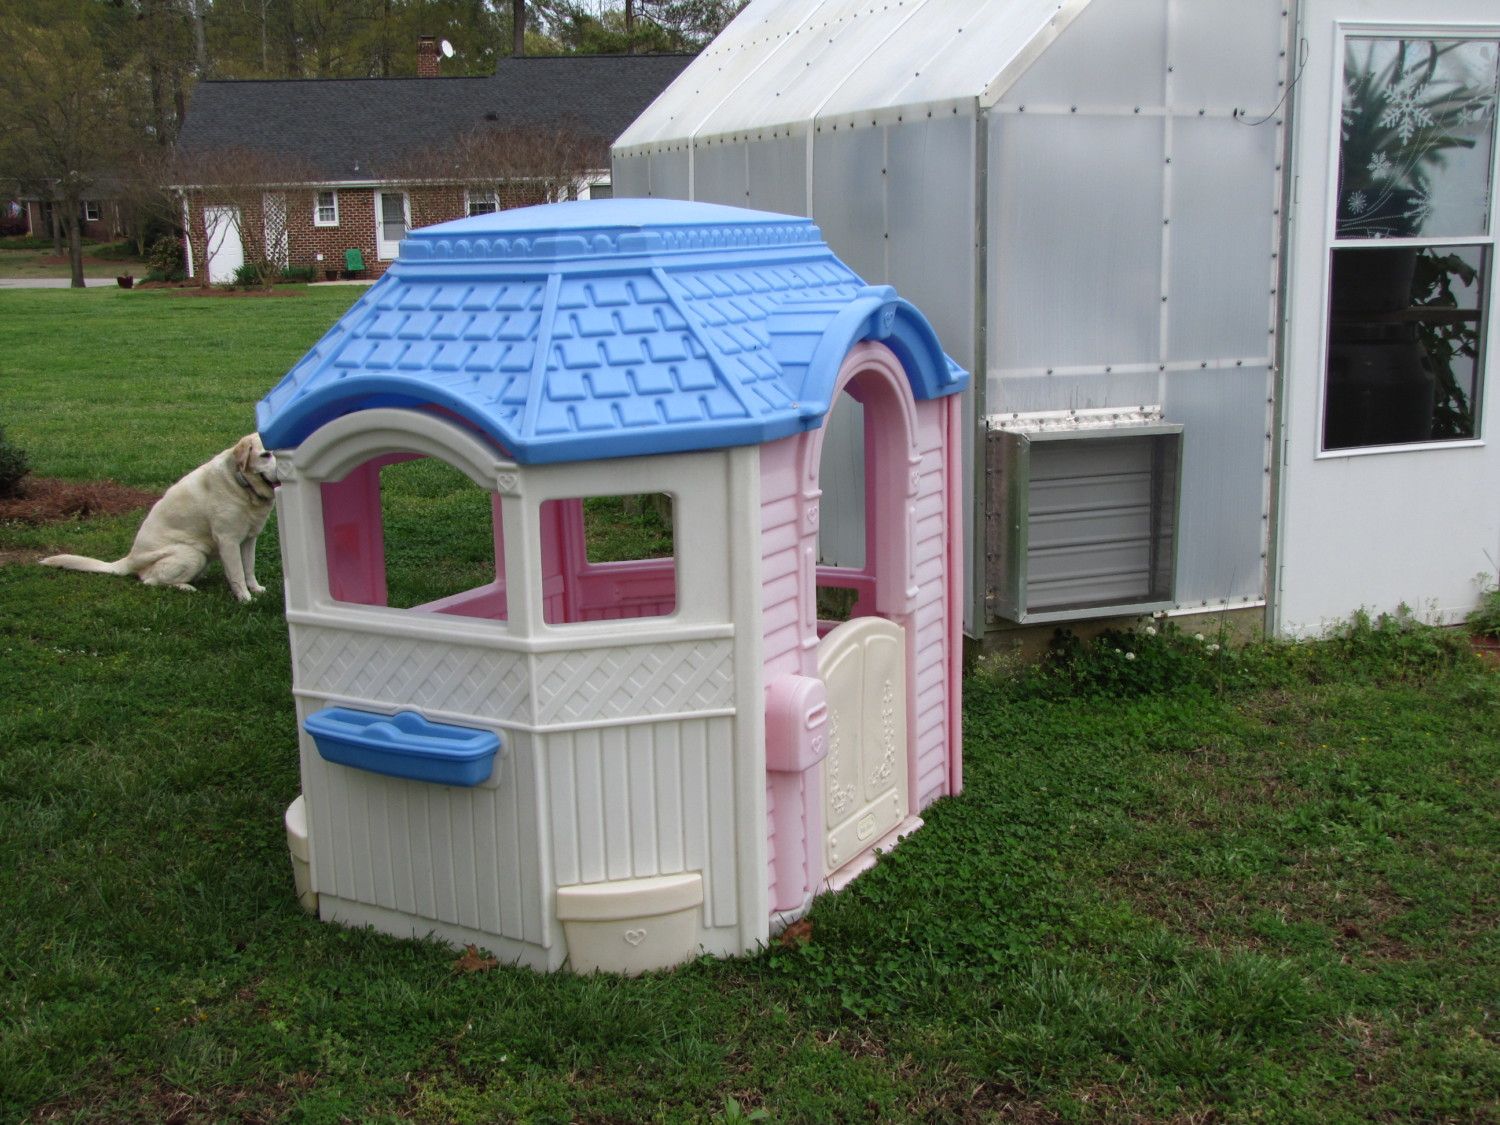
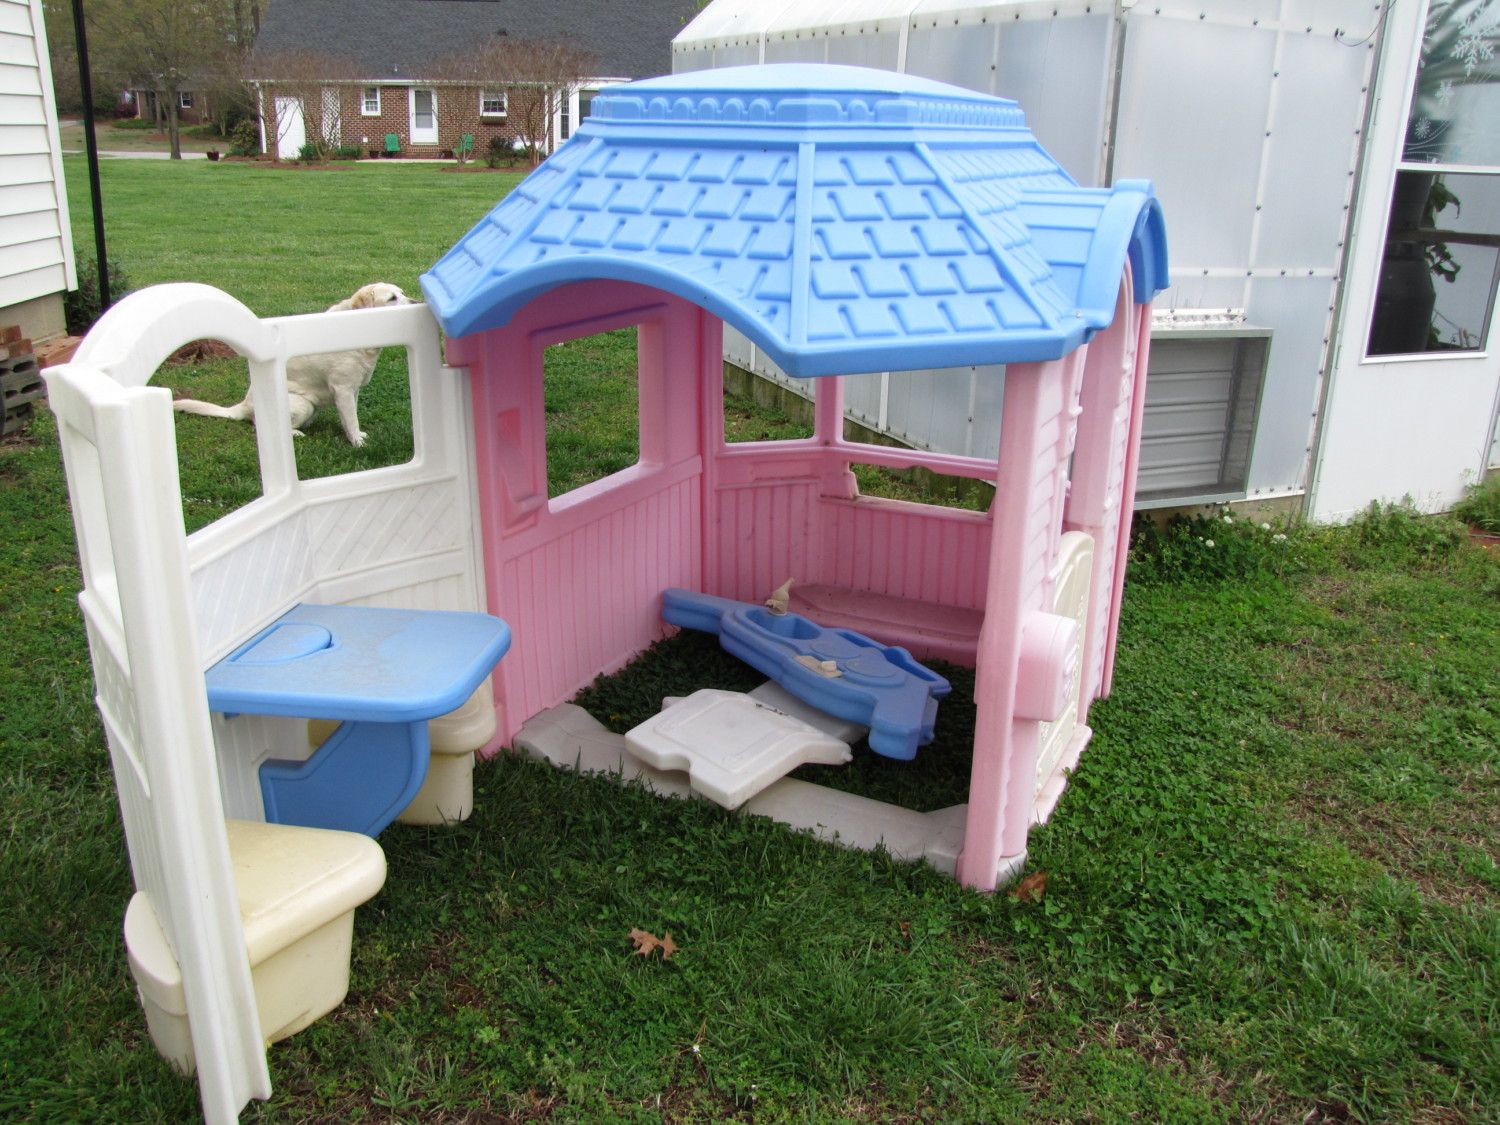
We acquired a Little Tykes Playhouse from our neighbors to convert to a chicken coop. It's a work in progress and our chicks can't wait to get out of their temporary home. We also need to thank Hen House Rocks for the inspiration! This project took us longer than we anticipated, but the outcome was well worth it. If we had to do it all over again, I would be very careful on choosing the correct playhouse with less windows and gaps to figure out how to cover and fill. We could have had a wooden coop built in less time than it took us to retro fit this one in our part time hours. We were in no hurry and wanted to make the right choices because once you cut a whole in the plastic you were pretty much stuck with it, no turning back. It took much thought and many trips to the local building supply center to figure out what would work best for our situation. Best of all our neighbors have enjoyed watching their playhouse come to life as a new home for our girls. I give many thanks for my husband for taking the time out of his busy schedule to help me with this new hobby.
.
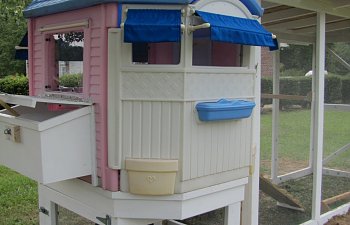
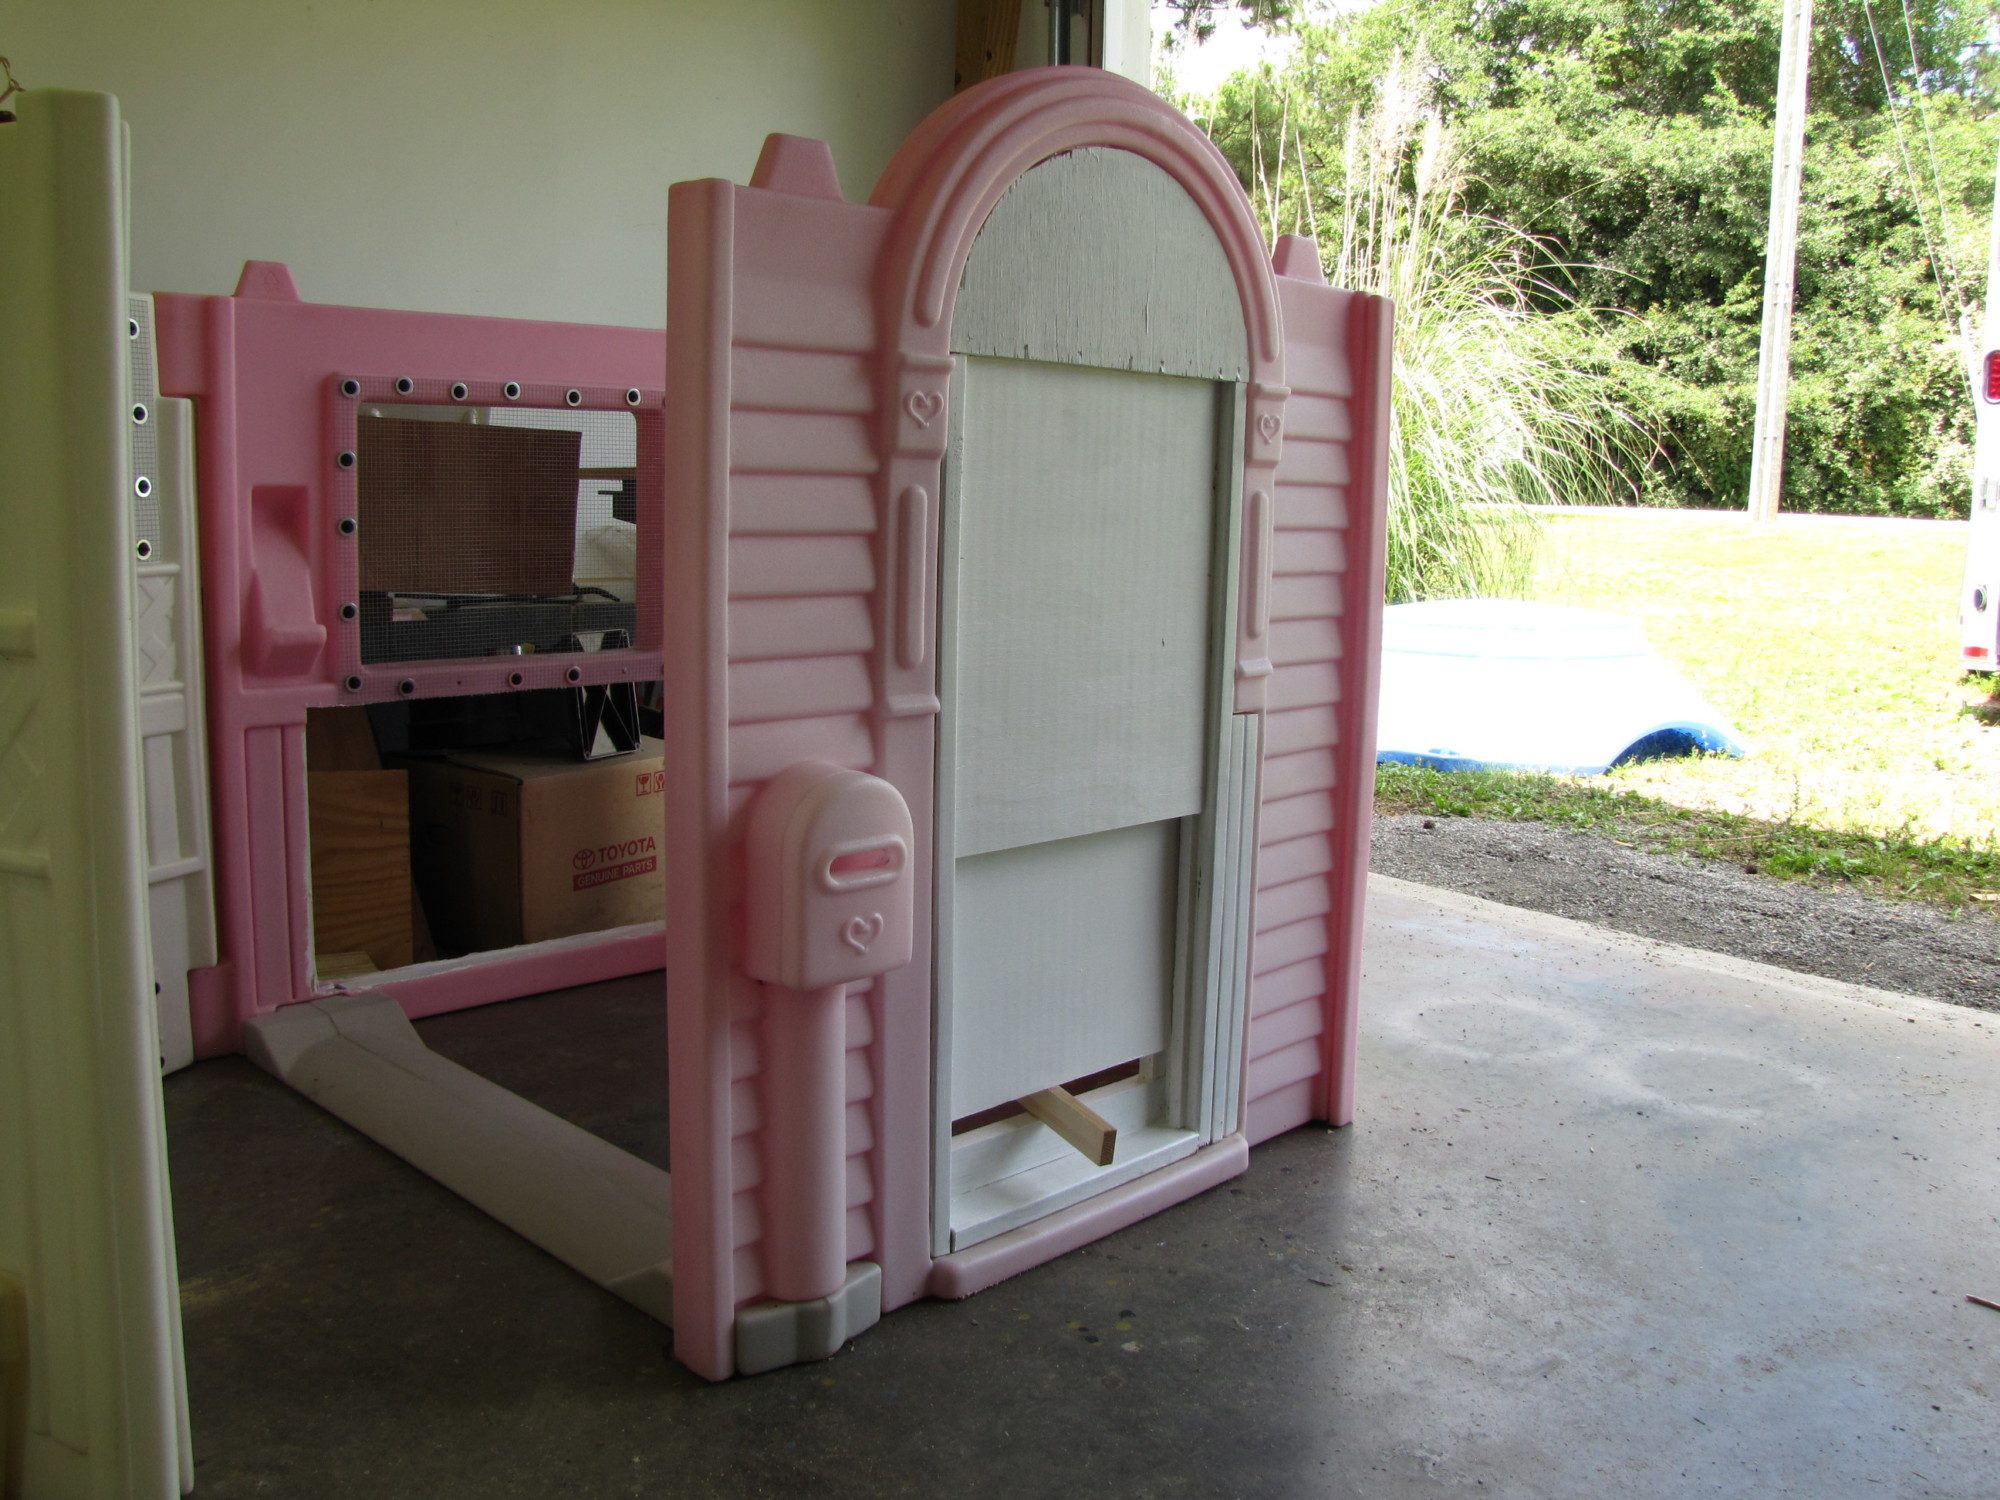
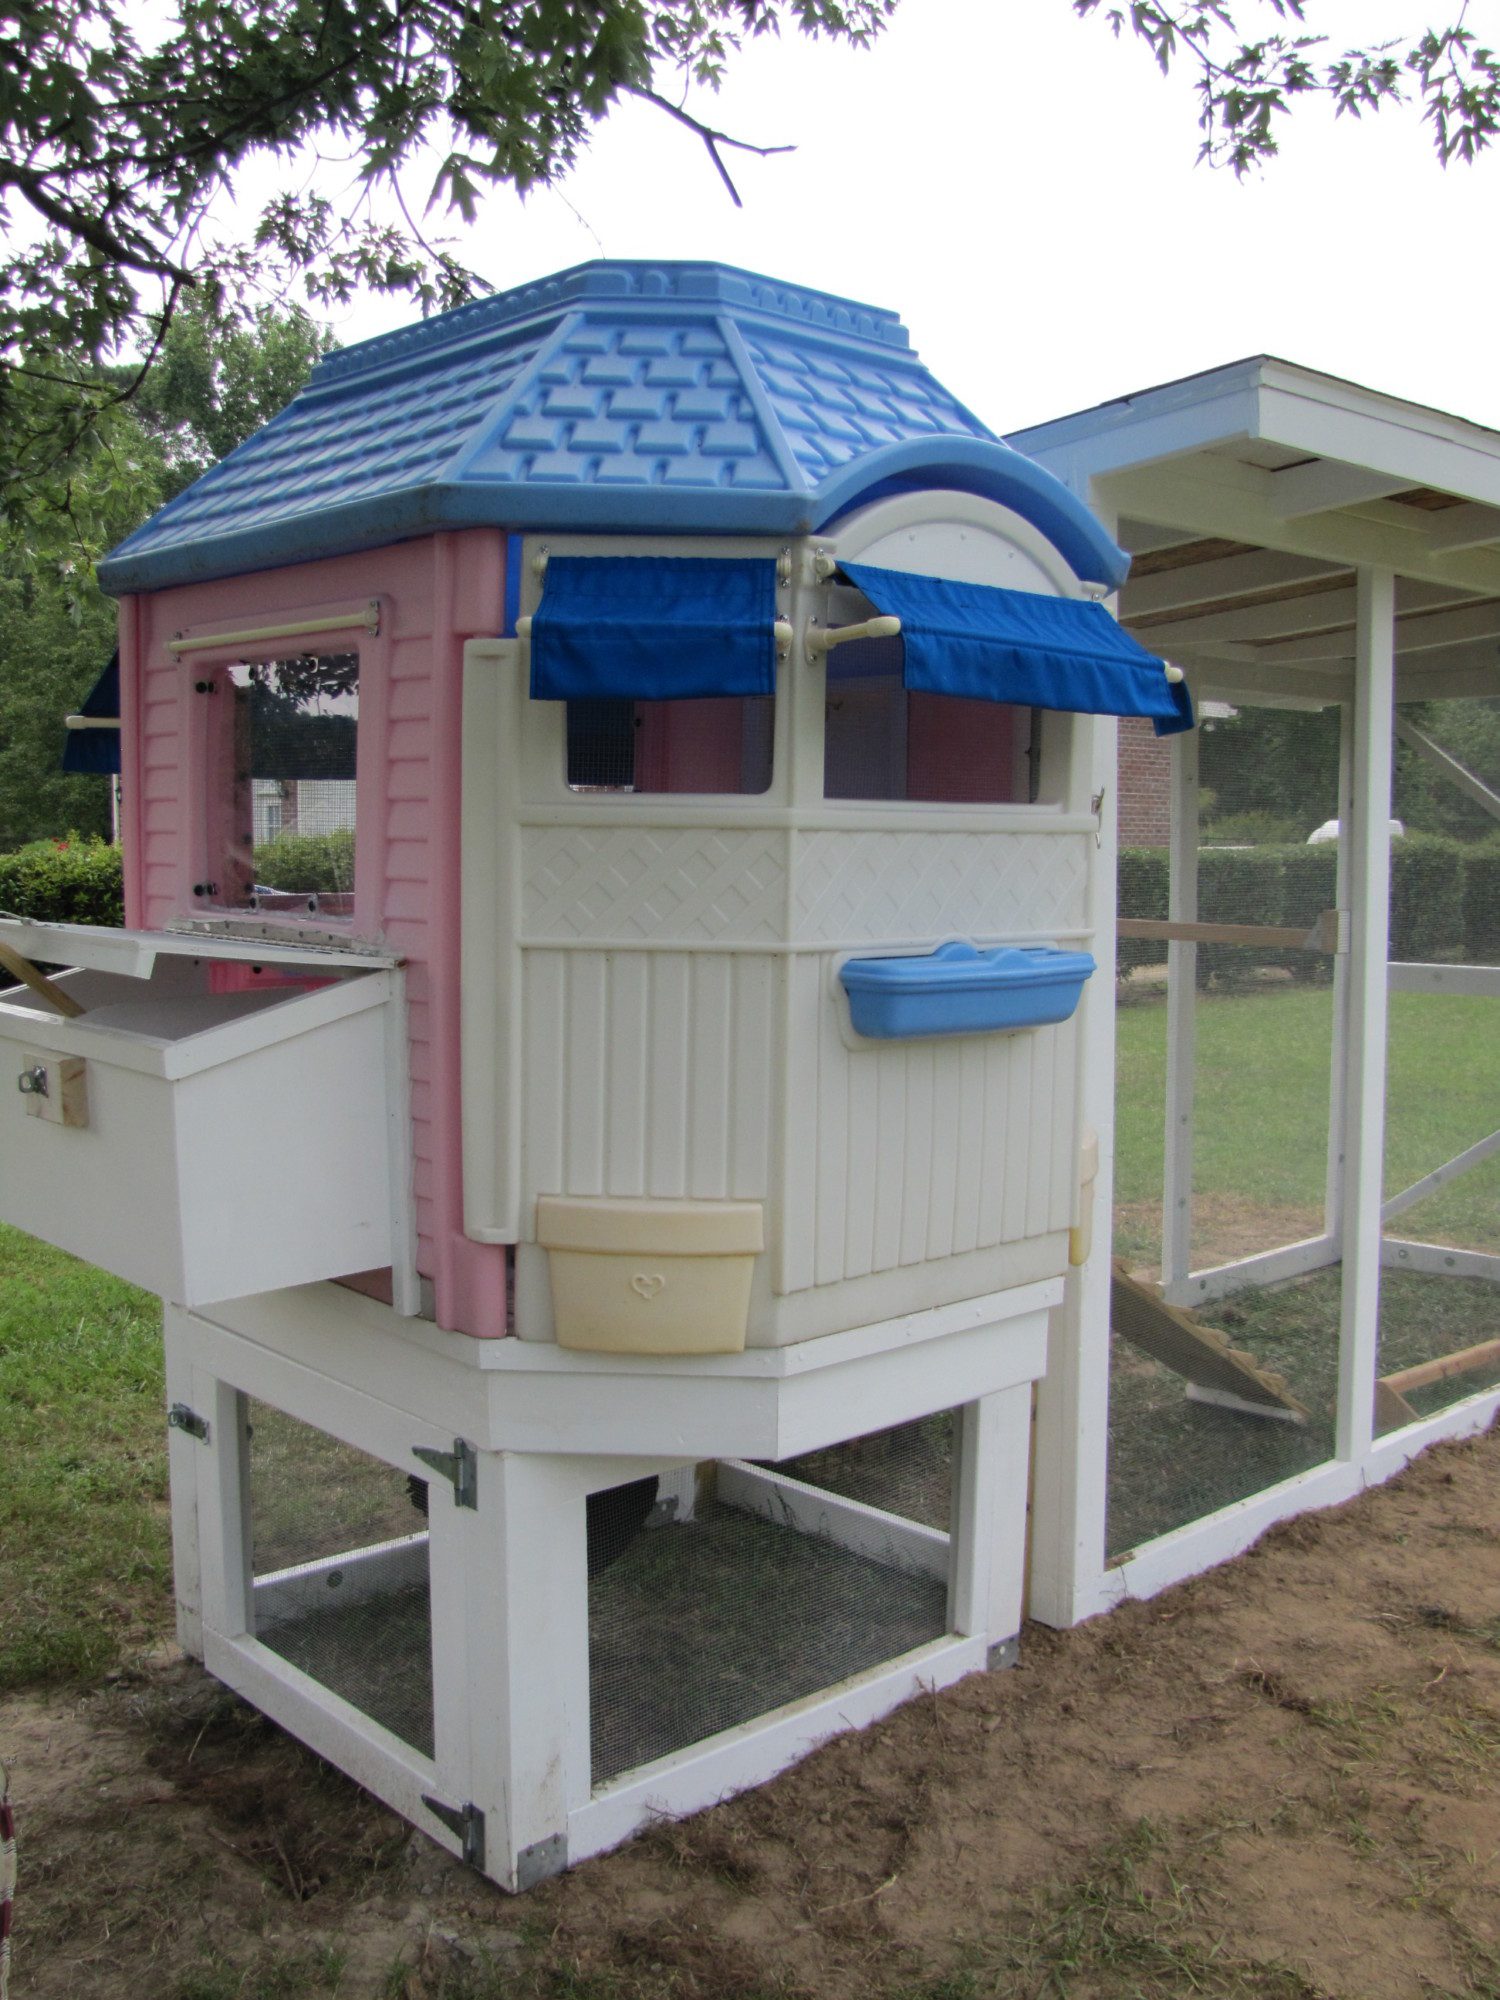
Here you can see we have cut away all the plastic fixtures not needed for the coop and covered the windows with 1/4" hardware cloth. The opening under the window is for our two nesting boxes.
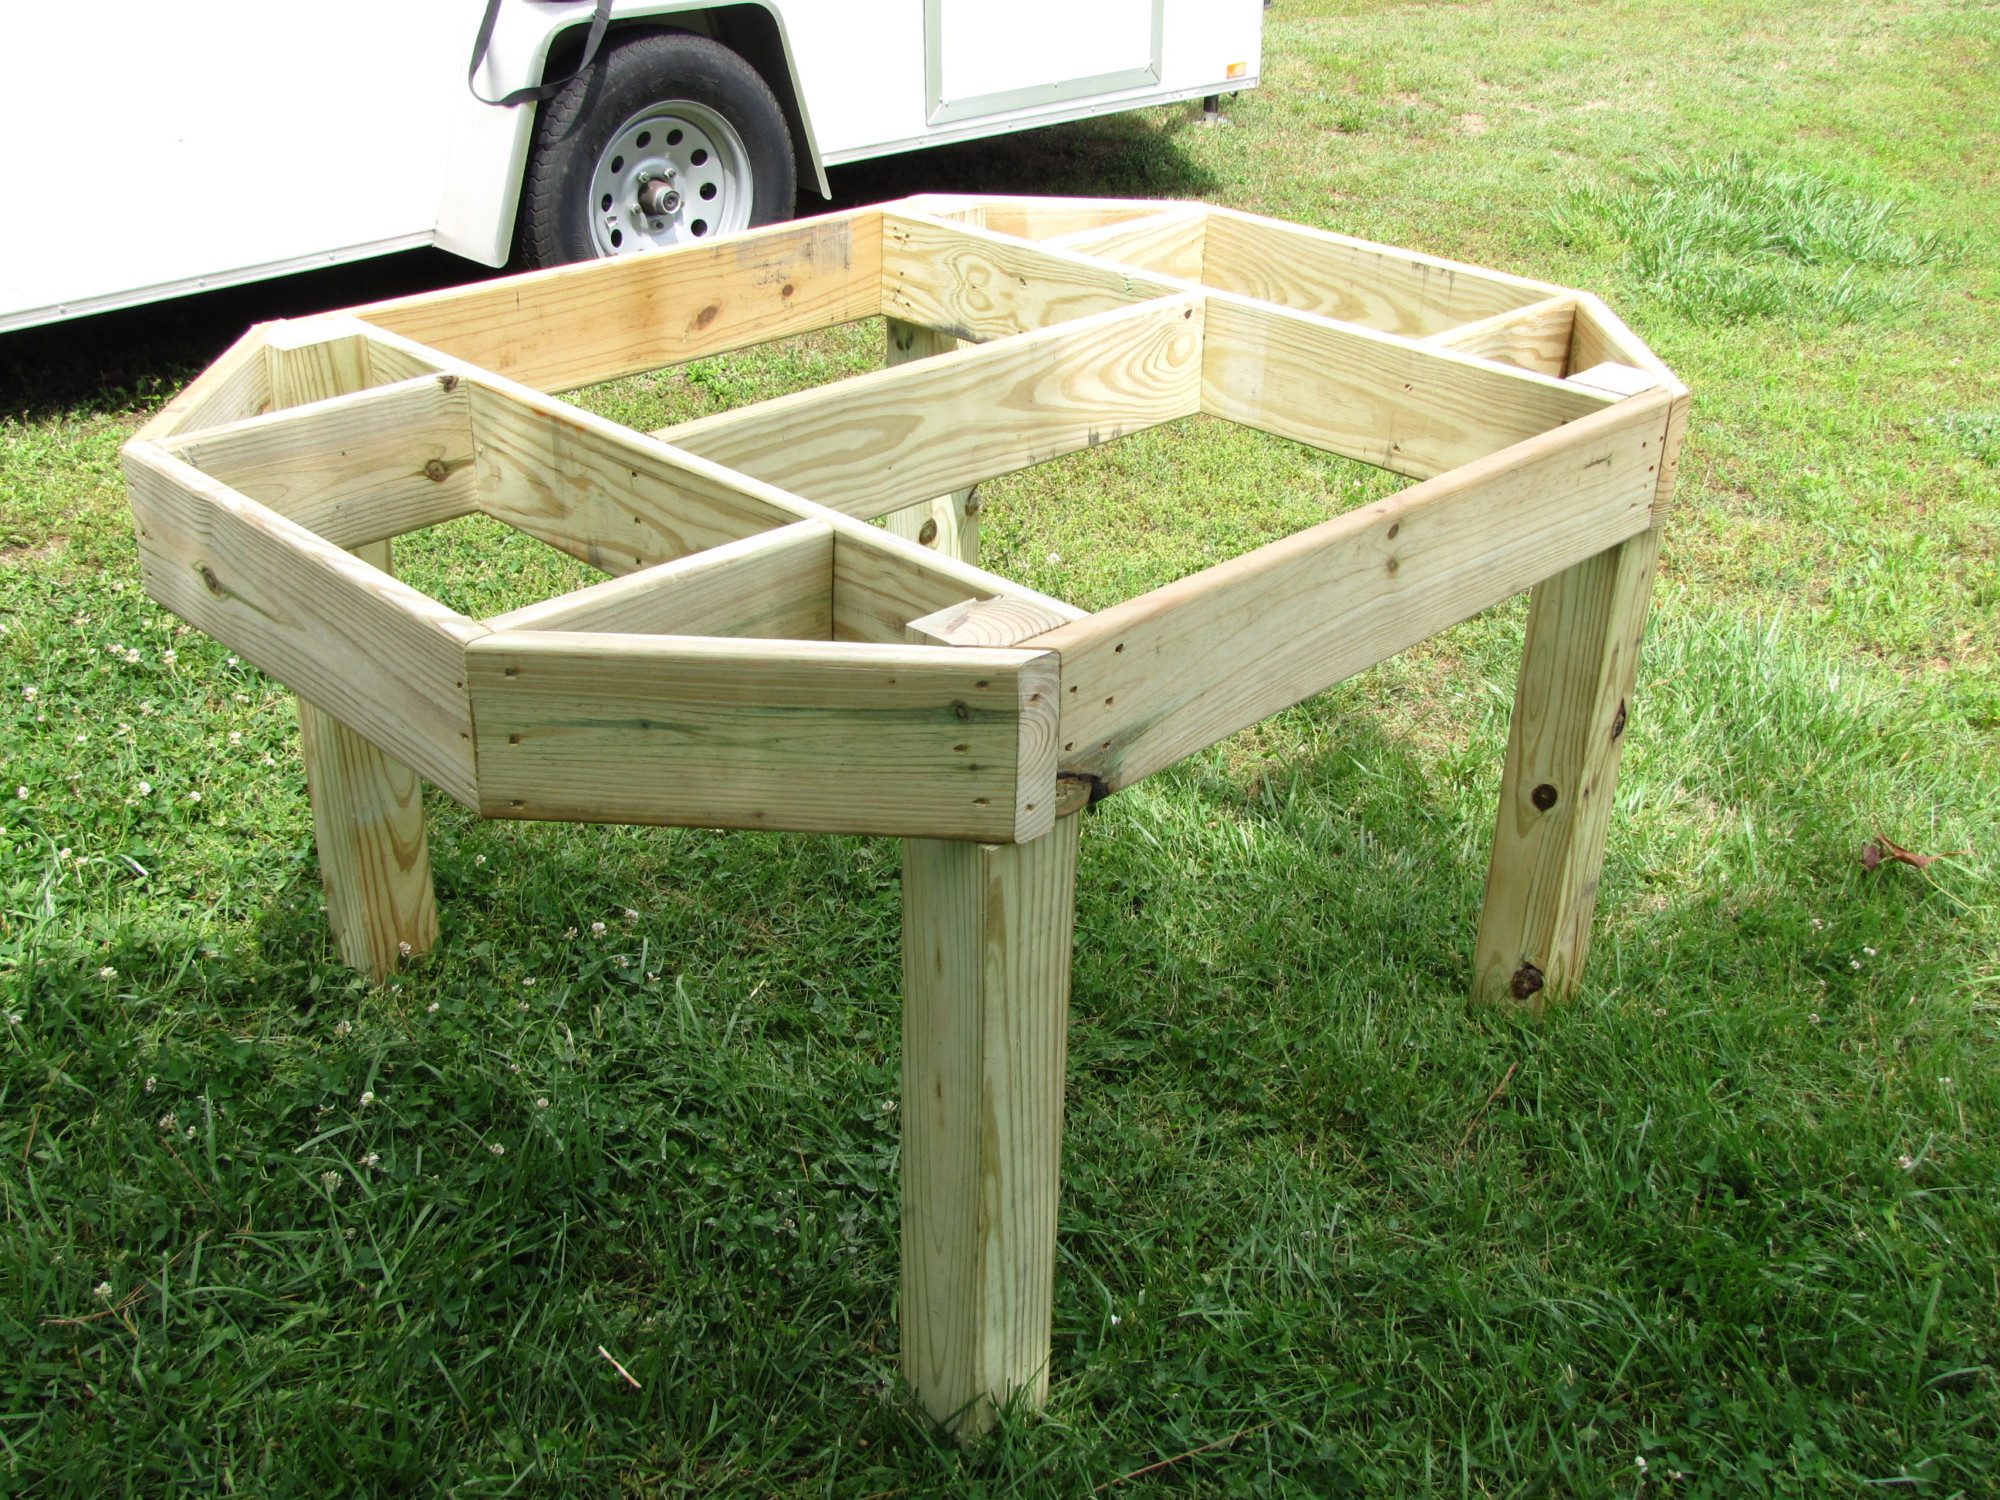
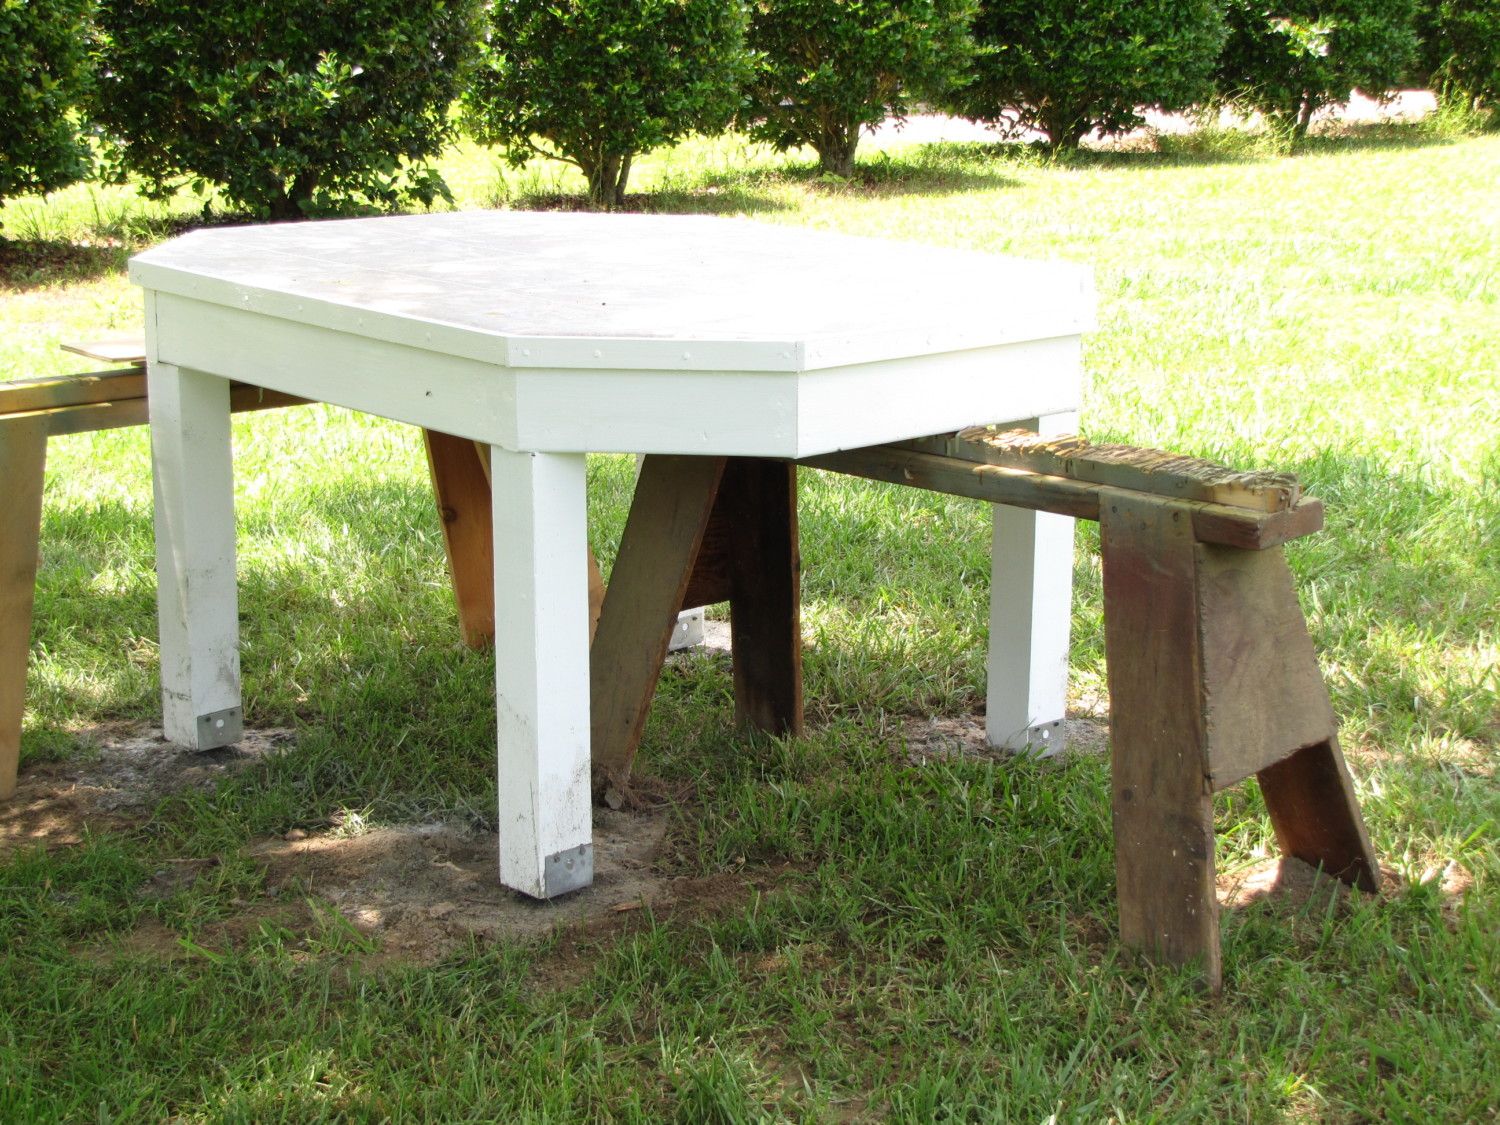
We built a platform base out of treated lumber.
We test fitted the playhouse to make sure everything lined up. The base was painted, the floor was covered with linoleum. We dug holes and set the legs on concrete to hold the coop steady in high winds. It's currently resting on sawhorses while the concrete cures.
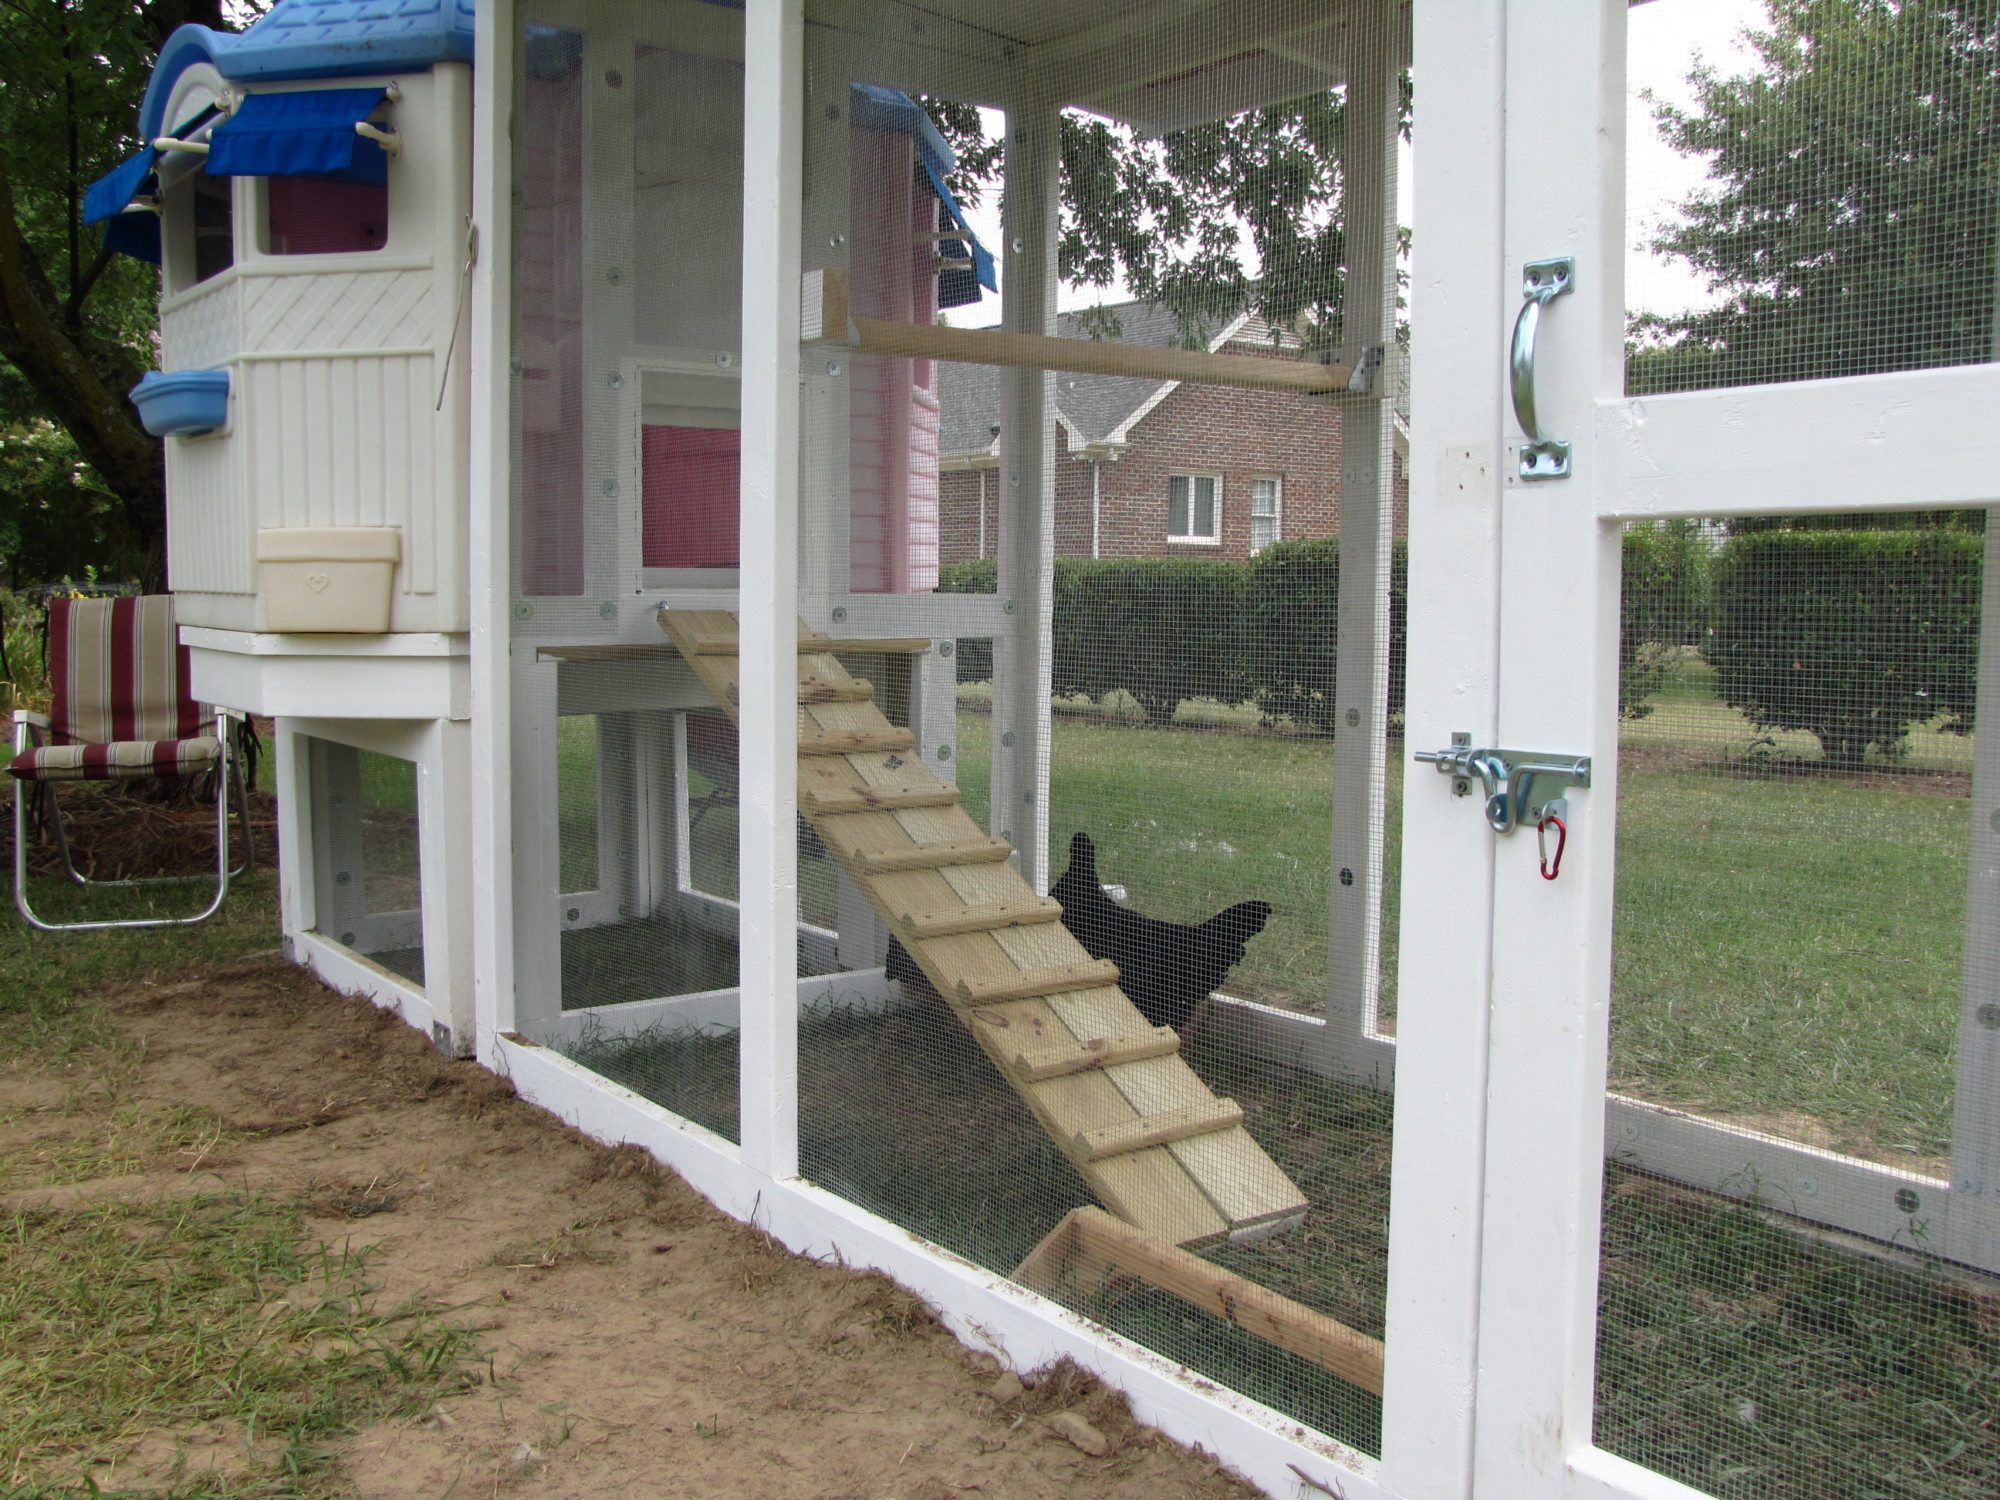
Here is the door that will lead to the chicken run.
More to follow as we progress.
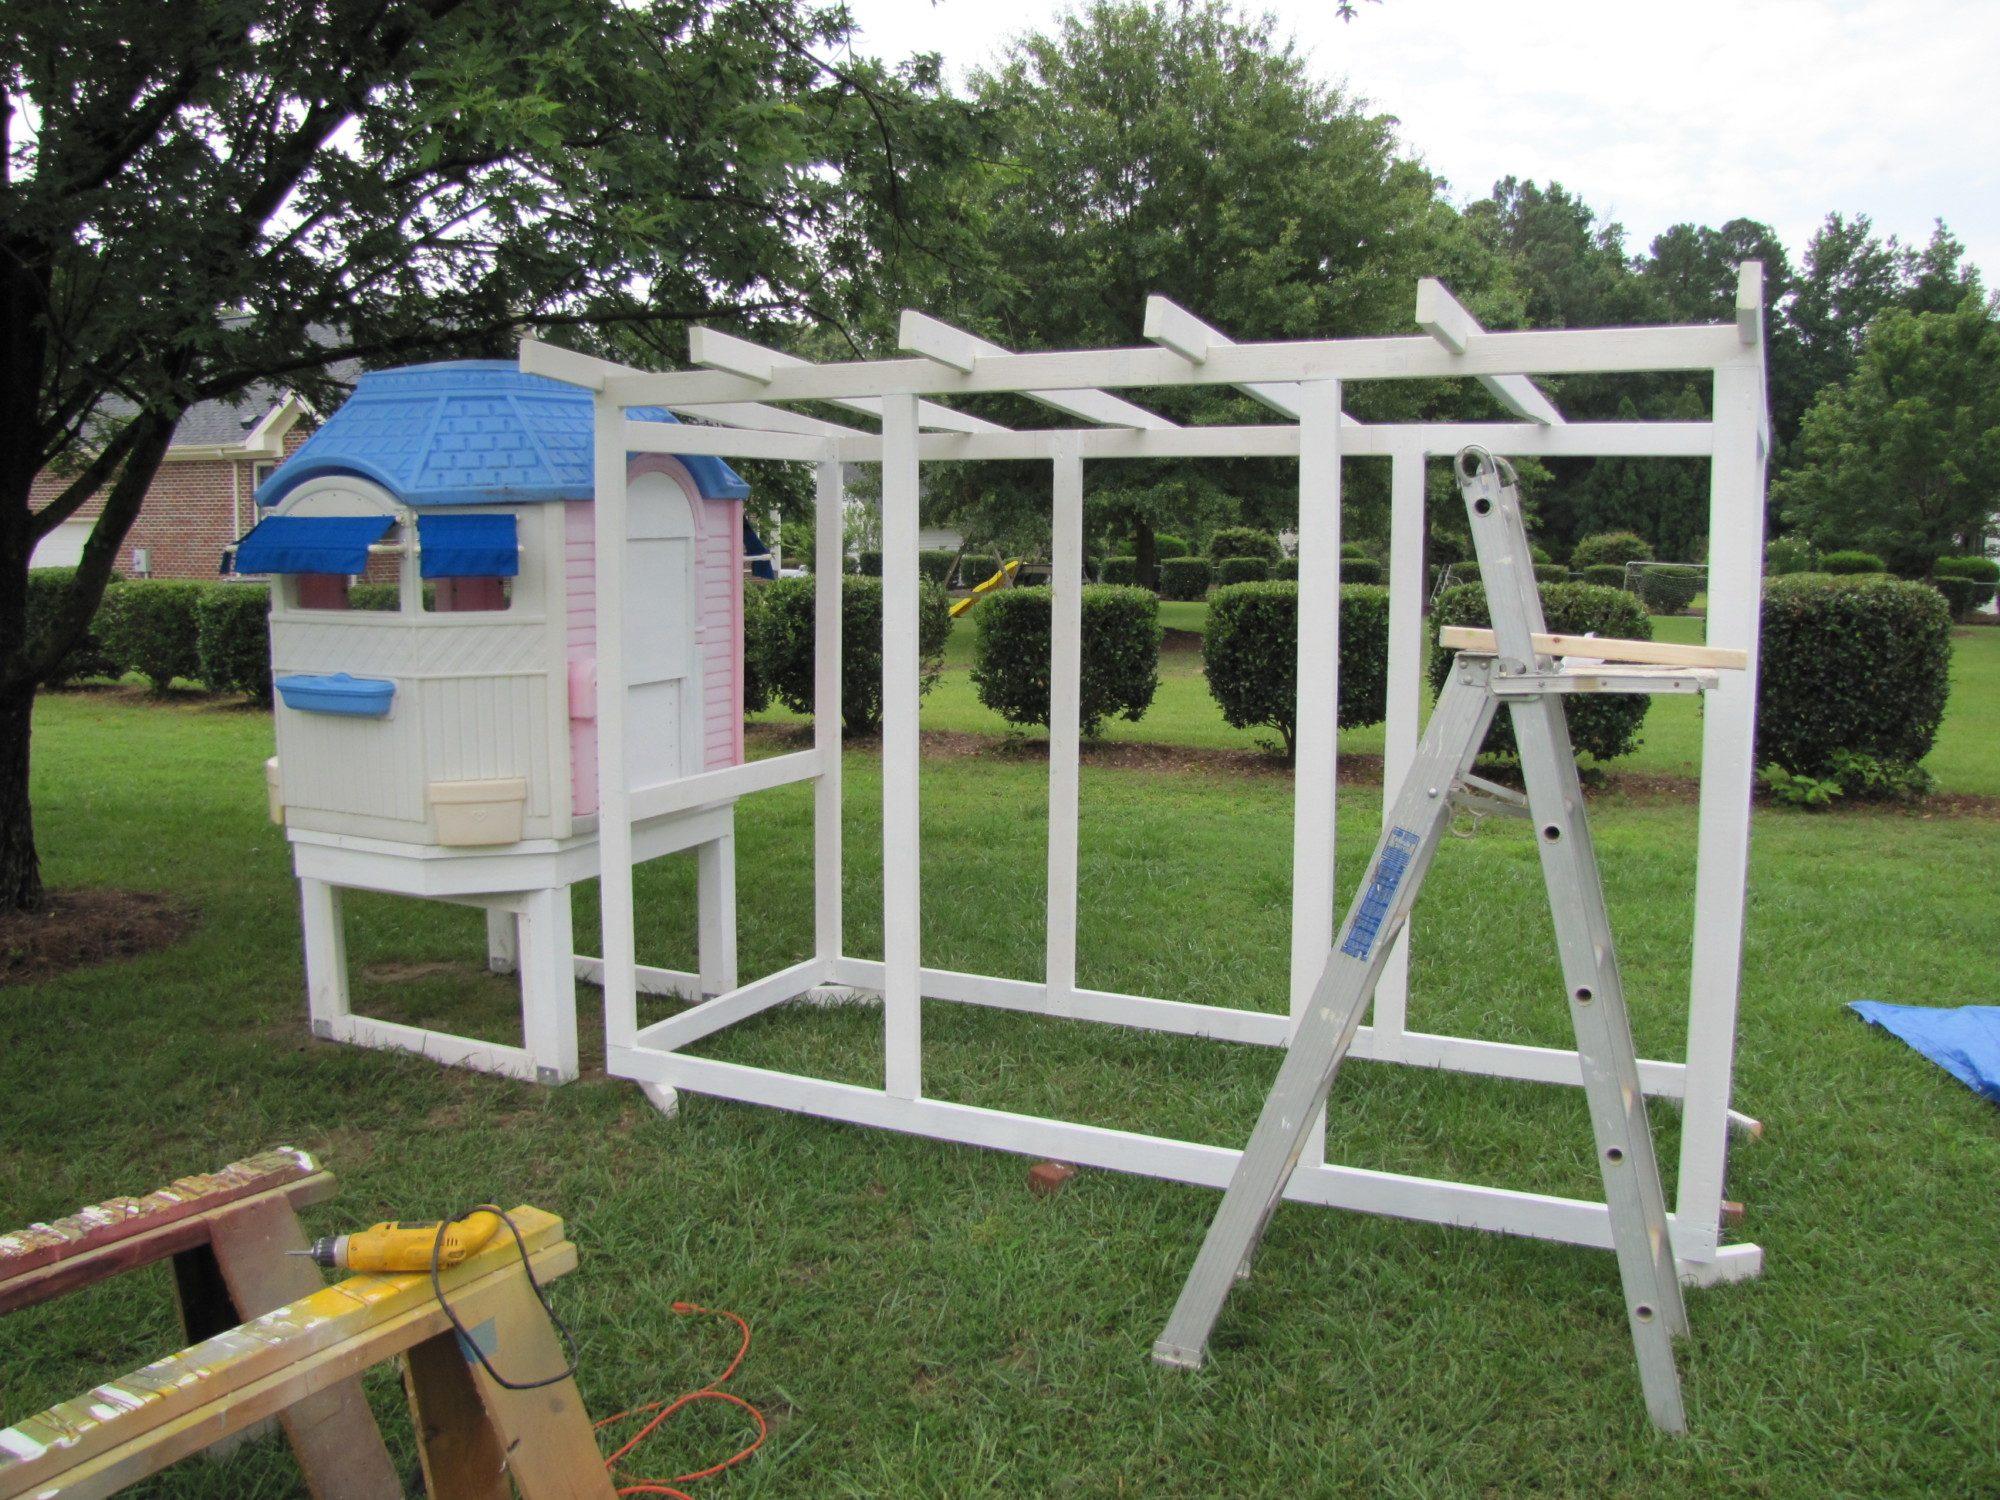
Our coop is attached to the base and we have begun to build the run. We made awnings for the windows to help keep the rain out. We used pvc pipe for the frames and outdoor fabric for the awnings.
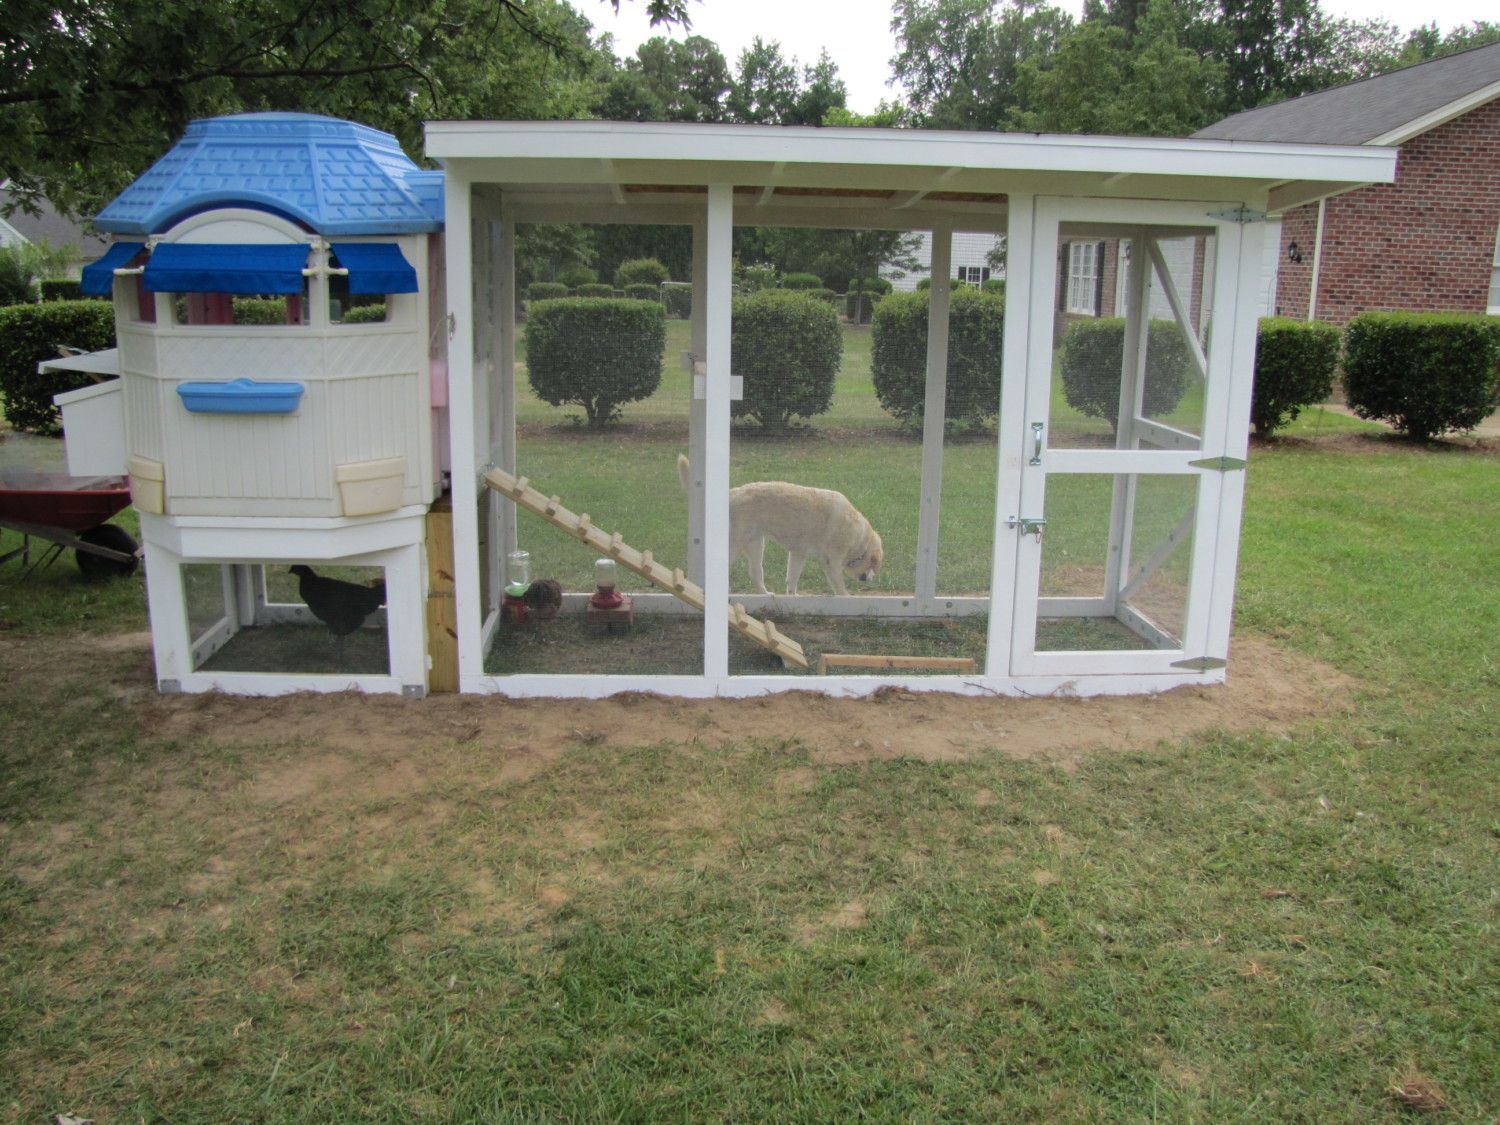
Our coop is pretty much finished, we just have a couple of security items to take care of along with adding sand as the litter material. We buried the 1/4" hardware cloth 9 - 12 " underground and 12" out from the coop. We decided to use rolled roofing material for our roof.
A look at the inside from what we call the patio view. From the perch the girls have a great view of all the activity in our yard and the neighbors yard. We are in the process of transitioning from wood shavings to sand and sweet PDZ for the litter. The sand works great as a litter. All you have to do is scoop it like you would a cat litter box. Got that idea from BYC.
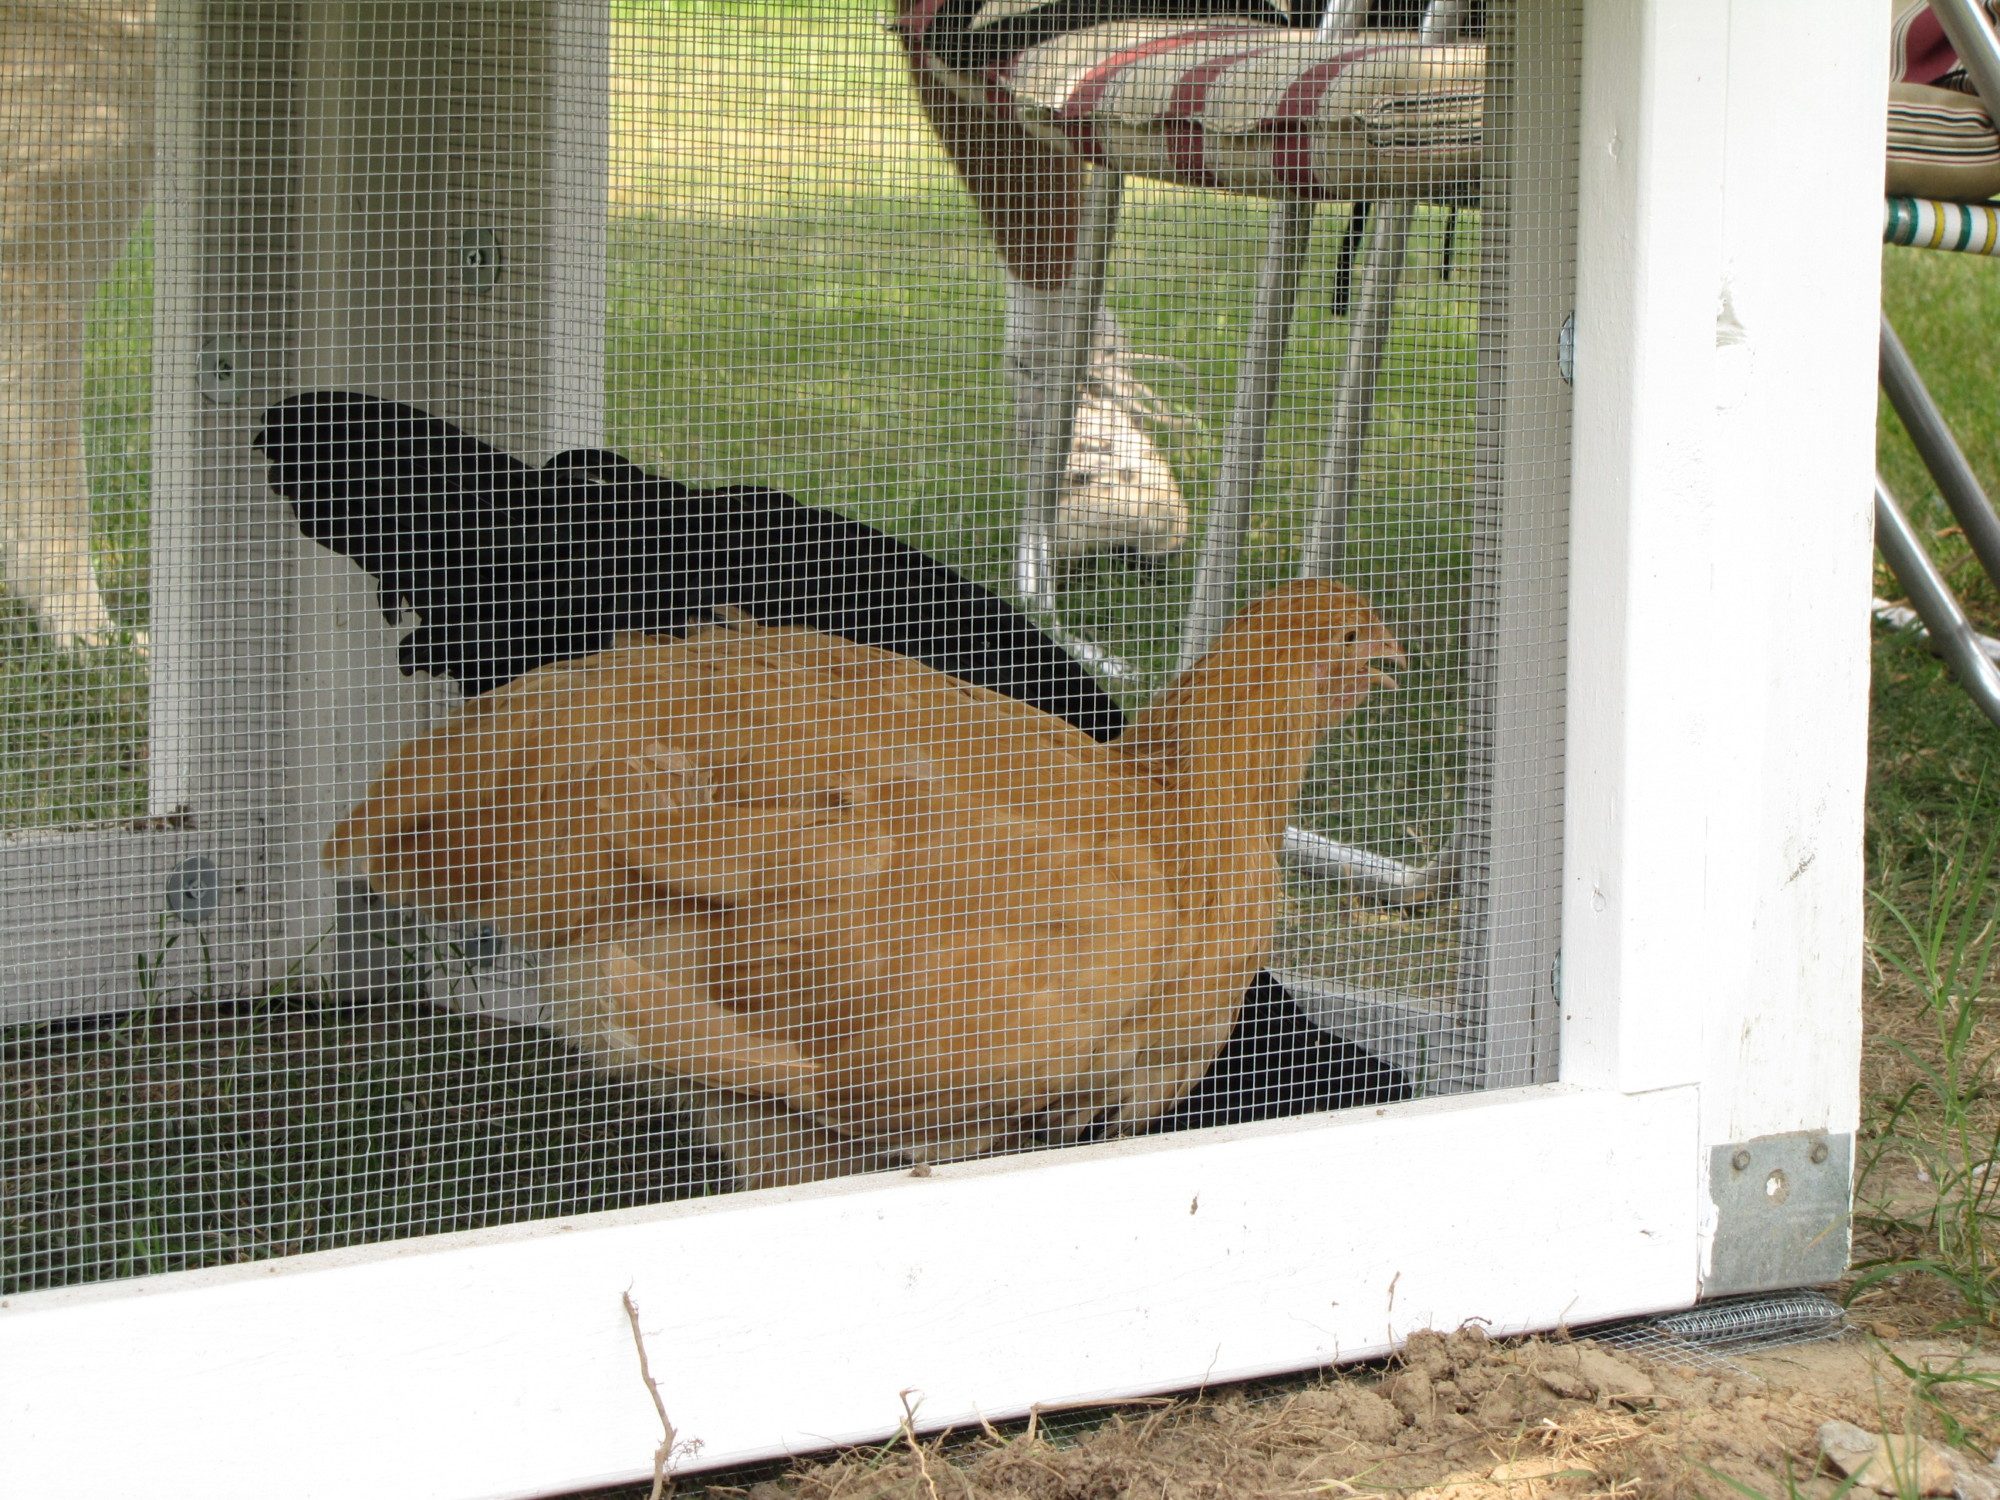
The girls first day in their new home.
Created a feeder from 3" PVC pipe. I didn't bother gluing the pieces together since they already fit pretty tight. It works well at keeping the food clean and dry. It is sitting on a couple of bricks and is being held in place with heavy duty velcro. It holds 3 days worth of food for my 3 girls.
Here in North Carolina it gets pretty warm during the summer months so I decided to make a chicken waterer from a jug cooler that we had on hand. That way I could keep ice water on hand for my girls when it's hot. I would include a list of supplies, but trust me I have no idea what most of these pieces are called so I included a picture of them to help you in your quest in case you should want to do the same. The most difficult part was getting the first piece thru the hole in the bottom, after that everything else was easy. The girls were drinking from it within an hour. They are so curious about everything. I ordered the chicken nipples from bafxpro.com, which cost me $9.99 for a pack of 5 with free shipping. They arrived within 4 days of placing the order.
I screwed the ladder rack to the 2x4, then sat the cooler on it and strapped it in the velcro. No leaks at all.
.
Here you can see we have cut away all the plastic fixtures not needed for the coop and covered the windows with 1/4" hardware cloth. The opening under the window is for our two nesting boxes.

We built a platform base out of treated lumber.
We test fitted the playhouse to make sure everything lined up. The base was painted, the floor was covered with linoleum. We dug holes and set the legs on concrete to hold the coop steady in high winds. It's currently resting on sawhorses while the concrete cures.
Here is the door that will lead to the chicken run.
More to follow as we progress.
Our coop is attached to the base and we have begun to build the run. We made awnings for the windows to help keep the rain out. We used pvc pipe for the frames and outdoor fabric for the awnings.
Our coop is pretty much finished, we just have a couple of security items to take care of along with adding sand as the litter material. We buried the 1/4" hardware cloth 9 - 12 " underground and 12" out from the coop. We decided to use rolled roofing material for our roof.
A look at the inside from what we call the patio view. From the perch the girls have a great view of all the activity in our yard and the neighbors yard. We are in the process of transitioning from wood shavings to sand and sweet PDZ for the litter. The sand works great as a litter. All you have to do is scoop it like you would a cat litter box. Got that idea from BYC.
The girls first day in their new home.
Created a feeder from 3" PVC pipe. I didn't bother gluing the pieces together since they already fit pretty tight. It works well at keeping the food clean and dry. It is sitting on a couple of bricks and is being held in place with heavy duty velcro. It holds 3 days worth of food for my 3 girls.
Here in North Carolina it gets pretty warm during the summer months so I decided to make a chicken waterer from a jug cooler that we had on hand. That way I could keep ice water on hand for my girls when it's hot. I would include a list of supplies, but trust me I have no idea what most of these pieces are called so I included a picture of them to help you in your quest in case you should want to do the same. The most difficult part was getting the first piece thru the hole in the bottom, after that everything else was easy. The girls were drinking from it within an hour. They are so curious about everything. I ordered the chicken nipples from bafxpro.com, which cost me $9.99 for a pack of 5 with free shipping. They arrived within 4 days of placing the order.
I screwed the ladder rack to the 2x4, then sat the cooler on it and strapped it in the velcro. No leaks at all.