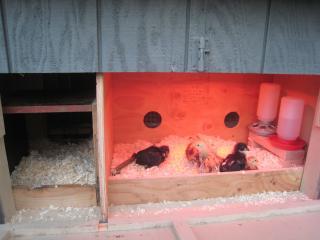
Feathered Landings' Brooder in the Coop
We originally had 3 nesting boxes but our hens only used 1 so we decided to convert the wasted space into a brooder for our chicks.
Materials:
1 sheet of 4x8 plywood - $25
scrap hardware cloth- already had
staples for the staple gun - already had
screws - already had
foil - from our kitchen
scrap hardware cloth- already had
staples for the staple gun - already had
screws - already had
foil - from our kitchen
Tools:
Drill, hole saw, chalk line, skill saw, angle, measuring tape, pencil I don't have any drawn up plans for this but seeings how everyone's coop are different, it probably wouldn't work or matter either way.
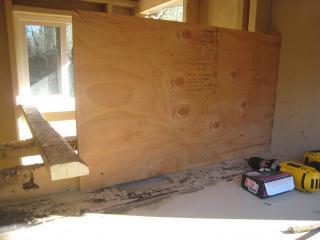
First we measured (and remeasured), cut and screwed the inside back wall into place.


Then we cut out the "moonroof", foiled, and stapled the wire into place. We also had to cut out the left back corner to fit the coop framing post. Then we screwed the top on.


Here's a view from the underside.

Then we cut the 3rd wall and screwed it into place. Notice the notch we cut out of the egg door so the plywood could come right up to the edge. Chicks are small and we didn't want them squeezing through to the nesting box side where they could get hurt by our existing flock.

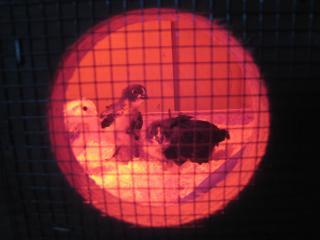
"Peep hole" (pun intended )
)


A closer view of the peep hole so you can see how we cut, wired, and stapled it.

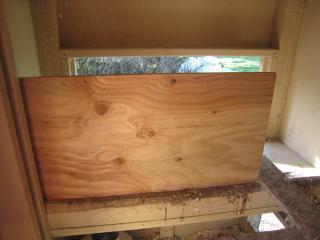
Then we cut out the "moonroof", foiled, and stapled the wire into place. We also had to cut out the left back corner to fit the coop framing post. Then we screwed the top on.
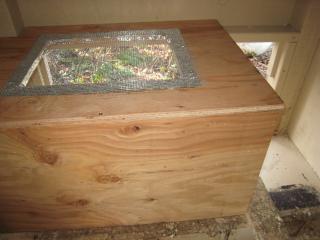
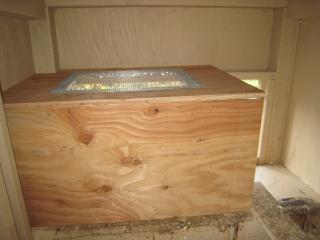
Here's a view from the underside.
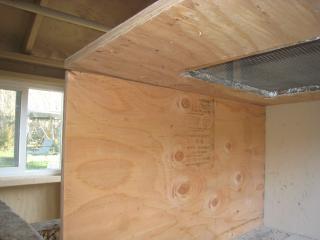
Then we cut the 3rd wall and screwed it into place. Notice the notch we cut out of the egg door so the plywood could come right up to the edge. Chicks are small and we didn't want them squeezing through to the nesting box side where they could get hurt by our existing flock.
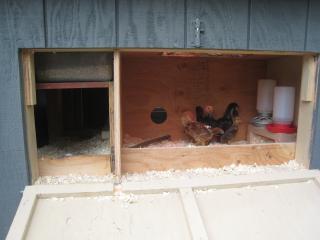
"Peep hole" (pun intended
 )
)
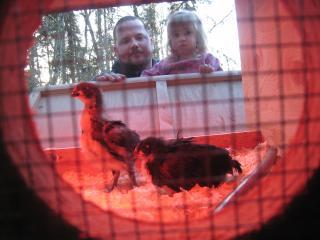
A closer view of the peep hole so you can see how we cut, wired, and stapled it.
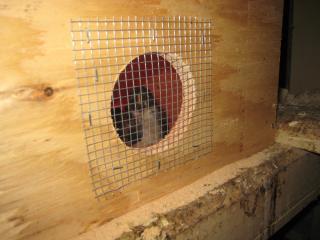
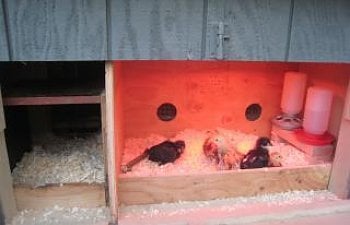
Here's a view of the finished brooder both from inside and outside of the coop for comparison purposes.


