Woodcliff Solar Chicken House
We had been thinking about getting chickens for a quite a while (to eat the hords of grasshoppers, make better compost, and EGGS), so decided to order chickens from a nearby state chicken hatchery. We received 13 Silver Laced Wyandotte's in early June and as each day passed and they grew bigger, we knew we needed to get that chicken house built!!
We started building in July and just finished the end of September. This coop was built entirely from recycled or reused materials, excluding concrete and hardware. We had a lot of beetle dead pine trees on our property. My husband and son spent 3 long weekends felling and moving the trees to the mill setup area. We hired a fellow with a portable mill to make those trees into lumber. Consequently, all the wood for the coop was either our milled trees, felled trees or collected scraps of wood stored in our woodshed. We discovered a Habitat for Humanity recycled architectural materials store where we got our doors, windows, paint, hinges, and the like. We like it so much we volunteer there every week (a good way to watch for the interesting stuff). We chose a passive solar design for the coop since our home utilizes passive solar and works really well!
We started building in July and just finished the end of September. This coop was built entirely from recycled or reused materials, excluding concrete and hardware. We had a lot of beetle dead pine trees on our property. My husband and son spent 3 long weekends felling and moving the trees to the mill setup area. We hired a fellow with a portable mill to make those trees into lumber. Consequently, all the wood for the coop was either our milled trees, felled trees or collected scraps of wood stored in our woodshed. We discovered a Habitat for Humanity recycled architectural materials store where we got our doors, windows, paint, hinges, and the like. We like it so much we volunteer there every week (a good way to watch for the interesting stuff). We chose a passive solar design for the coop since our home utilizes passive solar and works really well!
Completed Chicken Coop
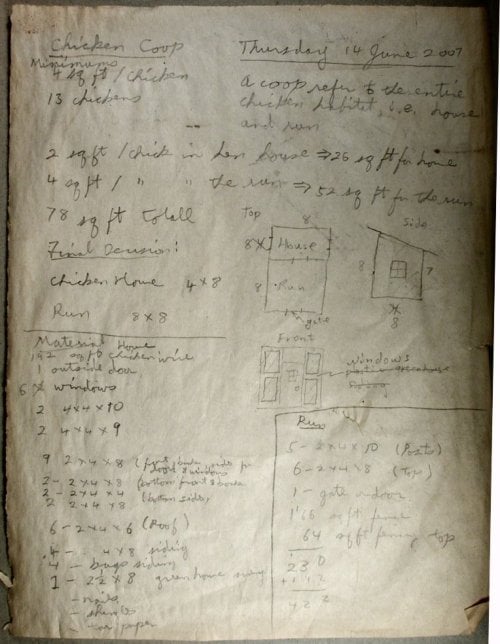
Specifications, drawings and materials
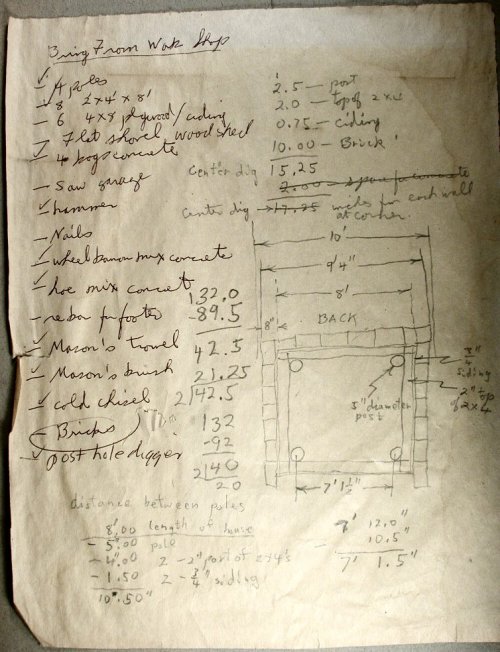
Masonry tools for berm wall and wall specifications

Clearing the area for the poles and foundation
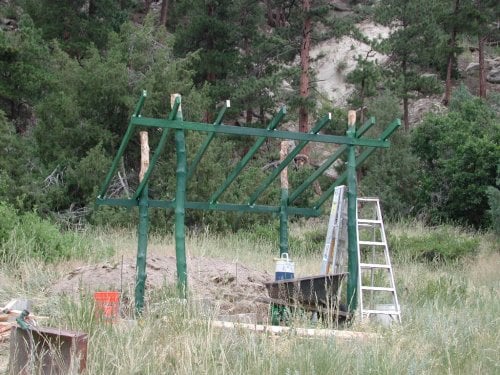
Poles and roof joists
We had to paint every piece of milled lumber and the felled trees because a fungus resides with the beetles in the pine trees and we wanted to make sure we protected the surface of the wood-this was a lot of extra work

Laying the berm wall
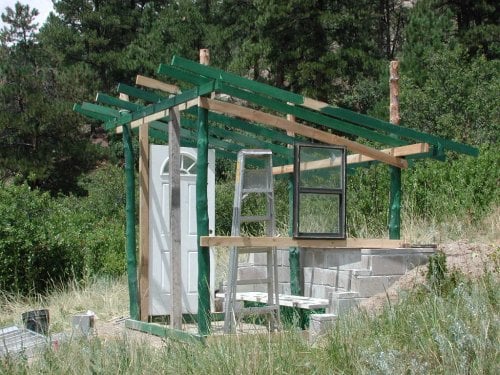
Adding walls, door and window
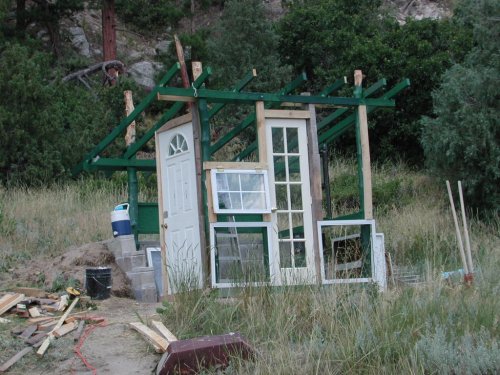
Adding another door and more windows
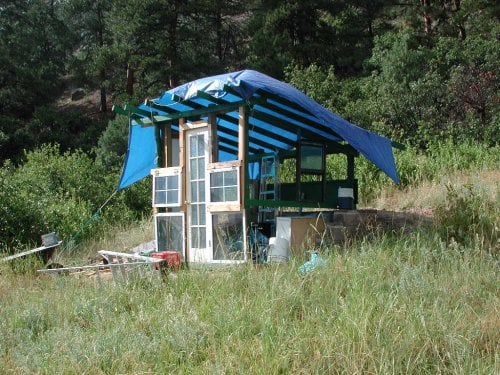
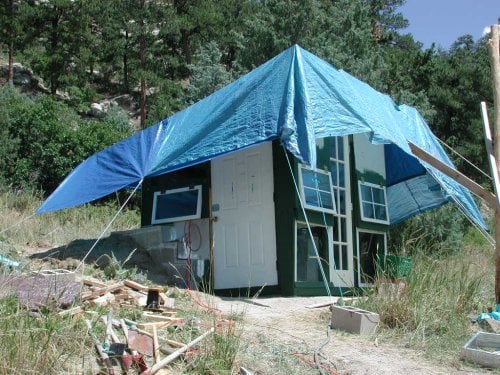
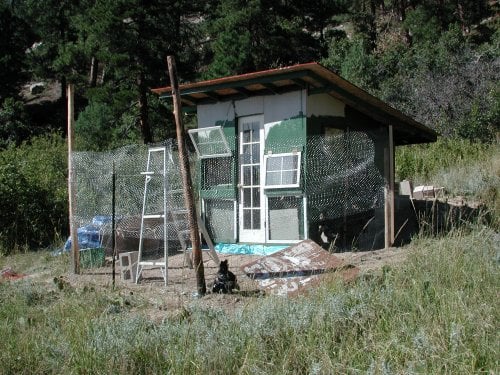
The Flying Chicken House
Well, actually the temporary tarp roof--we had so much rain during July and August, the tarp was essential
Add siding and more paint
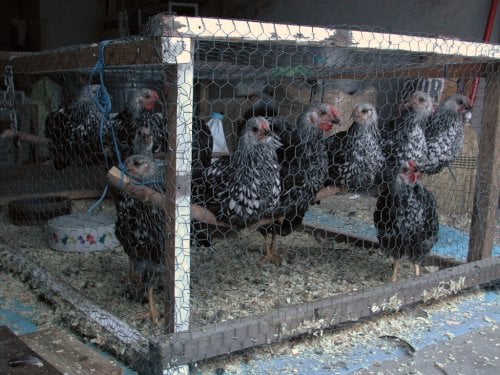
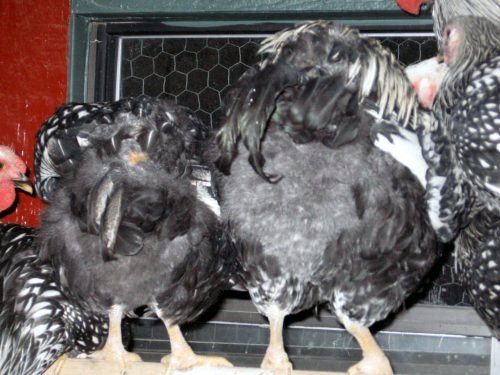
Chickens waiting for their coop to be finished
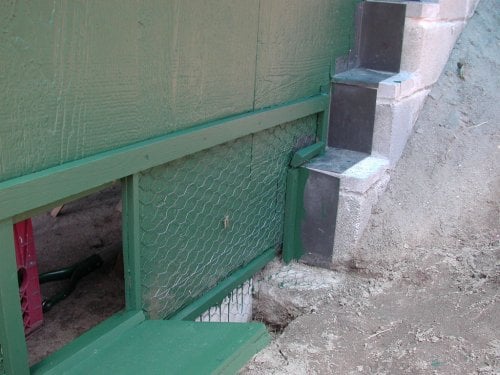
Chicken door, concrete ground barrier, side berm wall
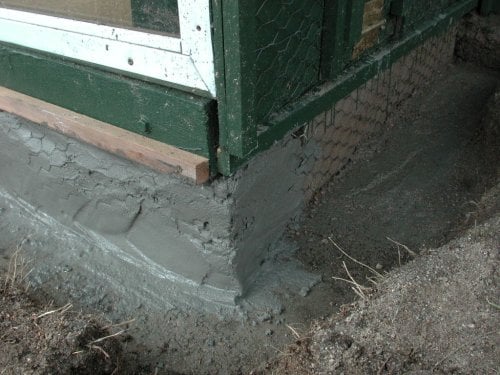
Details of concrete ground barrier
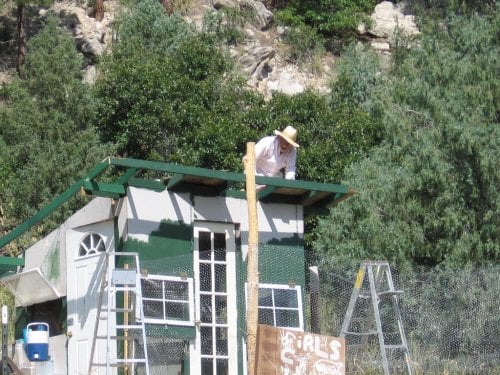
Beginning the roof
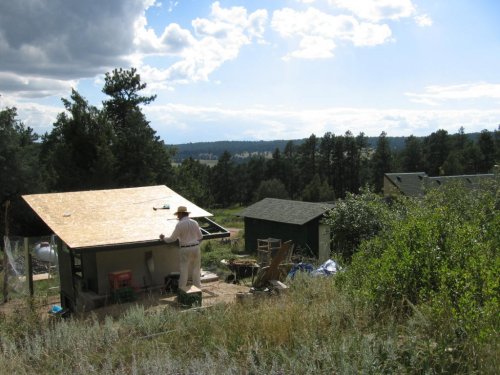
Last sheet of roofing
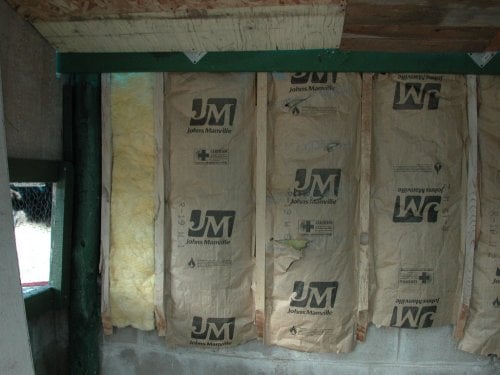
Back berm wall, insulation and ceiling
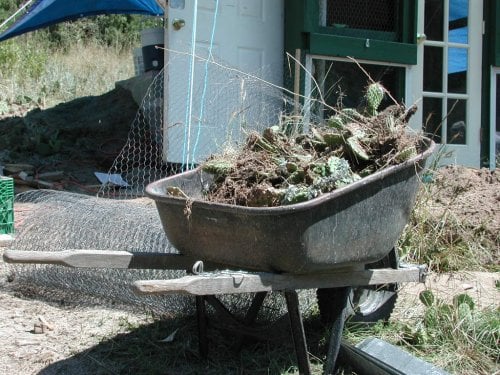
Removing cactus from the chicken run
Chicken yard (run) with cactus removed, more outside green paint
and a chicken in the yard
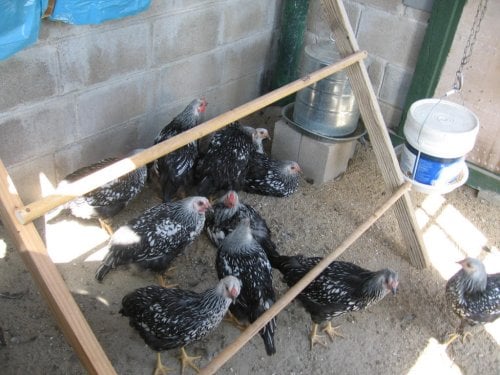
Chickens checking their incomplete house--we got them into the coop near midnight one night-- they couldn't take that wire cage anymore!
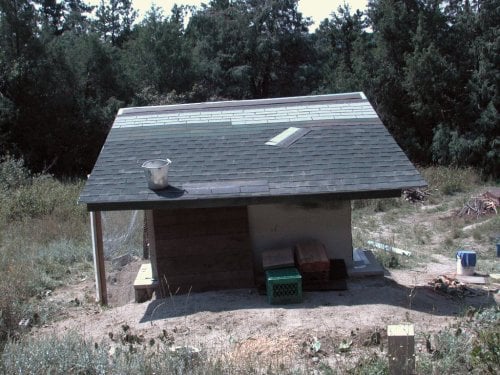
The shingles are on and the roof is finished--all are leftover or freecycle shingles
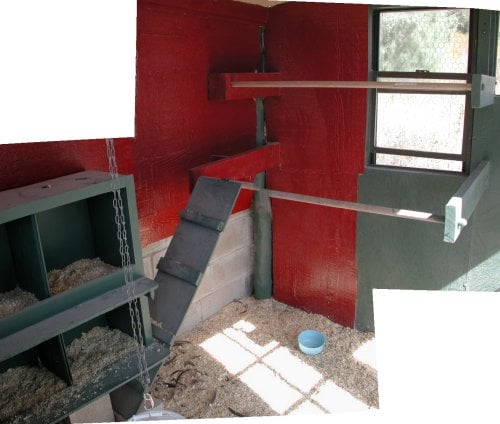
Nesting boxes and the ladder to the roosts

Sun warming the house
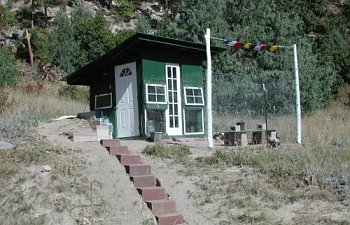
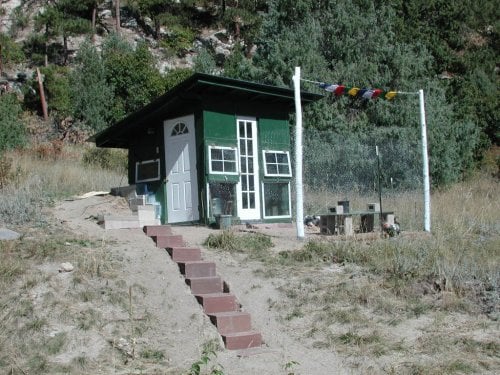
Steps and Tibetan Prayer Flags are added--
The coop is complete!!
THE END