Sometime after I bought my house, my Mom asked me if I ever wanted to raise chickens. I said I wasn't sure, they might be a lot of work. Cut to married me 3 years later with a wife (Danielle) who had had chickens before. We had to make it so!
Somewhat tricky part #1... where to put it? I had recently sold the old rabbit hutch I'd built (and moved between three houses). That spot to the right might have worked, but I'd already dug a pond there. (These days, our cat and chickens like to drink from it, lol.)
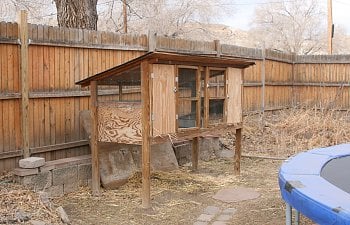
After briefly wondering if maybe I shouldn't have sold that old hutch before thinking about modifying it for chickens, we looked around the yard some more. And settled on this thing:
This spot had sat idle since buying the house. It was an old trash can storage thing, but we never used it because our trash gets picked up in the alley. (We're a corner house and this spot flanks the side road.) To the left was a partly fenced area that was once a dog run. We don't have a dog, so chickening this spot would be an upgrade!
This shot shows the old rabbit hutch and the dog run beyond (before we took down the chain link fence.)
Kind of forgot about taking photos for awhile, unfortunately. But this is post pulling off the front fencing and attaching extensions for the roof and putting in the floor. I wrote some plans for parts of this, but hell if I can't find them.
The floor (rather thin plywood that we treated with clearcoat. If I ever replace it, I'm reinforcing it better, as I can only stand safely on the crossbeams.) had to be trimmed around the existing posts, which were all about 3 feet high. They were handily notched already, so we sanded and then extended them with 2x4s. I debated for awhile on how high to go, but eventually we elected to make it tall enough to stand up inside. I'm very glad we did.
Actually, looking at the photo, I recall that I was originally making it shorter and we had to go back and modify. As seen below!
That's my brother (Rioux) helping out with the roof. We'd done a Chicken Coop Tour before starting on our own and came across a chicken run with a clear plastic roof. I elected to use it for all the roofing, which has been nice. I think it helps the girls lay, especially since we don't get up at dawn and they have to wait a little bit to get out.
From the last couple photos, you'll probably notice that the back wall of the coop was an old door (so the trash men could get the cans). The post on the back right was also a pain, because it's steel and I couldn't actually screw anything into it. It was the other reason for making the roof tall. (I originally was going to cut the roof around it, but that would have probably been bad.)
Anyway, I made some cross beam connections and screwed some flat boards against the old door to seal it better (and made sure it couldn't open, since people stroll by on that side.)
Here's an interior shot! (This one was taken more recently, the nest box on the left isn't normally inside, but one of our hens went broody and we needed to accomodate her.) In the winter, we put a chicken water heater underneath the water. No ice problems!
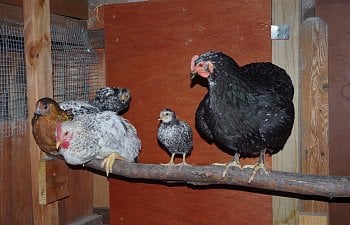
A bit older, this one has our original three chickens. The two buckeyes have since passed away. I also took down that crossbeam they liked to roost on. It didn't leave enough room between the wall and their tail feathers, and... things would get stuck to their rears. (It was also less critical to structural integrity than I thought.) That extra climbing stick was also uneccesary... all our birds seem to have little trouble flapping up onto the roost. We "paint" the roosts periodically with a 50/50 blend of kerosene and vegetable oil. It's supposed to keep mites from getting a hold. It apparently works... we haven't had any mites yet! (knock on wood)
This picture is taken from the outer run door (though it's rarely closed during the day. They mostly free range the whole yard.)
Cleaning itself is pretty easy. We bring the wheelbarrow up to the door and I climb inside and sweep out the straw with an old broom. This last time, I needed a garden rake, but we were about a month behind thanks to a flat tire on the barrow.
Here's just a couple for context on our yard (kind of incidental shots of the coop while we were reroofing the garage.)
And a couple early ones with our first pullets checking out their new digs (and finally one with Danielle in it!)
I should talk about the construction a little bit more. We saved a LOT on wall materials, because of an old privacy fence we took down on part of the property. Pretty much all the chicken coop walls are made of reclaimed planks from the fence, cut to fit. They're laid in horizontally on the northwest wall, vertically by the door. We also saved on the posts for the outer coop by using 2x4s instead of 4x4s for the posts. The run roof couldn't support a person, but it doesn't need to. The roof itself is corrugated plastic anyway. (And reinforced with more fence timbers for crossbeams.) The corrugated plastic was actually the biggest expense of the project. (Rundown below)
I of course lost the receipts for this project. So here's some estimates!
- 7 Corrugated Plastic Roofing Panels (2x8): $15 each (these were the biggest expense... but roof thick plywood isn't cheap, either!)
- 10 Eight foot 2x4s: $5 each
- 4 10 foot 2x4s: $8 each
- 1 8x4 foot floorboard (3/8" thick, I think): $15
- Screws/Nails: ~$20
- Chicken Wire (about 50 feet): $50
- Hardware Cloth: (about 30 feet): $40
- Chicken Feeder: $25
- Chicken Waterer: $40
- Water Heater: $40
Total: ~$417
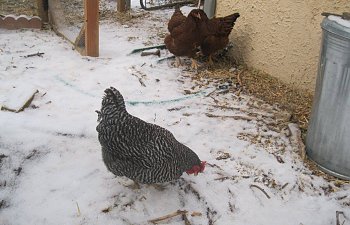
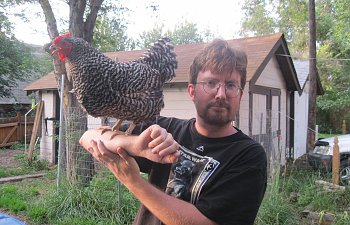
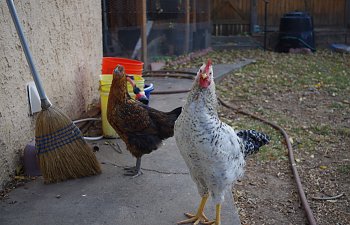
Probably cost a little more than I intitially thought it would, but raising chickens has been a blast. We have six now, two laying adults (Lady Cluck (dominique) and Goose (mottled java), two pullets (nearly hens, both barnyard mixes), and two chicks (mixed too, but one is half easter egger and one MIGHT be pure silver laced wyandotte) that are nearly pullets. Best get to laying, girls! We have costs to offset!

Thanks for reading!
Travers Jordan
aka Swiftbow
