I've longed for chickens for many, many years, but I spent many of those years in apartments, where it just wasn't possible. A little over two years ago my wife Erin and I bought our first home together. It's a small property in a development, but has enough room for a small flock. We were finally able to fence in the back yard this summer, and in September of 2011, I began building a coop. I've ordered 4 Buff Orpington chicks from MyPetChicken.com, and they are expected to arrive October 12th. This gives me roughly until about mid-November to finish the coop.
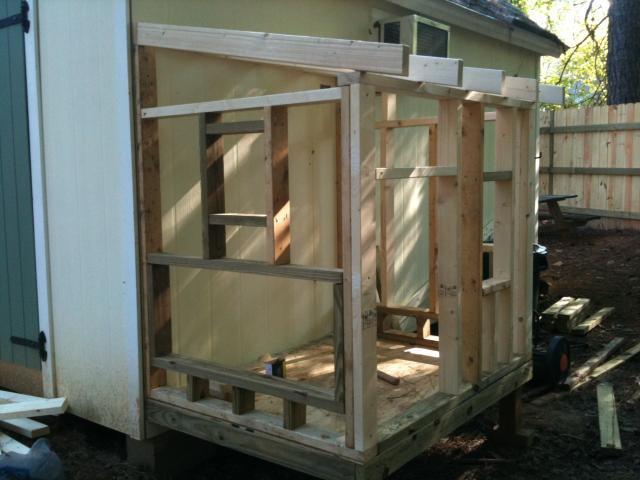
I had done some research over the last couple of years and had found a coop I liked the design of. I certainly didn't want to buy one, as I consider myself to be pretty handy. You'll see below that the coop is attached to a shed I built last year. I knew I didn't need a big coop, but I also didn't want it to be too small. I wanted room to move around and for the girls to be comfy. I used a lot of scrap wood from my fence buidling project as the materials for framing. For the framing itself, all I had to buy was 5 2x4's and a sheet of plywood for the floor and roof.
Here is a few pictures of the framing. I didn't take any pictures up to this point because I was so focused with getting the project started.

If it wasn't clear above, I did not have plans for this coop. All of this was conceived in my head from a coop I saw on the internet.
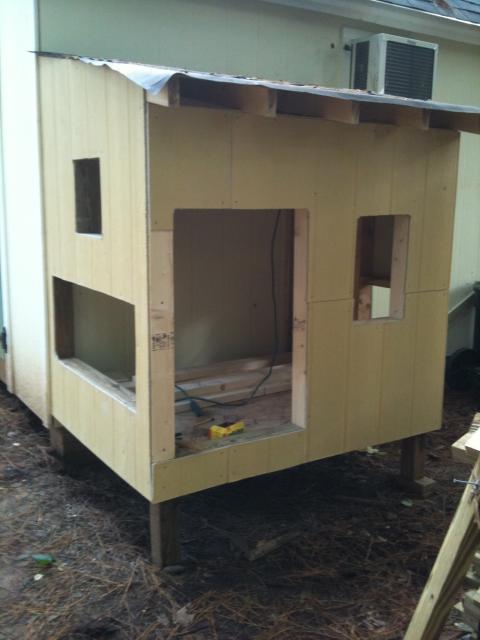
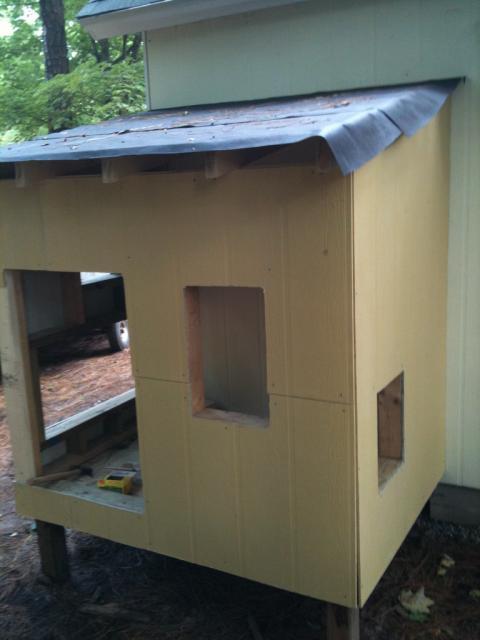
Below are a few pictures with the siding installed:
and with a fresh coat of paint. The fan in the window was placed there to help glue cure. I used VCT tiles (vinyl composite) for the floor. These are the same commercial style tiles you would find in most grocery stores, schools, etc.
More pictures will be added soon showing the trimwork. I'm still waiting on windows to arrive. They've been ordered, but one of the sizes was not currently in stock. I'll be finishing up the trimwork (besides windows) this week, as well as building the front door and the next box.
10/5/11
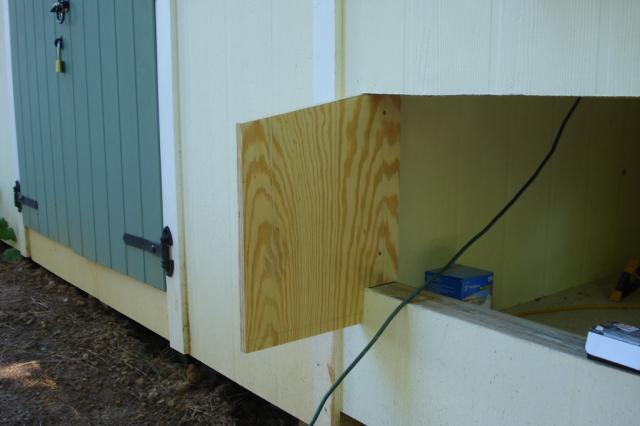
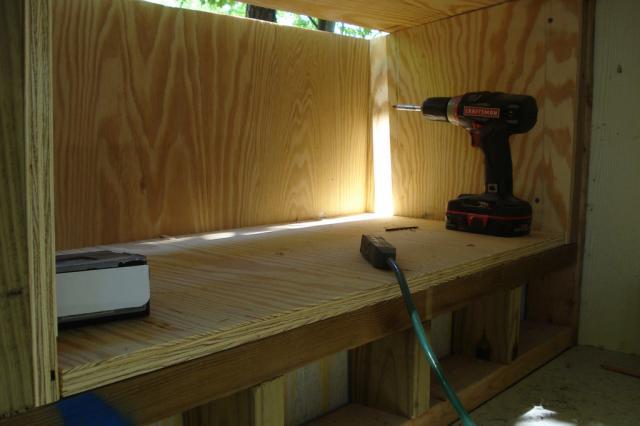
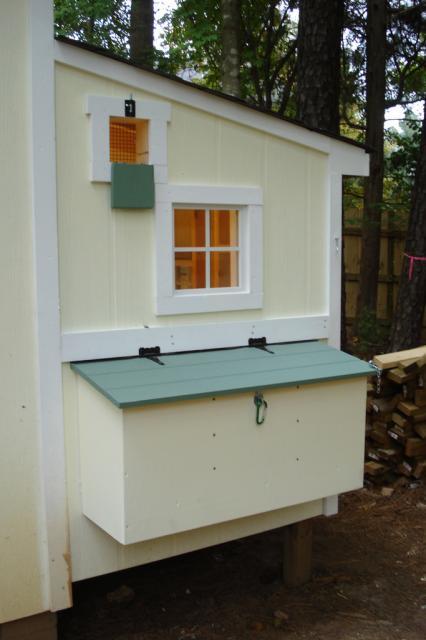
So today I went and purchased the plywood for the nest boxes. I was able to get the boxes pretty much enclosed. I don't have the wood for the roof paortion yet, but I have the sides, walls and bottom installed. In the photo's, the boxes may look quite deep. That is because The sides actually extend down about 3.5 inches below the floor of the nest box. I plan to attach some rigid insualtion at some point to the bottom of the box, just to help keep it a little warmer. The two photos below show the sides being installed.
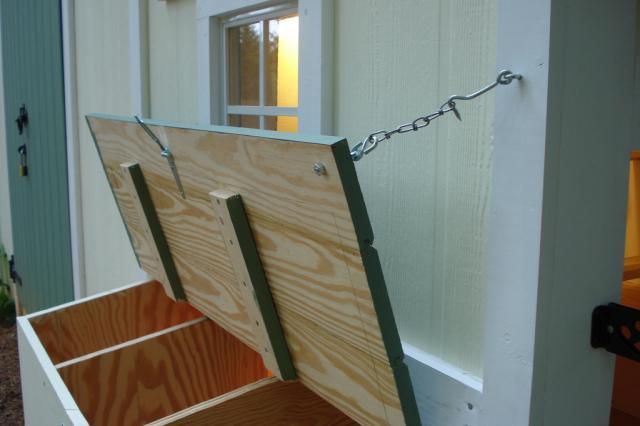
The next photo shows the front installed:
And this photo shows a view from the inside. I will be covering this wall with plywood soon, and when I do that, a small lip will be created at the front of the nest box.
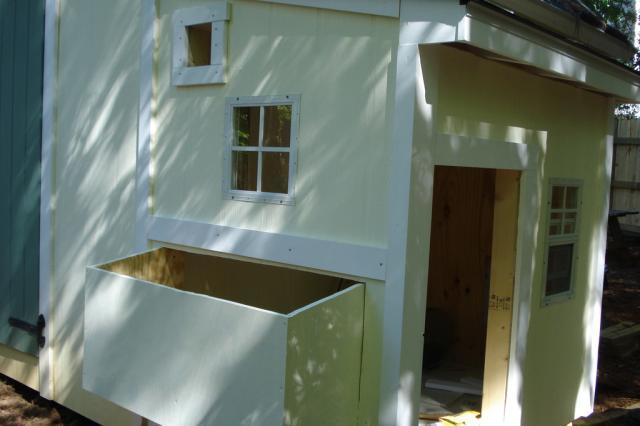
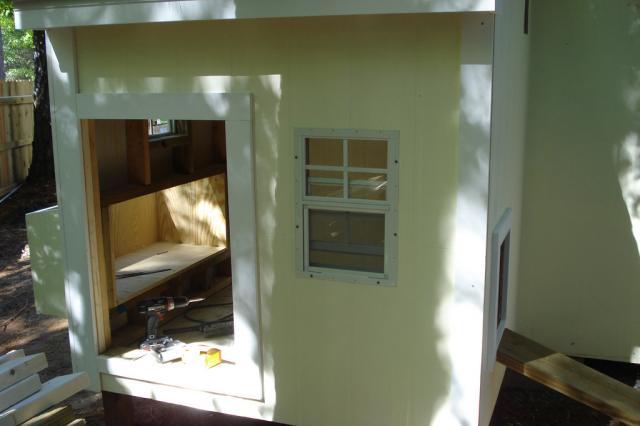
Oh, and the windows came today, so the next two photos show the windows and some of the trim work. My next projects will be to create hinged doors for the two vents on each side of the coop, and maybe make the pop door. You can also see the ramp I installed today in the last photo.
10/12/11
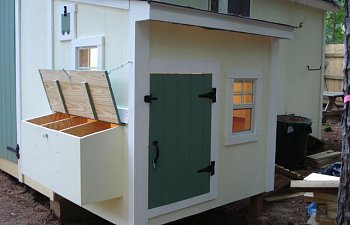
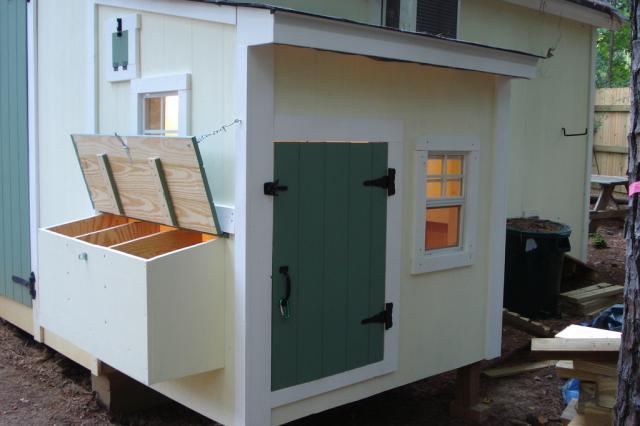
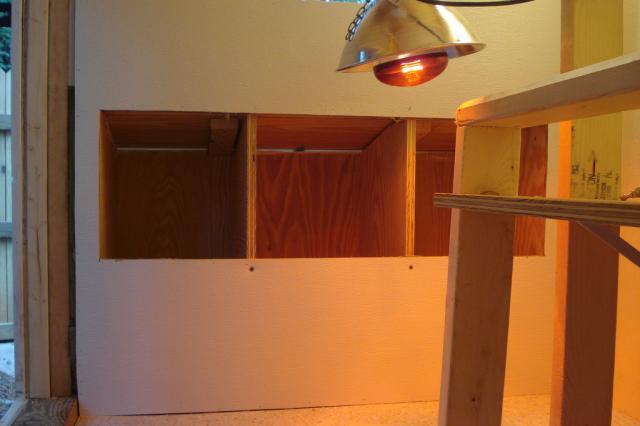
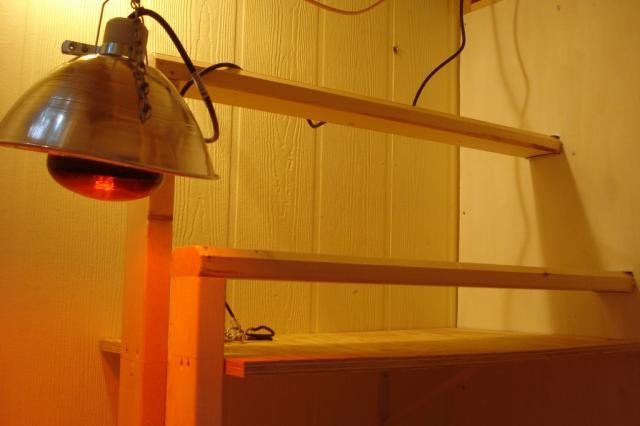
Well, it's almost done! I now have the roost installed with a poop board (I'll try it and see how it works out), I have the front door on and the nest boxes are complete except for installing tile on the sides. So, here are a few more pictures:
Below are the nest boxes. The main people door is to the left. I used a product called FRP on this wall. I had originally planned to use it on all the walls,
but it was a pain in the butt to install. Just not worth the effort at this point:
And the roosts:
I only have some minor details to finish up right now, such as trimwork around the people door, weatherstriping, a little interior painting and installing the pop door. I also want to install the VCT tile on the poop board and get some cafateria trays as poop catchers.
I had done some research over the last couple of years and had found a coop I liked the design of. I certainly didn't want to buy one, as I consider myself to be pretty handy. You'll see below that the coop is attached to a shed I built last year. I knew I didn't need a big coop, but I also didn't want it to be too small. I wanted room to move around and for the girls to be comfy. I used a lot of scrap wood from my fence buidling project as the materials for framing. For the framing itself, all I had to buy was 5 2x4's and a sheet of plywood for the floor and roof.
Here is a few pictures of the framing. I didn't take any pictures up to this point because I was so focused with getting the project started.
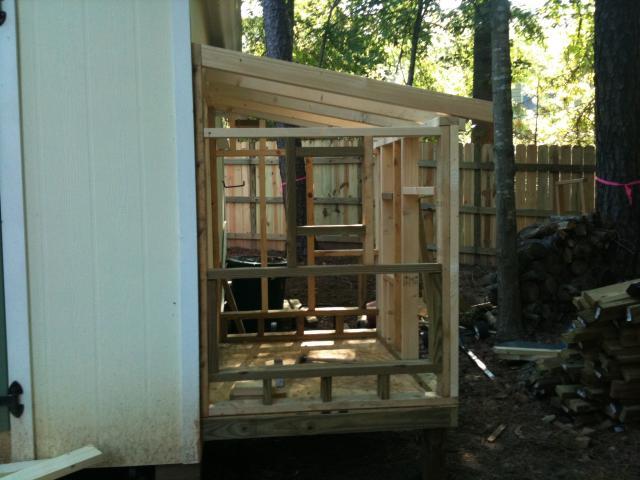

If it wasn't clear above, I did not have plans for this coop. All of this was conceived in my head from a coop I saw on the internet.
Below are a few pictures with the siding installed:
and with a fresh coat of paint. The fan in the window was placed there to help glue cure. I used VCT tiles (vinyl composite) for the floor. These are the same commercial style tiles you would find in most grocery stores, schools, etc.


More pictures will be added soon showing the trimwork. I'm still waiting on windows to arrive. They've been ordered, but one of the sizes was not currently in stock. I'll be finishing up the trimwork (besides windows) this week, as well as building the front door and the next box.
10/5/11
So today I went and purchased the plywood for the nest boxes. I was able to get the boxes pretty much enclosed. I don't have the wood for the roof paortion yet, but I have the sides, walls and bottom installed. In the photo's, the boxes may look quite deep. That is because The sides actually extend down about 3.5 inches below the floor of the nest box. I plan to attach some rigid insualtion at some point to the bottom of the box, just to help keep it a little warmer. The two photos below show the sides being installed.

The next photo shows the front installed:

And this photo shows a view from the inside. I will be covering this wall with plywood soon, and when I do that, a small lip will be created at the front of the nest box.
Oh, and the windows came today, so the next two photos show the windows and some of the trim work. My next projects will be to create hinged doors for the two vents on each side of the coop, and maybe make the pop door. You can also see the ramp I installed today in the last photo.
10/12/11
Well, it's almost done! I now have the roost installed with a poop board (I'll try it and see how it works out), I have the front door on and the nest boxes are complete except for installing tile on the sides. So, here are a few more pictures:
Below are the nest boxes. The main people door is to the left. I used a product called FRP on this wall. I had originally planned to use it on all the walls,
but it was a pain in the butt to install. Just not worth the effort at this point:
And the roosts:
I only have some minor details to finish up right now, such as trimwork around the people door, weatherstriping, a little interior painting and installing the pop door. I also want to install the VCT tile on the poop board and get some cafateria trays as poop catchers.