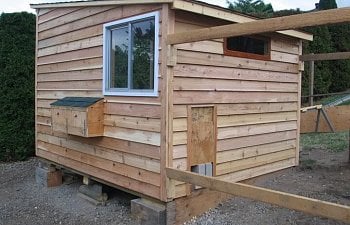
Recycled materials-chick coop project (Fall 2012)

1) First load of recycled wood from local landfill

2) denailed/sorted several loads

3) studs on location!

4) site slopes gradually-have 4x4's blocked and level......first sheet of 1/2" plywood in place.

5) floor finished! (8'x10')

6) first wall up!

7) construction of nesting boxes

8) framed into coop wall

9) exterior view

10) sheathing complete-pen staked out.

11) another view

12) Easy to clean roost-lift up front panel to remove manure.

13) load of 1"x8" bevelled cedar siding. Nice and clean for $100.00!

14) siding on 2 walls-roof shingled!

15) east side done.......windows/door all 2nd hand!

16) big pen going up slope-bought a 100' roll 5' in height. (just enough for the whole perimeter).
The smaller "safety" pen connected to the house is covered in wire, gate can be opened in the morning to give chickens access to big pen.

17) pipe feeder under construction

18) Finally got my dozen ISA browns-they took to the feeder right away!

19) Heading out the lil hatch to the small covered pen. (dry planer shavings are free from the local sawmill.)

20) checking out the nesting boxes

21) nice clean eggs!

22) basket of 33 eggs-3 days worth.

23) view of backyard from my kitchen window. Can keep a watchful eye on everything.

24) We had snow the other day-here's my young flock dining on pumpkin.

25) .....and more snow. You'd think they'd wanna go inside!

26) Tossed in a bale of orchard grass

27) made a lil "cracked corn" feeder for the outside pen

28) Added a small flock of Silver Laced Wynadottes

29) rafters built for small pen roof

30) roof on......

31) heavy plastic added to keep wind out. Also framed in a window.

32) fast forward to Dec 2014, these are my new heritage breed chickens due to lay this spring.

33) Added a dusting box to the pen

33) And now have guinea hens!!!
Thanks for taking a peek at my coop project.

I really enjoy having chickens and appreciate
all the helpful posts from this forum!
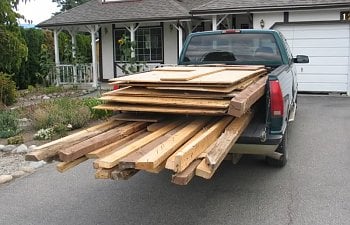
1) First load of recycled wood from local landfill
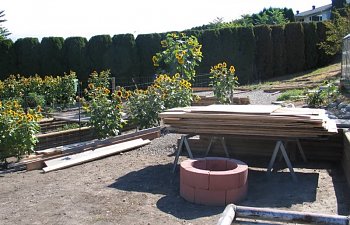
2) denailed/sorted several loads
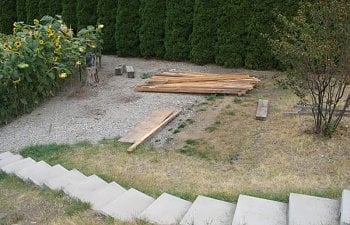
3) studs on location!
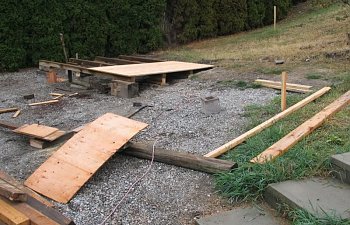
4) site slopes gradually-have 4x4's blocked and level......first sheet of 1/2" plywood in place.
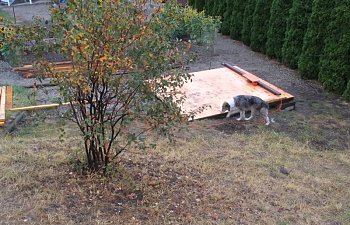
5) floor finished! (8'x10')
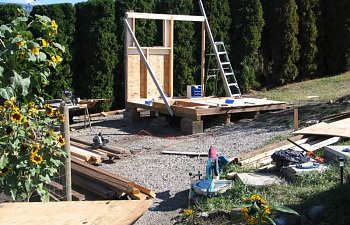
6) first wall up!
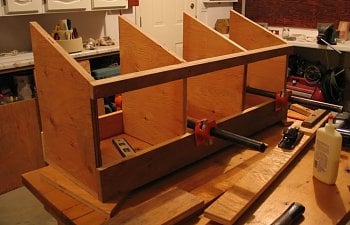
7) construction of nesting boxes
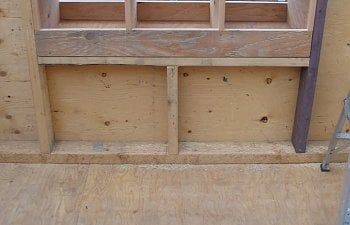
8) framed into coop wall
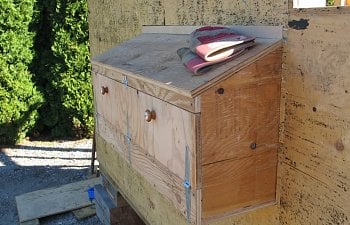
9) exterior view

10) sheathing complete-pen staked out.
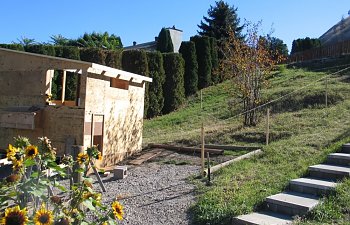
11) another view
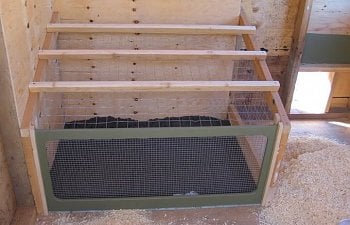
12) Easy to clean roost-lift up front panel to remove manure.
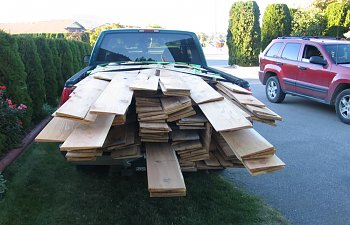
13) load of 1"x8" bevelled cedar siding. Nice and clean for $100.00!
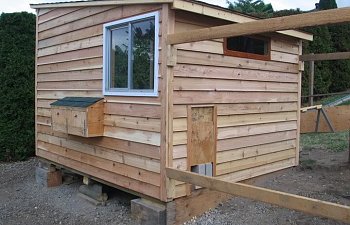
14) siding on 2 walls-roof shingled!
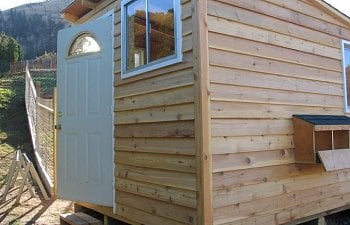
15) east side done.......windows/door all 2nd hand!
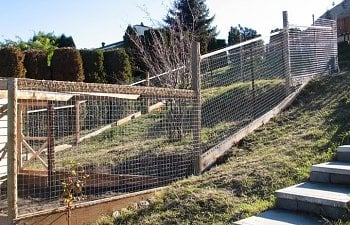
16) big pen going up slope-bought a 100' roll 5' in height. (just enough for the whole perimeter).
The smaller "safety" pen connected to the house is covered in wire, gate can be opened in the morning to give chickens access to big pen.
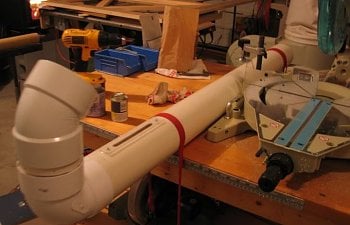
17) pipe feeder under construction
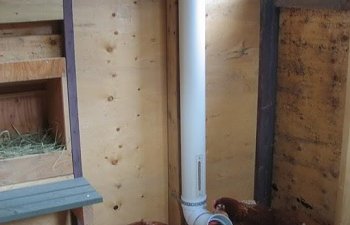
18) Finally got my dozen ISA browns-they took to the feeder right away!
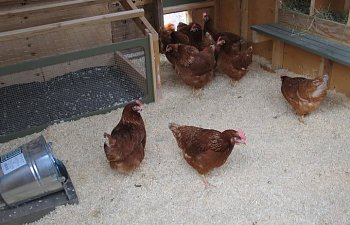
19) Heading out the lil hatch to the small covered pen. (dry planer shavings are free from the local sawmill.)
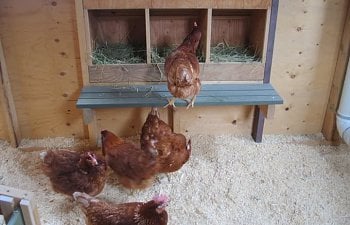
20) checking out the nesting boxes
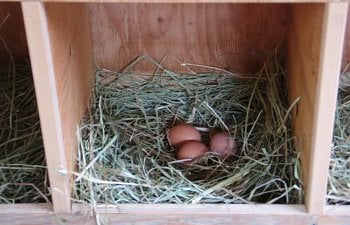
21) nice clean eggs!
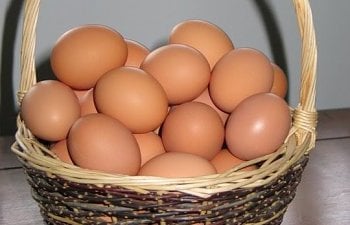
22) basket of 33 eggs-3 days worth.
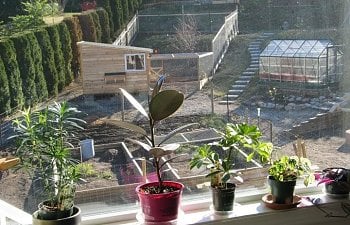
23) view of backyard from my kitchen window. Can keep a watchful eye on everything.

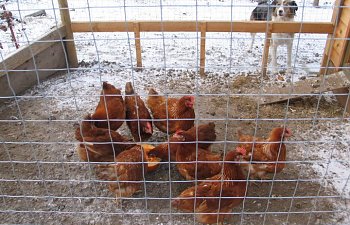
24) We had snow the other day-here's my young flock dining on pumpkin.
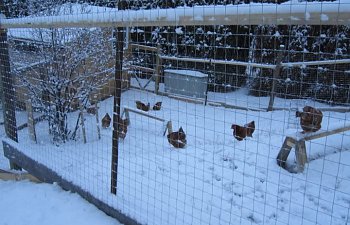
25) .....and more snow. You'd think they'd wanna go inside!
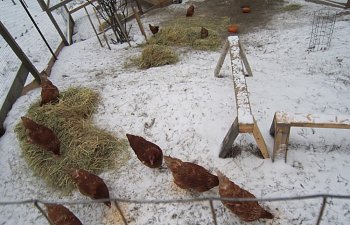
26) Tossed in a bale of orchard grass
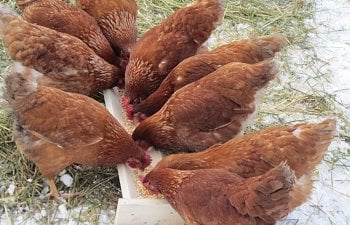
27) made a lil "cracked corn" feeder for the outside pen
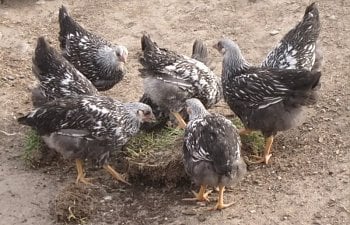
28) Added a small flock of Silver Laced Wynadottes
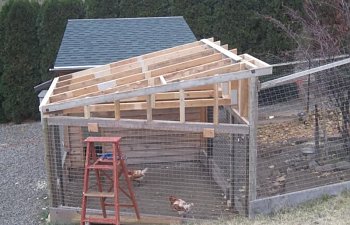
29) rafters built for small pen roof
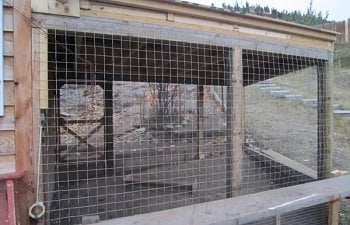
30) roof on......
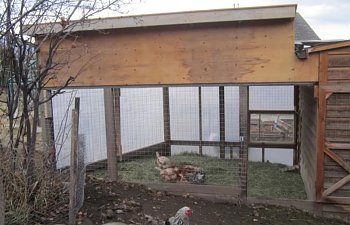
31) heavy plastic added to keep wind out. Also framed in a window.

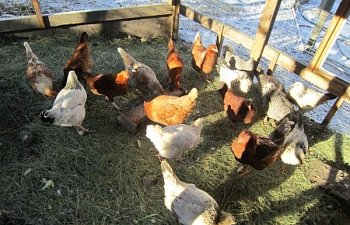
32) fast forward to Dec 2014, these are my new heritage breed chickens due to lay this spring.
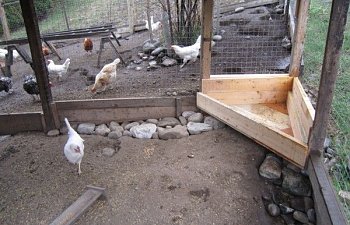
33) Added a dusting box to the pen
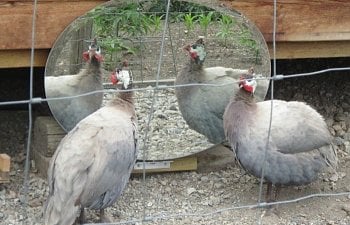
33) And now have guinea hens!!!
Thanks for taking a peek at my coop project.

I really enjoy having chickens and appreciate
all the helpful posts from this forum!

