I've been thinking of a way to take better pictures of my chicks, and I implemented a trick from another artform of mine. Below are the instructions to build a 'photobox' to take professional looking photographs, for just a few bucks. The materials are things that most people have around the house, and if not should only cost you a few bucks at the dollar store.
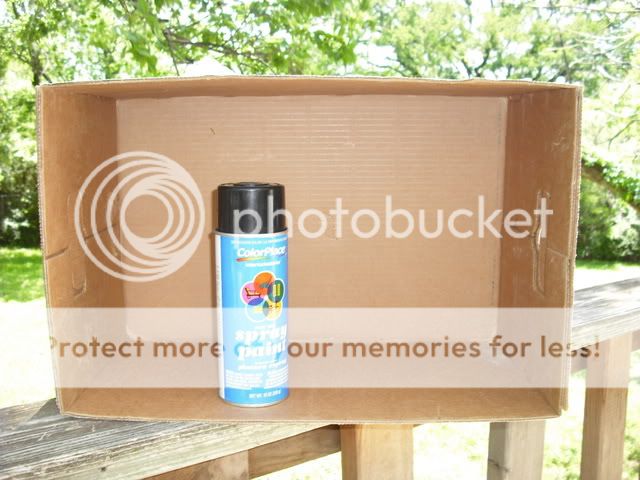
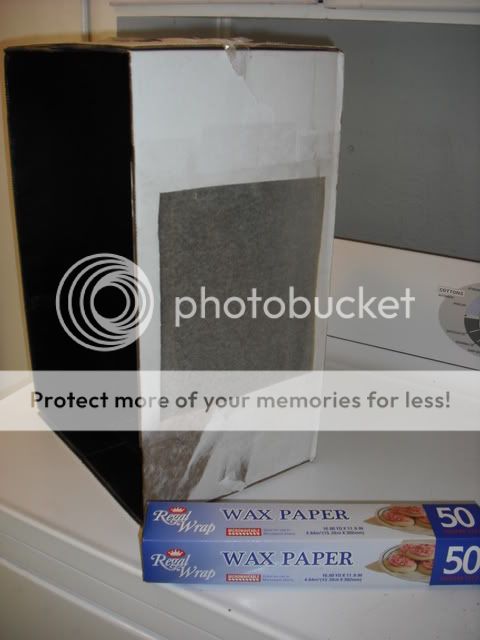
First, get a sizeable box, and choose a color of spray paint. I used an empty paper box that reams of paper came in. Lightly colored chicks show up better on dark back grounds and vice versa, so take this into consideration when purchasing your spray paint.

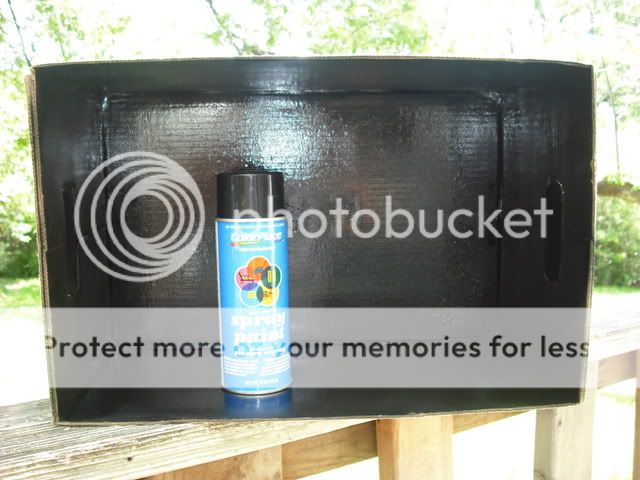
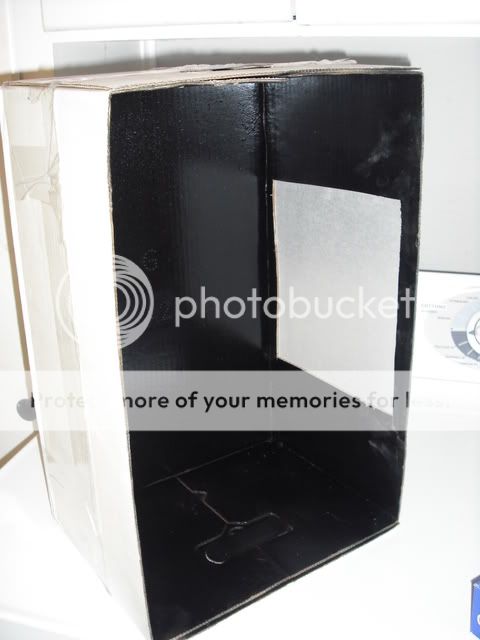
With the spray paint, cover the inside of the box on all sides. Dont forget about the creases!
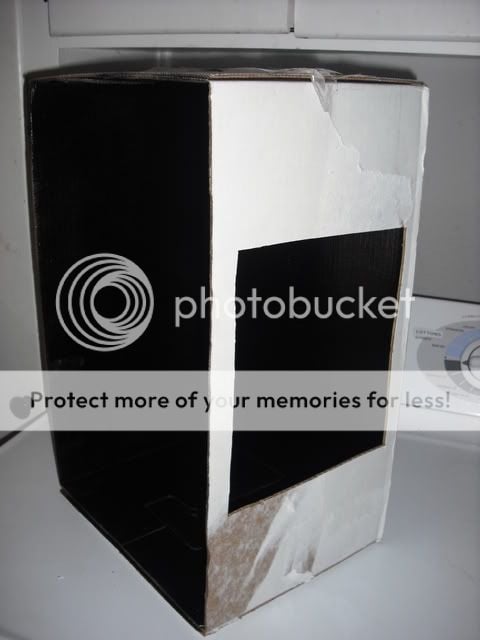
Once you have the inside of the box painted, cut a hole in one side. The hole needs to be large enough to let light through, but not so large that the light fixture can fall through. (You'll see the light fixture in subsequent pictures.)
Once the hole is cut, take a piece of wax paper and cover the hole. Using some tape, secure the wax paper to the box. Make sure it is tight, otherwise bends and folds will create shadows when you finally take pictures.
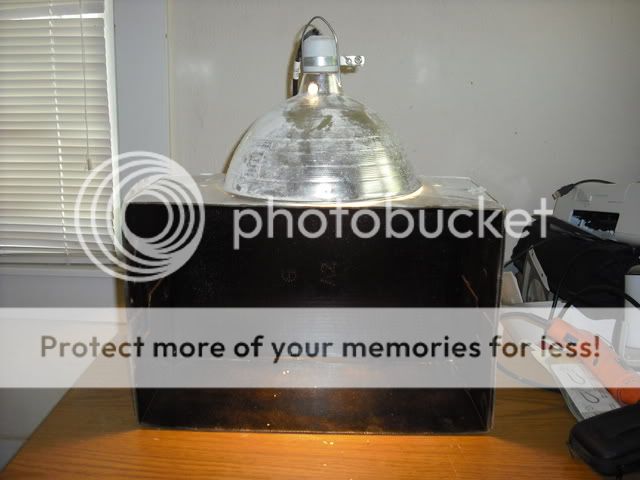
Once you have the wax paper secured, you are nearly done. Turn the box on it side, so that the light hole is on top. Then place your light fixture on top of the hole. I use a brooder light with a 60w light bulb. The darker the room, the better the pictures.
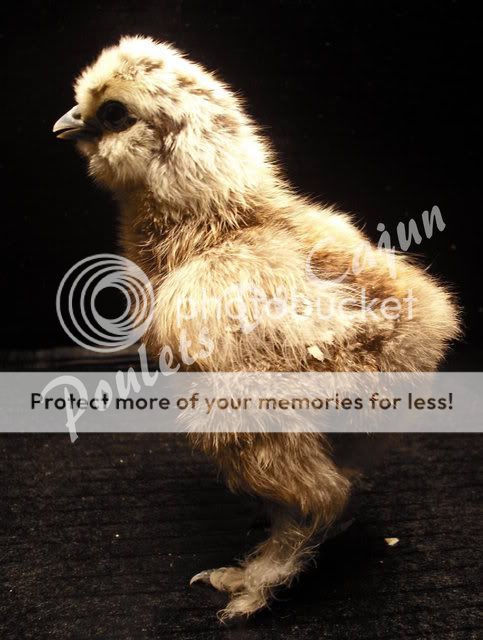
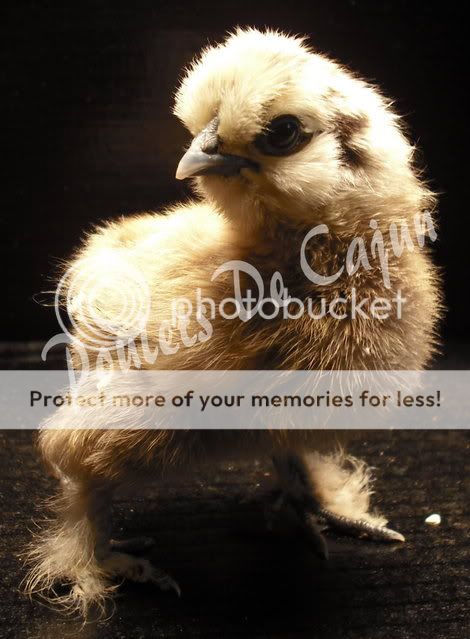
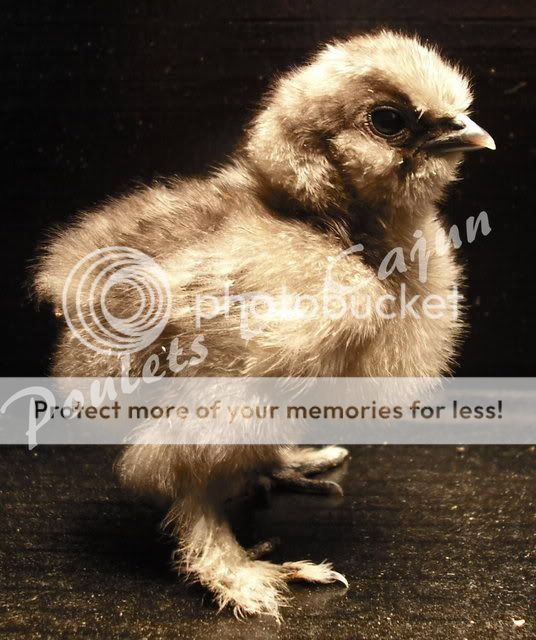
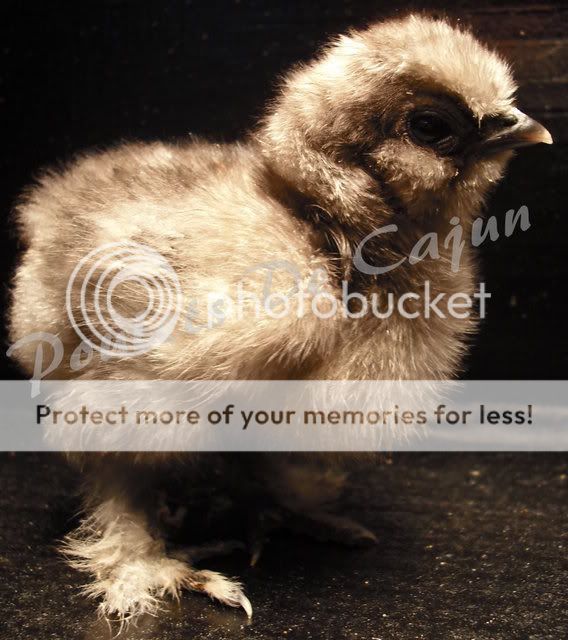
Finally, turn the flash on your camera OFF, and turn your MACROS setting on. You'll need the extra fine focus for the close up shots. It will take some practice, but after a while you'll get the hang of it and will be producing shots just like these!
(Extra hint: For even better lighting, add a light fixture and a light hole on all three sides!)
First, get a sizeable box, and choose a color of spray paint. I used an empty paper box that reams of paper came in. Lightly colored chicks show up better on dark back grounds and vice versa, so take this into consideration when purchasing your spray paint.
With the spray paint, cover the inside of the box on all sides. Dont forget about the creases!
Once you have the inside of the box painted, cut a hole in one side. The hole needs to be large enough to let light through, but not so large that the light fixture can fall through. (You'll see the light fixture in subsequent pictures.)
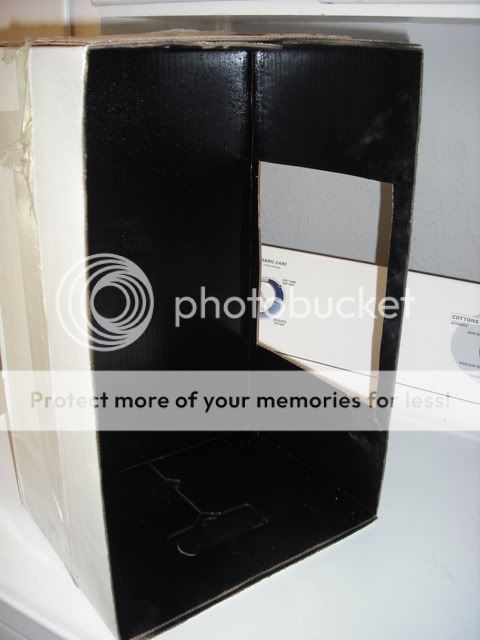
Once the hole is cut, take a piece of wax paper and cover the hole. Using some tape, secure the wax paper to the box. Make sure it is tight, otherwise bends and folds will create shadows when you finally take pictures.
Once you have the wax paper secured, you are nearly done. Turn the box on it side, so that the light hole is on top. Then place your light fixture on top of the hole. I use a brooder light with a 60w light bulb. The darker the room, the better the pictures.
Finally, turn the flash on your camera OFF, and turn your MACROS setting on. You'll need the extra fine focus for the close up shots. It will take some practice, but after a while you'll get the hang of it and will be producing shots just like these!

(Extra hint: For even better lighting, add a light fixture and a light hole on all three sides!)
Last edited by a moderator:


