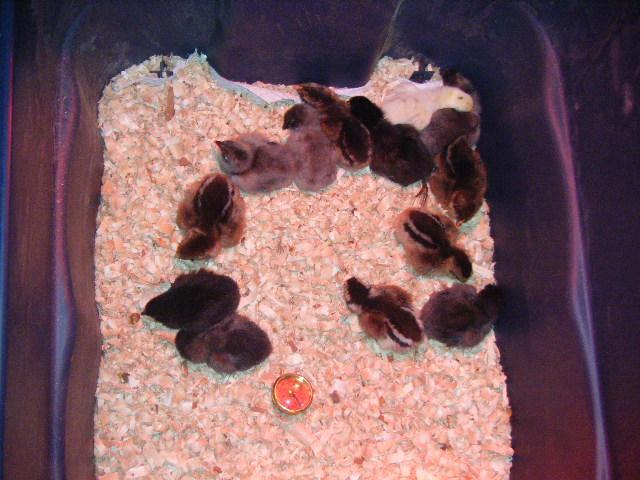
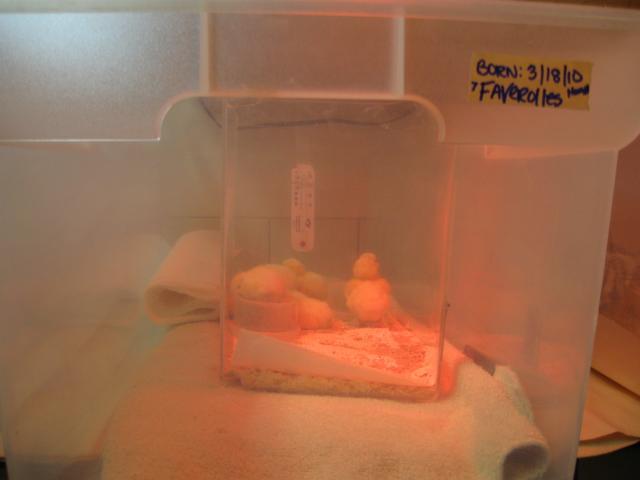
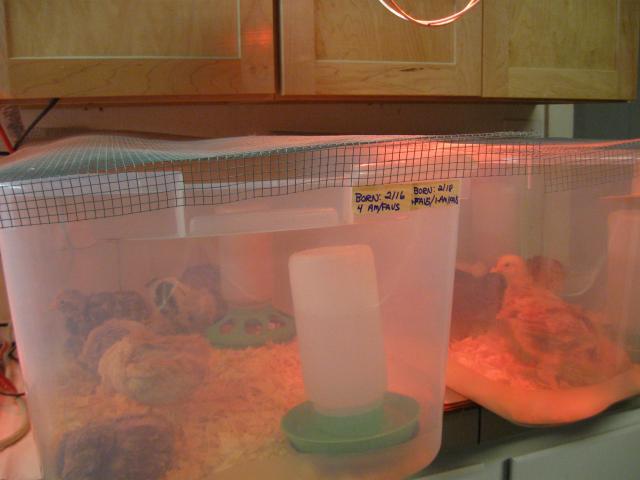
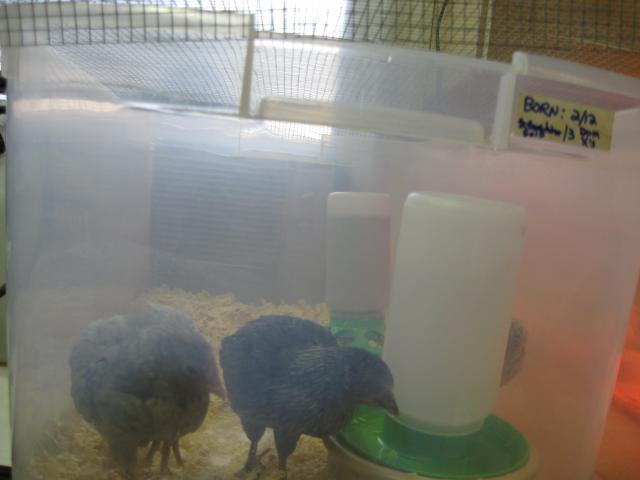
*My Brooders, easy & quick to set up, no-build, easy to find materials, & easy to clean. All of these brooders are fitted with a 1/4" or 1/2" wire mesh top to keep them in & other things out, the 2 ends are just bent down. Or for a more secure lid, you can cut a large hole in the top of the lid & duct tap the wire mesh to the underside of the lid. A temperature guage or two are taped to the inside side at the chicks standing level, to monitor the temp. A red heat lamp is over one end of the container, to leave the other end as a "cold side" for them to escape the heat when they want. When too much heat is escaping from the container, I just put a container lid over the top of the "cold side" & away from the lamp, which can be adjusted & removed easily. Chicks are transfered to larger sized containers as they grow & need more room. I keep a few xtra, empty, clean containers around to transfer them to when it's time to clean out the old one & move to the clean one. Then the old used one is cleaned by dumping contents into the compost bin & the container is sanitized by cleaning in the tub or outside in good weather.
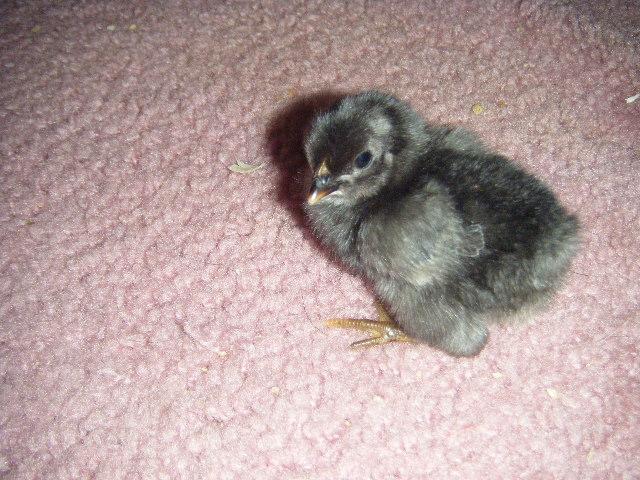
-2 to 3 day brooder after 12 to 24 hrs in the incubator, set inside of a larger clear plastic storage container to stop drafts, next they'll go into a medium container when they're getting around good. Temps start at 95 degrees F at one end for the first week, but leaving a "cold side" at the other end for them to escape too much heat.
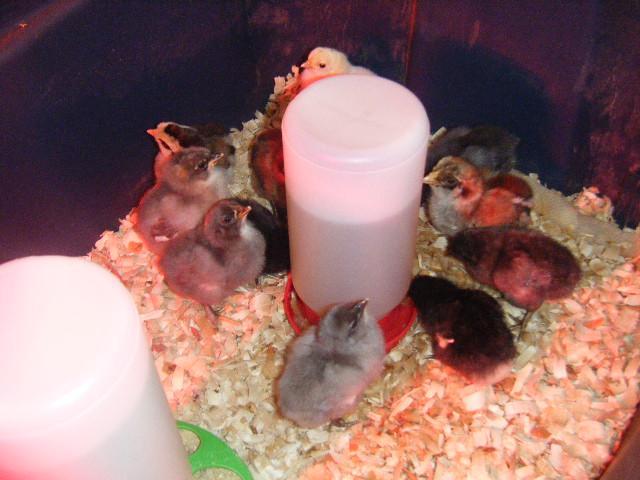
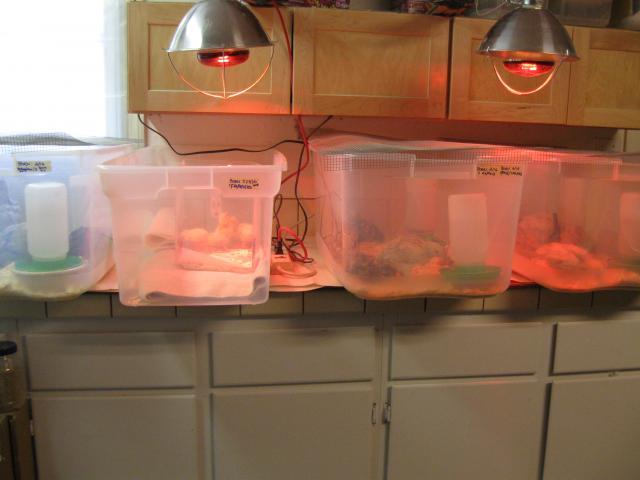
-Two brooders sharing 1 heat lamp, since they have most feathers & no longer need as much heat.
-Four brooders side by side, 2 lamp going with focus on the youngest ones needing more heat.
-The last stage brooder in large container (106 qt. size) with wire mesh top & no heat lamp needed. Good for when they need to be weaned off of the heat &/or if it's too cold to go outside yet.