Brooder Construction in a new Woods KD Coop

Ted Brown

Crowing
Premium Feather Member
5 Years
Dec 12, 2018
2,166
5,434
416
near Shawville Quebec Canada
My Coop
My Coop
Our new coop has been in use since September 20th by seven ISA Brown pullets and this weekend (October 12th) we will move eight young (7 -14 days) in as well.

I was originally thinking that they would be moved at six weeks and worried that they would face acclimation challenges given temperatures that would be at or close to freezing. Some research here led us to @aart thread https://www.backyardchickens.com/th...-at-4-weeks-old.1159151/page-25#post-21830438 and others that strongly encouraged moving chicks in with older birds as soon as possible and to begin integration at four weeks. Given my weather circumstances this was welcome news and we are proceeding down that path.

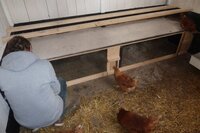
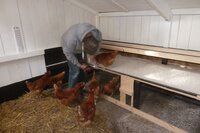
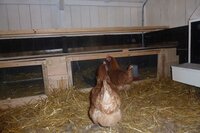
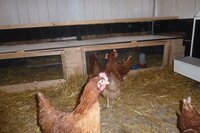
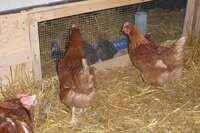
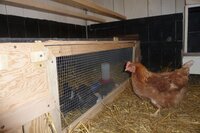
Given that decision acquisition of the bits and pieces needed and construction of the means to separate a section of the coop for the chicks is now underway. I will mimic aart's "wall" (see his article on "Integrating Chicks Into Flock at 4 Weeks") and use the space under the roosts/drop board as dedicated chick space for the integration period.

The build process began today with running electricity to the coop; I used 12-2 cable buried in PVC conduit for the 40 foot distance from the back of the garage to the front corner of the coop, tomorrow will do a temporary hookup (I need more conduit and will not be in until next week) so that we can power a "mama heat pad" and get the chicks moved this weekend.

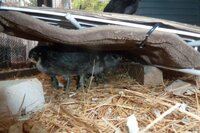
We have great weather at the moment so have been putting the chicks outside for the past three days on the south facing deck in a cage that I had used for the original seven pullets. The extra space and sun seems to have pleased them as they spend the afternoons eating, drinking and chasing one another from one end to the other then fall asleep exhausted once we bring them back inside.
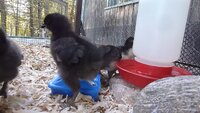
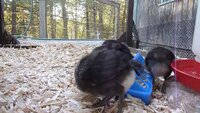
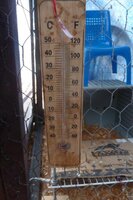
P1180532.JPG P1180531.JPG P1180510.JPG P1180504.JPG
 
Last edited:
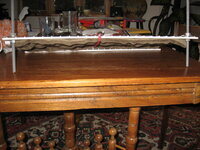
aart's article also references his "Pseudo Brooder Plate" using a Sunbeam Heating Pad, having no shame and more than willing to copy a great idea we ordered one and it arrived today. I had most of the other bits and have cobbled together a copy which we are using tonight for the first time in a large cardboard box that has replaced the original small plastic box that the chicks have lived in for the past week or so.

MHP Frame and Pad 003.JPG MHP Frame and Pad 004.JPG MHP Frame and Pad 005.JPG

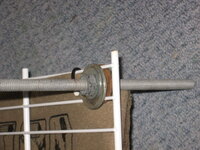
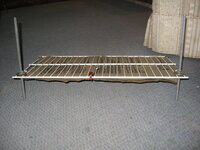
I used two threaded rods with nuts and washers tightened down on the front sides of a 12" by 24" wire shelf (perfect fit for the XL Sunbeam heating pad). This allows a simple adjustment in height as the chicks grow. I have initially set the front height at 4", a bit of a guess and I would appreciate any feedback on this.

Like all chickens our young ones take a bit to accept changes but it seems that they have figured things out.

2nd Temporary Brooder Box with MHP 001.JPG

The Sunbeam control is set with "Auto Off" disabled and temperature setting at 4.

Obviously we will move this to the coop this weekend once the chick space is ready; will also install a standard plastic electrical box, ceramic light receptacle with ceramic heat bulb as a backup heat source (hoping to never use it!).
 
Last edited:
Man, that rack is the perfect size, eh?!
You want legs on the back too.

(??eh... I thought that was a Canadian expression?)

When I pulled out the rack I smiled. It had been downstairs in it's original wrapping for probably 20 years, finally put to perfect use. It is an "L" shaped shelf with the lower edge about 1.5" inches high; dead simple to add legs at the back for more height using threaded rod and nuts/washers. What heights do you suggest I start with back and front?
Eh, maybe..:lol:..but I've always used it. Also common in Da U.P.

I love it when a 20yo 'stashed' thing finally has a perfect use!
Have had a few of those, probably not enough of them to fully justify keeping all the crap I keep...:gig ...but still.

I might put the "L" going up....well, I did, on my first iteration.
Same thing, stashed rack found in storage.

1.5" in back is OK at first, but you'll want it higher pretty soon as they grow.
Best thing about a 'flat pad' is 4 sided egress.
Starting about 2-3" in front.
Takes some 'Observing and Adjusting' to get angle 'right'.

Also might want to use cardboard on top instead of a towel, with a piece of plastic underneath, to protect heating pad.
I know you can machine wash those pads, but....why, if you don't have to?<shrugs>
I came up with the cardboard because my pad was longer than the rack and I needed something to support the pad, but it ended up working really well
 
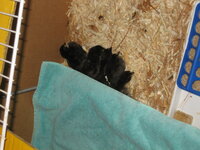
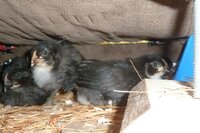
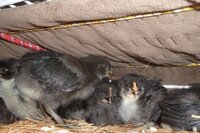
One has to experience a Pseudo Brooder 'Plate' in action to appreciate just how effective they are. Our chicks took less than 15-30 minutes to begin to use it, clustered under it overnight and now are ALL perched on top chirping like someone was feeding them a hard boiled egg yoke (some one did, gone in an instant in a group frenzy!).
 
Last edited:
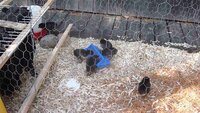
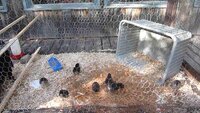
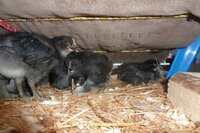
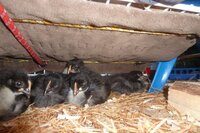
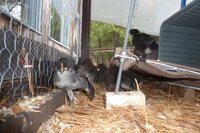
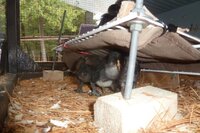
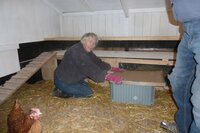
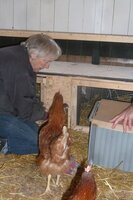
A bit of an update and more pics. We have been putting the chicks outside in a temporary cage for the past week and they are thriving. We add bits all the time - roosts, tepees, boxes, rocks, a split log, more to come I am certain.

The mama plate has worked brilliantly! They spend most of the time flitting about the cage but retreat when they are tired or chilled under it to catch their breath. Already we have had to adjust the height to accommodate their growth, expect that will continue.

P1180797.jpg P1180798.jpg P1180799.jpg P1180800.jpg P1180801.jpg P1180802.jpg P1180803.jpg P1180805.jpg
 
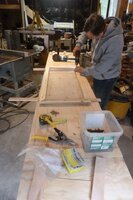
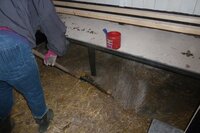
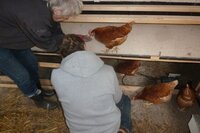
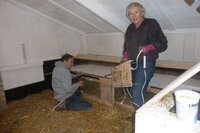
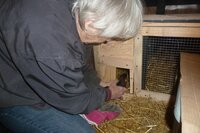
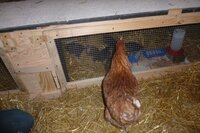
I completed the brooder wall today and installed it in the coop; quite an adventure since our pullets were very curious and managed to get in the way at every juncture.

My priority was to get our eight chicks (~3 weeks old) into the coop to continue their acclimatization to colder temperatures as well as begin their integration with our seven pullets. That resulted in a wall build that I was not satisfied with but that will work for the next weeks. If I acquire or hatch more chicks I will rebuild using 1" by 6" rough cut pine boards and do a better job.

I used 1/4" plywood for this build but ended cutting most of it away; also had to extend the 8' length to cover the 10' internal width of my coop; ended up being flimsy and jury rig completely. I built frames to mount the hardware cloth and made simple wooden blocks and turn brackets to hold them in place.

NOT PRETTY but it works and the chicks are now in the coop to continue their acclimatization for the winter and begin their integration.
23 Oct 12.jpg 23 Oct 14.jpg 23 Oct 15.jpg 23 Oct 16.jpg 23 Oct 17.jpg 23 Oct 19.jpg 23 Oct 22.jpg 23 Oct 23.jpg 23 Oct 24.jpg 23 Oct 25.jpg 23 Oct 26.jpg 23 Oct 28.jpg 23 Oct 30.jpg 23 Oct 31.jpg
 
WooHoo!!!
Congrats!
Don't worry about it not being 'perfect',
I tweaked mine 3-4 times over a few years, that's why we use screws!
 

New posts New threads Active threads

Back
Top Bottom