- Thread starter
- #31
Navigation
Install the app
How to install the app on iOS
Follow along with the video below to see how to install our site as a web app on your home screen.
Note: This feature may not be available in some browsers.
More options
You are using an out of date browser. It may not display this or other websites correctly.
You should upgrade or use an alternative browser.
You should upgrade or use an alternative browser.
Chicken moved in and they are very happy page 14
- Thread starter Omran
- Start date
Very nice! I'm sure the chickens love it!


- Thread starter
- #33
I love your simple straightforward building.... No wasted anythings.... How are you going to keep water out of the nest boxes. Or are they under an overhang....
- Thread starter
- #35
perchie.girl :
I love your simple straightforward building.... No wasted anythings.... How are you going to keep water out of the nest boxes. Or are they under an overhang....
Well first of all thank you again, and you are absolutly right I don't waste any materials, infact 90% of this coop is gathered from dumpstors
 and about the nesting boses they are under the overhang and I am going to caulk them real well.
thank you again.
I love your simple straightforward building.... No wasted anythings.... How are you going to keep water out of the nest boxes. Or are they under an overhang....
Well first of all thank you again, and you are absolutly right I don't waste any materials, infact 90% of this coop is gathered from dumpstors

thank you again.
Last edited:
I like the way you've done the nesting boxes here...thanks for sharing!
- Apr 12, 2011
- 45
- 4
- 34
Quote:
Great looking coop.
I assume you mean "caulk" them, otherwise I don't think your "rooster" would be too happy.

Great looking coop.
I assume you mean "caulk" them, otherwise I don't think your "rooster" would be too happy.

Last edited:
Looking great so far!!!
Quote:
Great looking coop.
I assume you mean "caulk" them, otherwise I don't think your "rooster" would be too happy.


Great looking coop.
I assume you mean "caulk" them, otherwise I don't think your "rooster" would be too happy.


- Thread starter
- #40
Hello again, today I finished trimming the front wall and build the little door for the new coop.
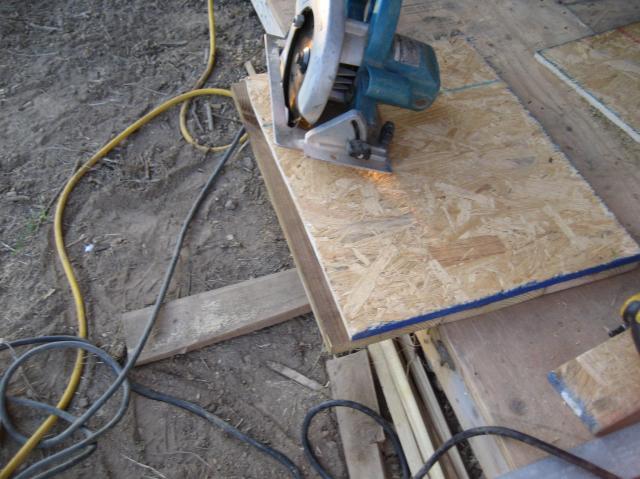
Here are the details on how I build the door.
First you measure the opening and cut a piece of ply wood, then in my case you attach the boards on it

then after I fastened all the boards on my plywood I fliped it upsid down and cut the unwanted wod after I fastened the door to the floor for safe use of circular saw

then I installed the door

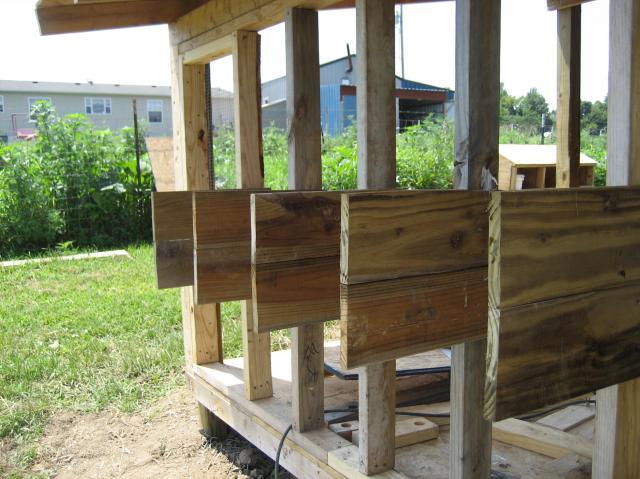
Here is a picture of the front

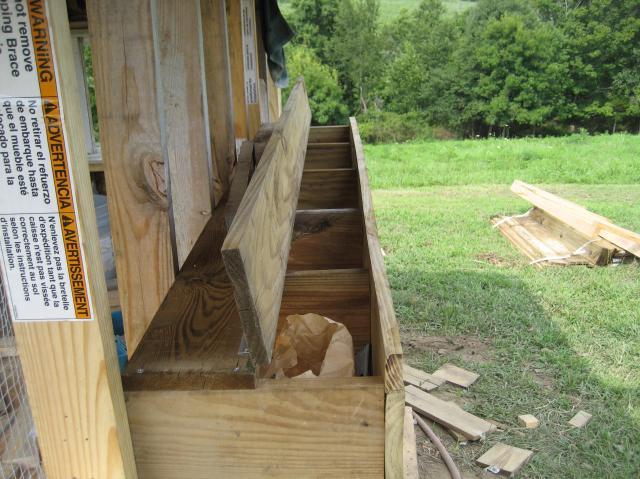
and one more picture of the unfinshed coop

I hope you guys are having fun with me.
thank you for looking
Omran
Here are the details on how I build the door.
First you measure the opening and cut a piece of ply wood, then in my case you attach the boards on it

then after I fastened all the boards on my plywood I fliped it upsid down and cut the unwanted wod after I fastened the door to the floor for safe use of circular saw

then I installed the door

Here is a picture of the front

and one more picture of the unfinshed coop

I hope you guys are having fun with me.
thank you for looking
Omran
New posts New threads Active threads
-
Latest threads
-
-
Rooster is very lethargic and obviously ill - please help!
- Started by JuanitaWilson
- Replies: 0
-
First eggs! Nowhere near the nest boxes…
- Started by RockNRollCHIX
- Replies: 1
-
Which of my brahma can I use to make more blue buff Brahma?
- Started by Nightchick
- Replies: 2
-
Do I Need a Ladder? (New to Raising Chickens)
- Started by thelordsblessing2017
- Replies: 7
-
-
Threads with more replies in the last 15 days
-
-
BYC Software Update 2025
- Started by Nifty-Chicken
- Replies: 173
-
-
Question of the Day - Tuesday, September 16th, 2025
- Started by casportpony
- Replies: 62
-
Students need help identifying our chickens
- Started by Cluckle
- Replies: 54
-
×


