Conversion of "3 sides totally open" aviary to a "good for chickens" coop.

Pics
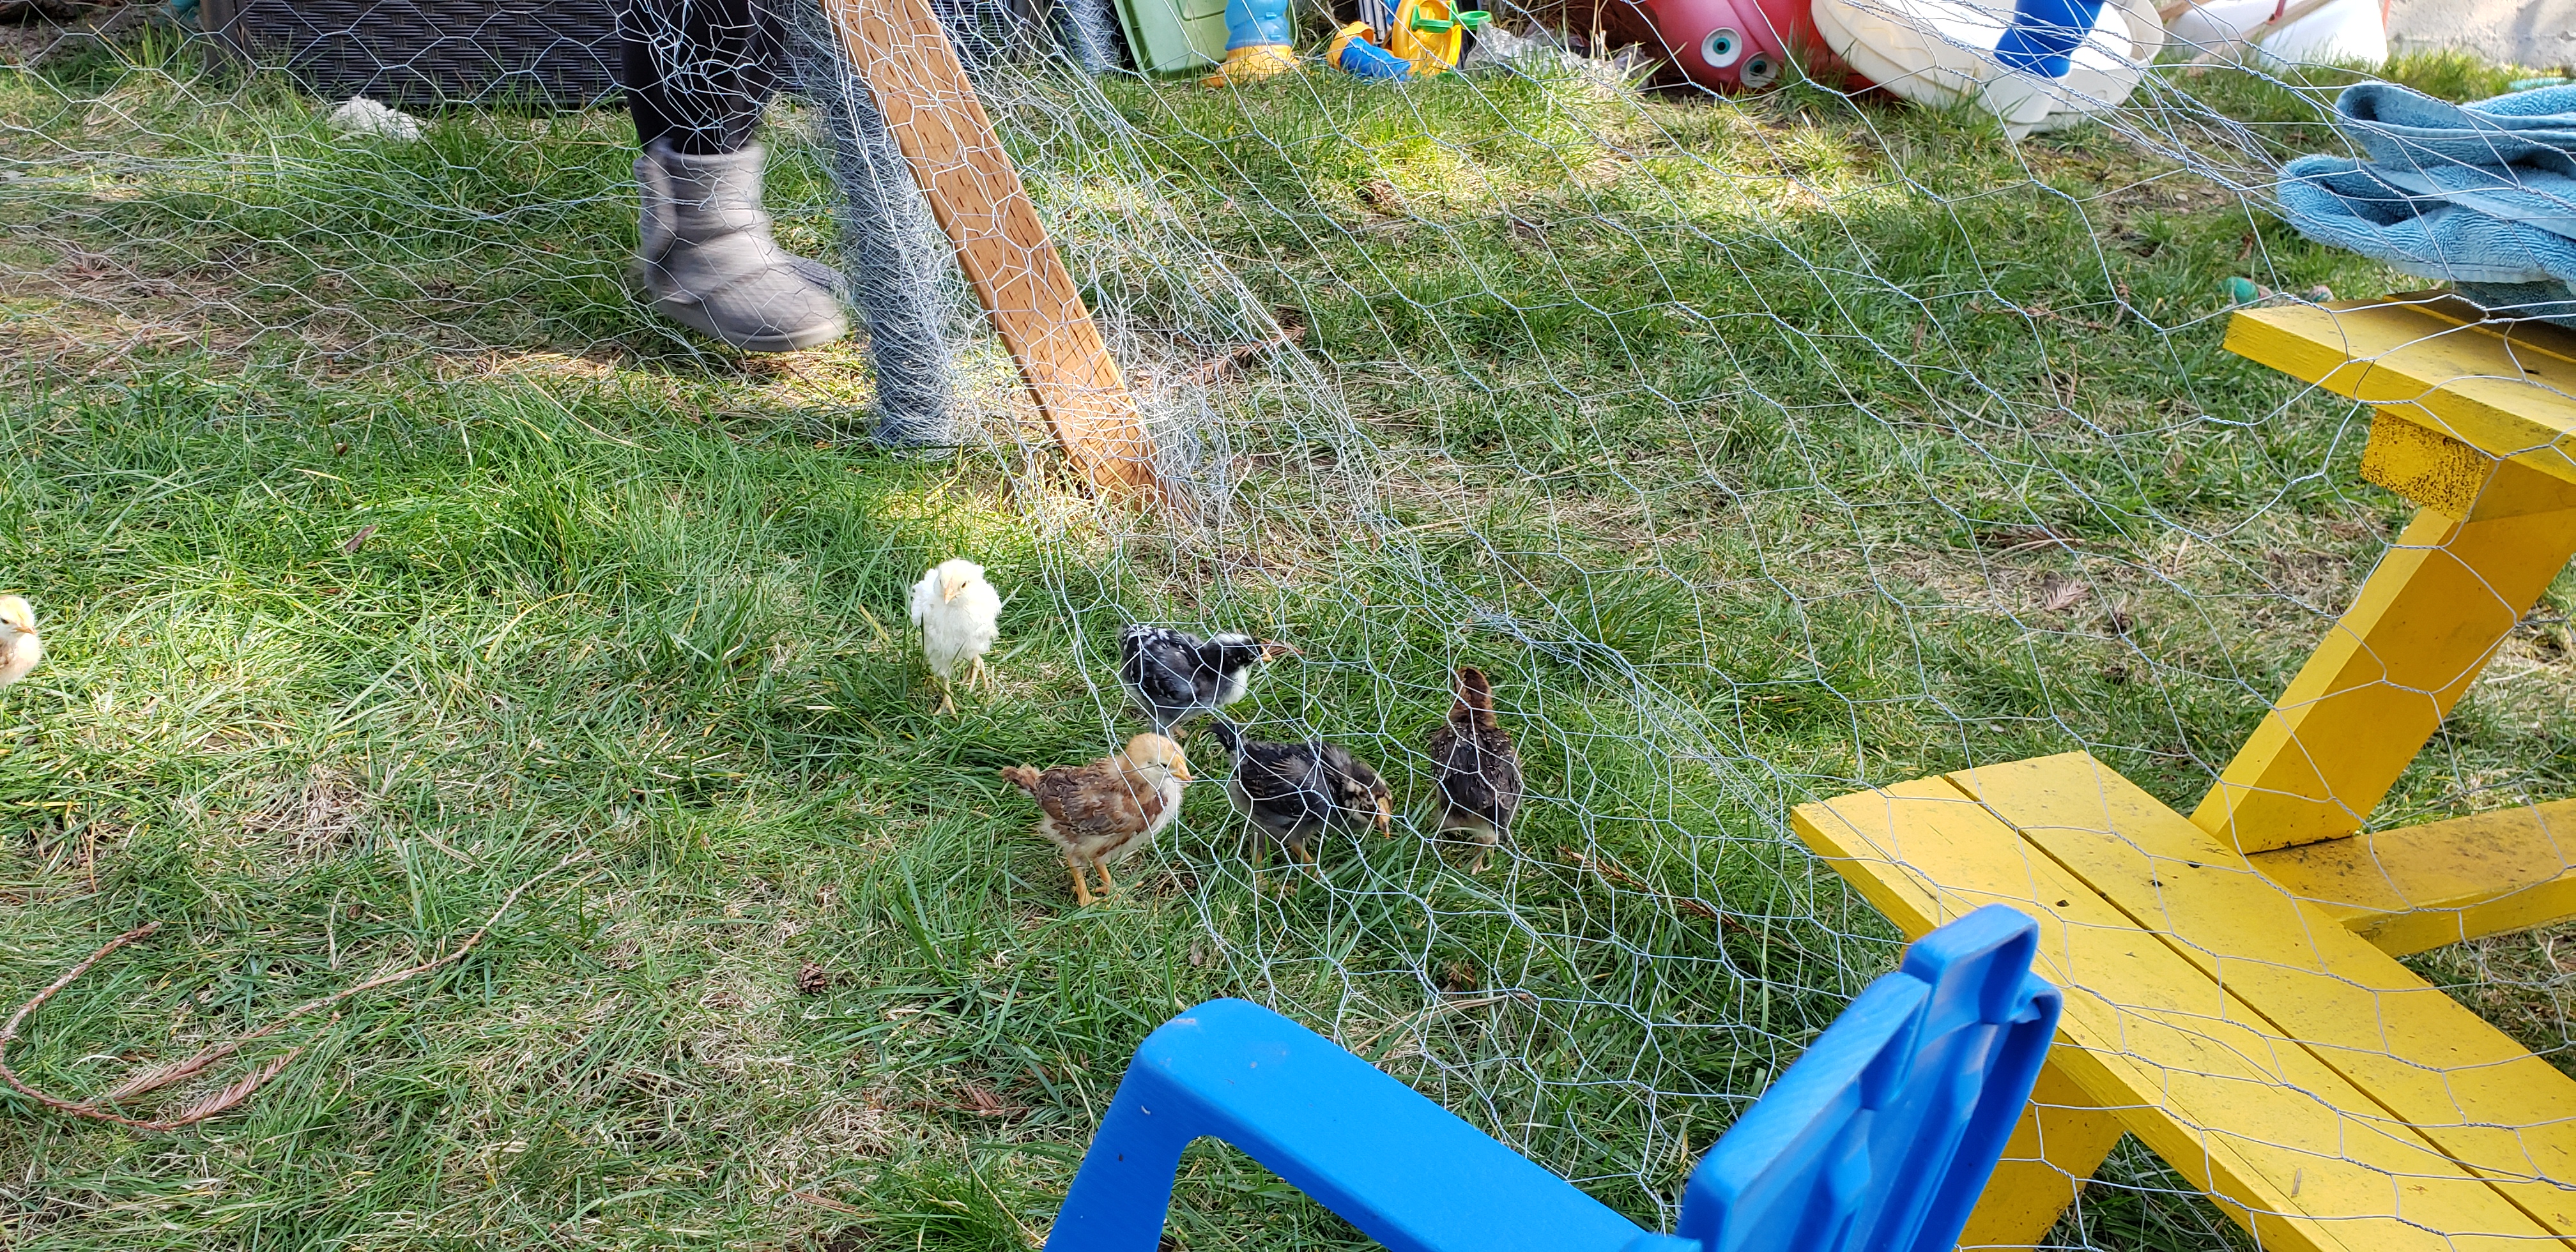
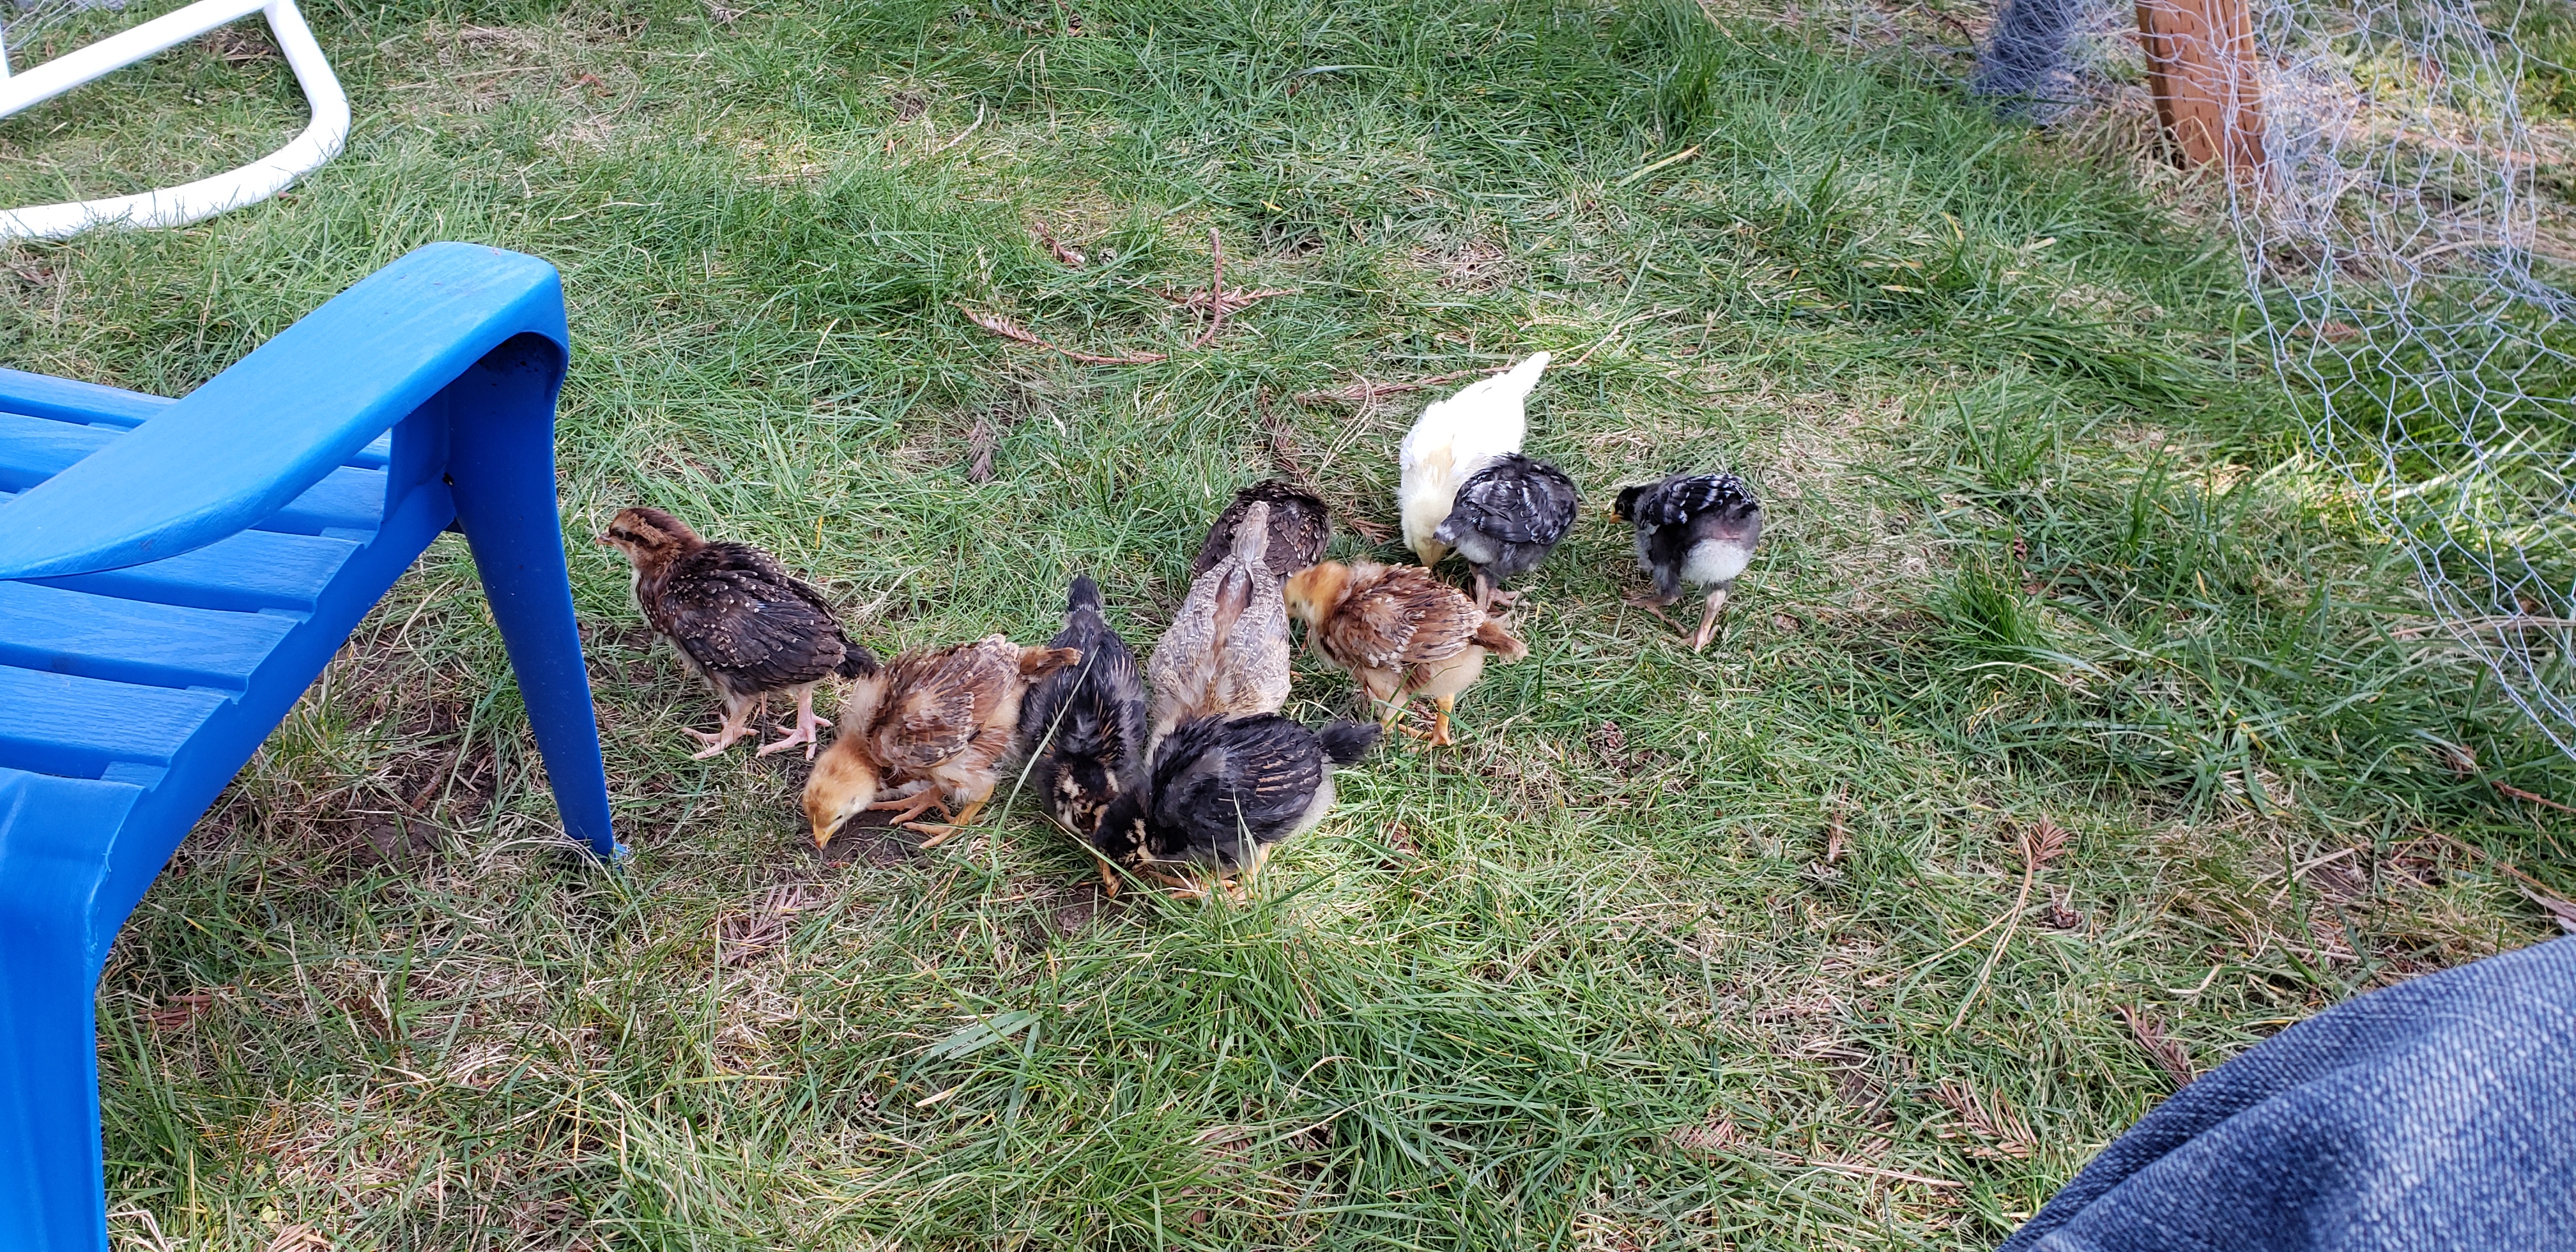
Since chicken math happened, and I have gone from thinking I will keep 8 chicks to thinking I will keep the 10 I currently have (started with 25 and sold down to current 10), I started getting paranoid that my 5 foot roost would not be enough space to avoid conflict. So I spent this morning doing some upgrades. Some easy to see, some harder.

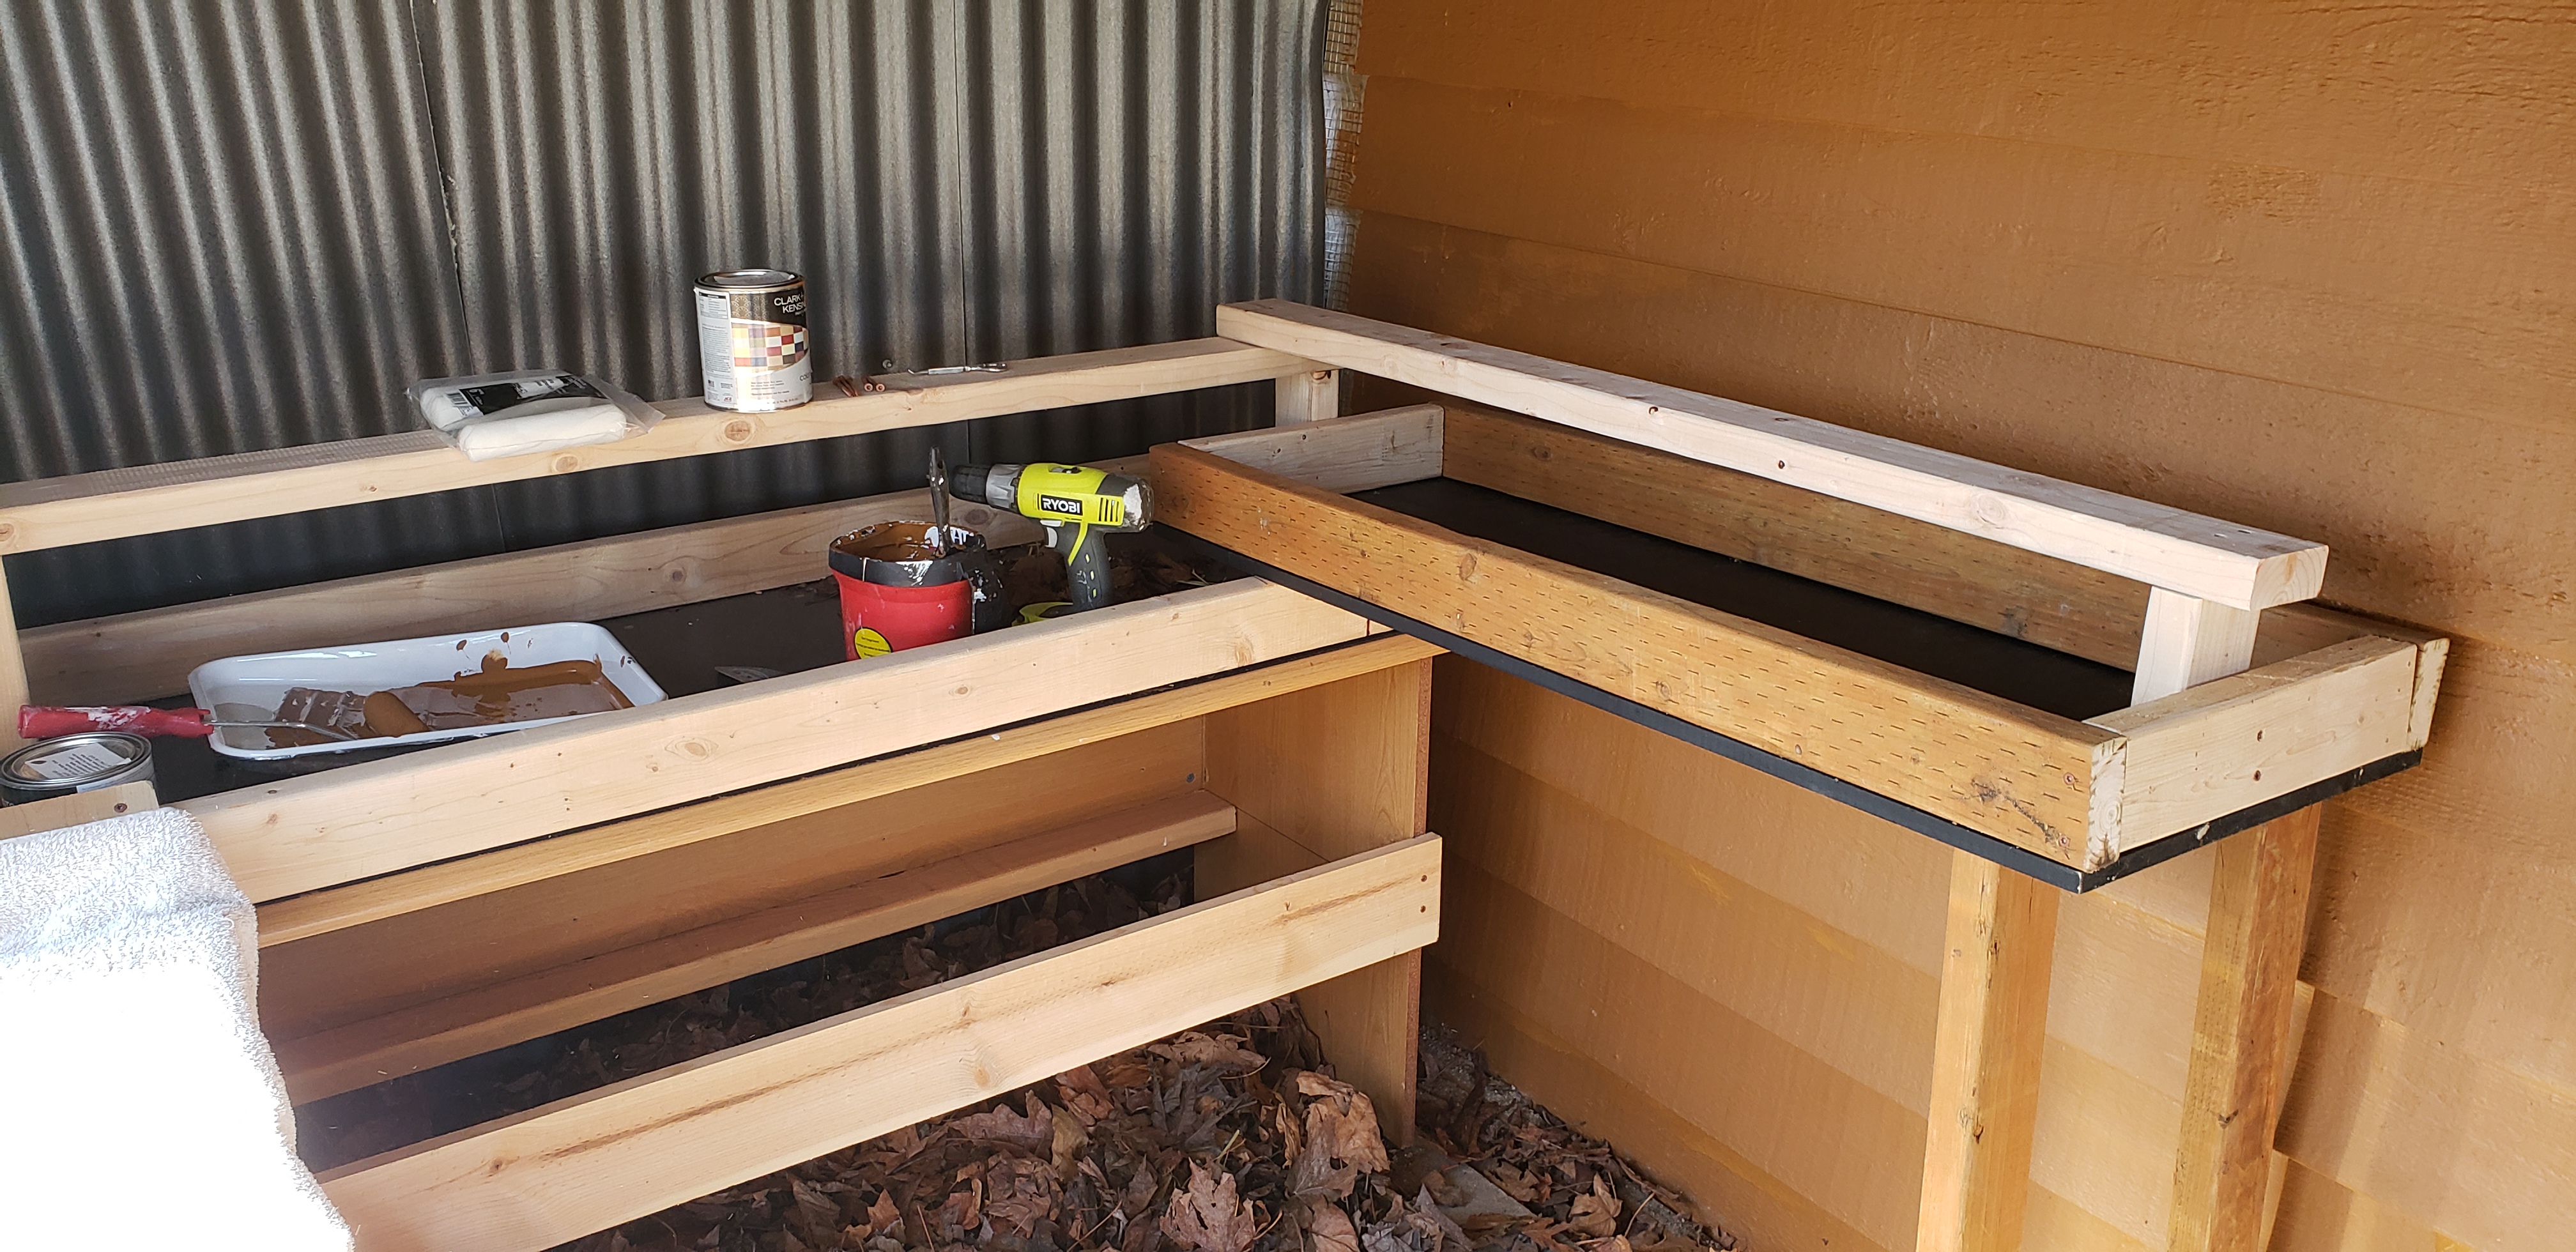
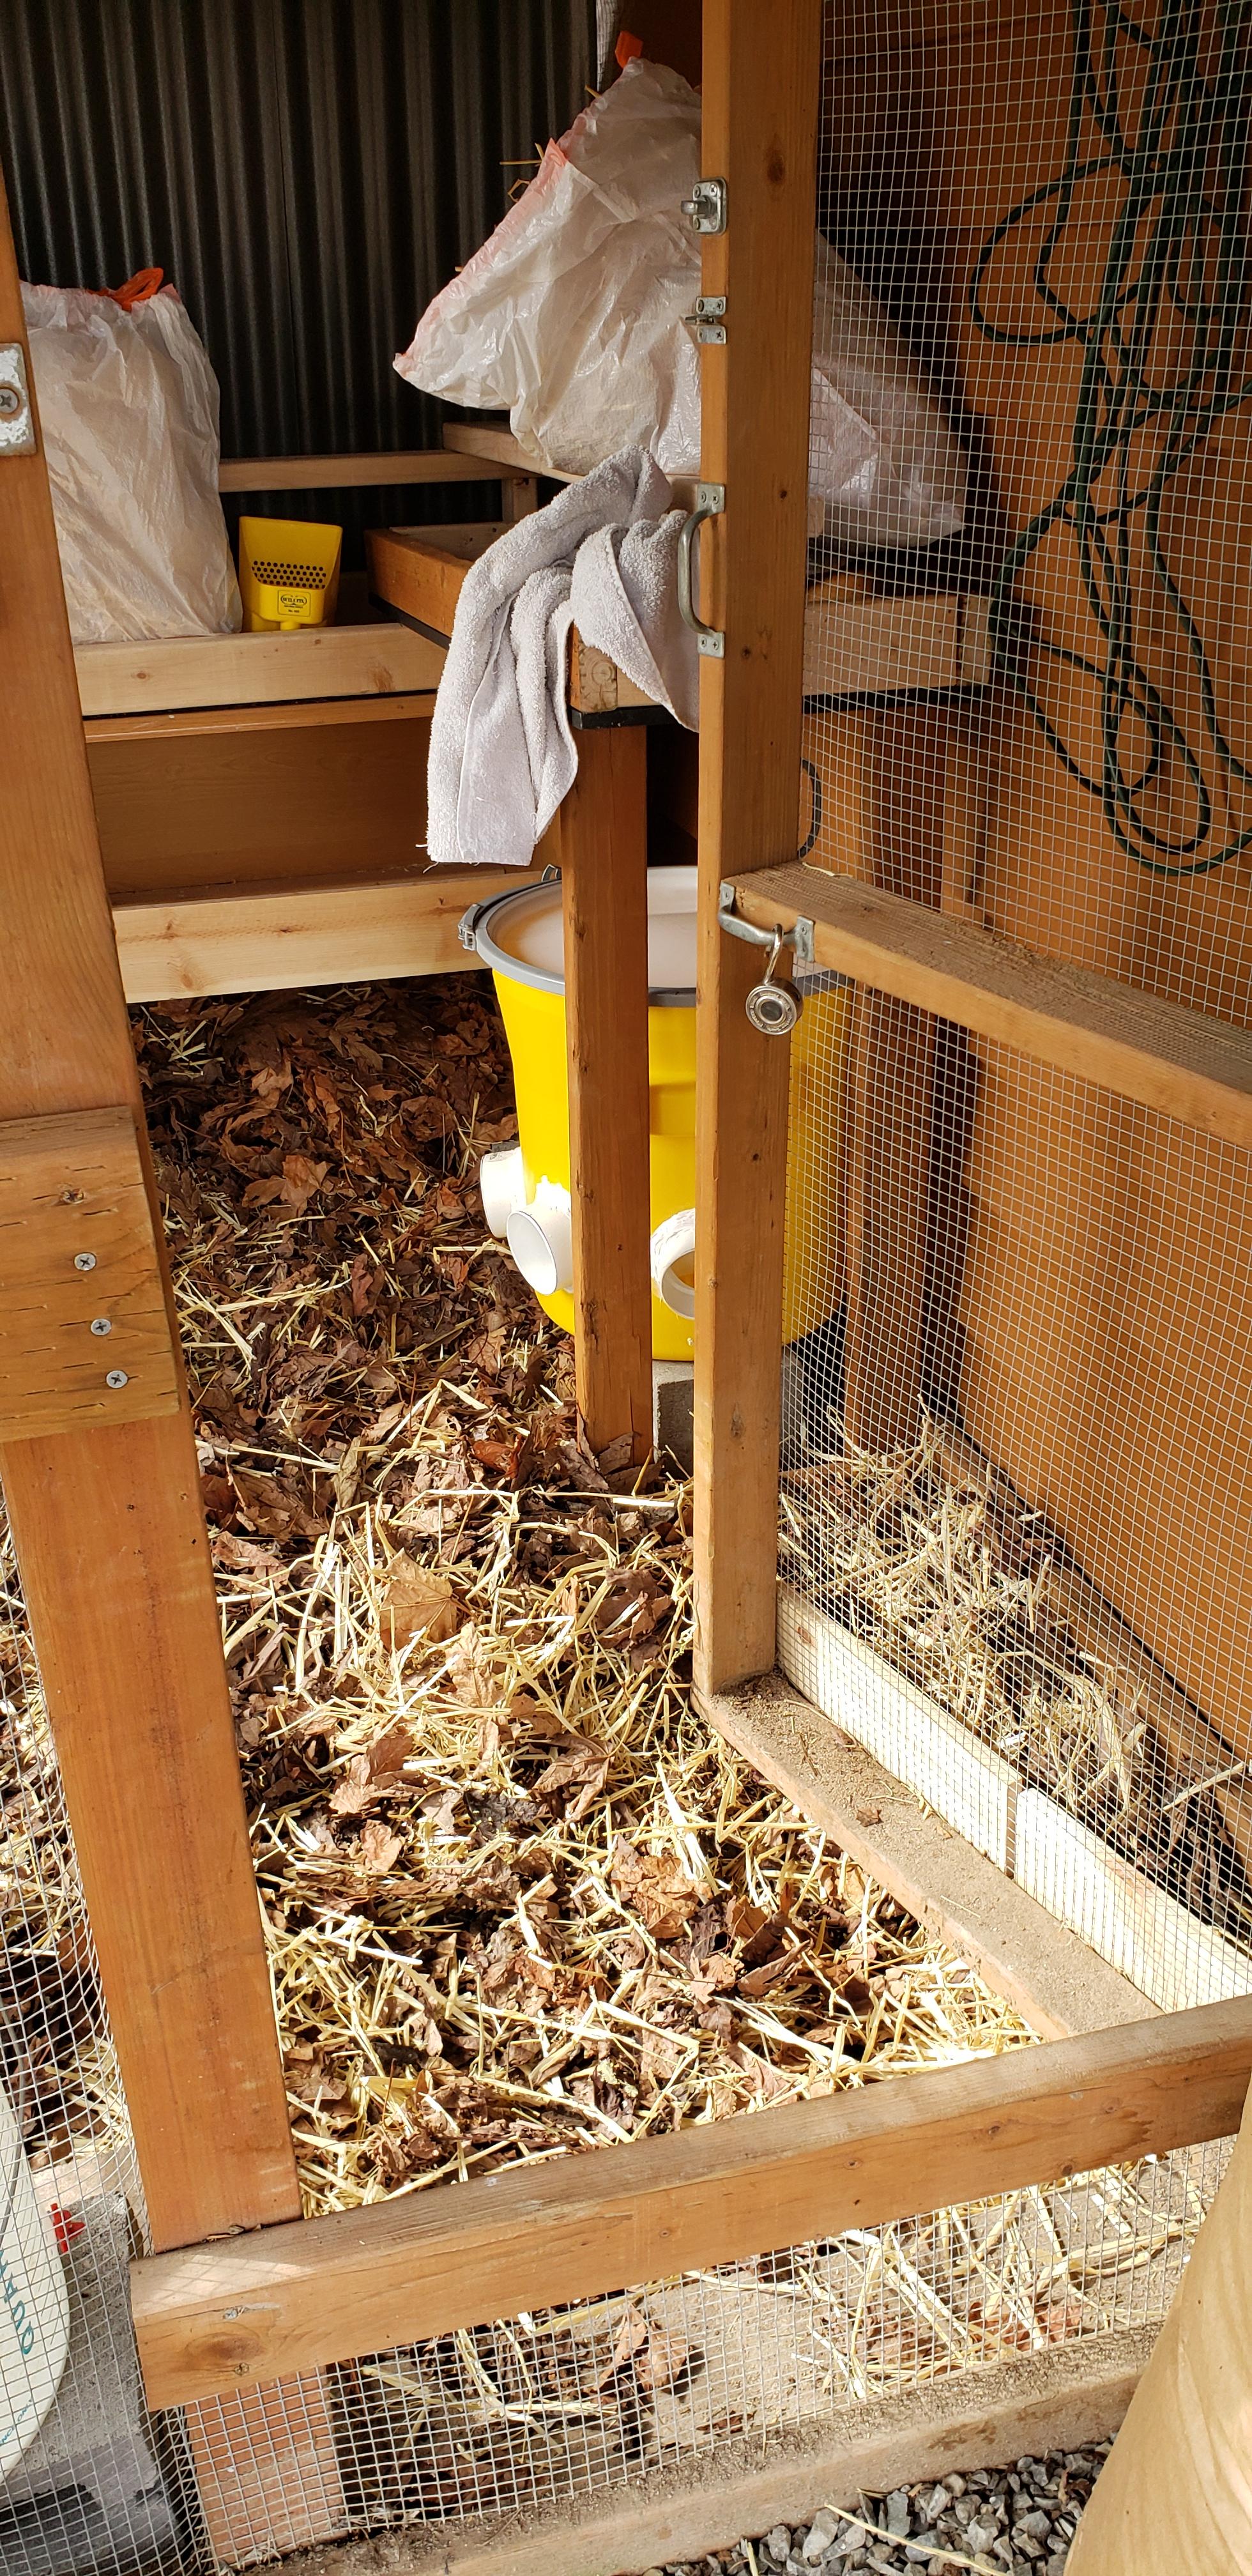
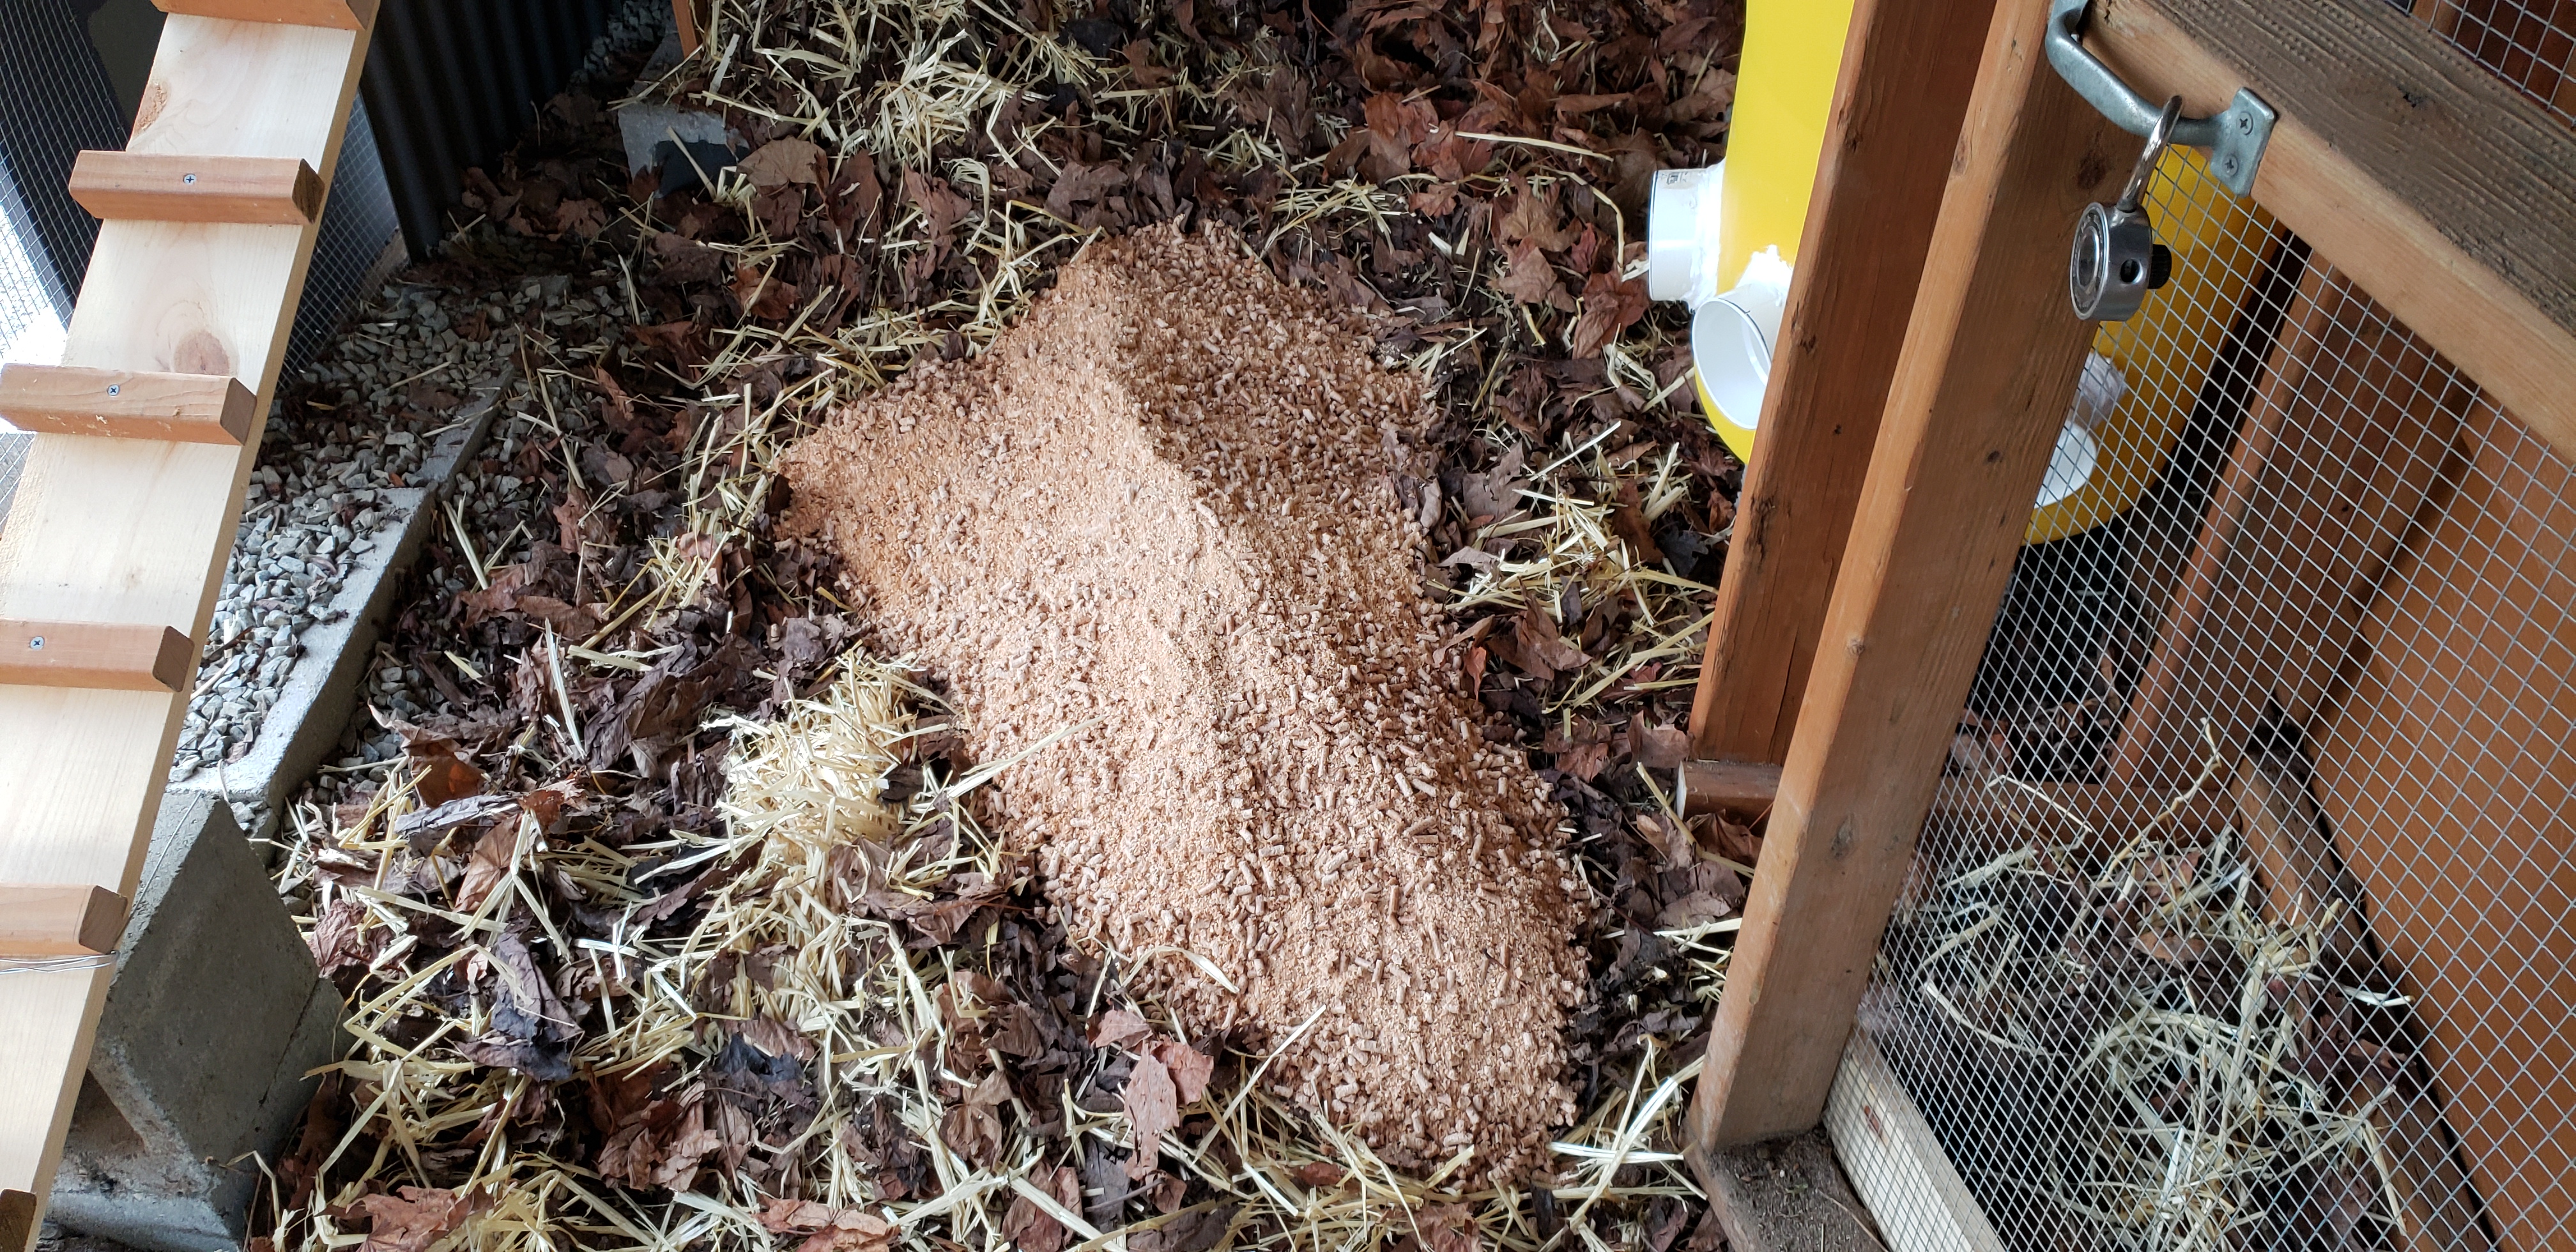
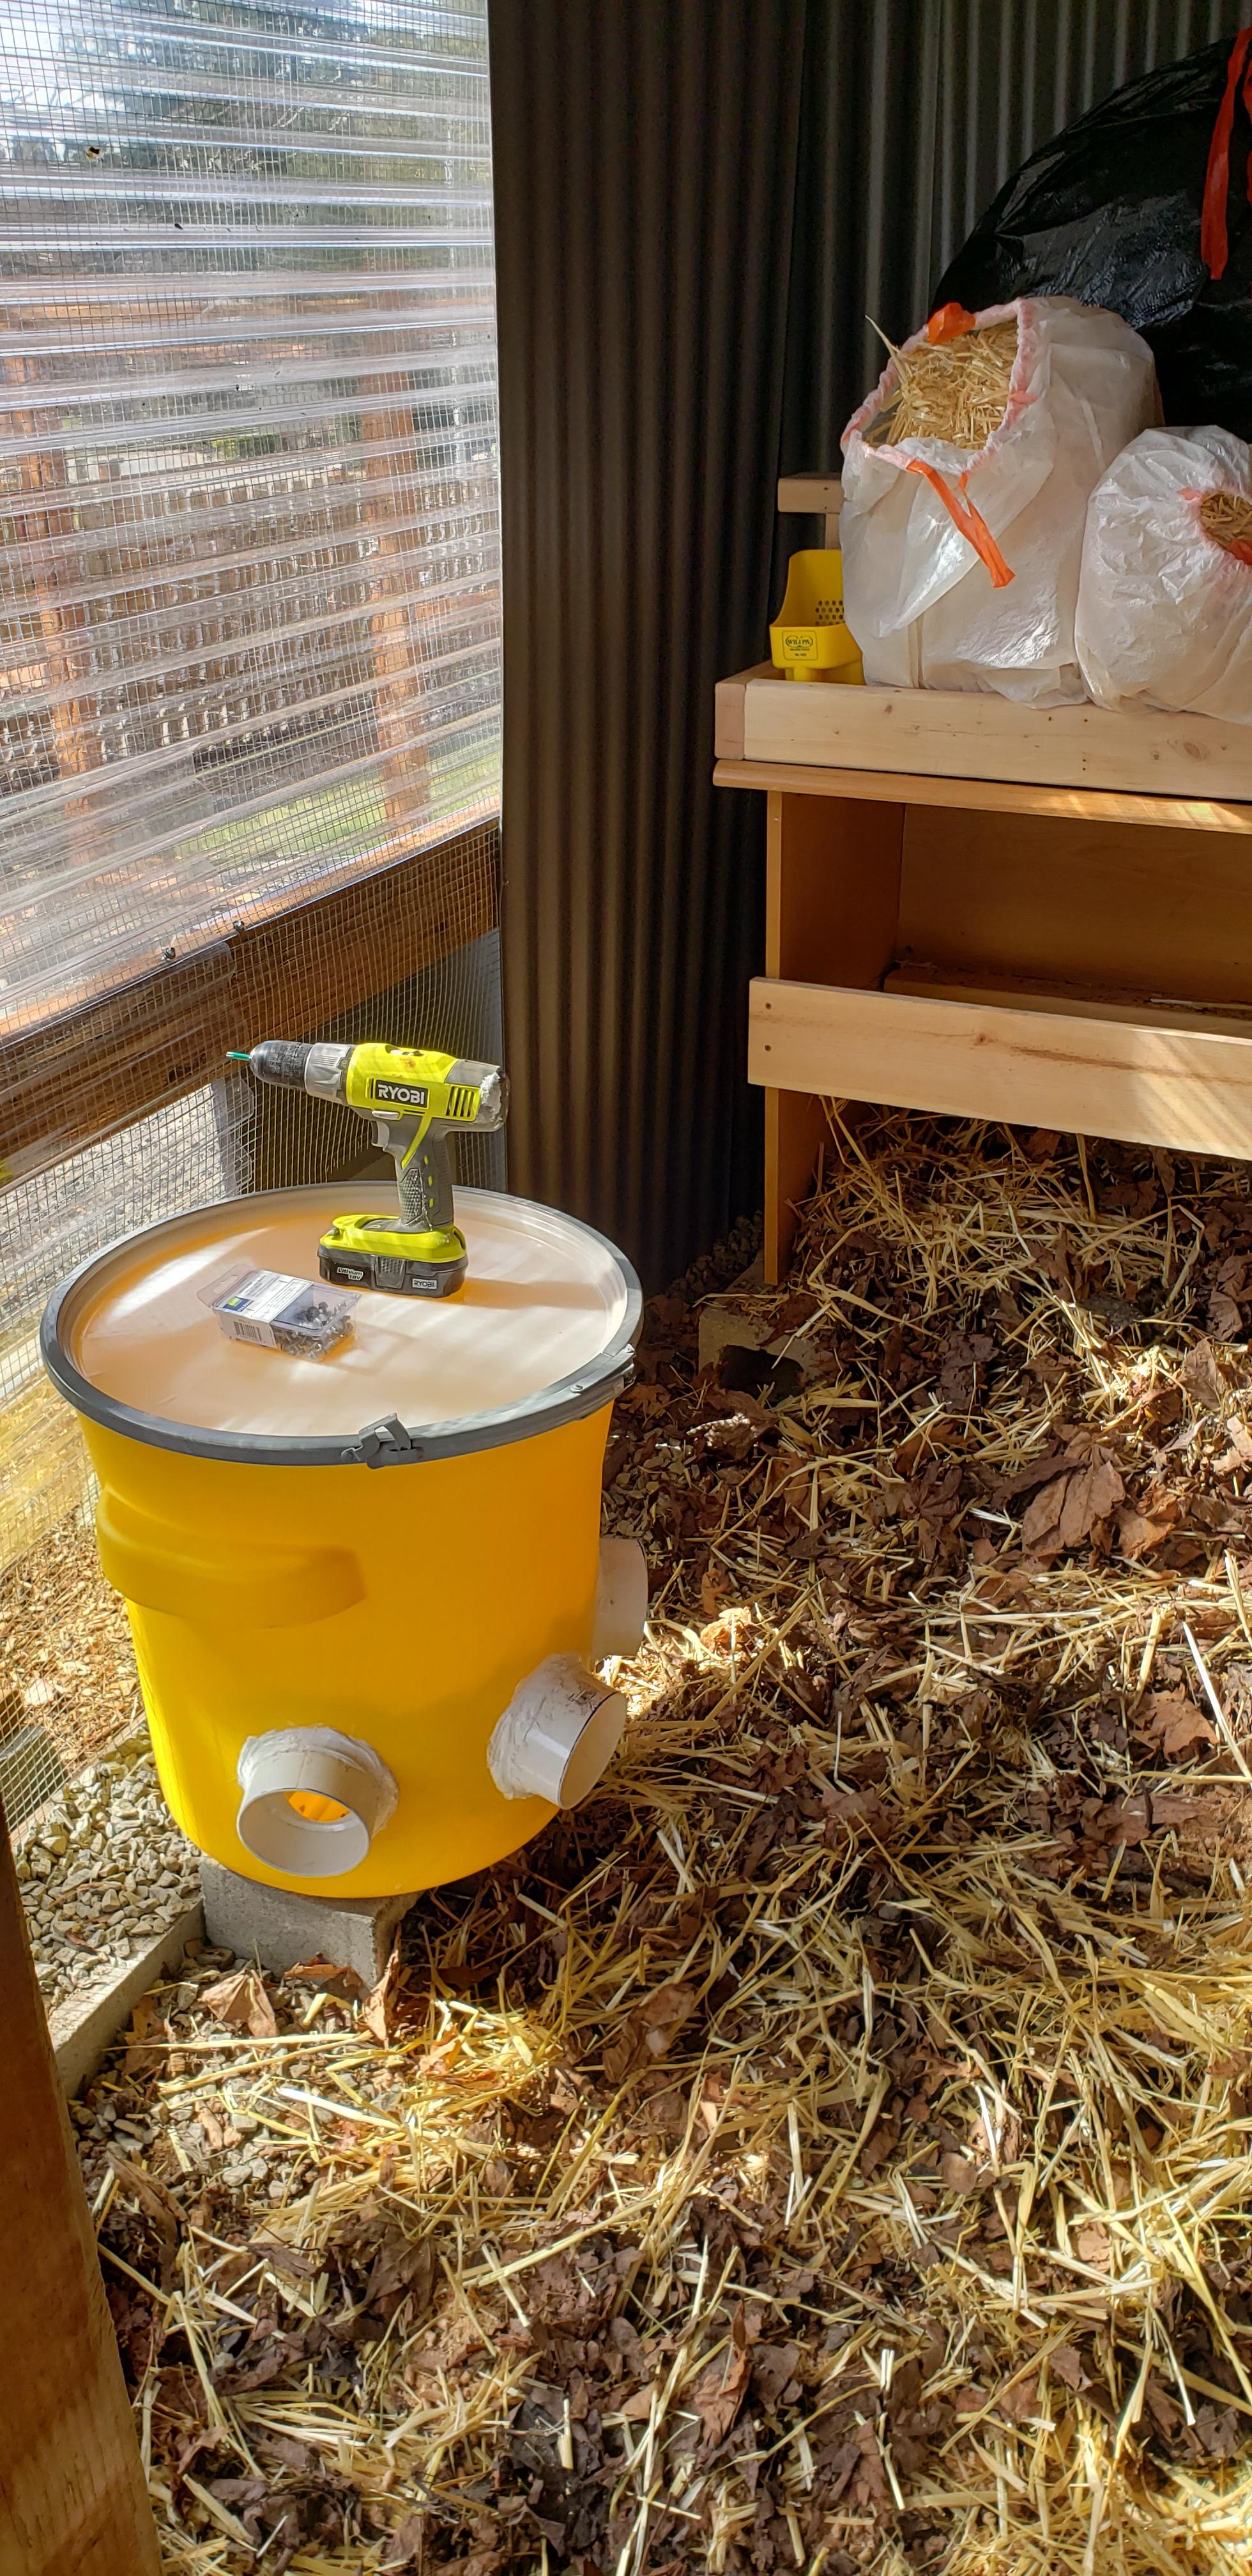
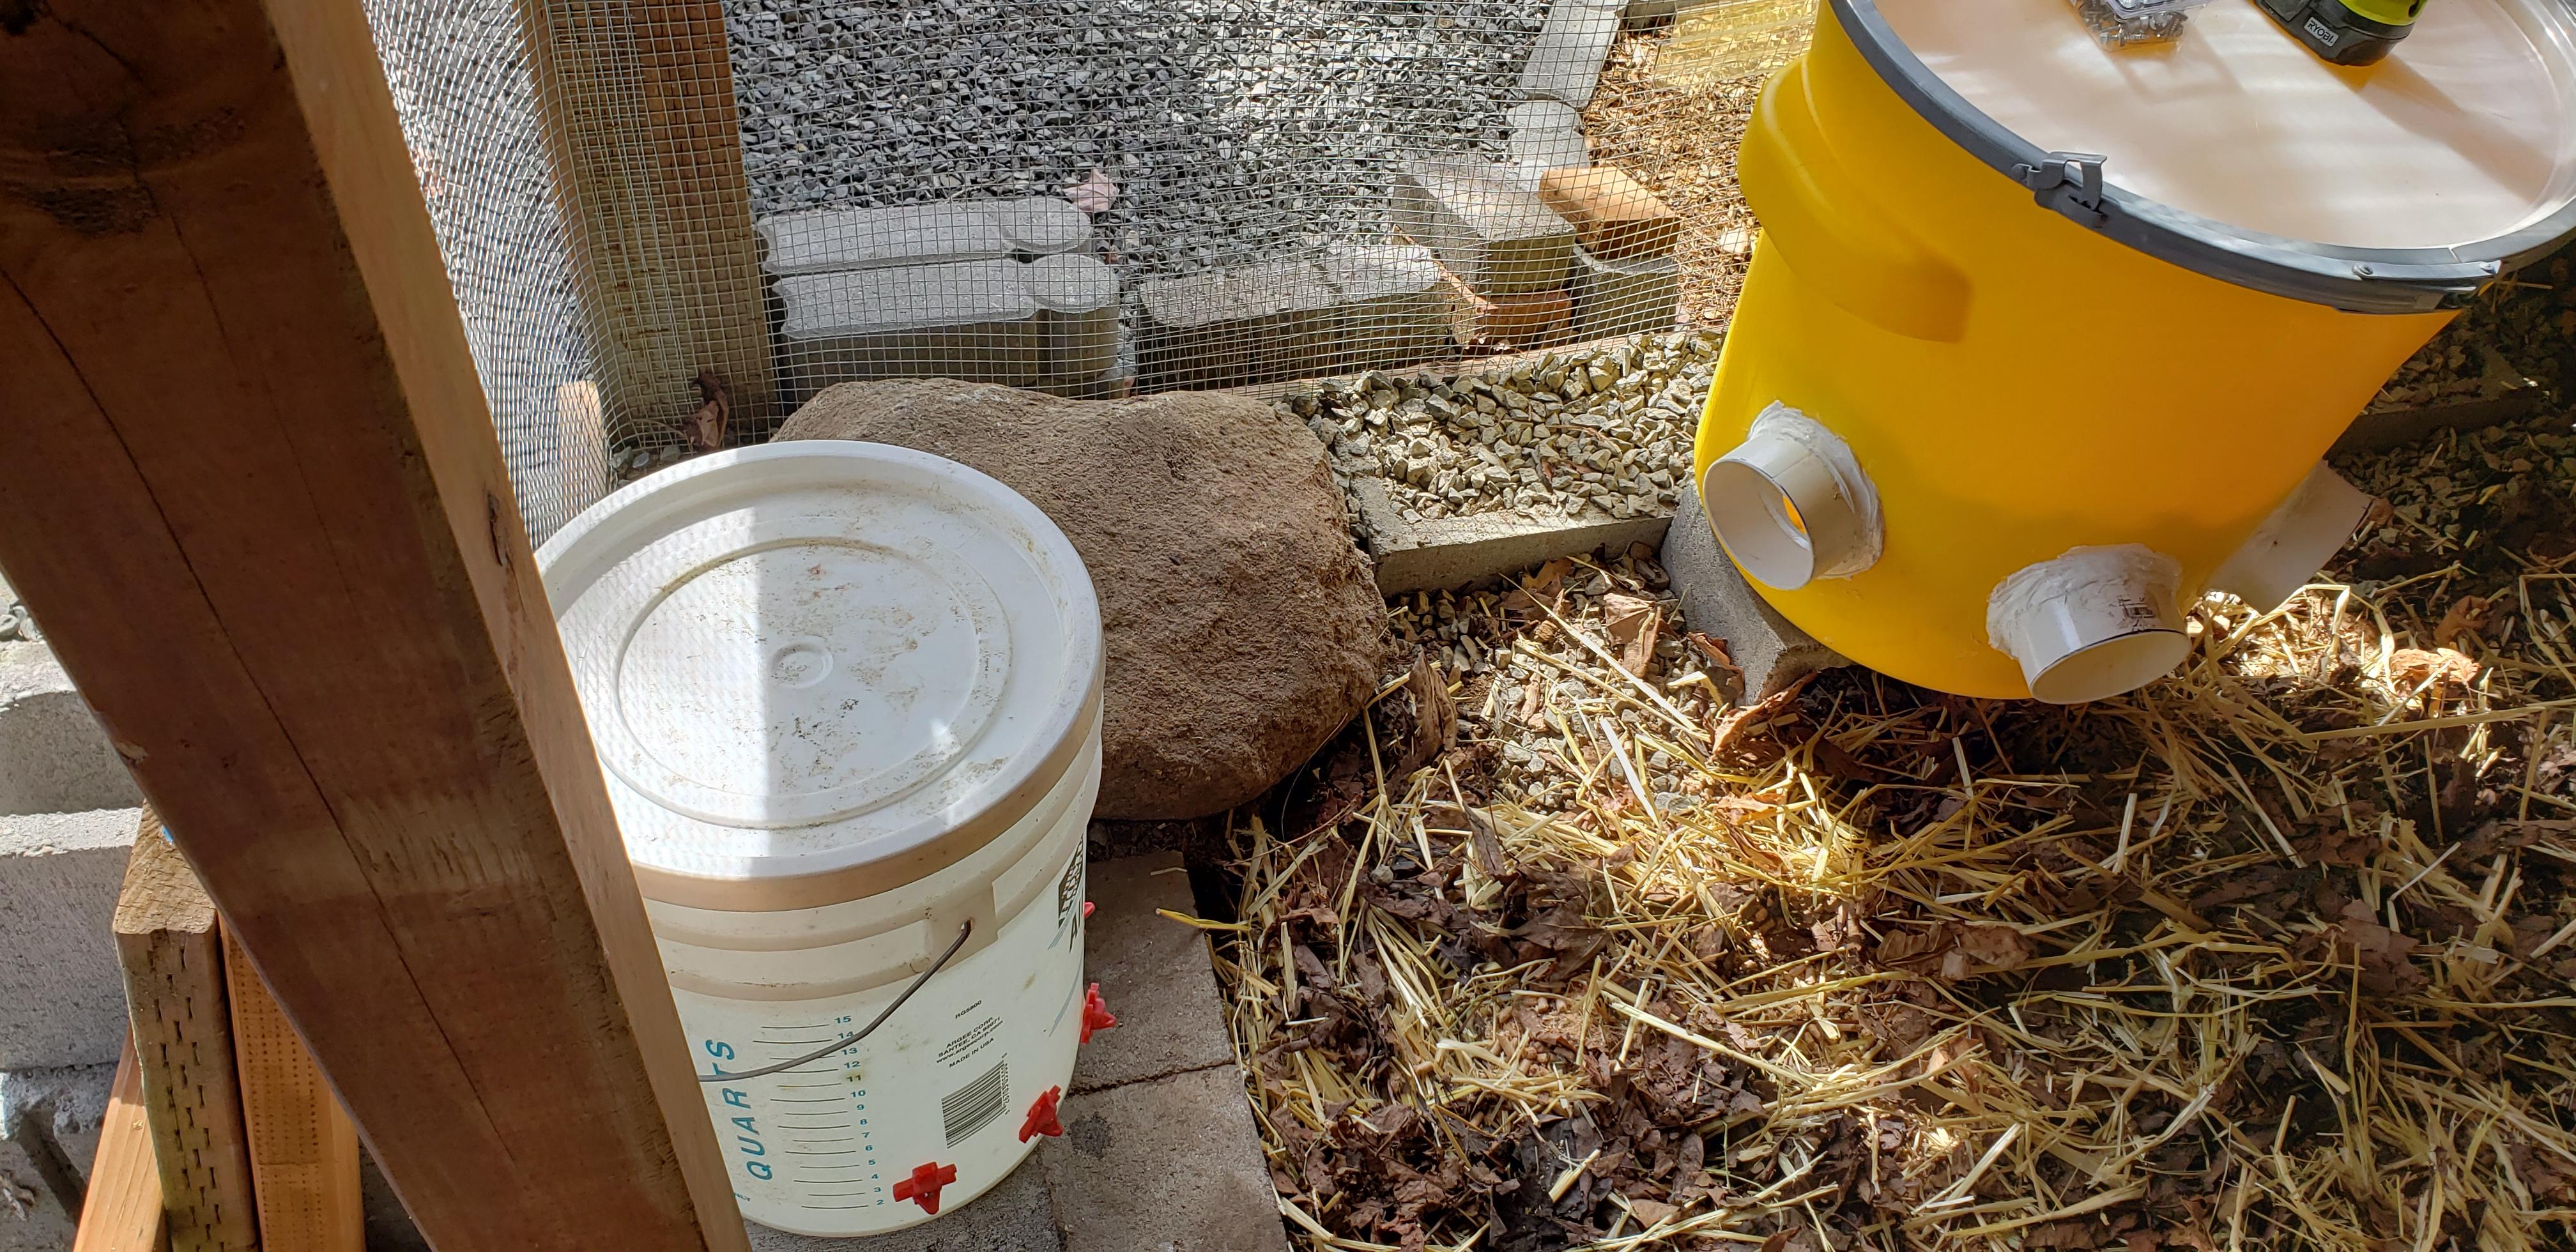
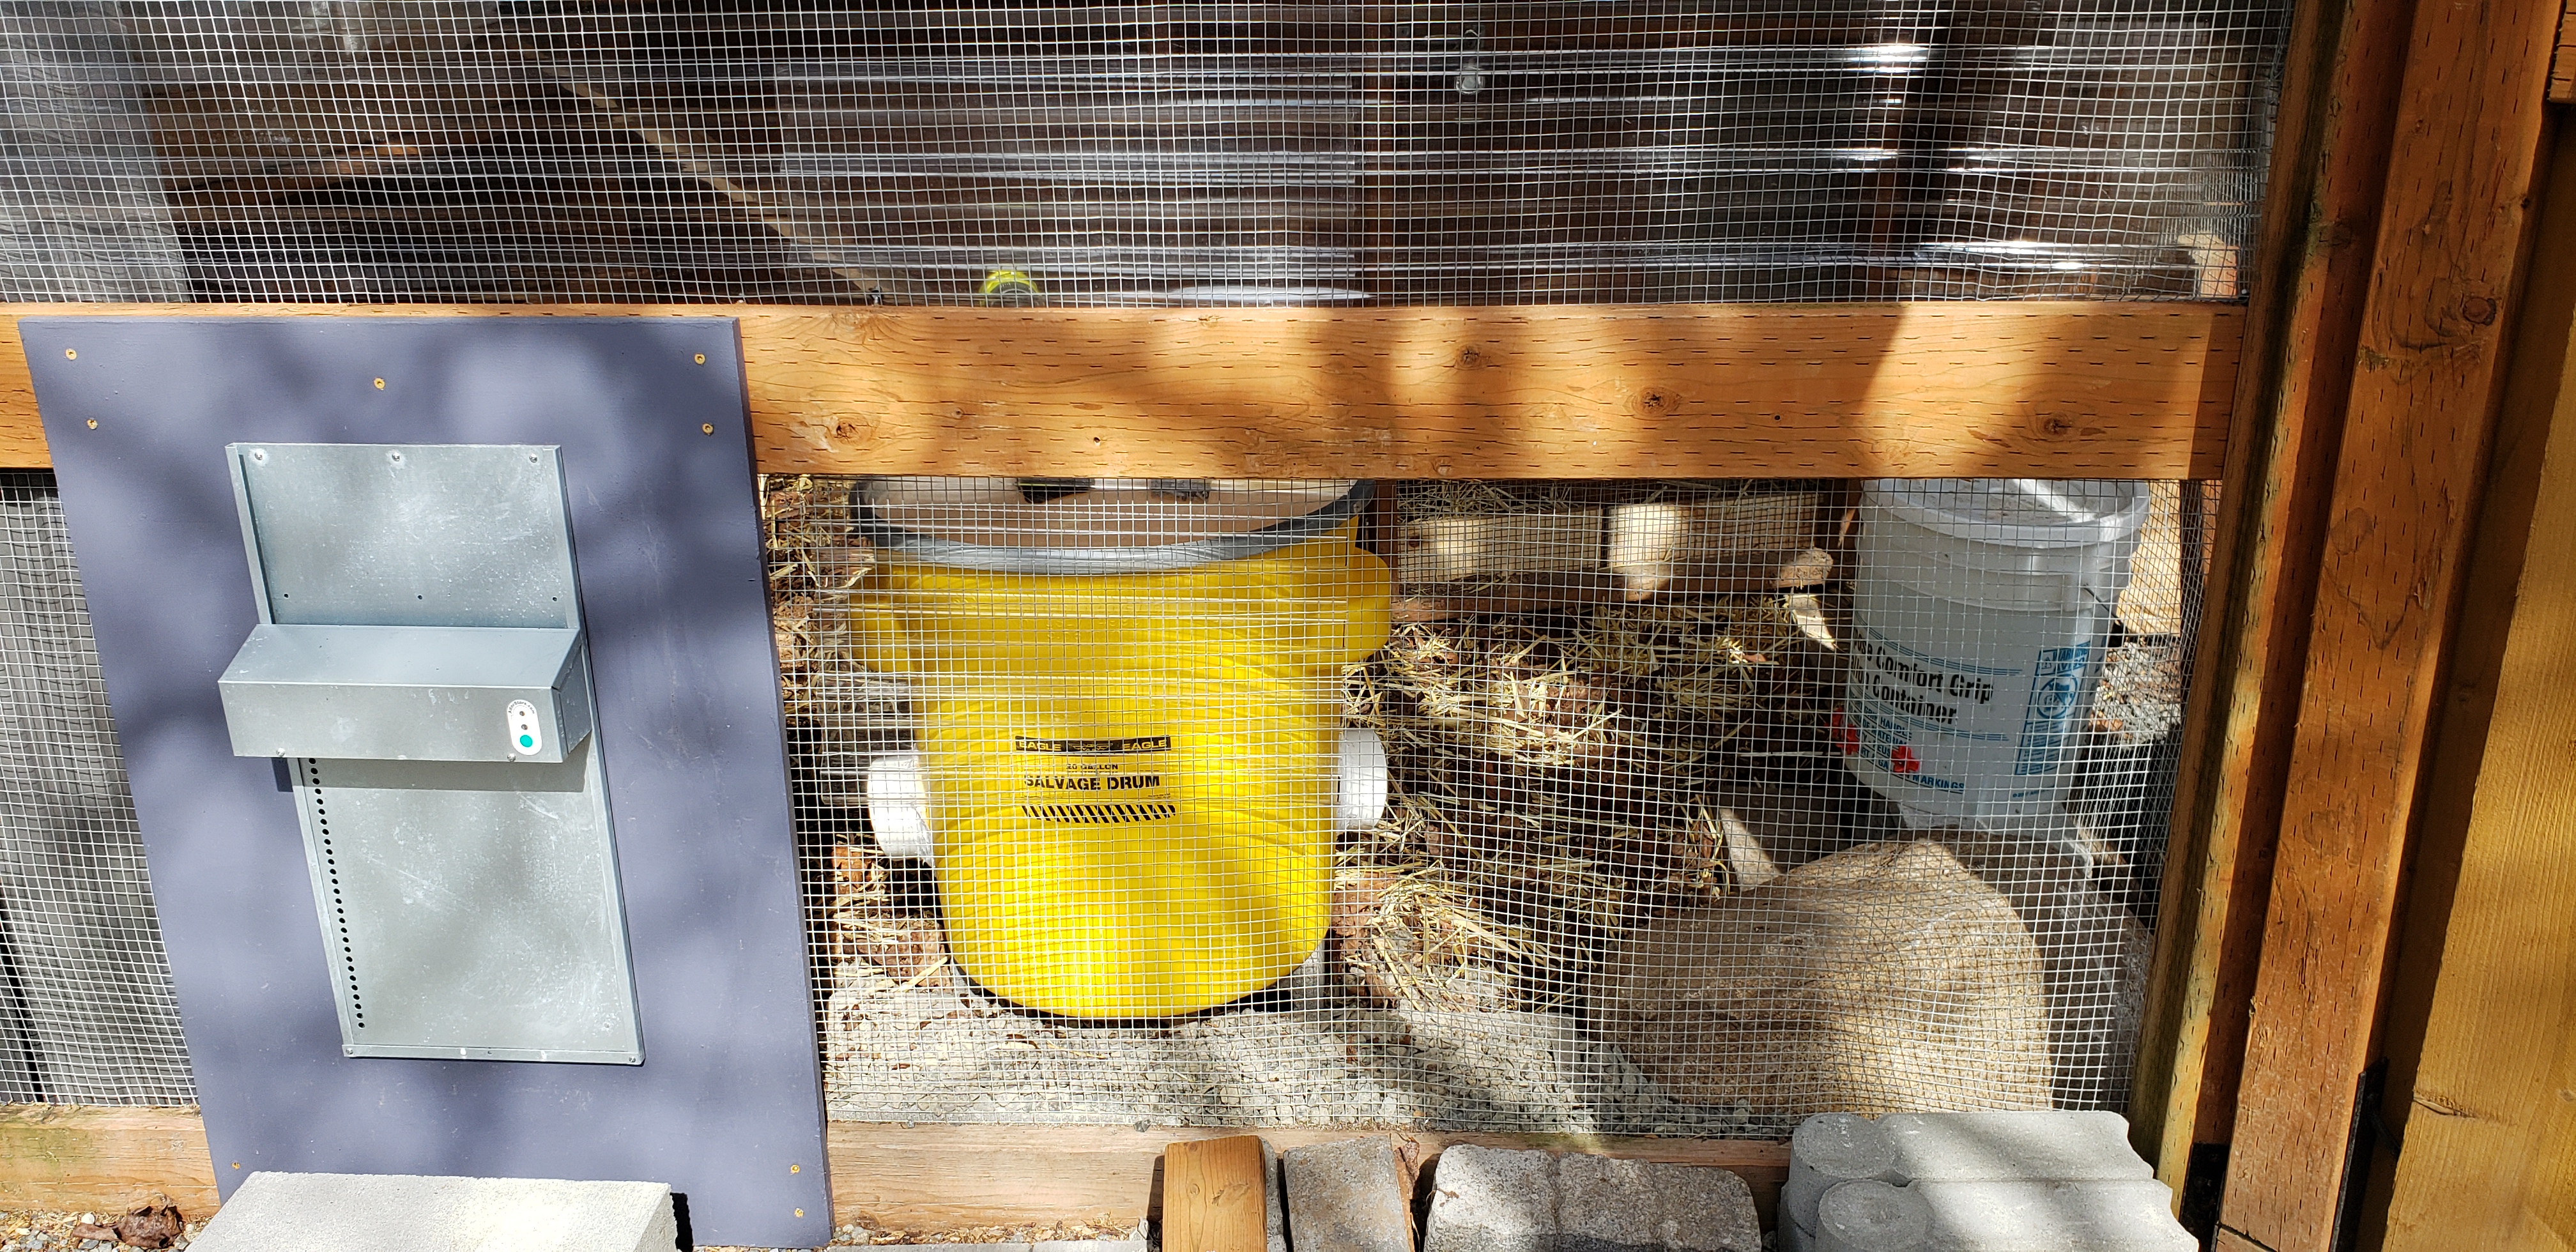
First I dug the existing soil and deep litter away from the house siding. The way the ground slopes, some portions of the bottom horizontal siding panel on my house are normally covered by some soil. Below that is the concrete foundation. This is not due to my coop, but just how they built the house. As you would expect, over time some of the covered wood has started to rot a little. I knew about this with the quail, but since it stays pretty dry, I was not worried about it. Probably been slowly rotting since they built the house in the 1960's. But since I expect to have some deeper litter in there, I wanted to stop/slow the process. So I dug out the dirt and litter from the bottom panel to expose the concrete foundation below it. I then put down some concrete edgers so that they are slightly above the bottom panel. Then I put a 2 by 8 pressure treated board on top of the pavers and made sure it is flush with the house. This gives me about 9 or 10 total inches of vertical room to work with on the floor of the coop for deep litter that is above the original floor/ground level. Hope that makes sense. There is still the chance the siding dry rots behind the 2 by 8, but at least now it is "protected" from the elements and deep litter and chickens. It is a dry location, so should not have moisture trapped back there.

Forgot to mention.....slathered 2 coats of paint on the siding of the house from floor to ceiling within the coop. Just as another layer of wood/siding protection from poop on the walls, moisture, chickens pecking, etc.... So behind the pressure treated board is house siding with 2 fresh coats of paint on it. Dried before the board was placed against it of course.

But back to the roosts....

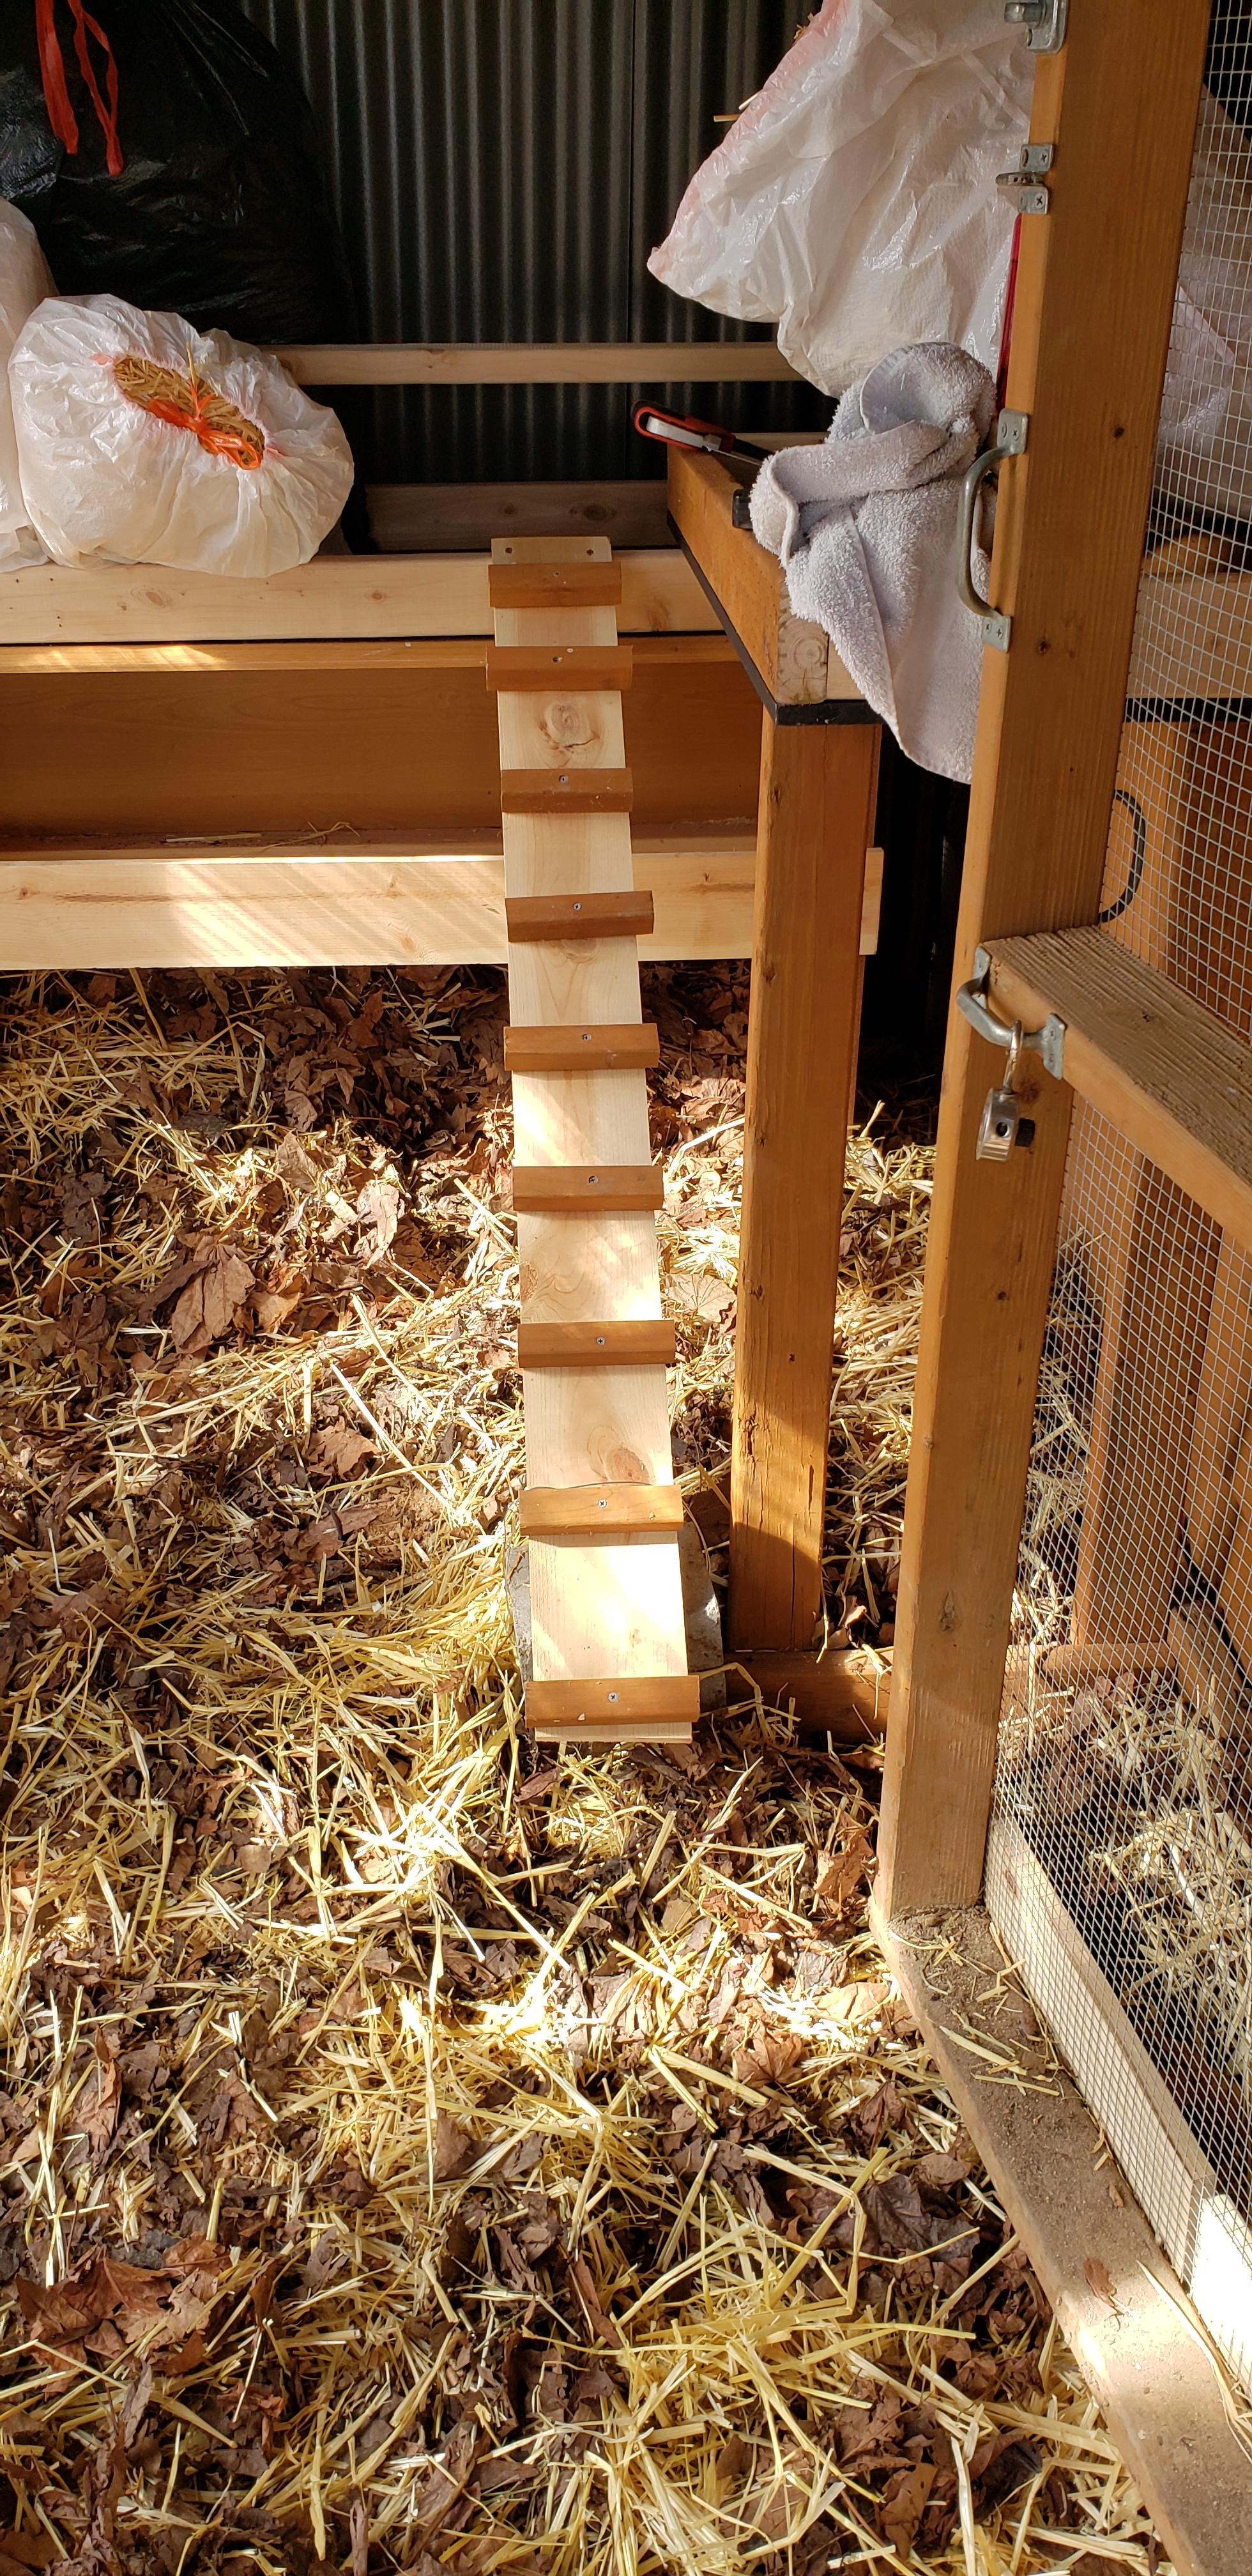
Put in a second roost that is 4 feet long. So I now have my original 5 foot roost, plus a new 4 foot roost. They form an "L" shape. With the dimensions of the coop, I didn't want to use a 24 inch deep poop board due to how narrow that would make access for humans, plus the floor of the poop board is something I repurposed that happened to be 17 inches deep. So I have a poop board that is 4 feet by 17 inches. Looks so much smaller than my 24 inch poop board.....yikes. I have the roost mounted about 10 inches from the back of the poop board, so only 7 inches on the front (obviously). I am hoping that they dont poop all down the wall of my house, but can deal with it if that happens. Install some plastic sheeting on the wall or something. Or move the roost even closer to the front edge and then just hope they don't roost facing the wall (pooping off the front edge of the poop board). The new roost is at a level an inch and a half above the old, since I secured the new roost board onto the top of the old. Level within the coop is still good for wind and draft protection since I had recently installed that second clear roofing panel on the wire wall of the coop. The roost level is probably about a foot above where the bottom of the clear panel ends. Hoping that is enough to keep anyone roosting on this new roost out of the flow of any breeze or wind.

I know, I know....photos.

EHssYce.jpg


The photo makes it look like the new poop board is either against or even slight under the house siding, but it isnt. I have the 2 by 4 poop board tray about an inch away from the house. Notice the nice fresh "cecal" poop brown paint job on the house. Haha. Rest of house is a darker brown. This light brown is what they had in the "oops" section of the hardware store. So it was 2 dollars per quart.
 
Last edited:
Did some more prep work today. Realized I still have a thin layer in some spots of poop/feed/soil present. This layer is mostly sand and PDZ, super dusty. But still could catch a whiff of ammonia in the dust. So I decided to see if I could shovel any of it out before the chicks go in. Ended up "scraping" about three wheelbarrows of stuff. Used my square shovel to essentially scalp the coop floor to try to get an even depth of removal.

In other news, I have been using small straw bales to stand on instead of a step ladder when I need to reach something high in the coop, and one finally exploded on me. Haha. So I spread it around and mixed it with the autumn leaves in there.

Set the nipple waterer back up, as well as tried to find a home for the new no-waste feeder. Unfortunately the way my new roost and poop board are set up, one of the feed ports is always going to be sort of inconveniently located. I am seriously thinking about putting it in the run. Both to open up coop space, and to make each feeding port better accessed. But I don't want to deal with vermin in the run......and I don't want to have to remove it each night. Maybe if I put it in the run I will make some caps for the ports. But even that might get "old" after needing to do it nightly for a while.

gSSKEVx.jpg

19KezlL.jpg

ceYeRAW.jpg
8PRdC04.jpg


Also decided to try fluffing some wood stove pellets to see how much increased volume there would be.

This is right after pouring 3 liters of warm water into the bag.

Jummxb4.jpg


This is after about 10 minutes.

2iP3UkM.jpg


Dumped the bag after about half an hour, found probably about 20% of the pellets were still dry. So they do expand a lot!

dFcdRHZ.jpg


Dumped into the coop.

xDrGruG.jpg


I think next time I hydrate a bag, I might go for a full gallon of water and see if that helps to reach some of the pellets that stayed dry this time around. Plan for tomorrow is to mix all the bedding up so the leaves, pellets (now basically sawdust), and straw are combined together. See what seems to be lacking and add more of it. I have plenty extra of all three items. And that isn't even considering the giant pile of wood chips in the driveway.....it is damp from rain, but I might put a wheelbarrow or two of that in the coop as well. Maybe with some dry pellets to offset the moisture content.
 
Made some changes. Decided I wanted the feeder against the wire wall, near the water station. That meant I had to move the ramp to the roosts. Moved it from the left side of the roosts over to the right. I figure it will also help give better access to the "new" section of roosts. When the ramp was on the left, the chickens wanting to use it to get to the "new" roosts on the right would have to walk along the entire length of the old roosts first. I have the ramp screwed into the rim of the poop board at the top, and wired to a cinder block at the bottom.

xAoeu7J.jpg


Once that was done, I used a cinder block to make a raised stand for the feeder.

anPDqj3.jpg
QRJWXbB.jpg

Dswum96.jpg


Since I occasionally have some drips of rain come down the wire wall, and since I have the feeder leaning against the wire, I wanted to prevent any rain collection on the lid. The lid is waterproof (remember, this is a hazardous waste reclamation barrel), but the outside of the lid is concave. So it would collect water. I took care of this problem by sticking a chunk of clear roofing panel behind the barrel. Just wide enough so that no rain can blow onto the lid, or run down the wire and potentially run onto the lid. I am liking this position for the feeder a lot better than the spot under the poop board. The feed ports are a lot more accessible. And it is still in the coop, so I don't have to worry about rats/mice getting in there. Should cut down on wild birds as well. If it starts to feel crowded in the coop, I may make a shelter for the feeder and have it right on the exterior of the same wire wall. Pretty much have it in exactly the same spot, but on the outside instead of the inside.
 
Last edited:
First field trip outside for the chicks. My six year old said the best way to do it would be to wrap the swing set in some 6 foot tall chicken wire. Since the swing set has the supports at an angle, and the chicken wire has a huge weave (probably 2 inches tall by 3 or 4 wide for the "diamond") it was massively floppy....but got the job done. Or so we thought....until some of the smaller chicks walked right thru it. Haha.

Wife and dog standing chick guard duty....

RSvscaN.jpg


Fence is so floppy on the long sides that they could go "under" it and still be in the pen!

lN4PEeN.jpg


They did stick together for the most part, and if one went thru the fence, most of the rest would immediately try to go thru to follow. Or the escapee would realize they were out and then immediately turn around and try to get back in. Haha.

bPooEht.jpg


In case you are confused by the scale of things, that dark blue adirondack chair (and the yellow picnic table) are kids size. These aren't 3 week old, foot tall chickens. Ha!
 
Last edited:
Decided to kick the babies outside. Yikes! I am not going to sleep well tonight. They have their heat plate and I am sure it will be fine. We had record high temps the past few days. Mid 70's. Will cool down later this week to the mid 60's, but I am sure they will still be fine. Just need to keep telling myself that. Haha.


qvYLbOt.jpg

DbU91Zm.jpg
 
And of course, after darkness falls, they are all piled up on the big rock in the front corner of the coop. Right next to two walls of hardware cloth with no wind protection. At least they were easier to catch in the dark..... I tried to get them to stay under the heat plate, but they scattered. I am worried that they won't be able to find it in the dark. So I pulled out a heat lamp..... Securely wired to the rail of one of the poop boards. No way it can fall. I am going to go check on them in another hour or so and see if they settled down. Silly that I have a heat plate AND a heat bulb in there.....
 

New posts New threads Active threads

Back
Top Bottom