Spent the whole days working on the coop again. Lots of progress--All siding sheathing completed, windows and entry door installed, windows flashed, floor insulation and part of floor sheeting installed, some of roof sheeting installed. Busy, busy day!
We had to do some finagling with the front window framing (My bad. Stupid error and long story), and ended up with bigger windows. Can't complain! Our littlest is helping clean up for the day.
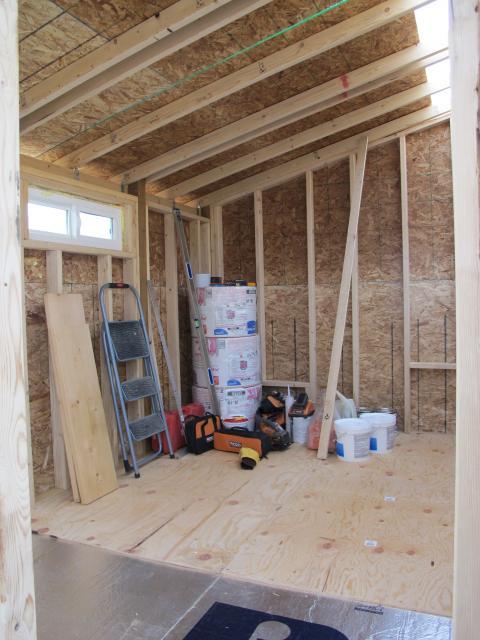
Here you are looking into the main coop area. The shiny stuff on the floor in the front of the pic is the insulating board we put in. It has a "foil" layer on each side. Haven't finished installing all the plywood sheeting over it yet. There will be a pop out door on the right side of this wall (this wall is the right wall of the structure), and a sweep out door on the left.
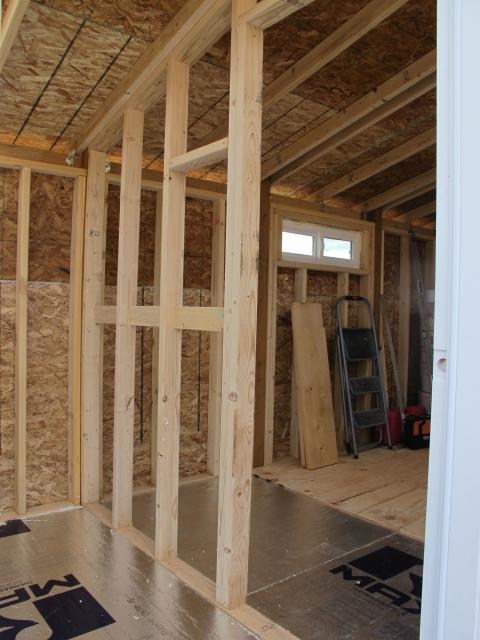
This shows the dividing wall separating the main entry and storage area from the coop. The opening is the where a screen door will be. I had a lightbulb moment this morning and realized it is the perfect wall for the nesting boxes! I'll be able to have the access hatches on the "people" side of the wall, so no need to step into the coop area after all to get our eggs. There will be hardware cloth for the upper portion of the wall.
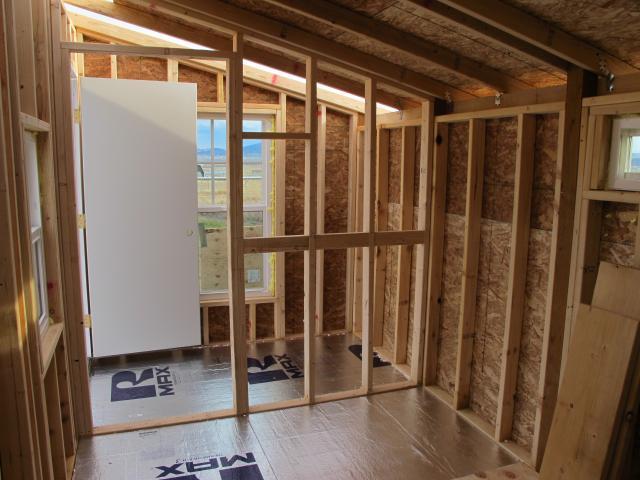
Looking at the entry side from the chicken's point of view.
Regarding pressure treated lumber--Yes, we used it. The posts of the structure, as well as the floor joists, are all PT lumber. However, it is all covered by a) floor insulation, followed by regular plywood sheeting, then eventually vinyl/linoleum flooring, OR b) covered by wall sheeting, the sheeting then prime painted, then covered by two coats of porch paint. There will be no contact with the chicks at all.