It seemed to take for ever to have the entire coop and run completed. The inside of the coop was really no problem and went rather quickly. The outside run was another story, UGH! We mostly had to content with a very rainy June. It seemed as though every weekend rained. The poor hubby had finally gotten so fed up with the weather he just started working in the pouring rain.
Even though we started with a pretty complete shed it still took the good part of our summer. We were only able to work on it over the weekends and around the kids schedules. We think it came out really nice and the chickens seem to enjoy it!
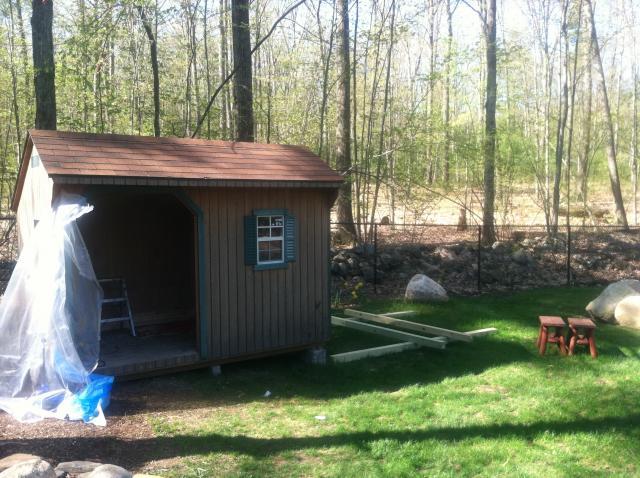
Delivery of 6x 10 run-in shed found on clearance at local swing set retailer! May 2011
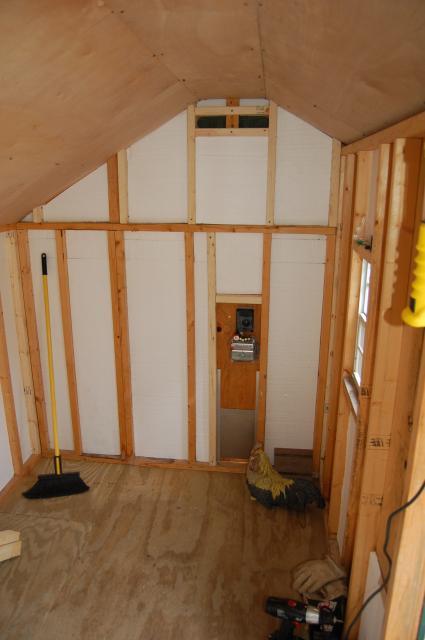
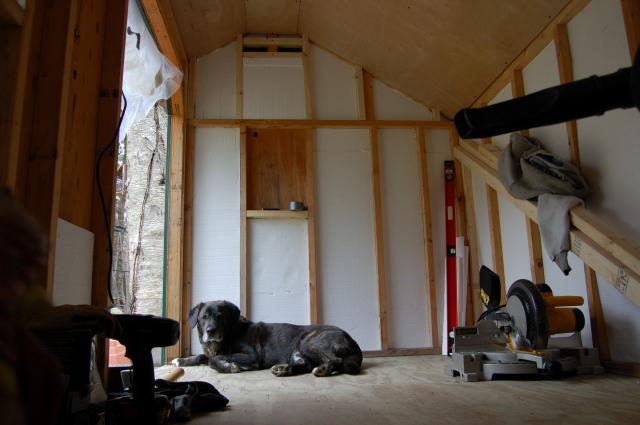
Working on the inside. Styrofoam sheets used for insulation covered by plywood. May 2011
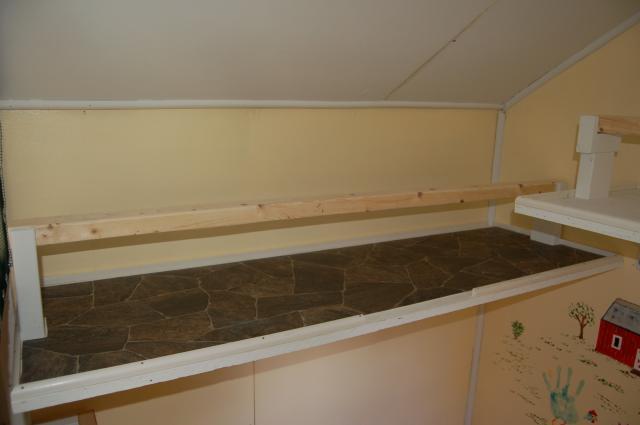
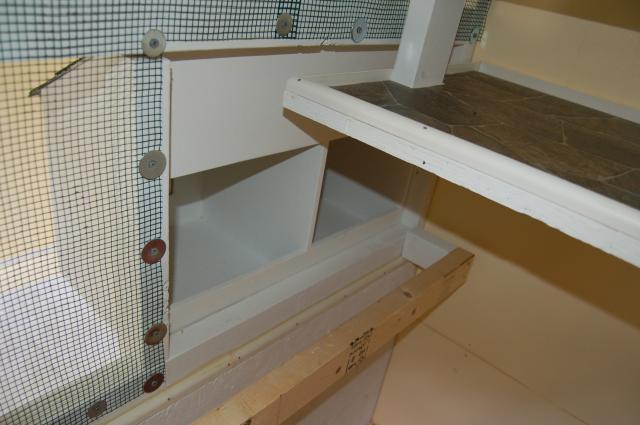
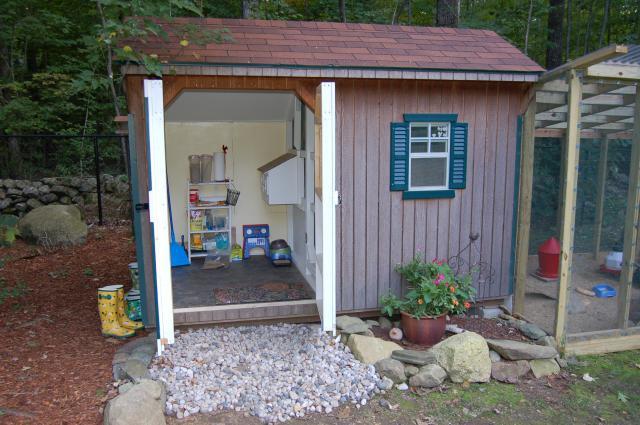
Now for the fun stuff...finishing off the inside...painting, roost poles, nest boxes. Wood floor was covered with linoleum for ease of cleaning.
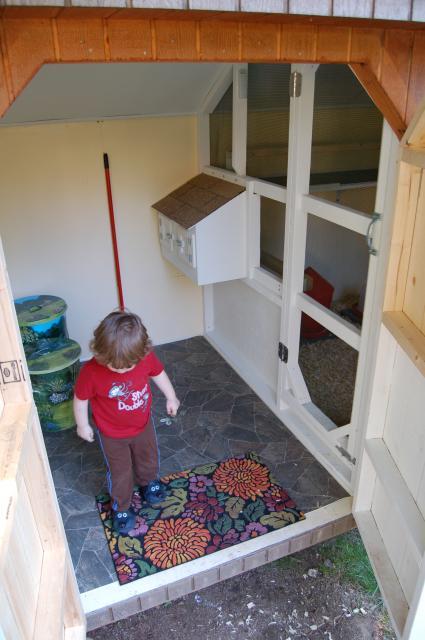
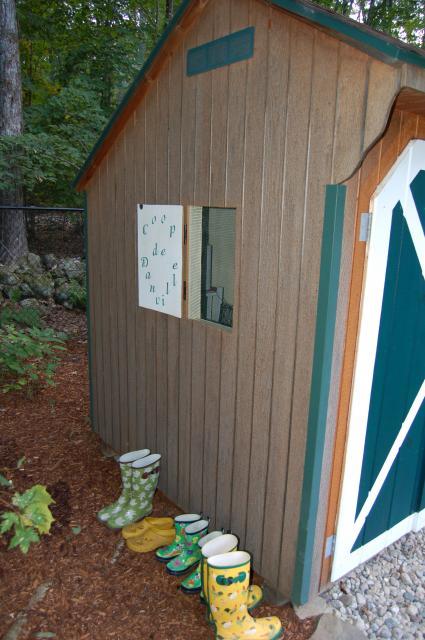
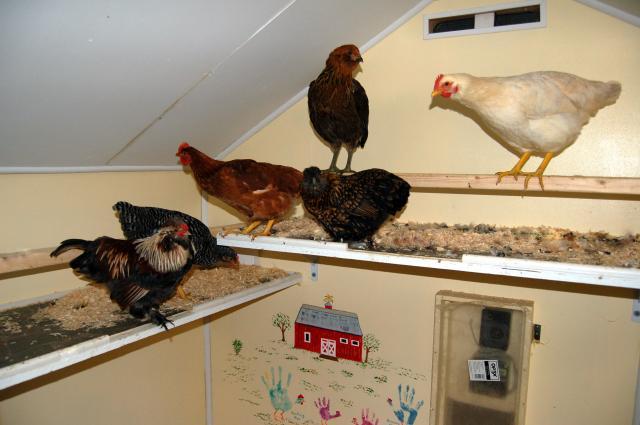
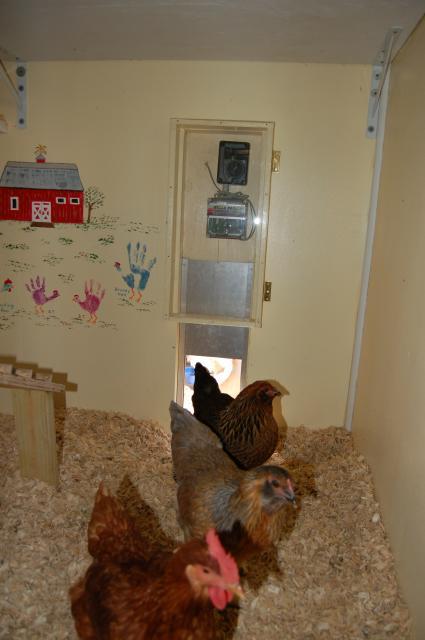
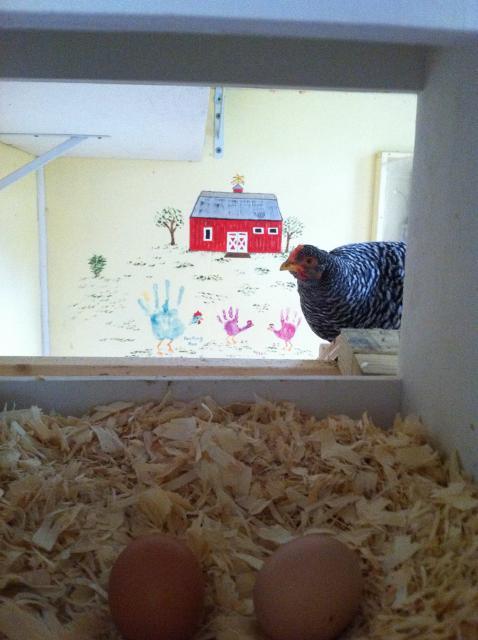
Fun family art work! We can look back on it years from now and remember how small the kids once were.

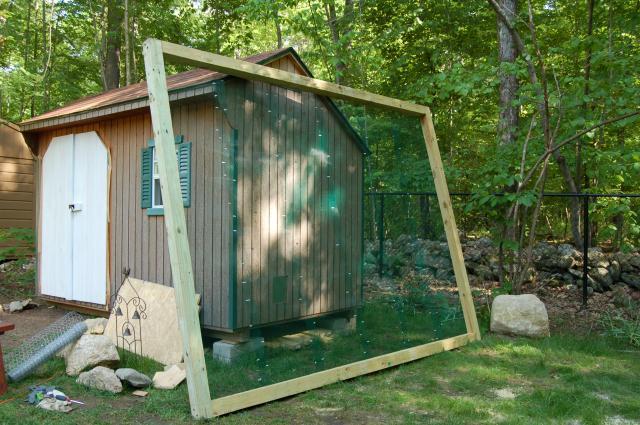
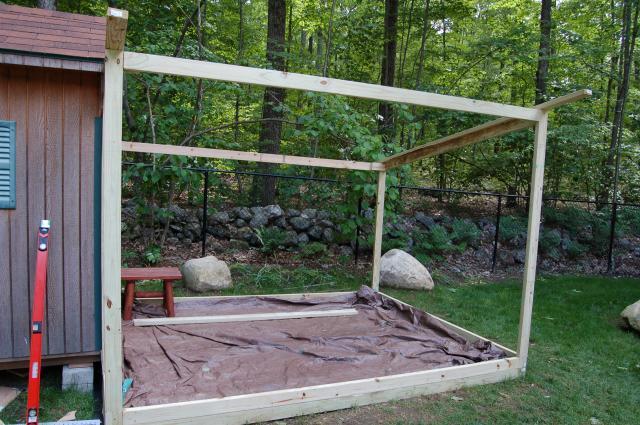
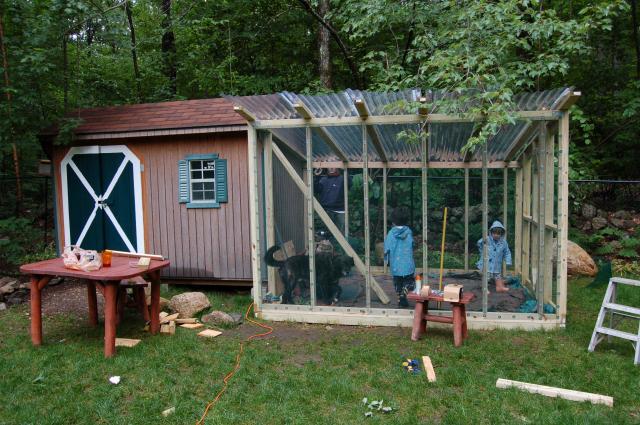
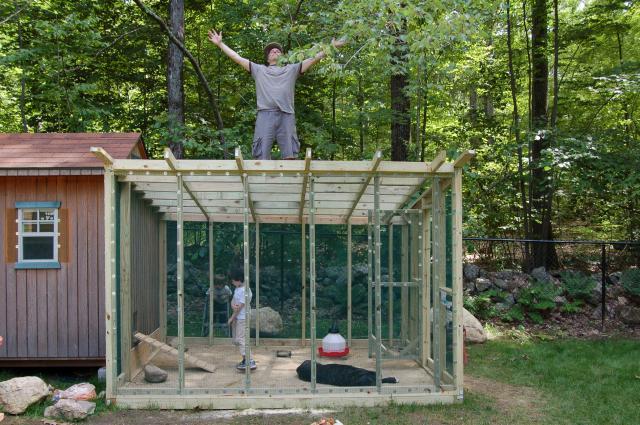
Now to turn our attention to the outside... June 2011
Laid down landscape fabric, made frame (9x10) for base of run cover by 1/4" hardware cloth, filled with 4" of stone dust, framing covered entirely by 1/4" hardware cloth, top of run covered with 1/4" hardware cloth and clear plastic roof panels to keep out the elements. I know it may be overkill but wanted to make sure no predators can get the chickens. Could be tramatic for myself and the kids!
It's been a couple of months and the chickens never dig that far down while dustbathing so there have been no troubles with the hardware cloth or landscape fabric being under the run. Thank Goodness that was a concern of mine.

Final pictures:

The chosen ones enjoying their home! Yipee!
I hope I don't get chastised by a moderator out there. I tried to build a page to submit to coop design area but my pictures got all jumbled up...and I couldn't figure it out ...so anyways...here it is. We are so happy to be done!
Even though we started with a pretty complete shed it still took the good part of our summer. We were only able to work on it over the weekends and around the kids schedules. We think it came out really nice and the chickens seem to enjoy it!
Delivery of 6x 10 run-in shed found on clearance at local swing set retailer! May 2011
Working on the inside. Styrofoam sheets used for insulation covered by plywood. May 2011
Now for the fun stuff...finishing off the inside...painting, roost poles, nest boxes. Wood floor was covered with linoleum for ease of cleaning.
Fun family art work! We can look back on it years from now and remember how small the kids once were.
Now to turn our attention to the outside... June 2011
Laid down landscape fabric, made frame (9x10) for base of run cover by 1/4" hardware cloth, filled with 4" of stone dust, framing covered entirely by 1/4" hardware cloth, top of run covered with 1/4" hardware cloth and clear plastic roof panels to keep out the elements. I know it may be overkill but wanted to make sure no predators can get the chickens. Could be tramatic for myself and the kids!
It's been a couple of months and the chickens never dig that far down while dustbathing so there have been no troubles with the hardware cloth or landscape fabric being under the run. Thank Goodness that was a concern of mine.
Final pictures:
The chosen ones enjoying their home! Yipee!
I hope I don't get chastised by a moderator out there. I tried to build a page to submit to coop design area but my pictures got all jumbled up...and I couldn't figure it out ...so anyways...here it is. We are so happy to be done!


